
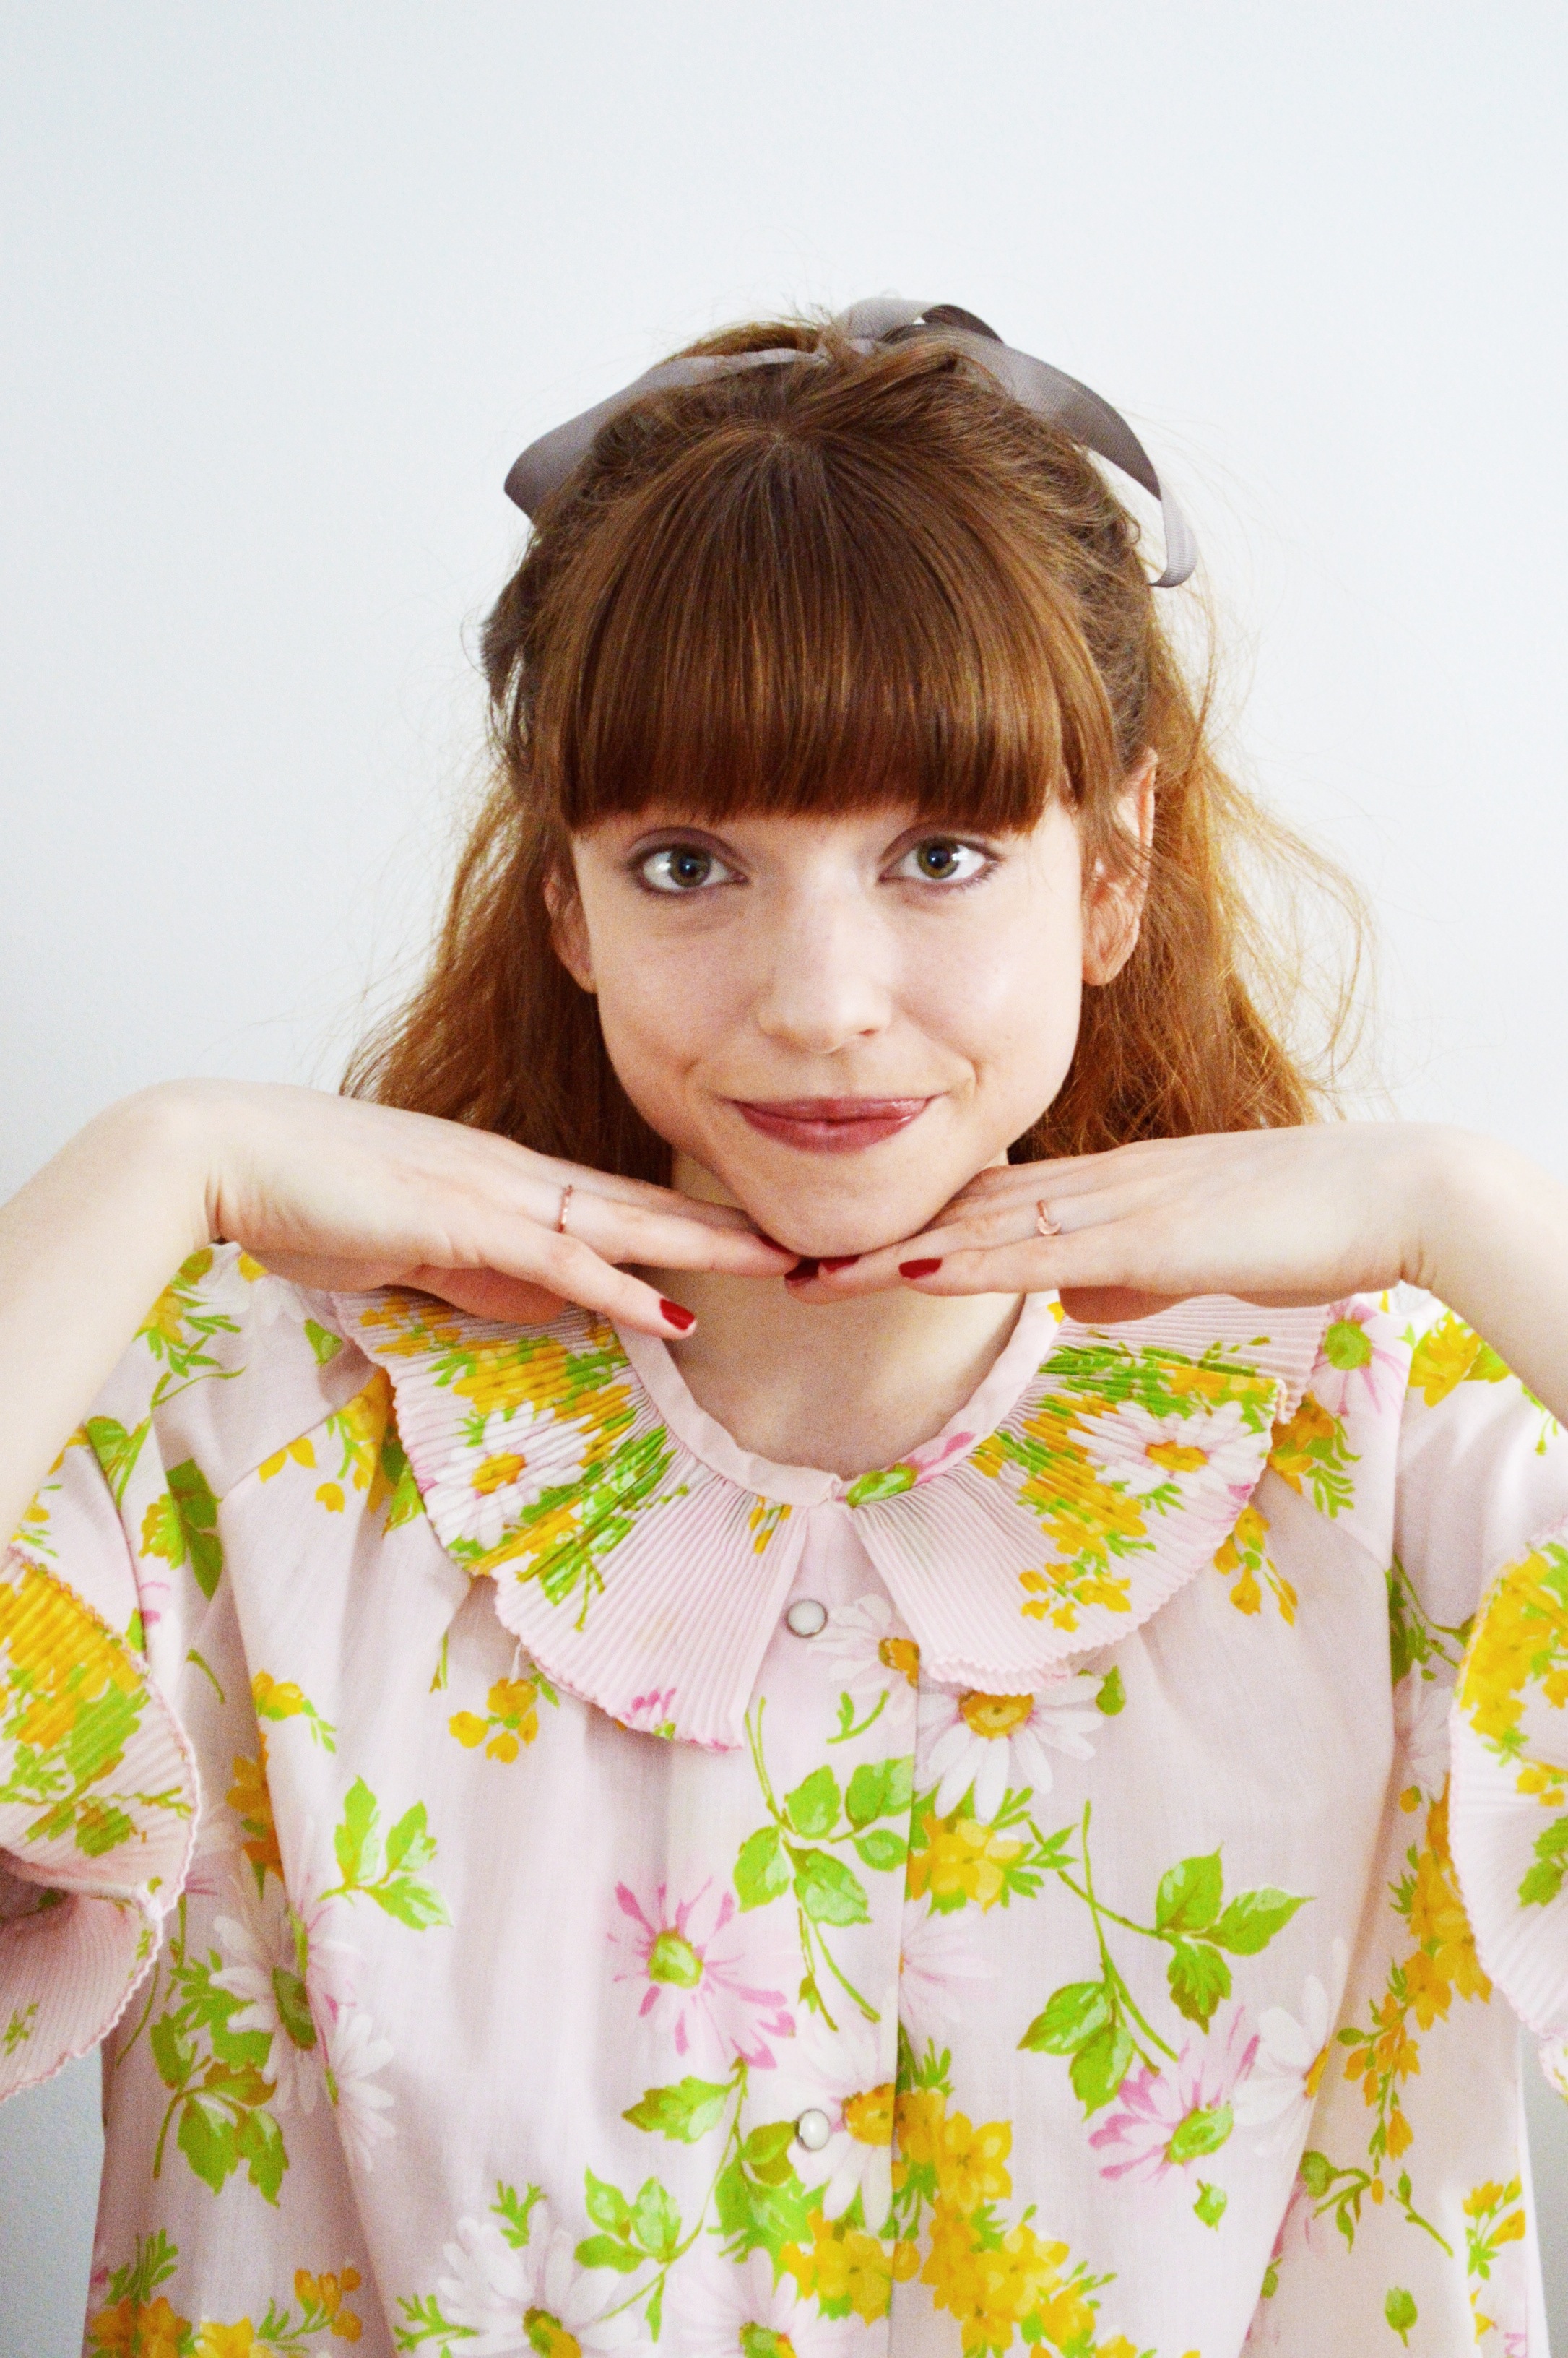
 Today I’m going to show you how to create a headband for your beautiful hairs with your very own hair. Crazy! This style is pretty fun and versatile as you can make the braids as thin or as thick as you like. I went with thin braids this time around, but I assure you that thick ones are quite striking. So! Here we go!

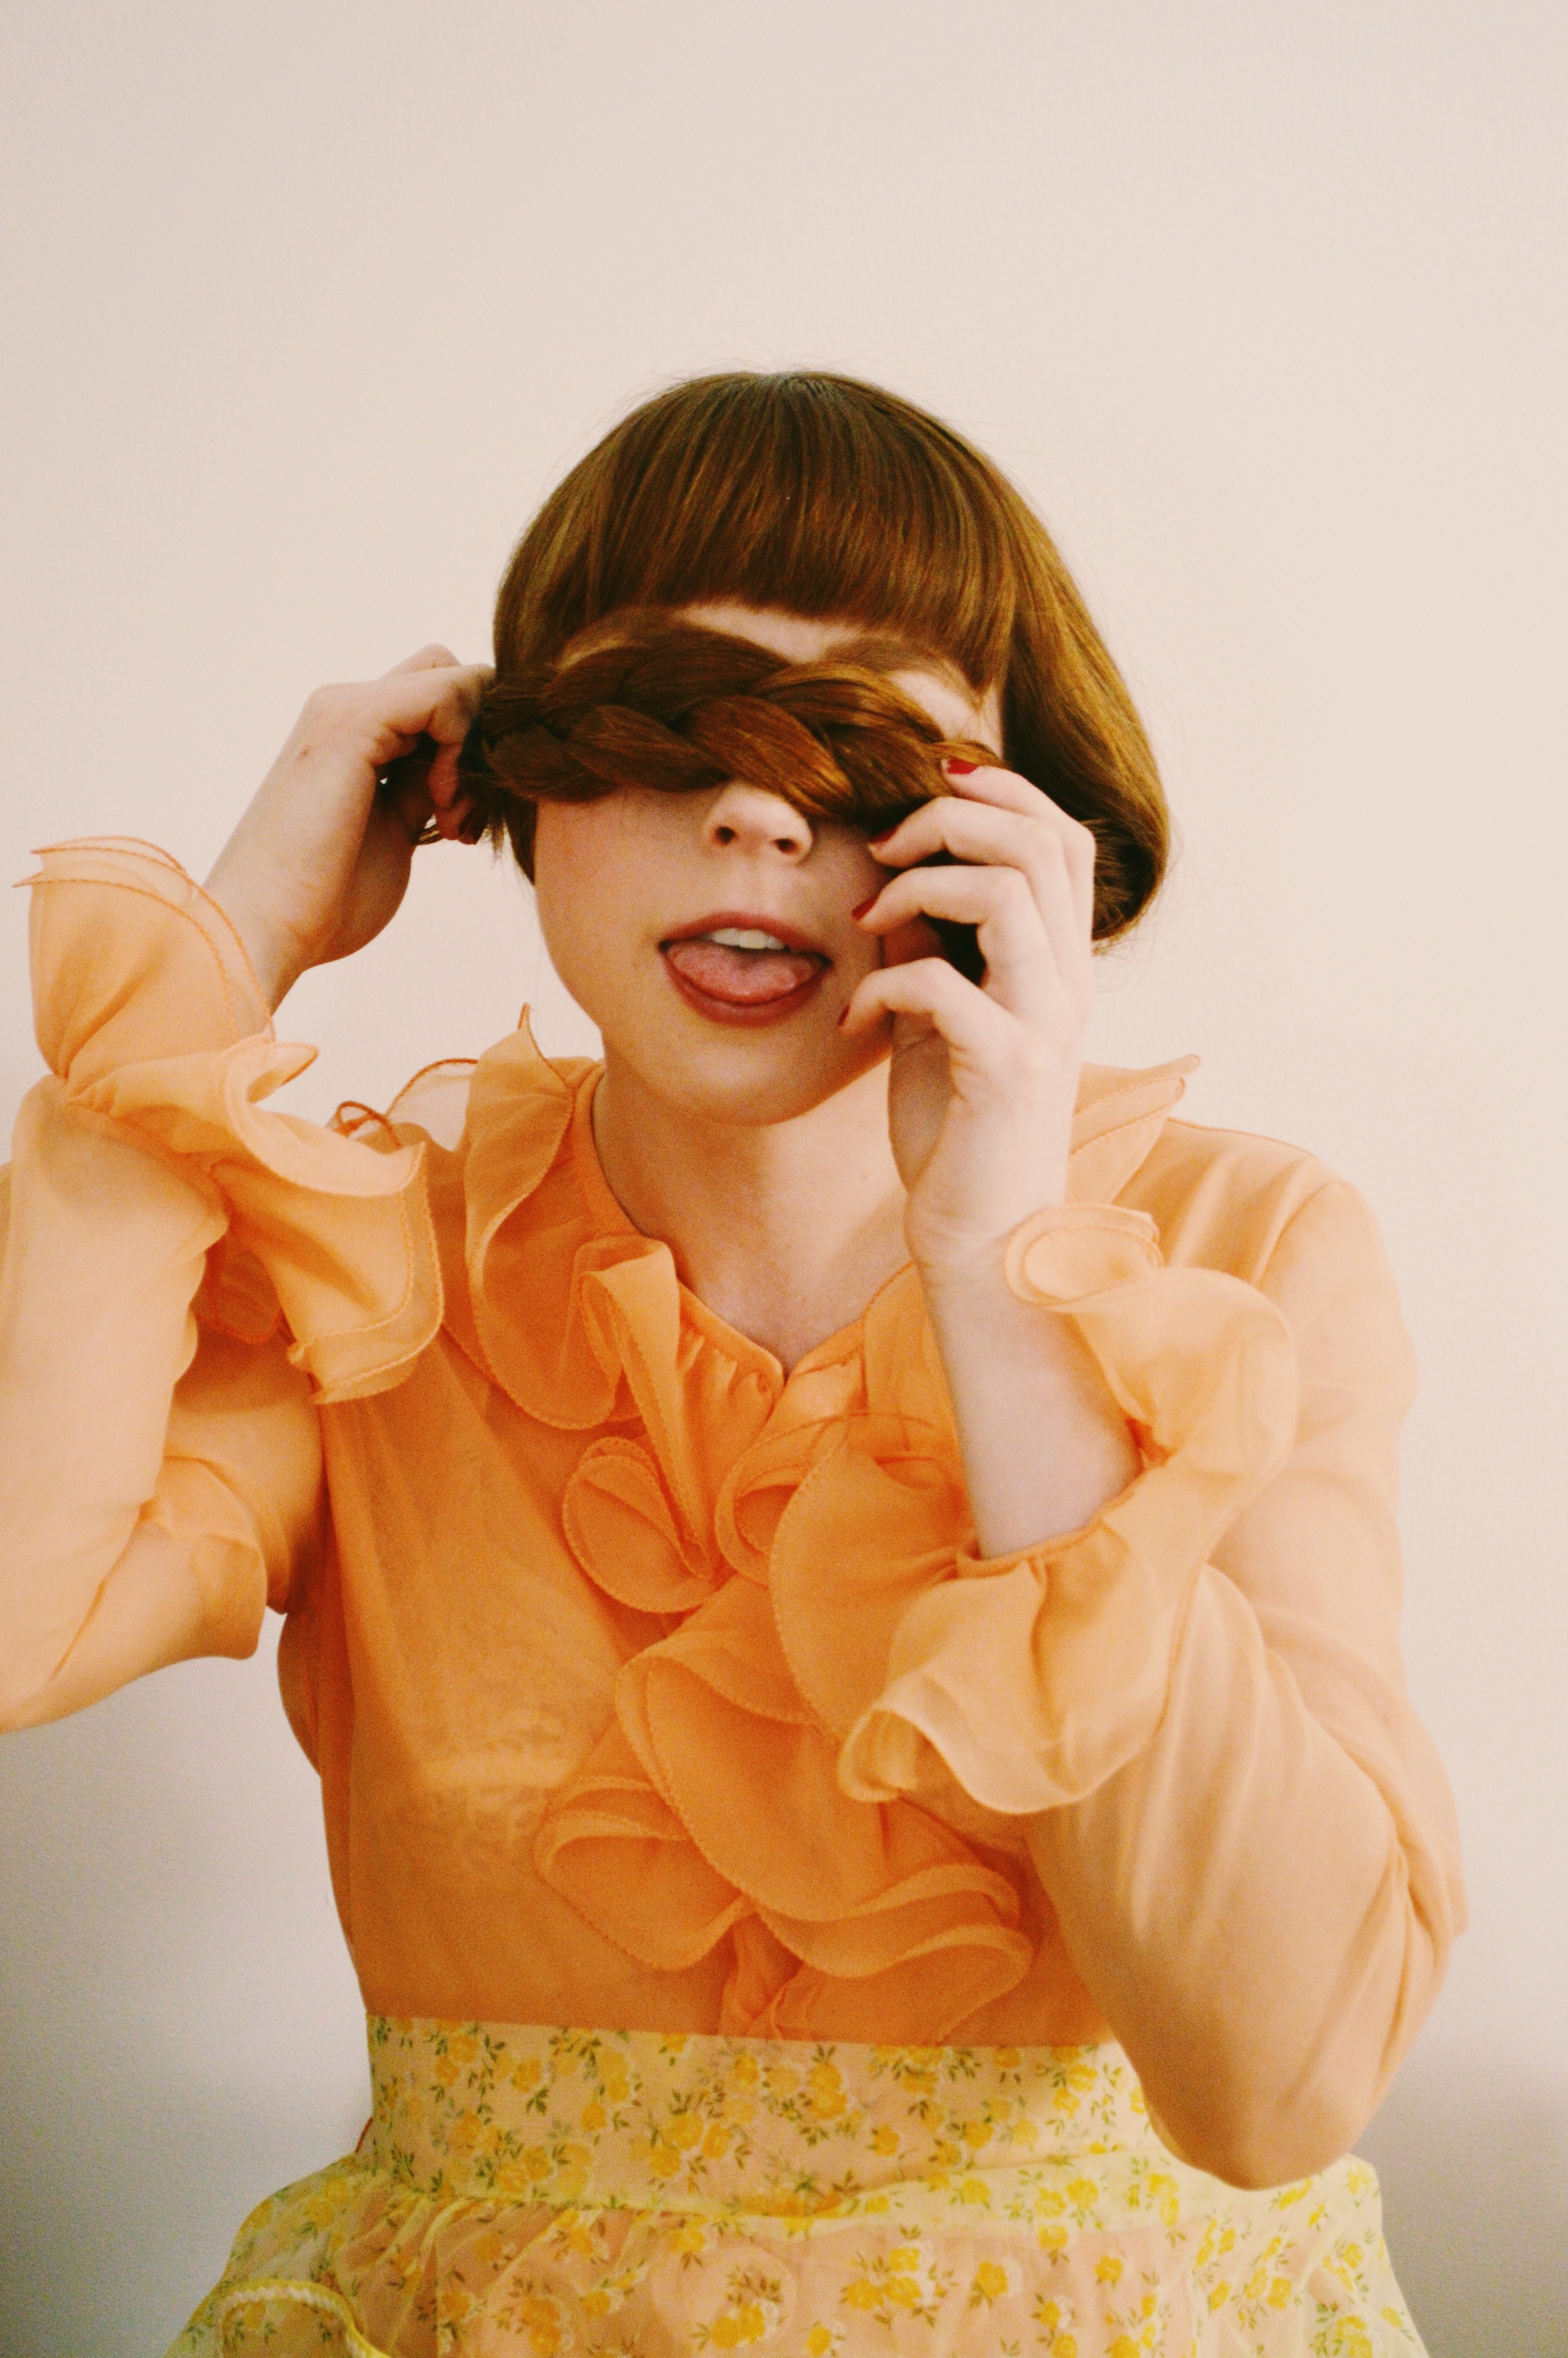
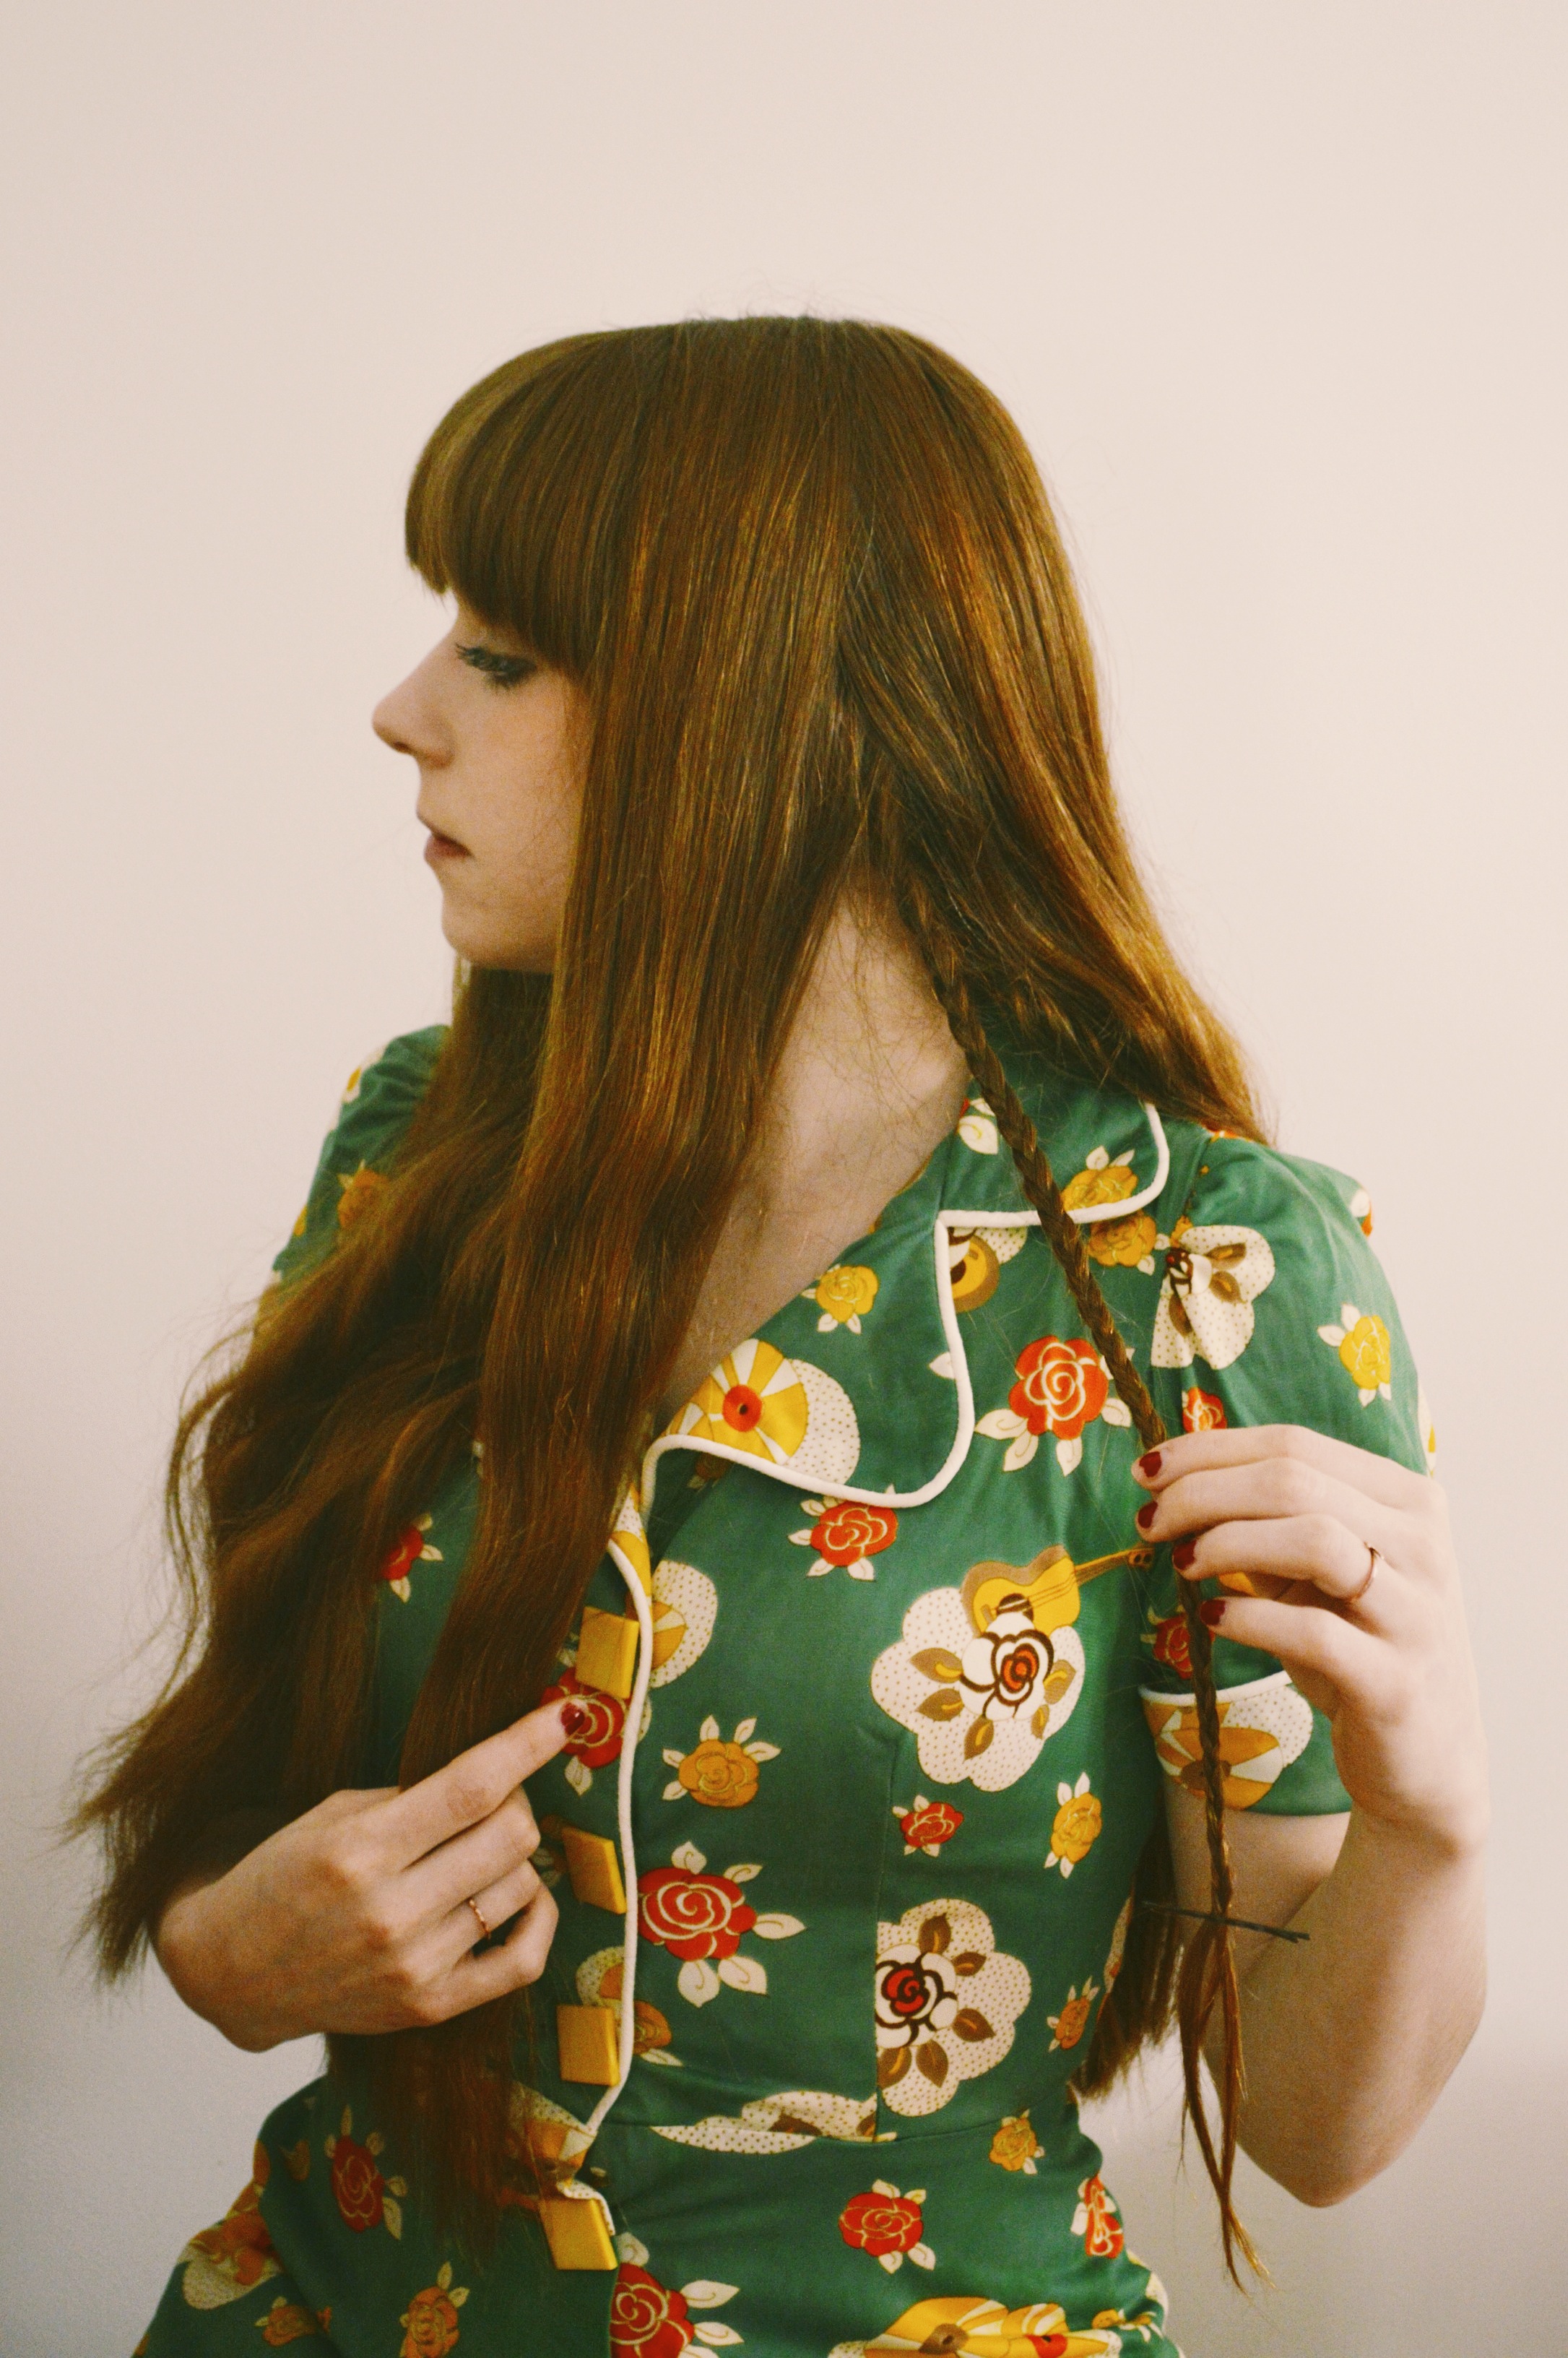 STEP ONE: Start by parting your hair near your ear and simply pull out (not literally) the desired amount of hair you would like to braid – the hair you use for your braid should be quite close to your ear, sort of like when you wear a headband and it sits right behind your ear, that’s where your braid should be coming from. Now you can braid those hairs! Once your braid is finished no hair elastics are required, just get a bobby pin to hold the braid in place while you start working on the other side.
 How many times can I say braid in one paragraph?!
 Now you should have a braid on each side, which I have decided to turn into… this? I also look like a fish. And I’m rhyming. What’s wrong with me?!
 STEP TWO: Now you are going to make your headband! Take your desired braid and guide it over to the other side of your head, and then fasten the end of your braid with bobby pins behind your ear, right where the other braid starts. One down! Now do the same to the other side.
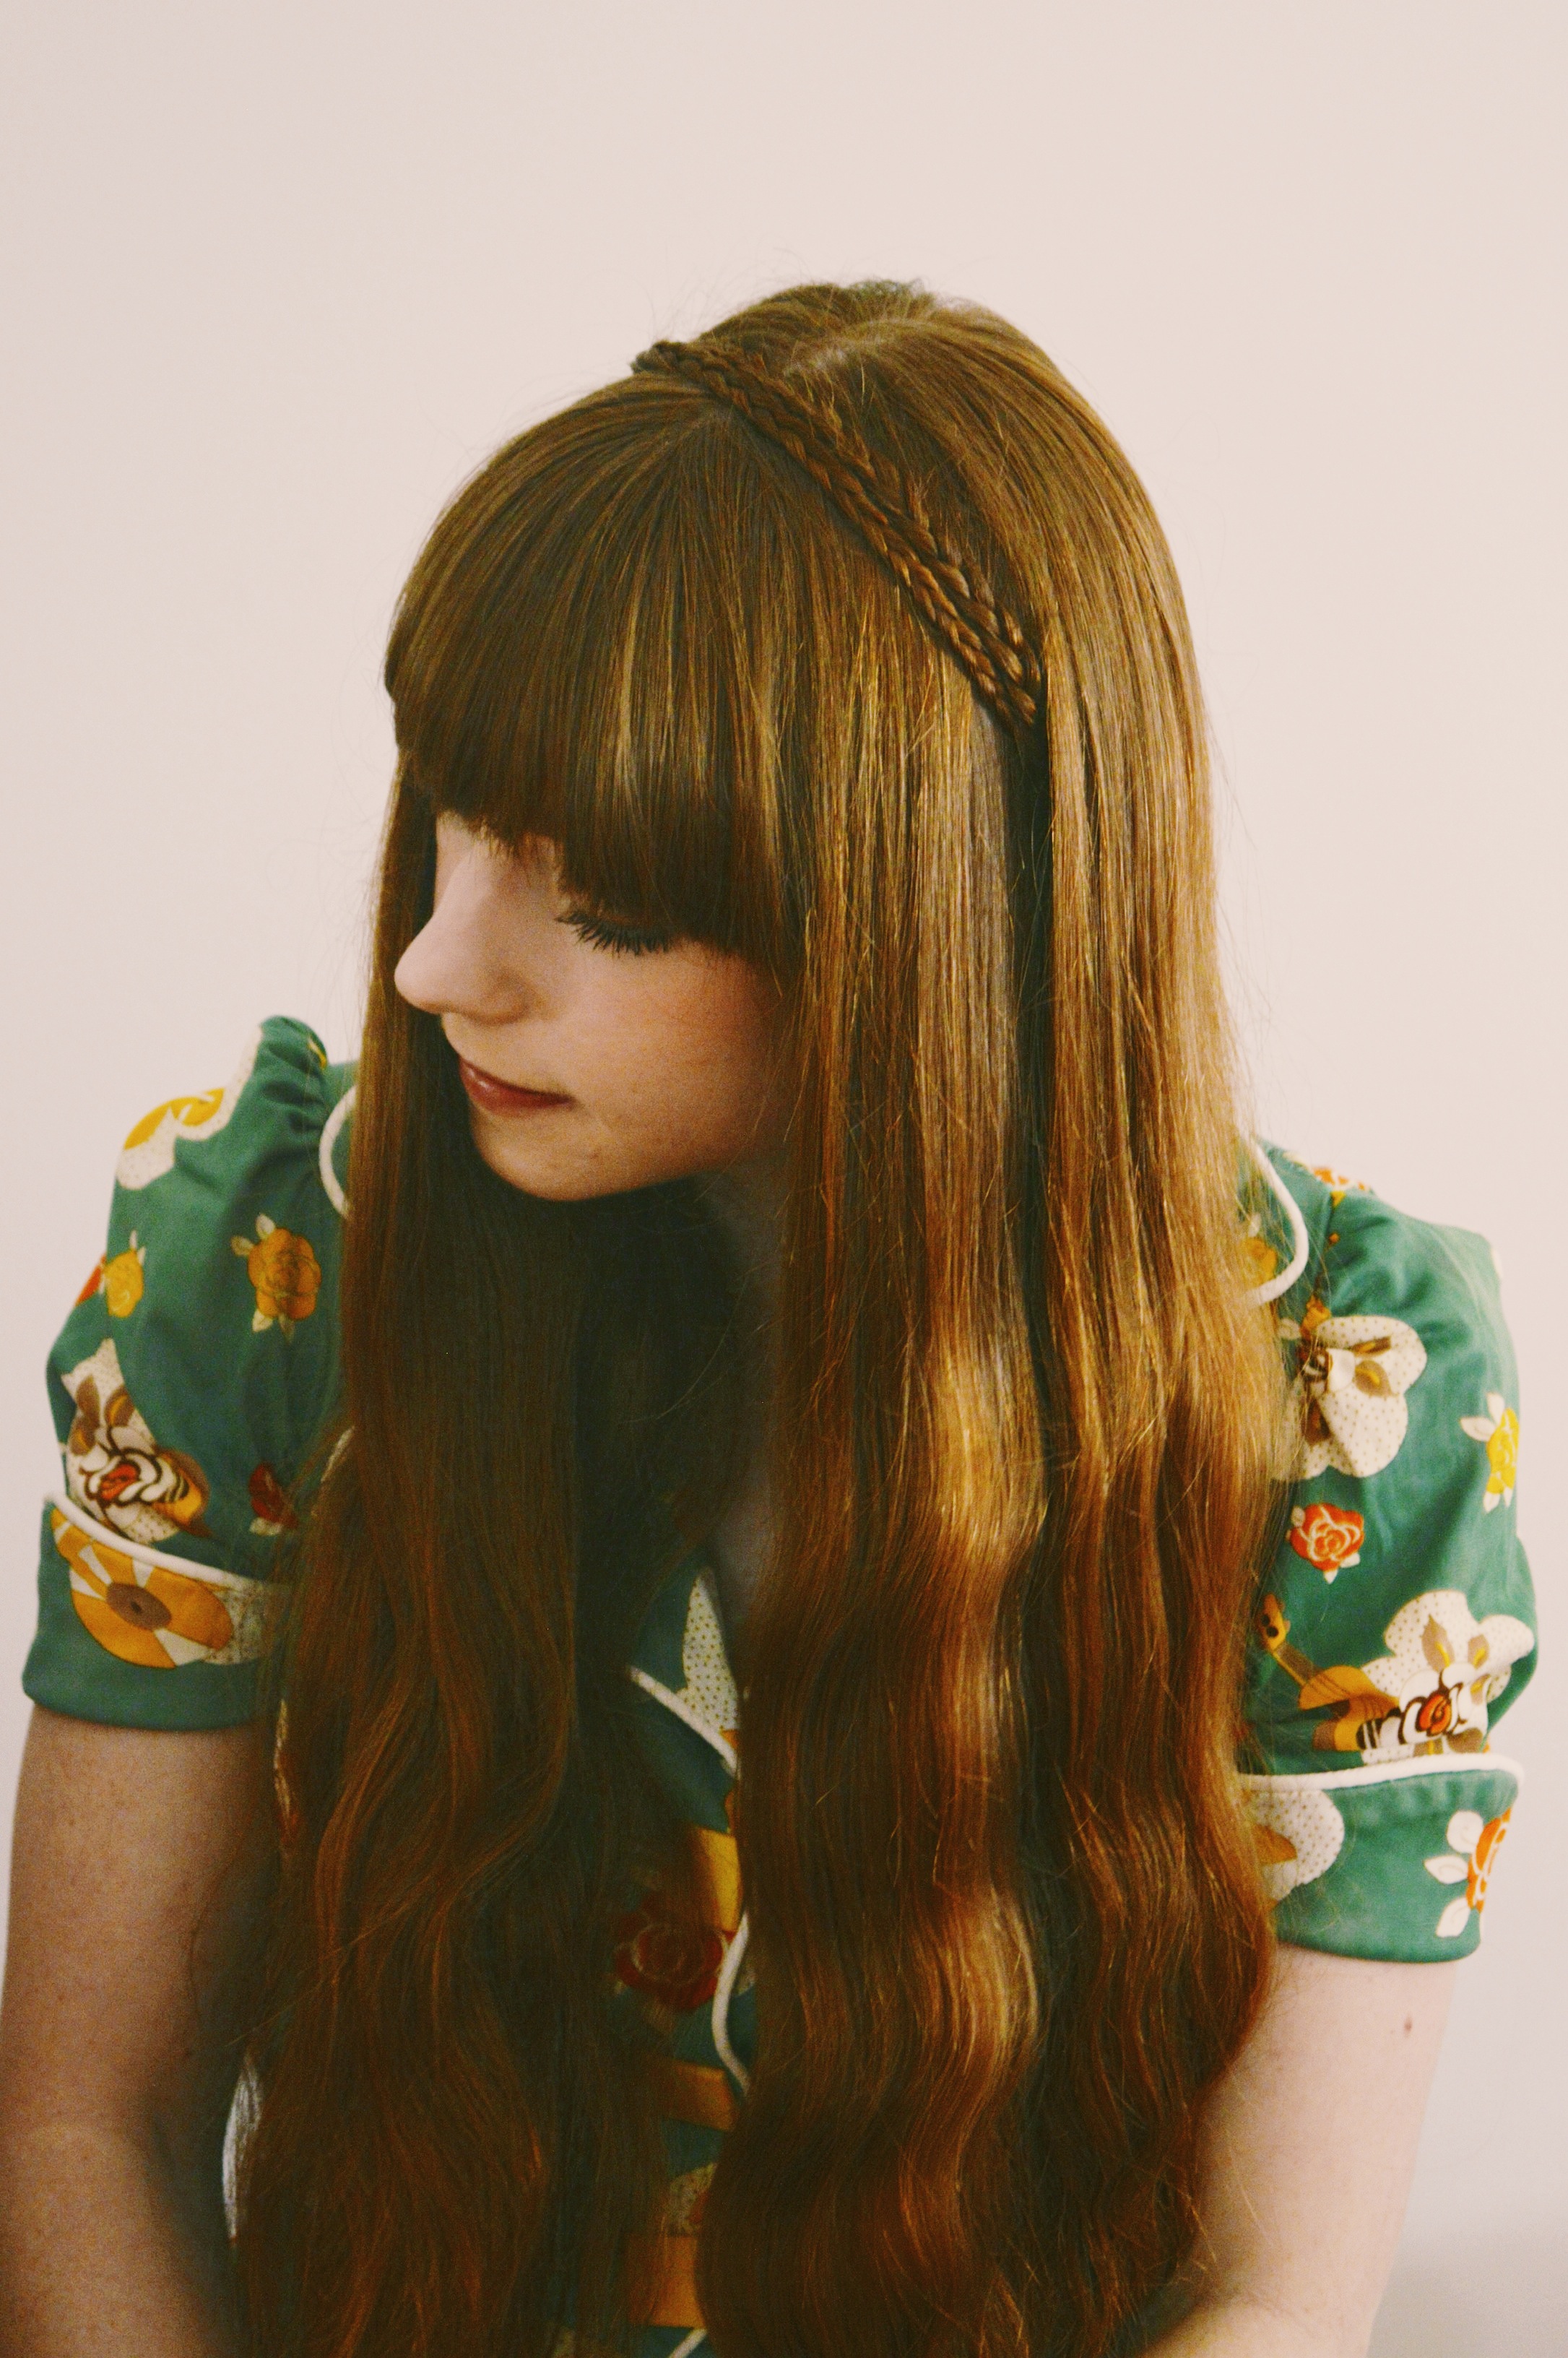 STEP THREE: Once you are done, your braided headband should look something like this. I like to fiddle a bit with the hair that I place over the braids so that it hides the bobby pins holding everything in place, and just for general pulled togetherness.
 And that’s it! Another easy one, cause ya’ll know I like simple (most of the time). Let me know if you guys try this one out. And as always, if you have any hairstyles (or any other beauty fun) you’d like me to share, let me know.
Category: Beauty
Beauty / Skin Care Routine
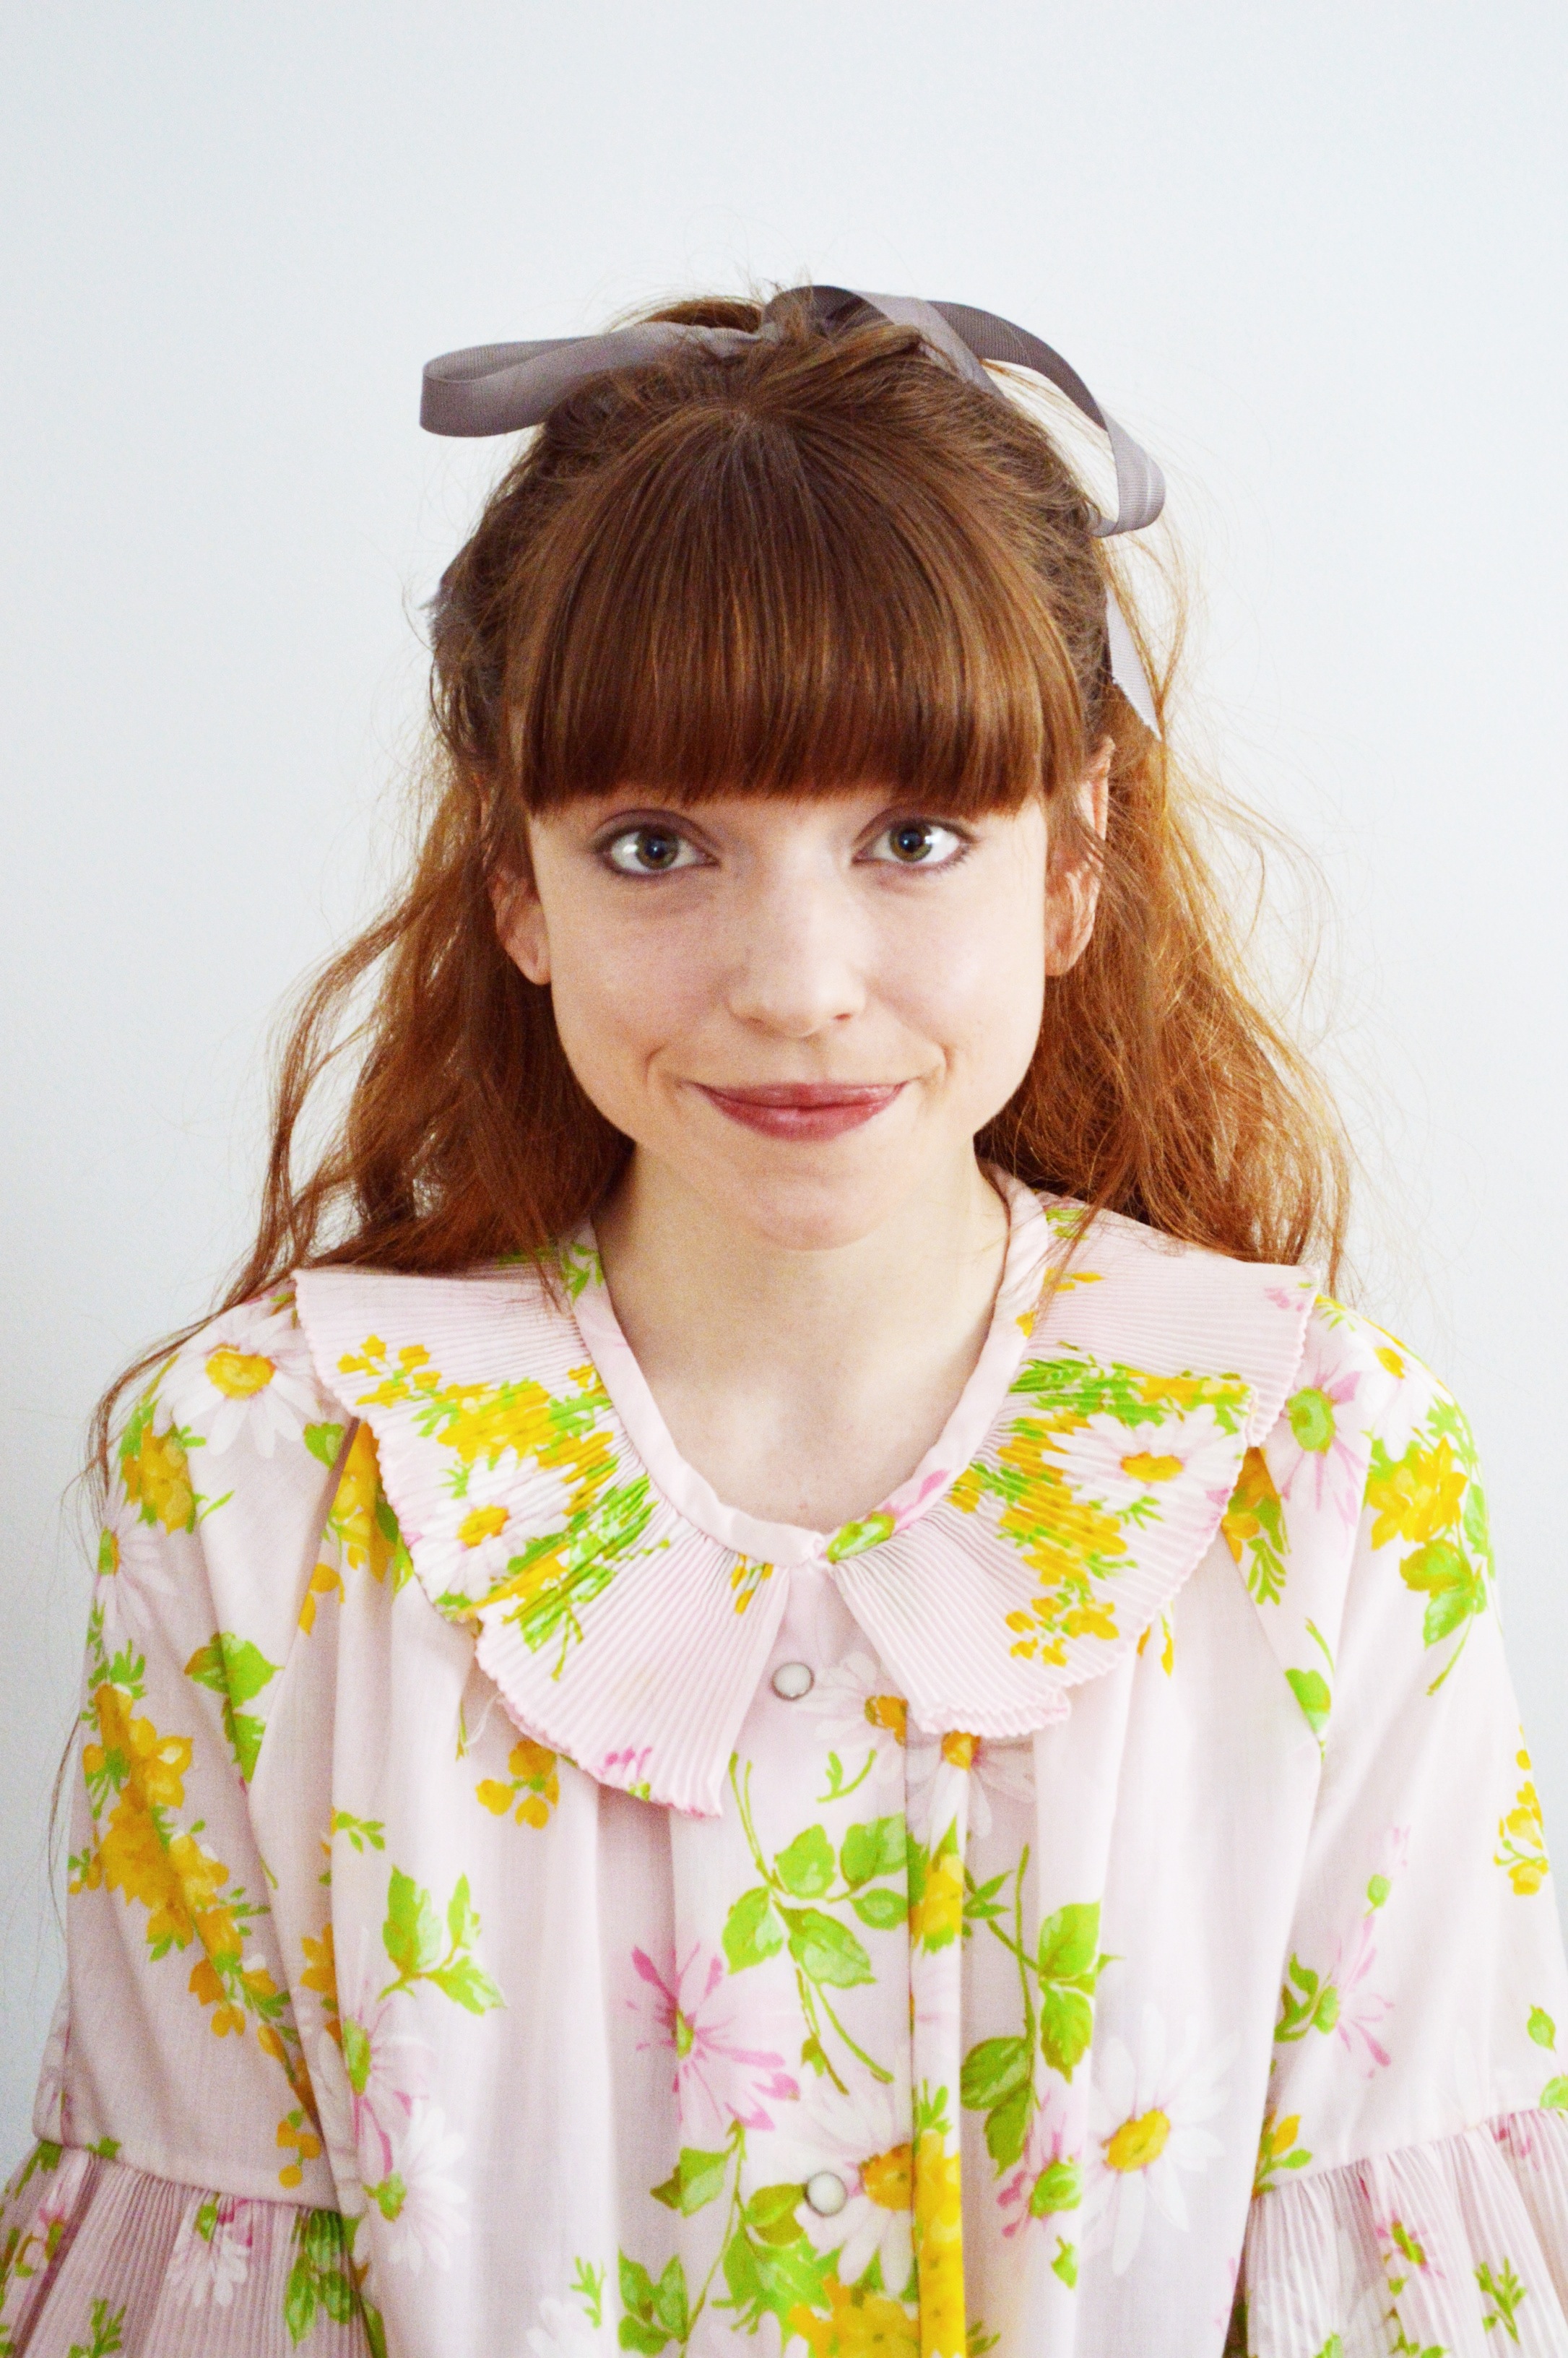 I will start off by saying I am by no means a skin care guru. If I am being totally honest, up until about 1-2 years ago I barely gave any thought to what products I used on my face, and it was sort of a grab whatever is on the drug store shelf and go. This usually mean’t a simple face wash and moisturizer, and often if I ran out of face wash I would just wash my face with soap, for days…not good, but you know, I didn’t care. As a teenager I didn’t have great skin, blame it on hormones and puberty, whatever it was, I had a very mild sort of acne. Back then it felt like nothing would make my complexion smooth and flawless, so I would just pile on foundation and concealer. Not the greatest way to combat zits, but my teenage self felt defeated. Luckily, as I got older, my skin improved immensely and I’m not even the slightest bit embarrassed about my makeup-less face. All the products I use now are still drug store bought, but they are products I always use and love. My interest in skin care has grown immensely quite recently, so I’m hoping that over time I’m able to learn more about some natural independent skin care brands that I can incorporate into my routine. But for the time being, these are inexpensive, drug store brands that I really love.
 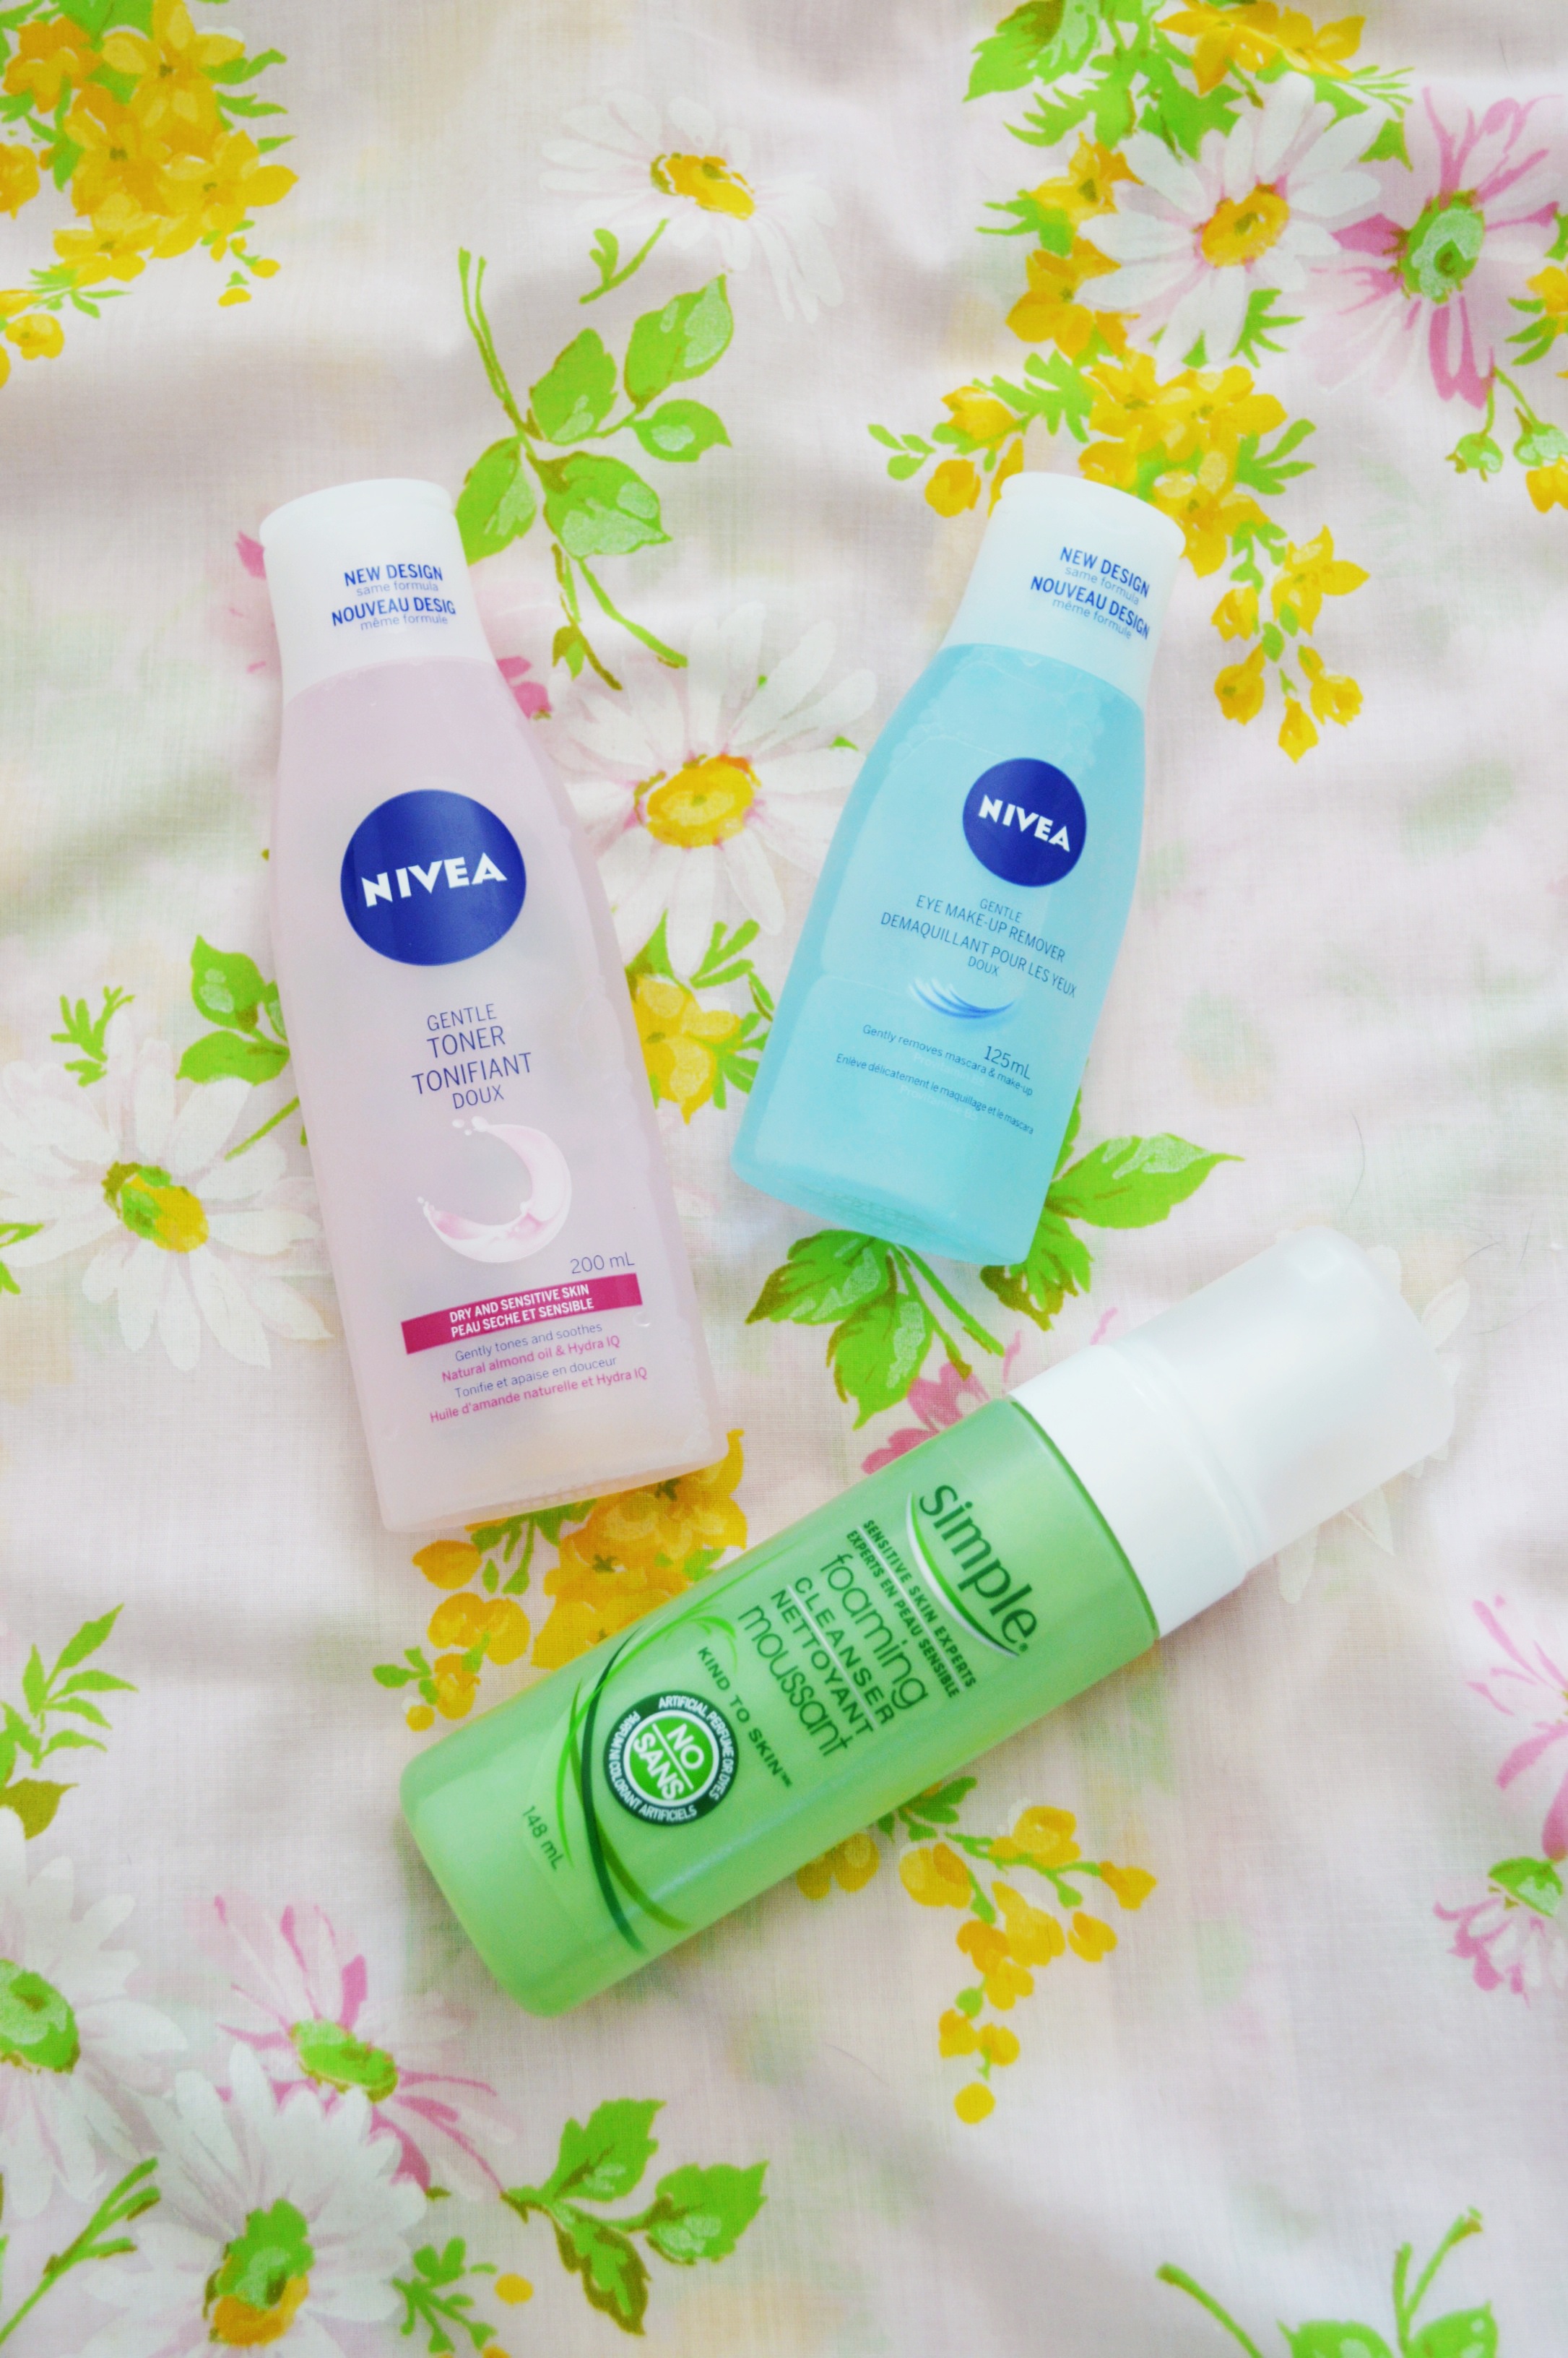 Simple foaming cleanser – I usually use this product at the end of the day to wash off my makeup. It’s quite gentle on my ever so sensitive skin and it rids my face of all makeup almost instantly. I do often use it when I wake up in the morning, time willing, and it’s a great way to wakeup my sleepy, puffy face. I also like that it doesn’t dry out my skin, because as you will learn here, I have quite dry skin, especially in the colder months.
Nivea gentle toner – I use this toner morning and night, and I absolutely love it. I have quite dry skin, so I love the way it cools my face and gives a nice, firm feeling once it has soaked in, minimizing my pores and making things look real smooth, like a baby’s butt.
Nivea eye makeup remover – A lot of my eye makeup comes off after I use my foaming cleanser, but I will use this on the days where I have worn more eye makeup than usual or when I have missed getting some off (say the nights when you come home a wee bit tipsy). It’s not the best eye makeup remover I have ever used, but it works well enough.
 (big St. Ives fan over here! also, i apologize for my nail polish that looks like it was applied by a 6yr old boy)
St. Ives Timeless Skin collagen elastin moisturizer – big name, yes, but big results! Guys, I love this moisturizer! LOVE. This moisturizer is light enough that it doesn’t leave my face feeling greasy, but it somehow manages to really and truly hydrate my skin. Hydration is the best word to describe it. I also like that it absorbs into my skin really quickly, so that on days when I’m in a bit of a rush to get out the door, I don’t have to wait long before I apply my makeup. I use this product morning and night, and it is my dry skin saviour. Amen.
St. Ives Even & Bright pink lemon and madarin orange scrub – I use this scrub 3-4 times a week when my skin is in need of some cleansing action. I often still get blemishes (or zits, if you will) and I find this scrub helps combat those little demons before they have the chance to thrive on my poor old face. Also, it smells heavenly, so that’s an added bonus.
St. Ives Timeless Skin mineral clay – I usually only use this product a few times a month. It’s a deep cleansing face mask that gives you that wonderful awful tingling sensation once it starts doing it’s job. I find I only use it around a week or two before I start menstruating (tmi? naw, jei), right about the time when my skin decides to invite it’s little zitty friends over. I’ll also use it when I’m feeling like I want to have a nice pampered evening of face masks, painting nails and baths.
 And the best, most inexpensive way to keep your skin looking healthy and happy is drinking water. I love water, so this is an easy task for me, but if you don’t love water that much, learn to. Water is your friend.
So there you have it! My simple, inexpensive skin care routine. Like I said, I would love to incorporate some new products made by local or independent brands as I continue to learn more about my skin, so if you guys have any brands you adore, I’d love to hear about them! And if you use any of these products, let me know!
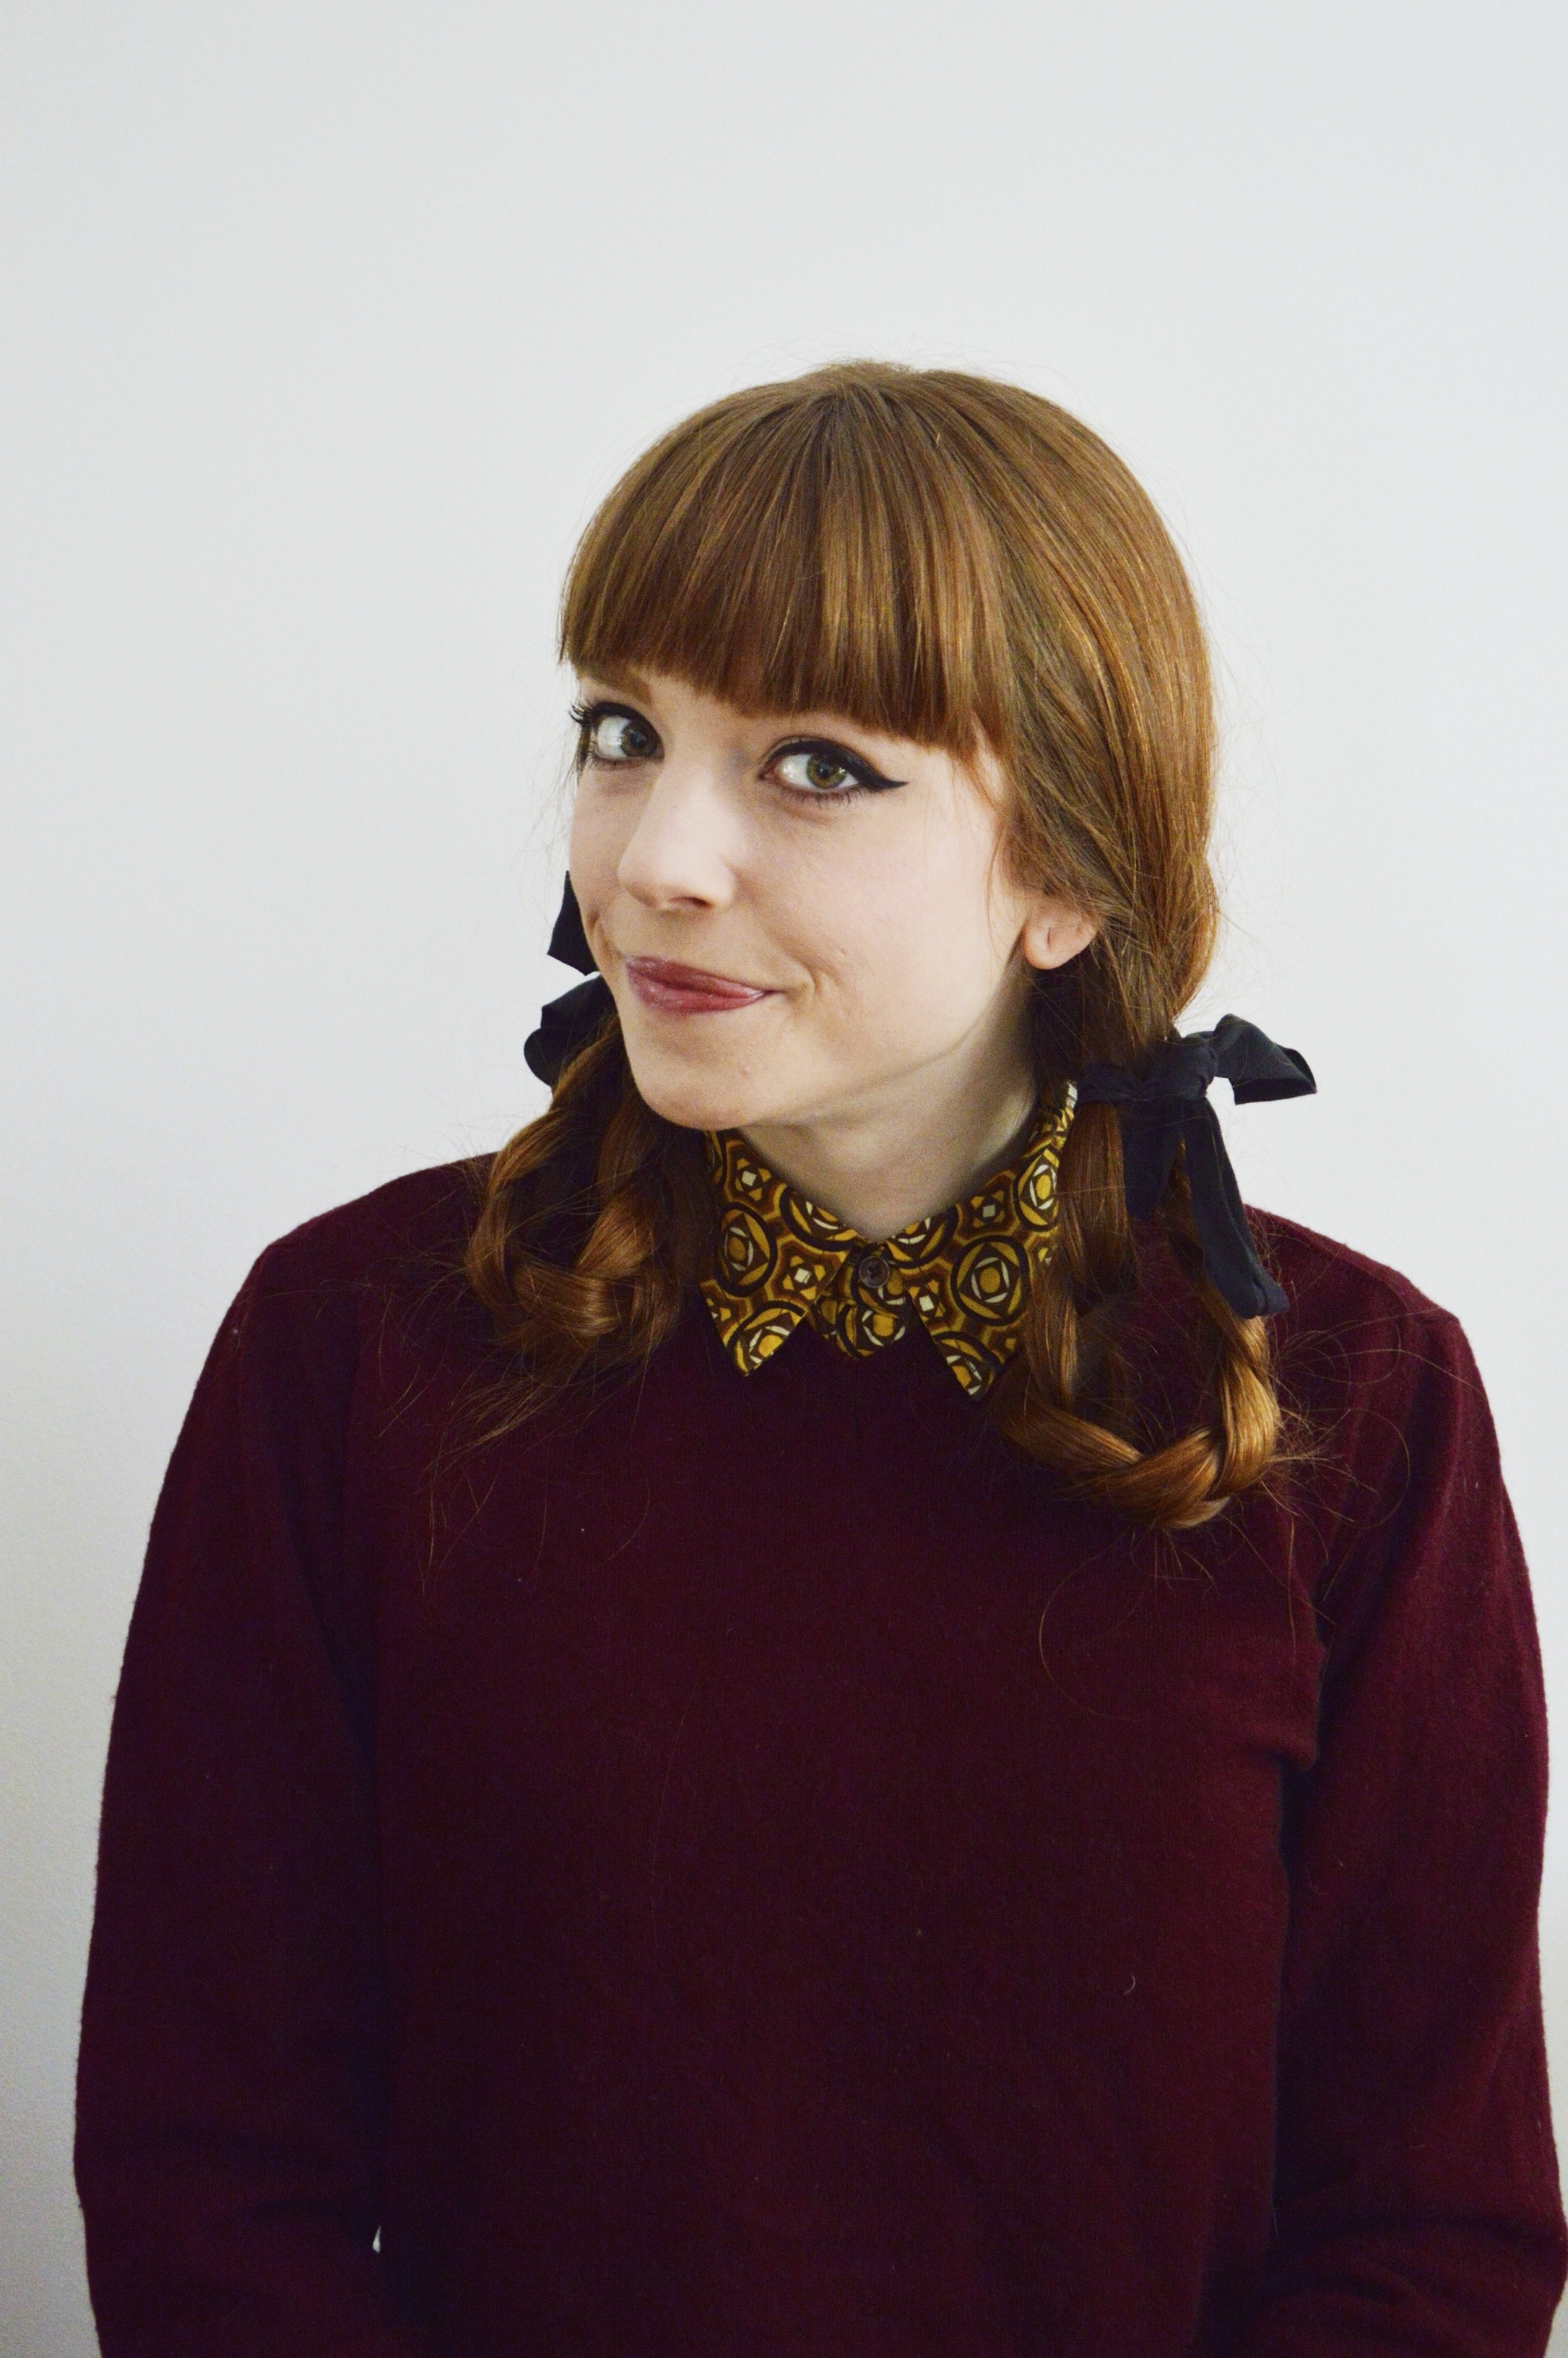
Beauty / 1940s Pigtail Loop Braids
 Today I’m going to share a tutorial on how to do 1940s pigtail loop braids. I will say, I honestly feel this hairstyle works better for hair shorter than mine. I say this because I personally think it looks better when the loop holes aren’t so large (they mostly just get in the way when they are as big as mine) and it’s easier to get them to sit comfortably and closer to your posterior hairline at a shorter length. But, as you can see, I made it work, so this hairstyle works for many lengths. Okay, blahblahblah! The tutorial!

 STEP ONE: Start by separating your hair just the way you would to make pigtails and then braid each section of hair. Simple as that. If you can braid your hair, then this is a cake walk. If you have shorter hair, you can set your braids a bit farther back, behind your ear, this way your loops won’t get in the way as much.
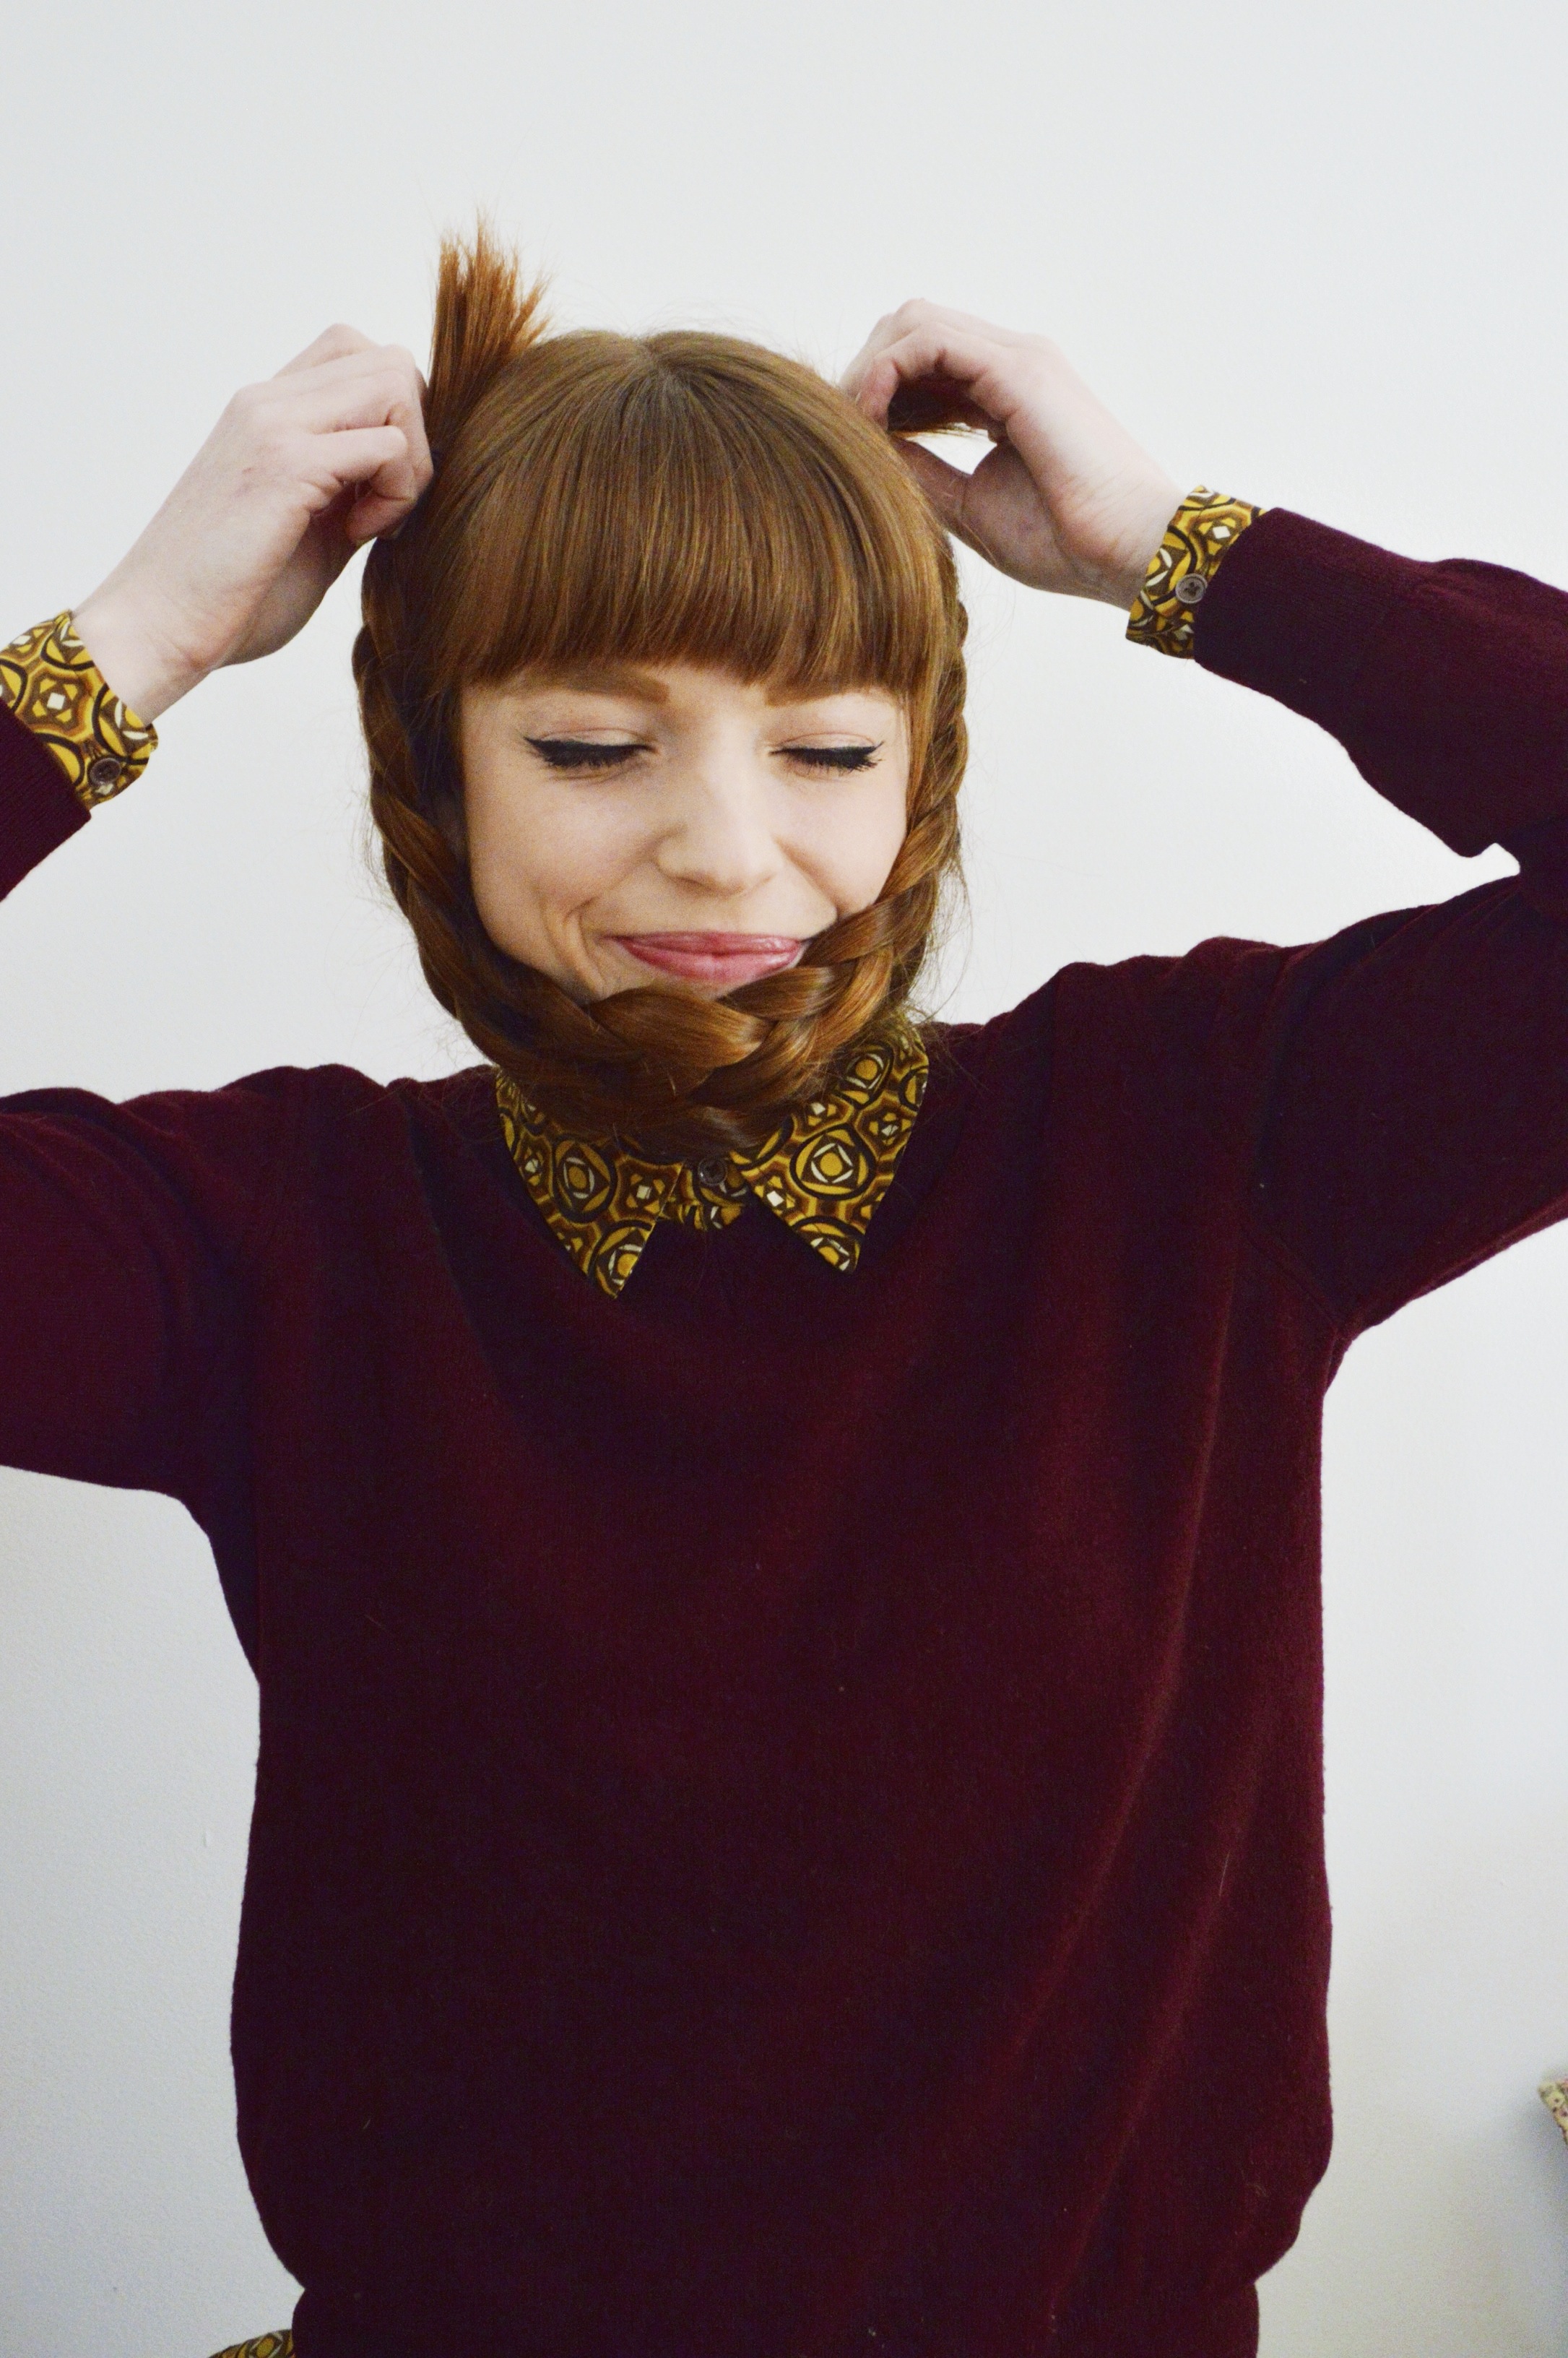 Surprise surprise, doing something weird with my braids…this time I made a braided beard.


 STEP TWO: Take the end of your braid and fasten it to the base of your head with bobby pins – you can do this either on the inside of your hair, closer to your ear, or the outside, which I have done here because my hair is so heavy and it was nearly impossible to pin on the inside. This step is way easier with shorter, light hair, in my opinion. I needed a ton of pins to hold my braids in place, which doesn’t look very aesthetically pleasing, but oh well. If you choose to do the outside, you can clean the look up a bit by hiding the ends of your hair inside the rest of your hair and fastening it with pins. To finish it off tie a bow around your loops to achieve a more pulled together (and adorable) look.
 And bam! Done! Another easy and cute hairstyle for all. If you guys have any hairstyles you’re interested in learning, let me know. I’d be happy to oblige!
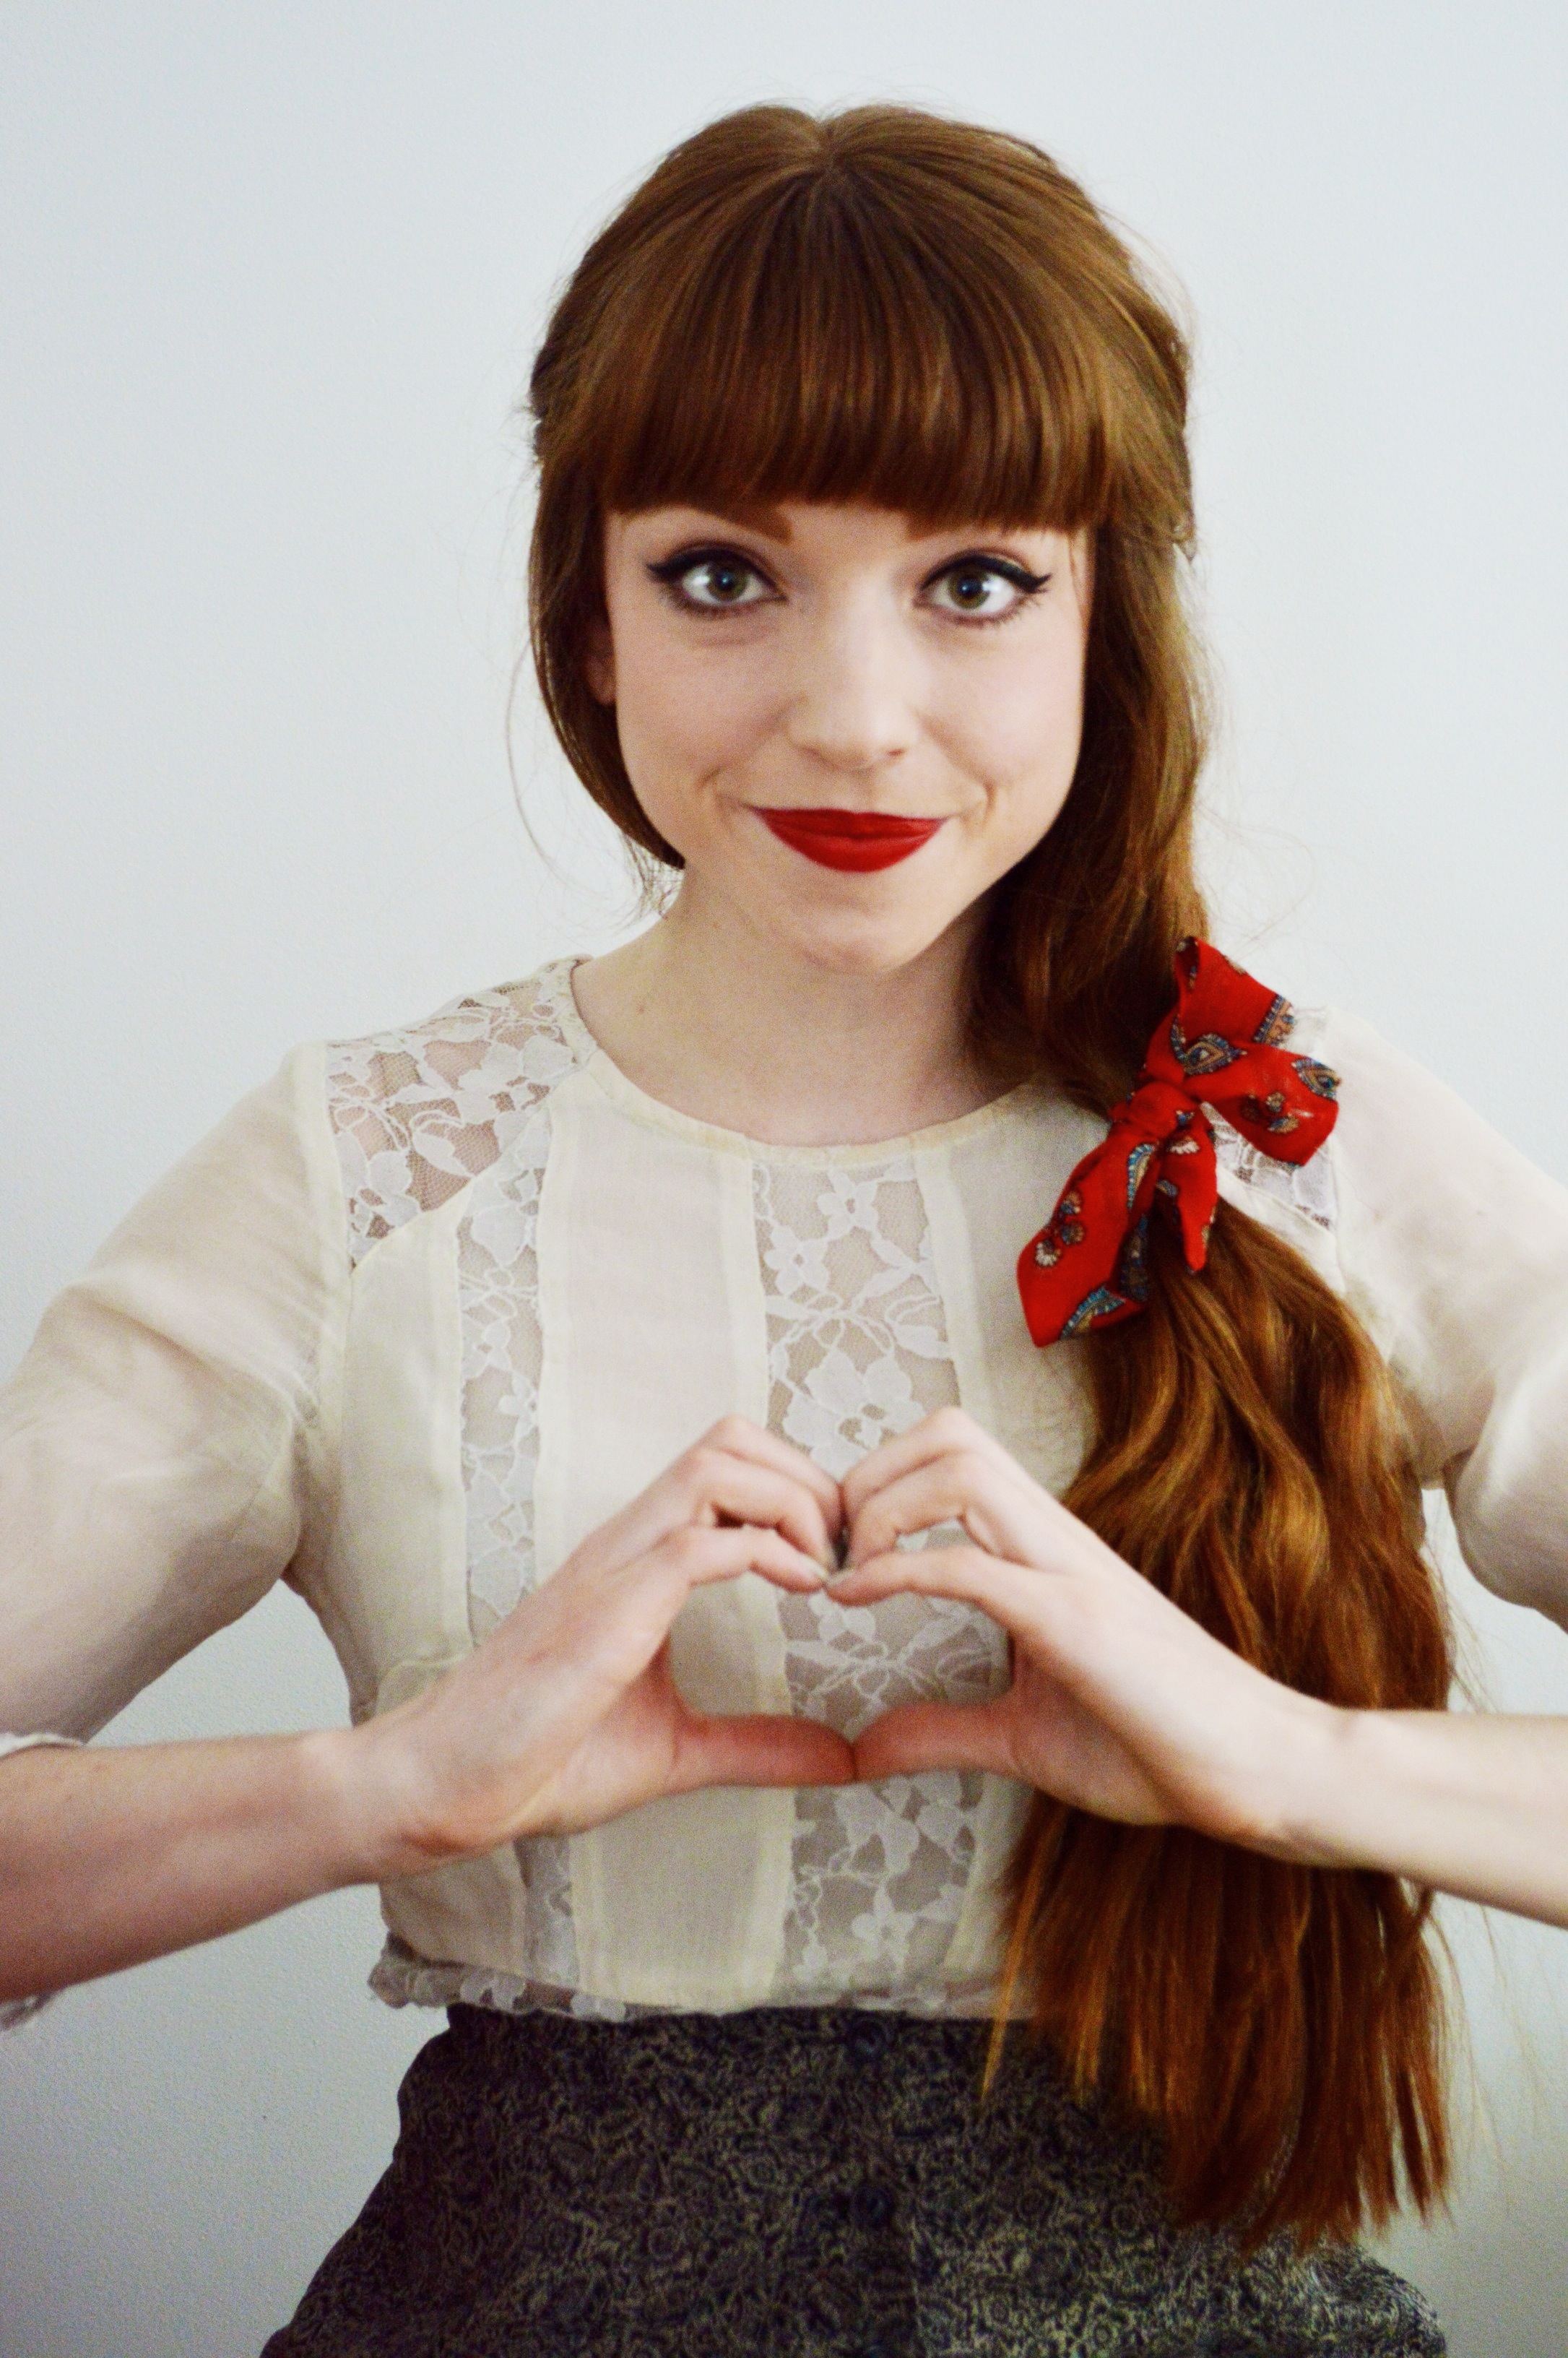
Beauty / Be My Valentine, Hair
 ❤ ❤ ❤
❤ ❤ ❤
Since Valentine’s Day is right around the corner, I thought I’d share a fast and easy (I think this is a theme with my hair) Valentine’s-inspired hair tutorial. To be honest, this hair style could be worn on any occasion, but I think the sweet little red bow adds a nice Valentine’s Day touch. I’d first like to mention I used this technique to get my waves, and I do think it adds to this hairstyle quite nicely, so keep that in mind. And here we go!
 ❤ FIRST STEP: Backcomb around the crown of your head so we can create the illusion of voluminous hair. I have no real technique to this – I just backcomb until it starts to look puffy and extremely tangled, which makes me feel incredibly anxious…but the more insane it looks, the better, in my opinion.
 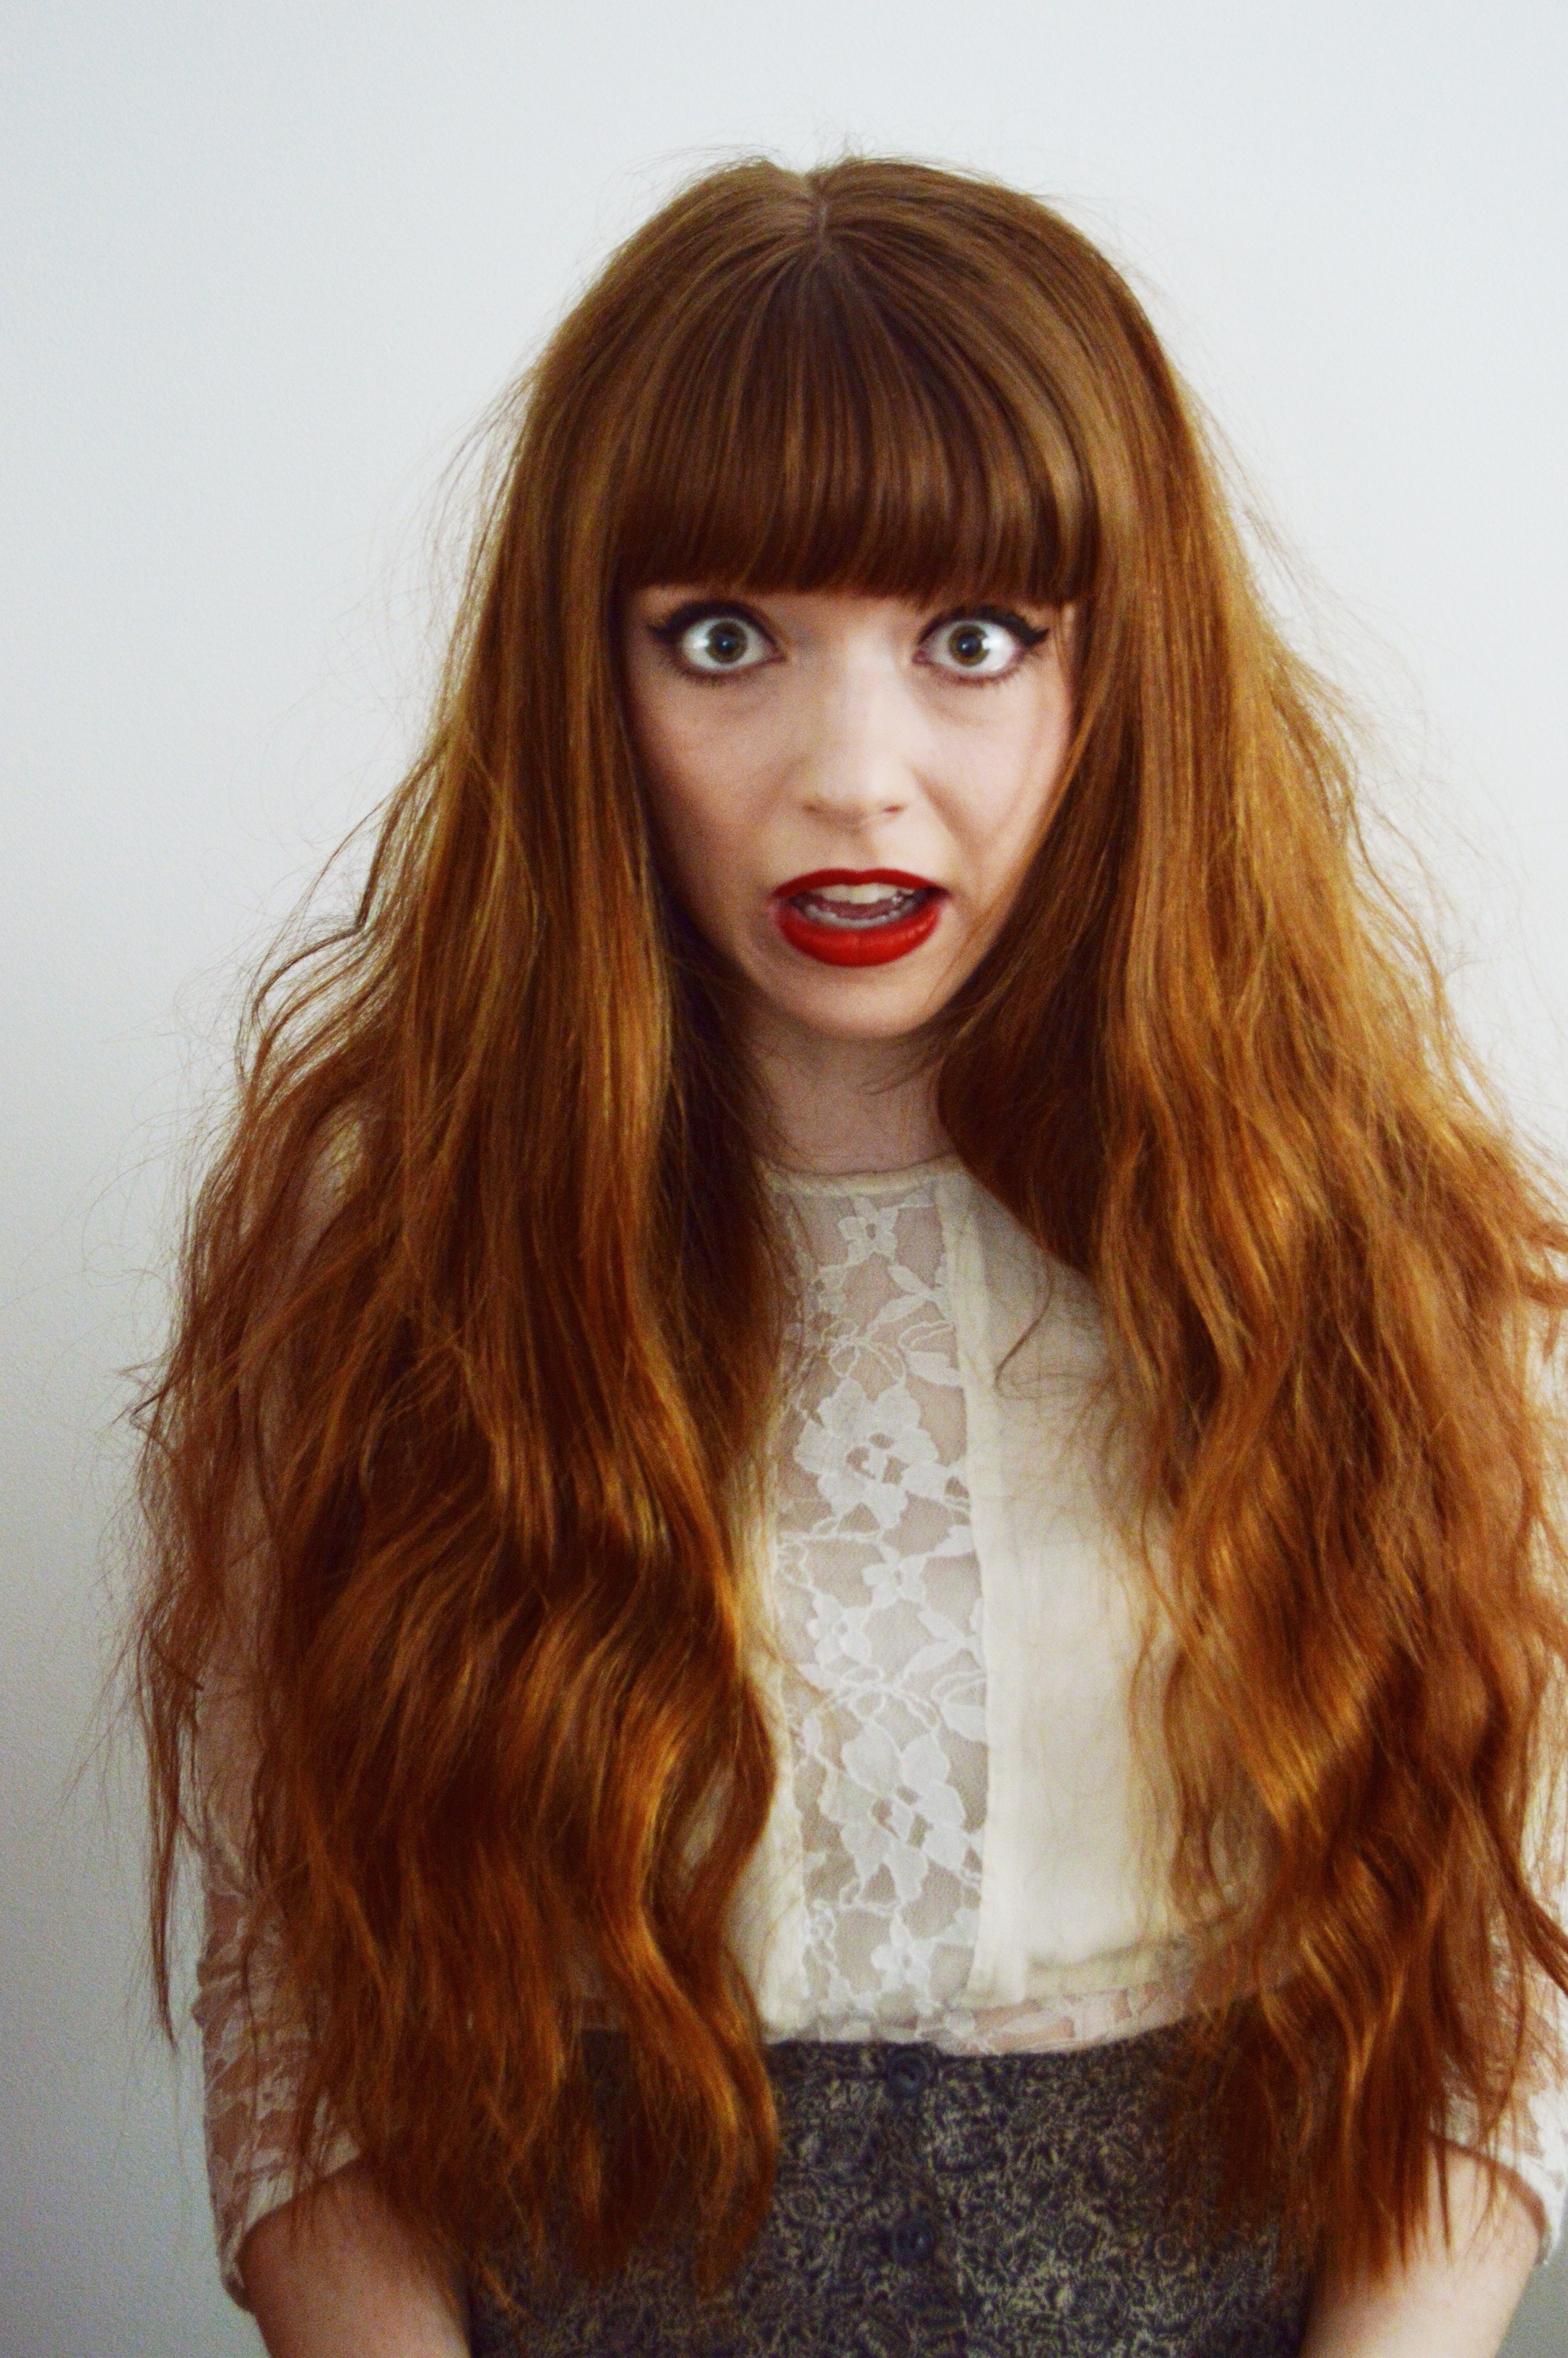 See. Insane.
 ❤ SECOND STEP: To prevent our hairs from looking like we stuck our finger in an electrical socket, start brushing down the top layer of your hair, starting at the crown so it forms a sort-of sheet that blankets the backcombed hair – now no one can tell what nightmare you have created underneath. Next, just hairspray. Always an optional step, but it helps to hold things in place…as it should, because that’s it’s only job.
 ❤ THIRD STEP: We are going to create a half up-half down look (sort-of). Take your desired amount of hair on each side and starting from the front, pull it to the back of your head and secure it with bobby pins, (I have quite thick hair so I needed about 4 bobby pins in total, however, you can add as many or as little as you would like, my sweets) we are doing this to add a messy, voluminous effect, so try not to pull your hair back too tightly, we don’t want it to look like it’s glued to your head.
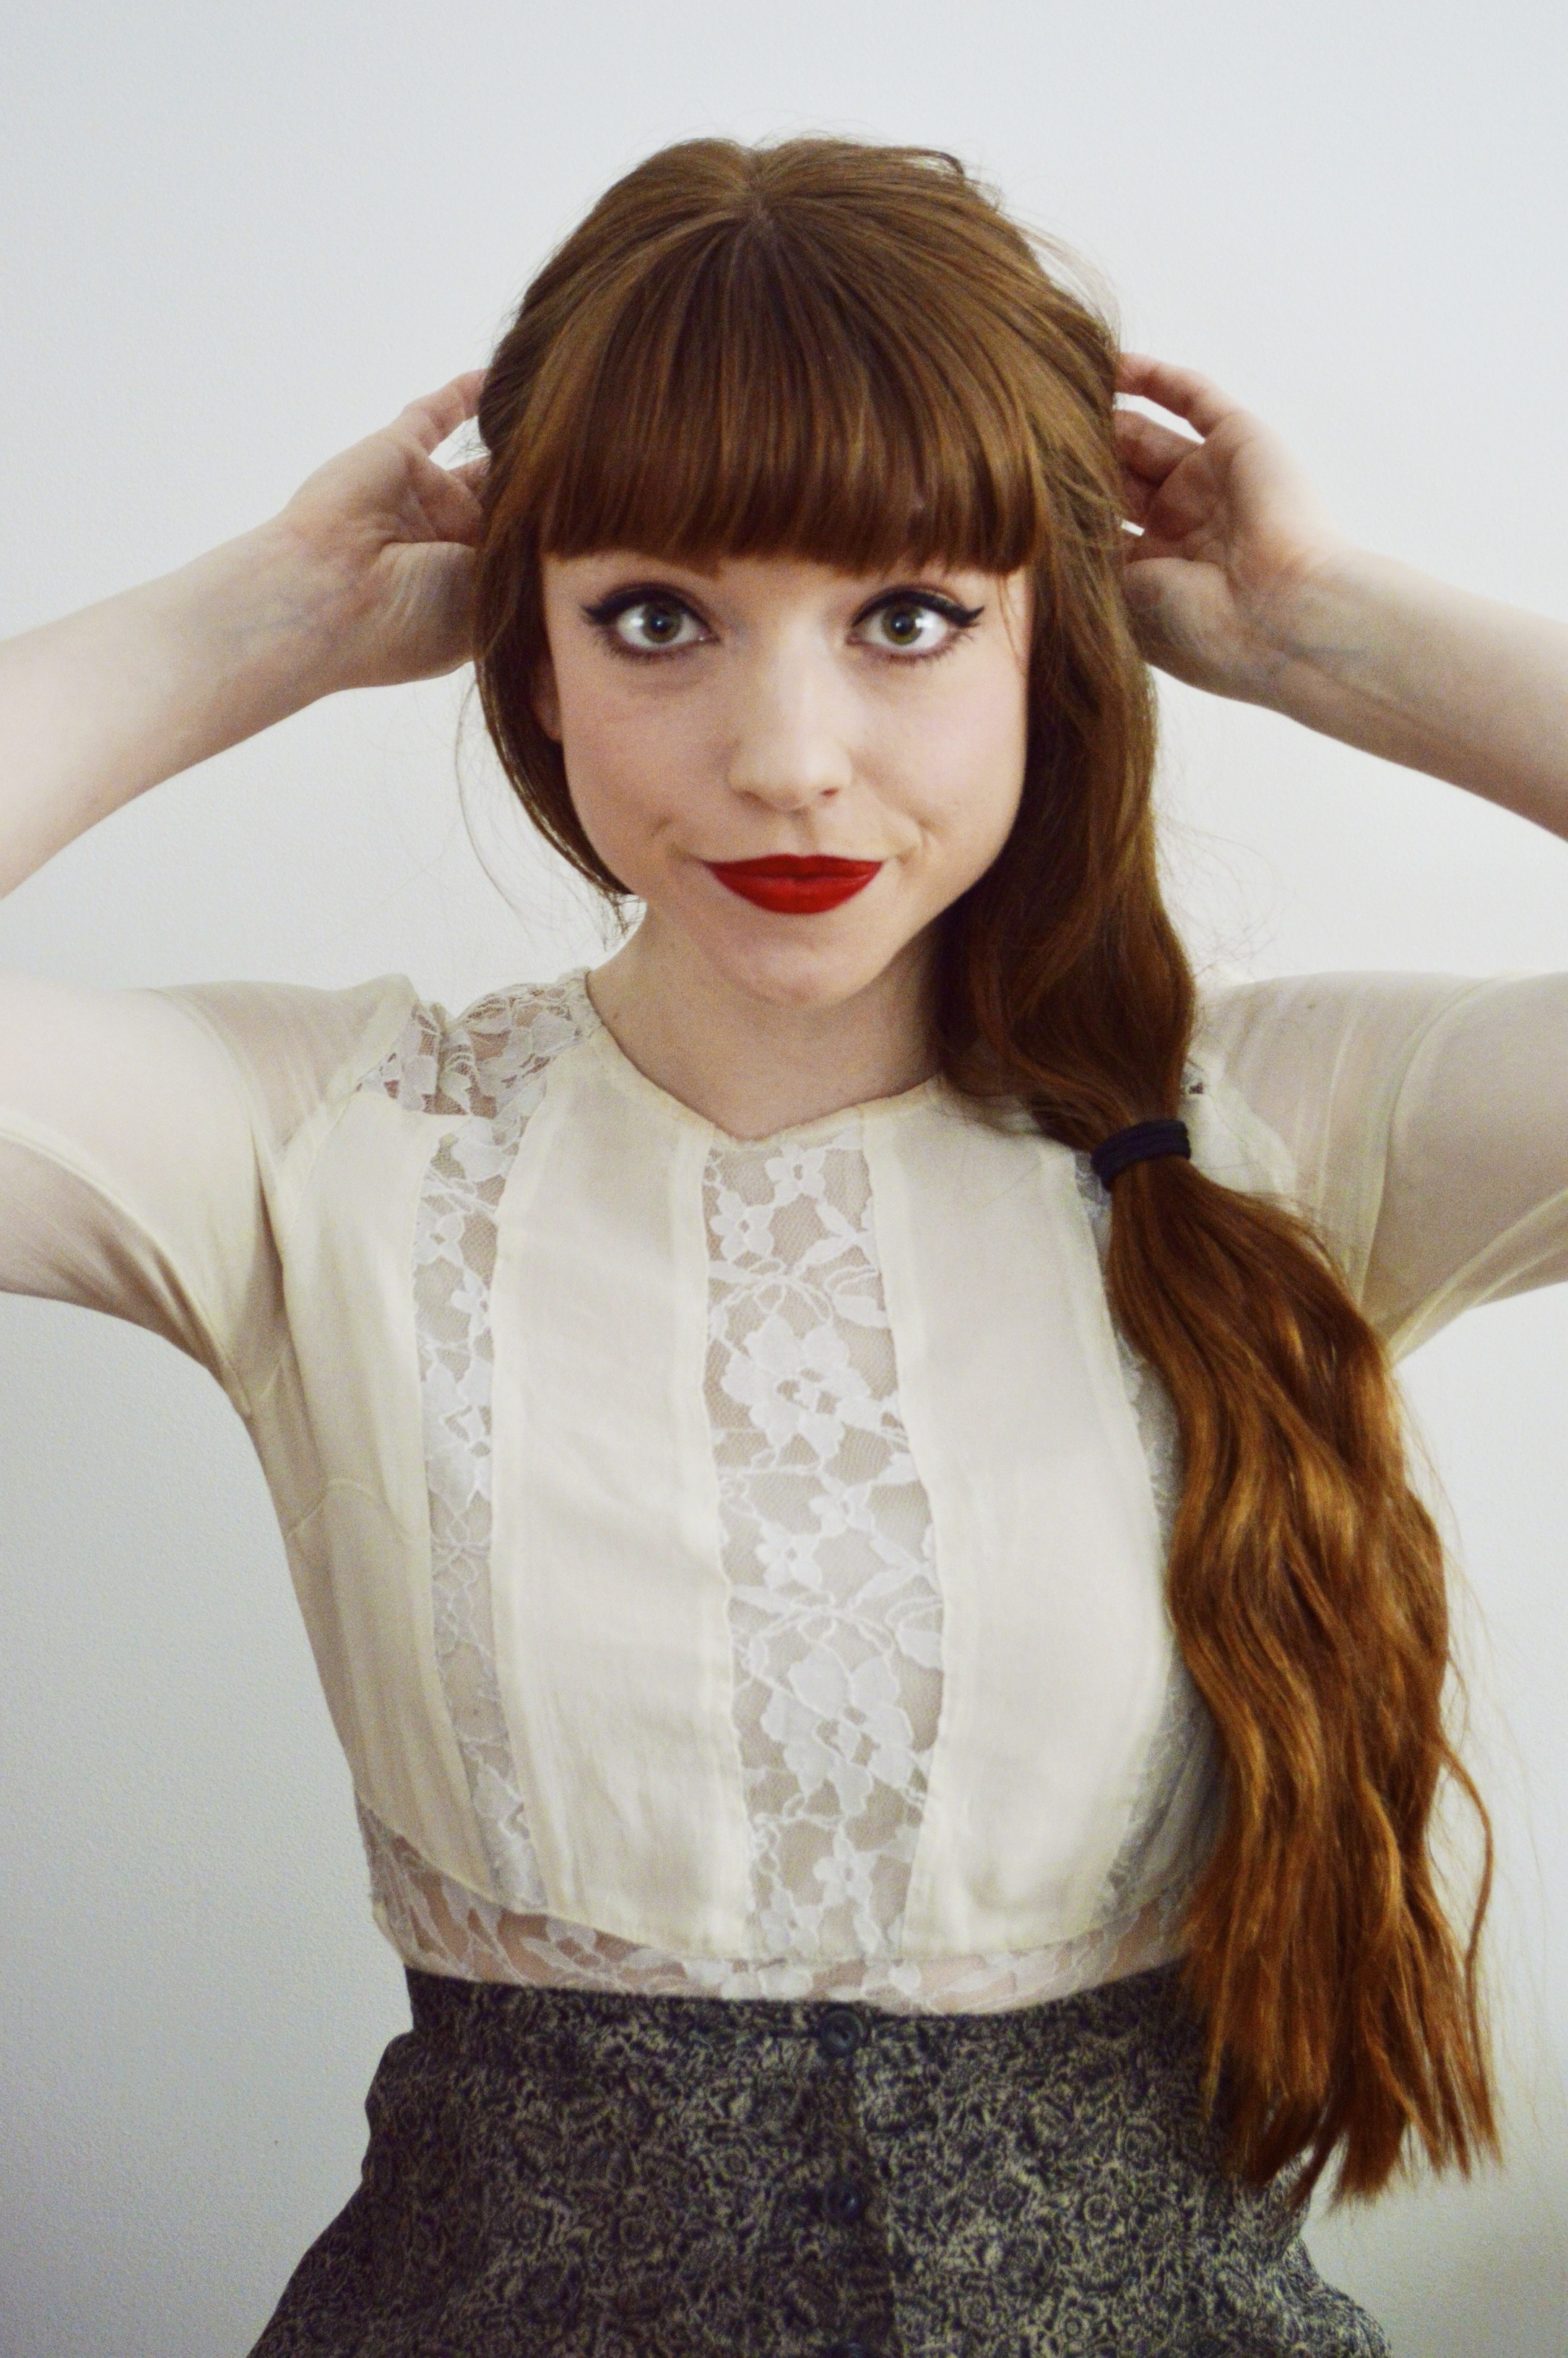
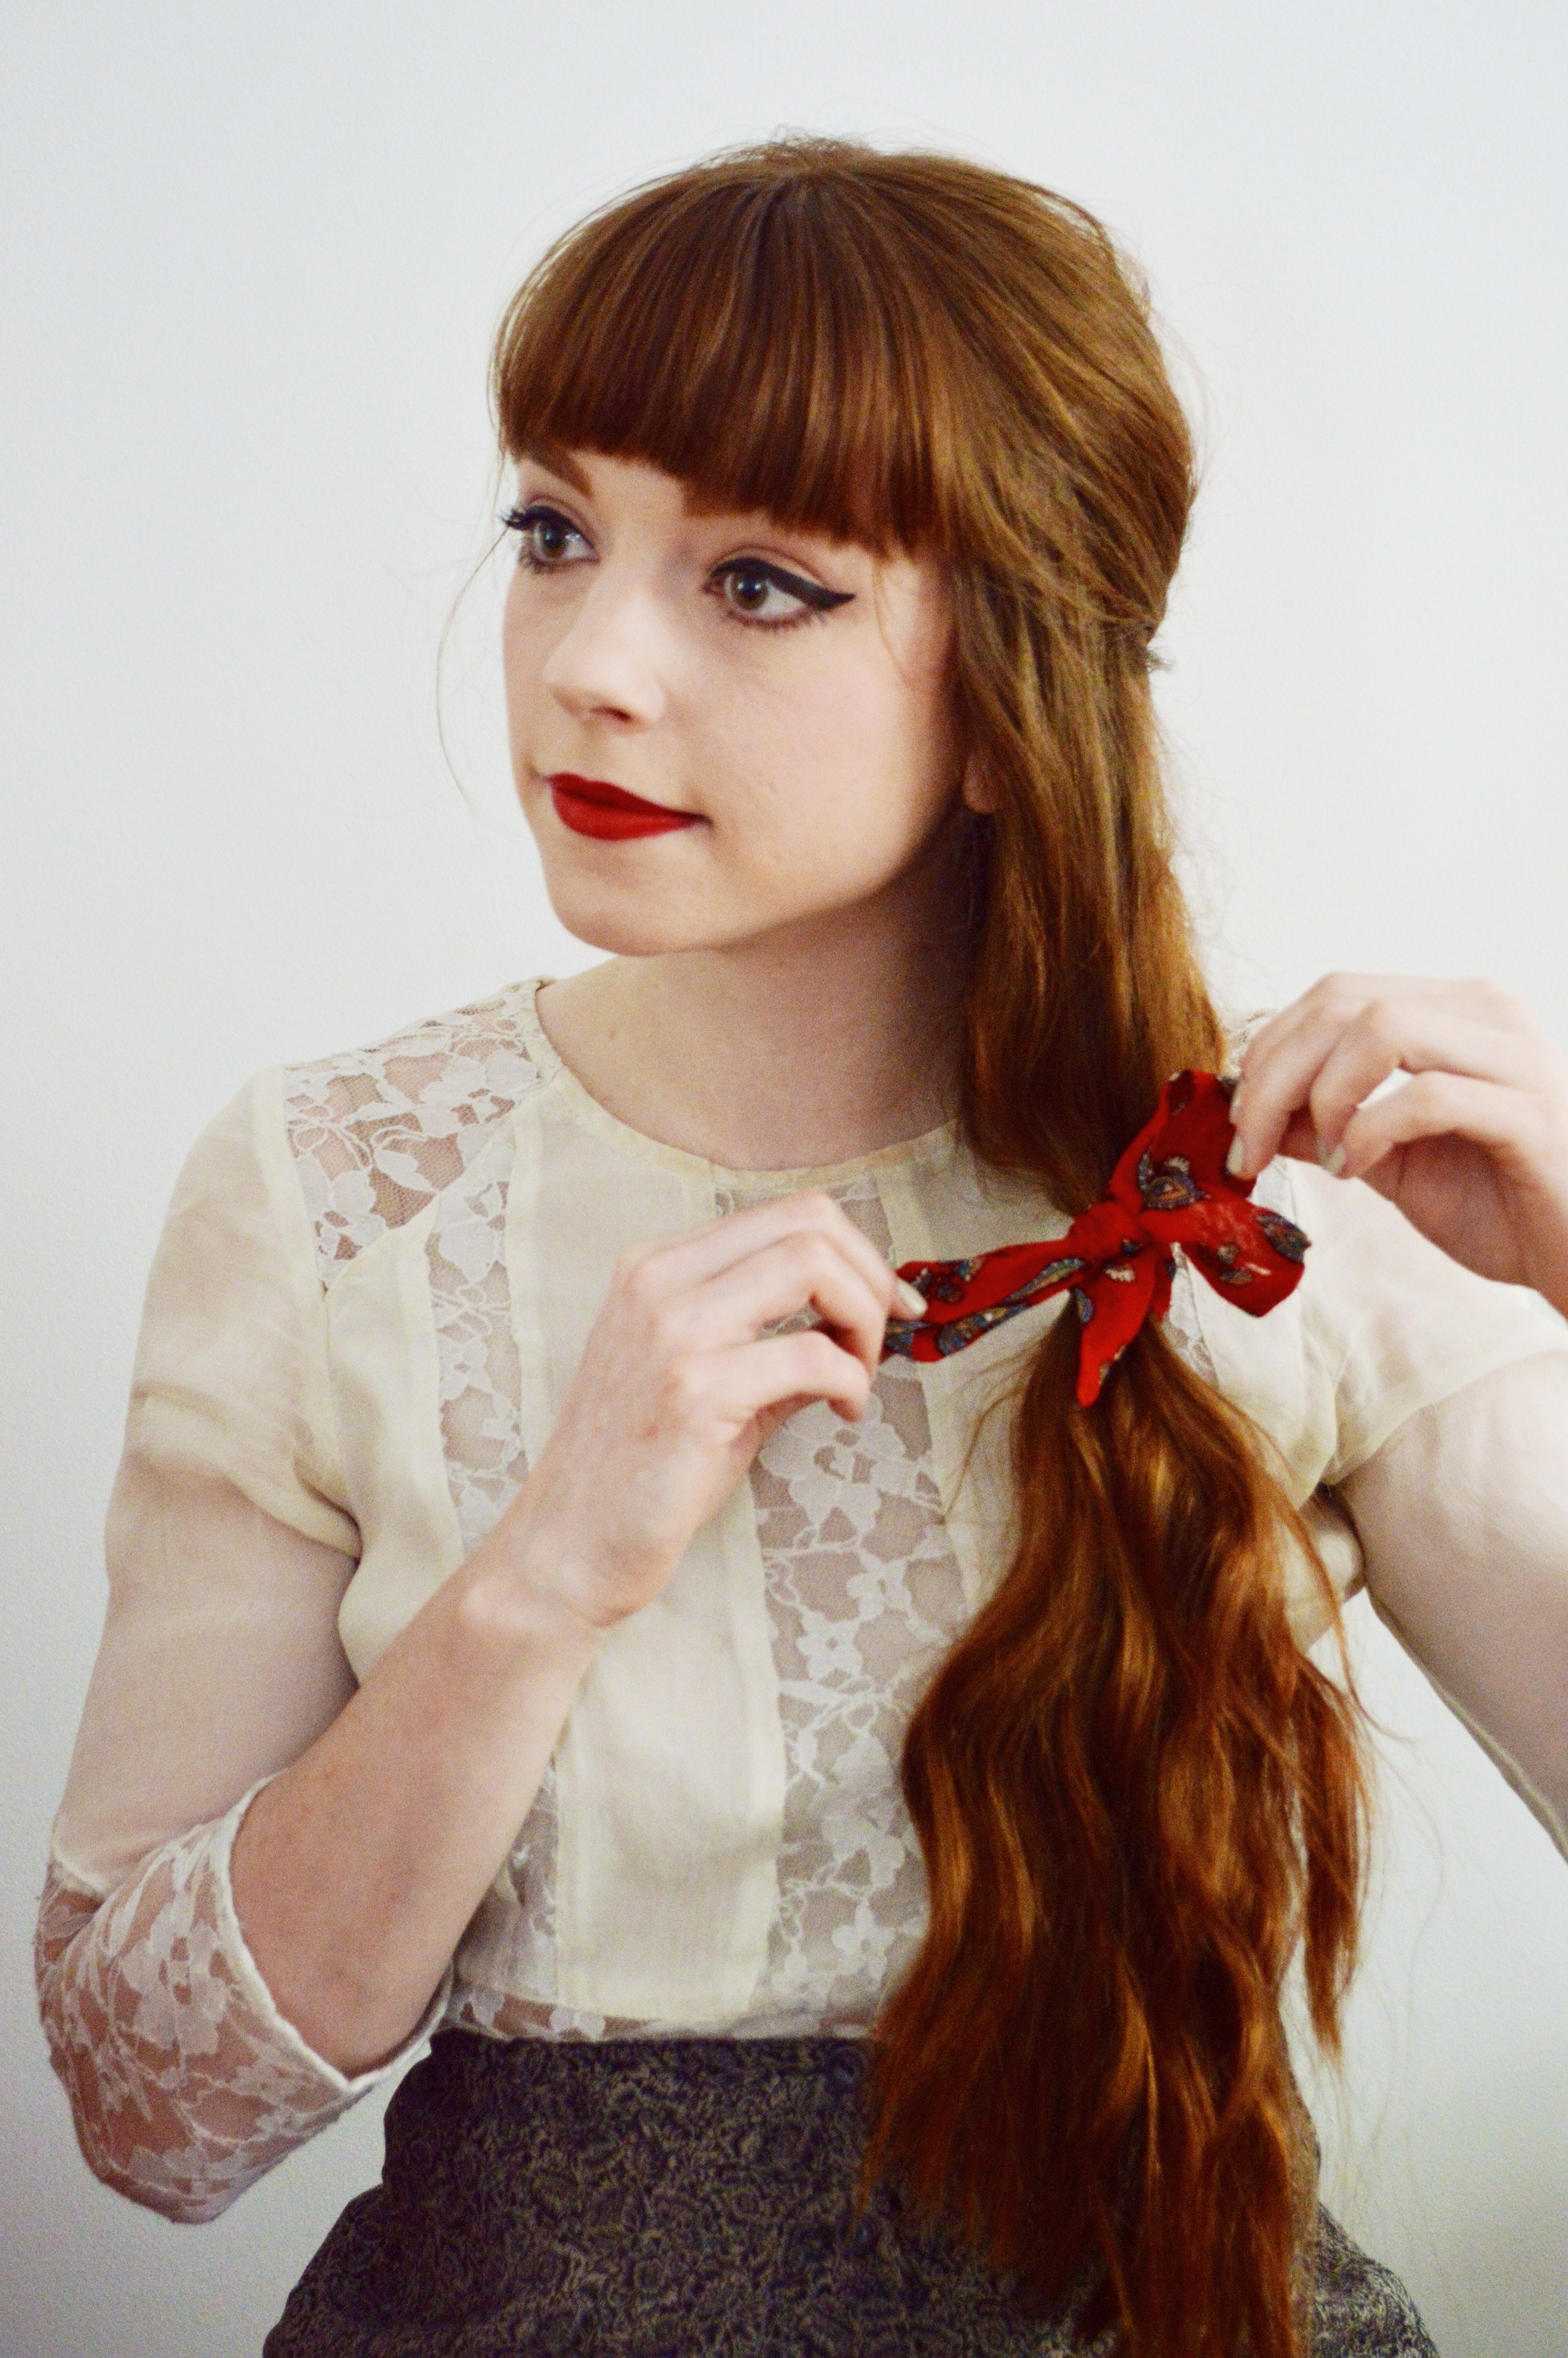 ❤ FOURTH STEP: Take your hair and pull it to your preferred side and tie your hair elastic around 1/4 – 1/2 way down your hair, so we have a nice loose side ponytail thing happening. Hair elastics aren’t always the most aesthetically pleasing, so we are going finish it off by tying a bow around the elastic. Like I had mentioned before, this hairstyle could be worn at any time and doesn’t necessarily need a bow, but since this is Valentine’s Day I think a red or pink bow would add the perfect lovely touch to our do.
 And we are done! Super simple and yet, adorable. Now whether you are going out with your partner, hanging with your friends, or being your own valentine, you will be the belle of the ball
❤ ❤ ❤
Beauty / Heatless Waves
 Continuing on with showing you guys my go-to hairstyles, these heatless waves are my most go-to hairstyle as it’s probably one of the easiest things you can do to make your straight hairs a little more interesting. This hairstyle may seem like a sort of “duh” hairstyle, but I honestly would have never thought of it if it wasn’t for my best friend (hi Kristen!) who used to braid her hair and leave it in over-night or for extended periods of time only to take the braid out and have these amazing waves (her hair is seriously the best). At the time I had quite short hair and was unable to braid it, so I made note for my future long hairs that this would be how I would get excellent waves with the littlest amount of effort (at the time I had been using a hair straightener to create waves), and now if I’m not ragging my hair at night, it’s in a braid. So here we go! Quick, easy, simple, but effective.
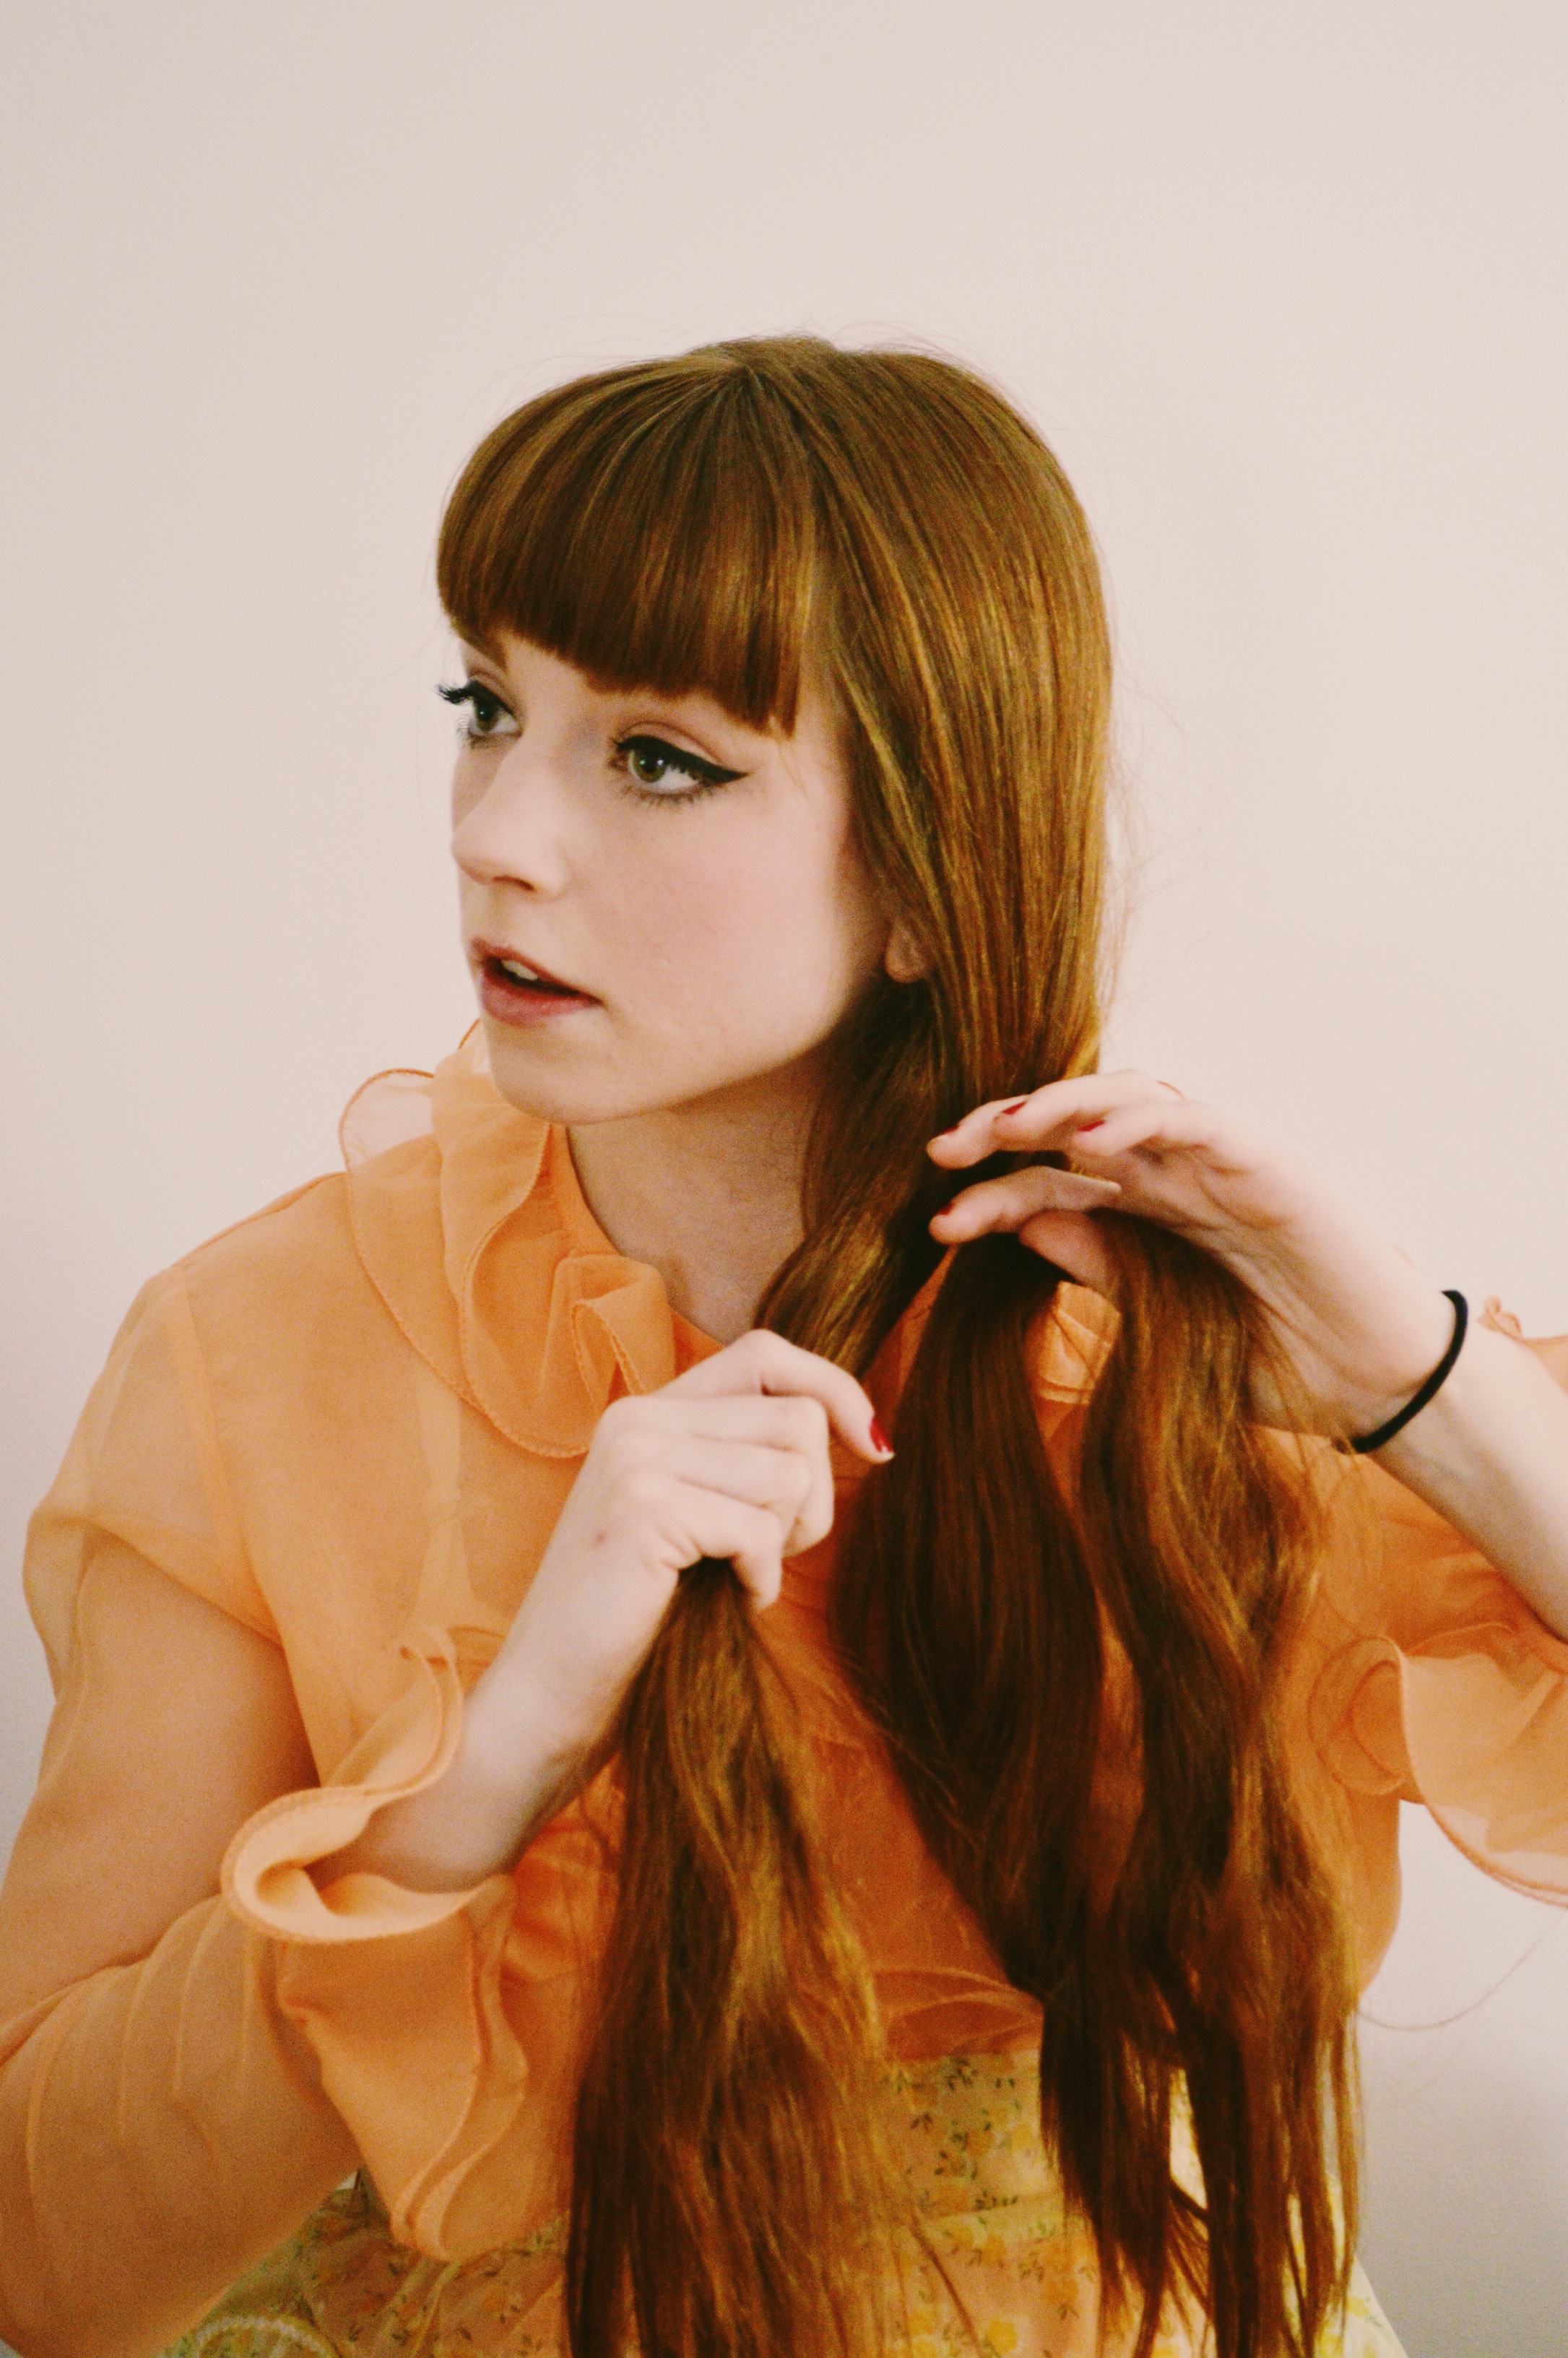
 FIRST STEP: Braid your hair…yes, that’s it. I like to do a side braid, but only because I have a real, real hard time doing a braid down the back of my head…but if you’re a magical human who can braid your hair from any angle, well go to town my dear friend. You are far more talented than I.
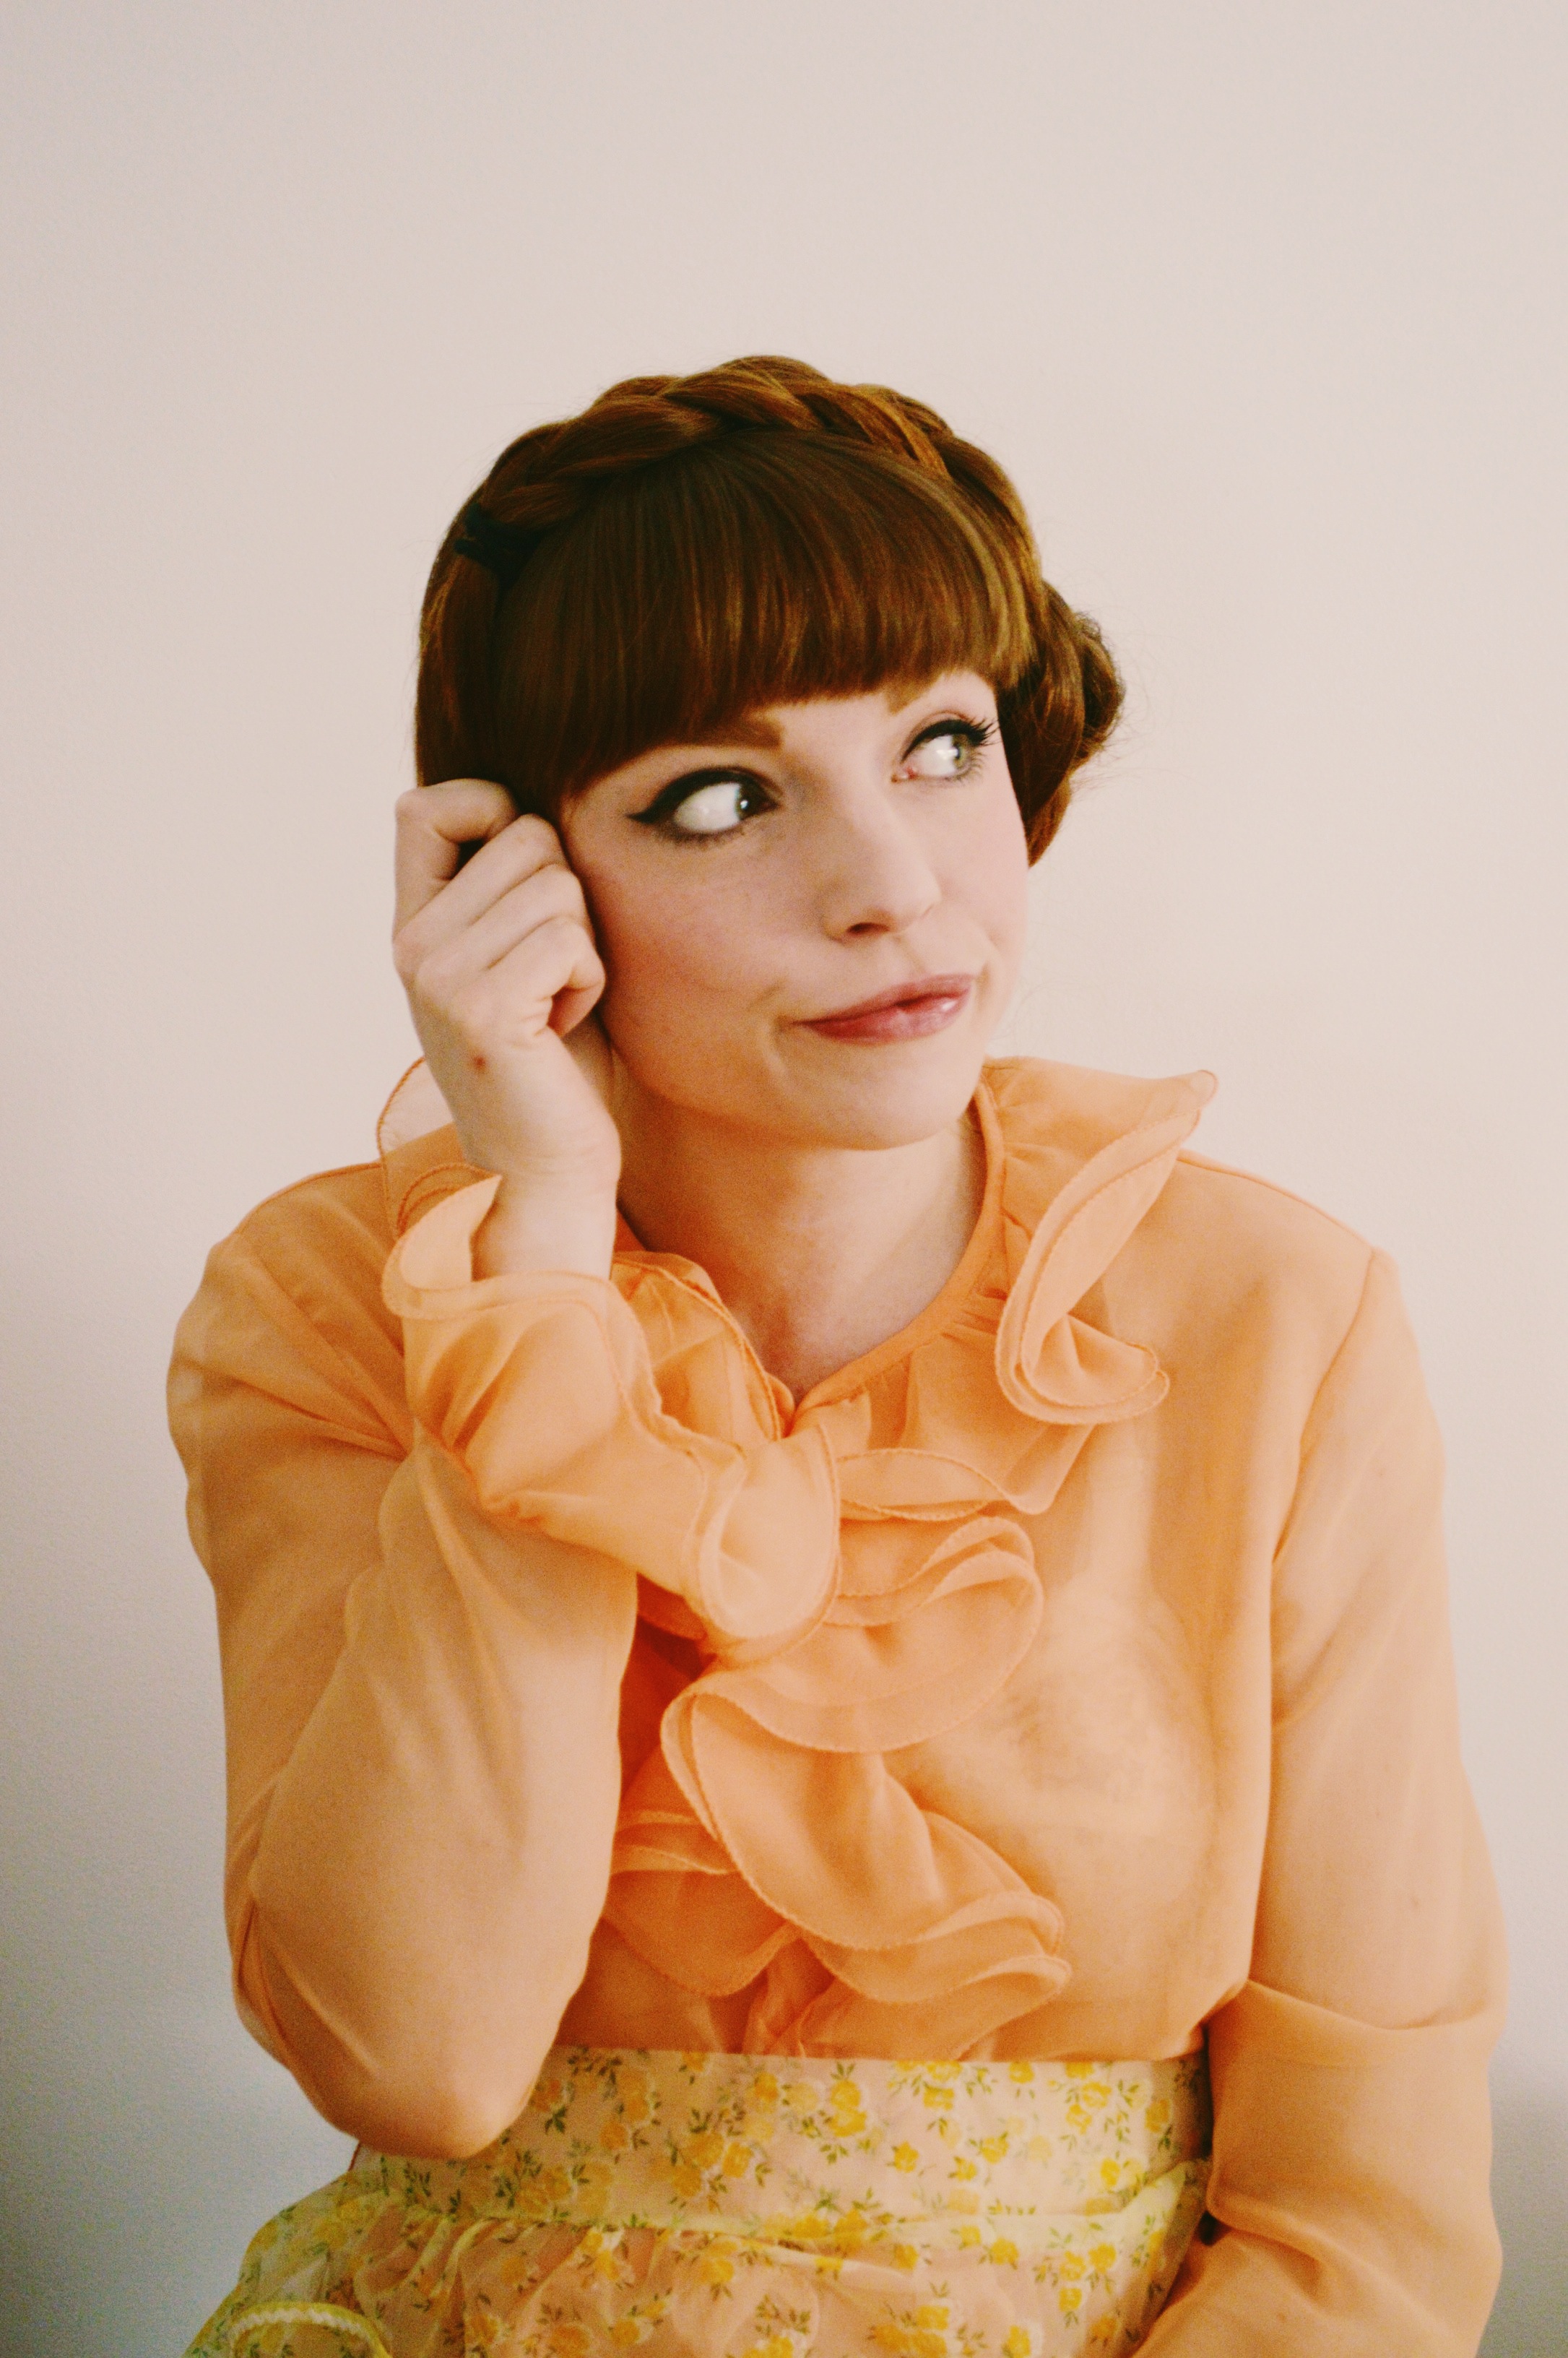
 Make use of said braid by doing stupid things with it.
 SECOND STEP: As with my previous tutorial, I sleep with my braid in at night so that when I wake up my hair is very nearly ready to go – probably the simplest of all steps, unless you have a hard time sleeping at night, but even so, that makes no difference to your beautiful hairs.
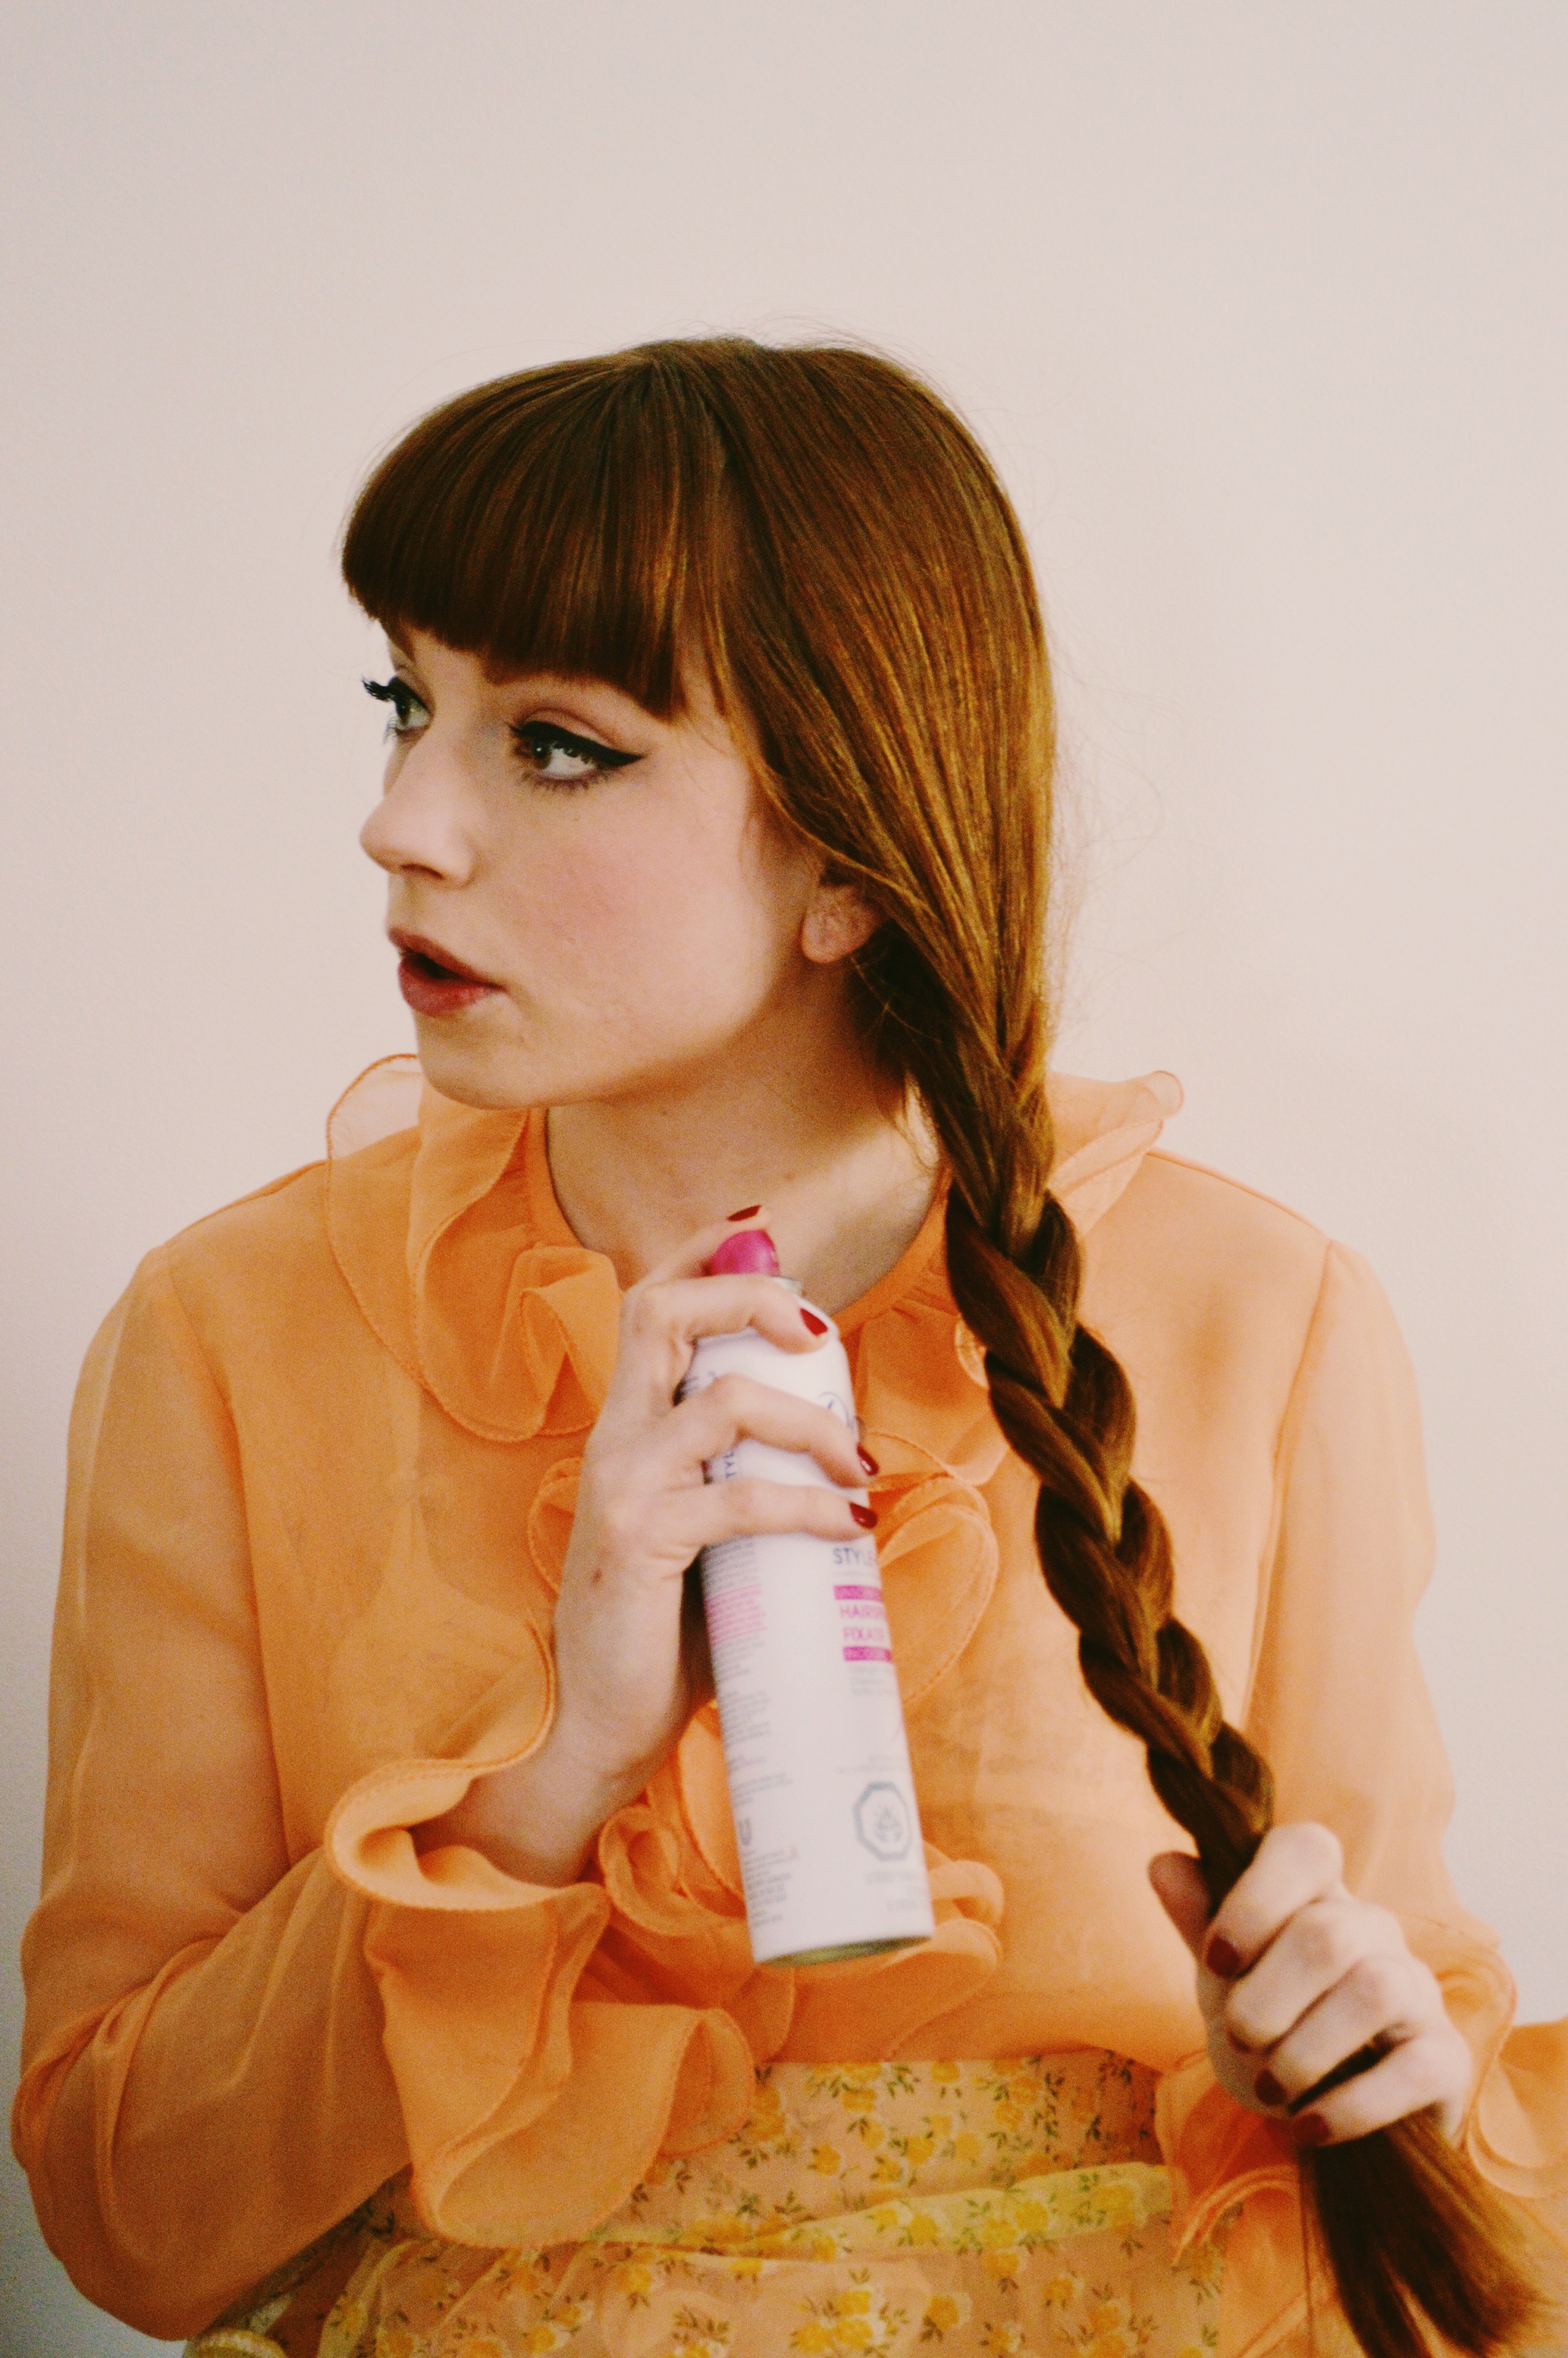 THIRD STEP: In the morning I will sometimes hairspray the braid to ensure my waves stay wavy throughout the day, and like I do with my rags, I will use my blow dryer on my hair briefly, which also helps maintain your wavy babies – make sure to let your hair cool after you use the blow dryer.
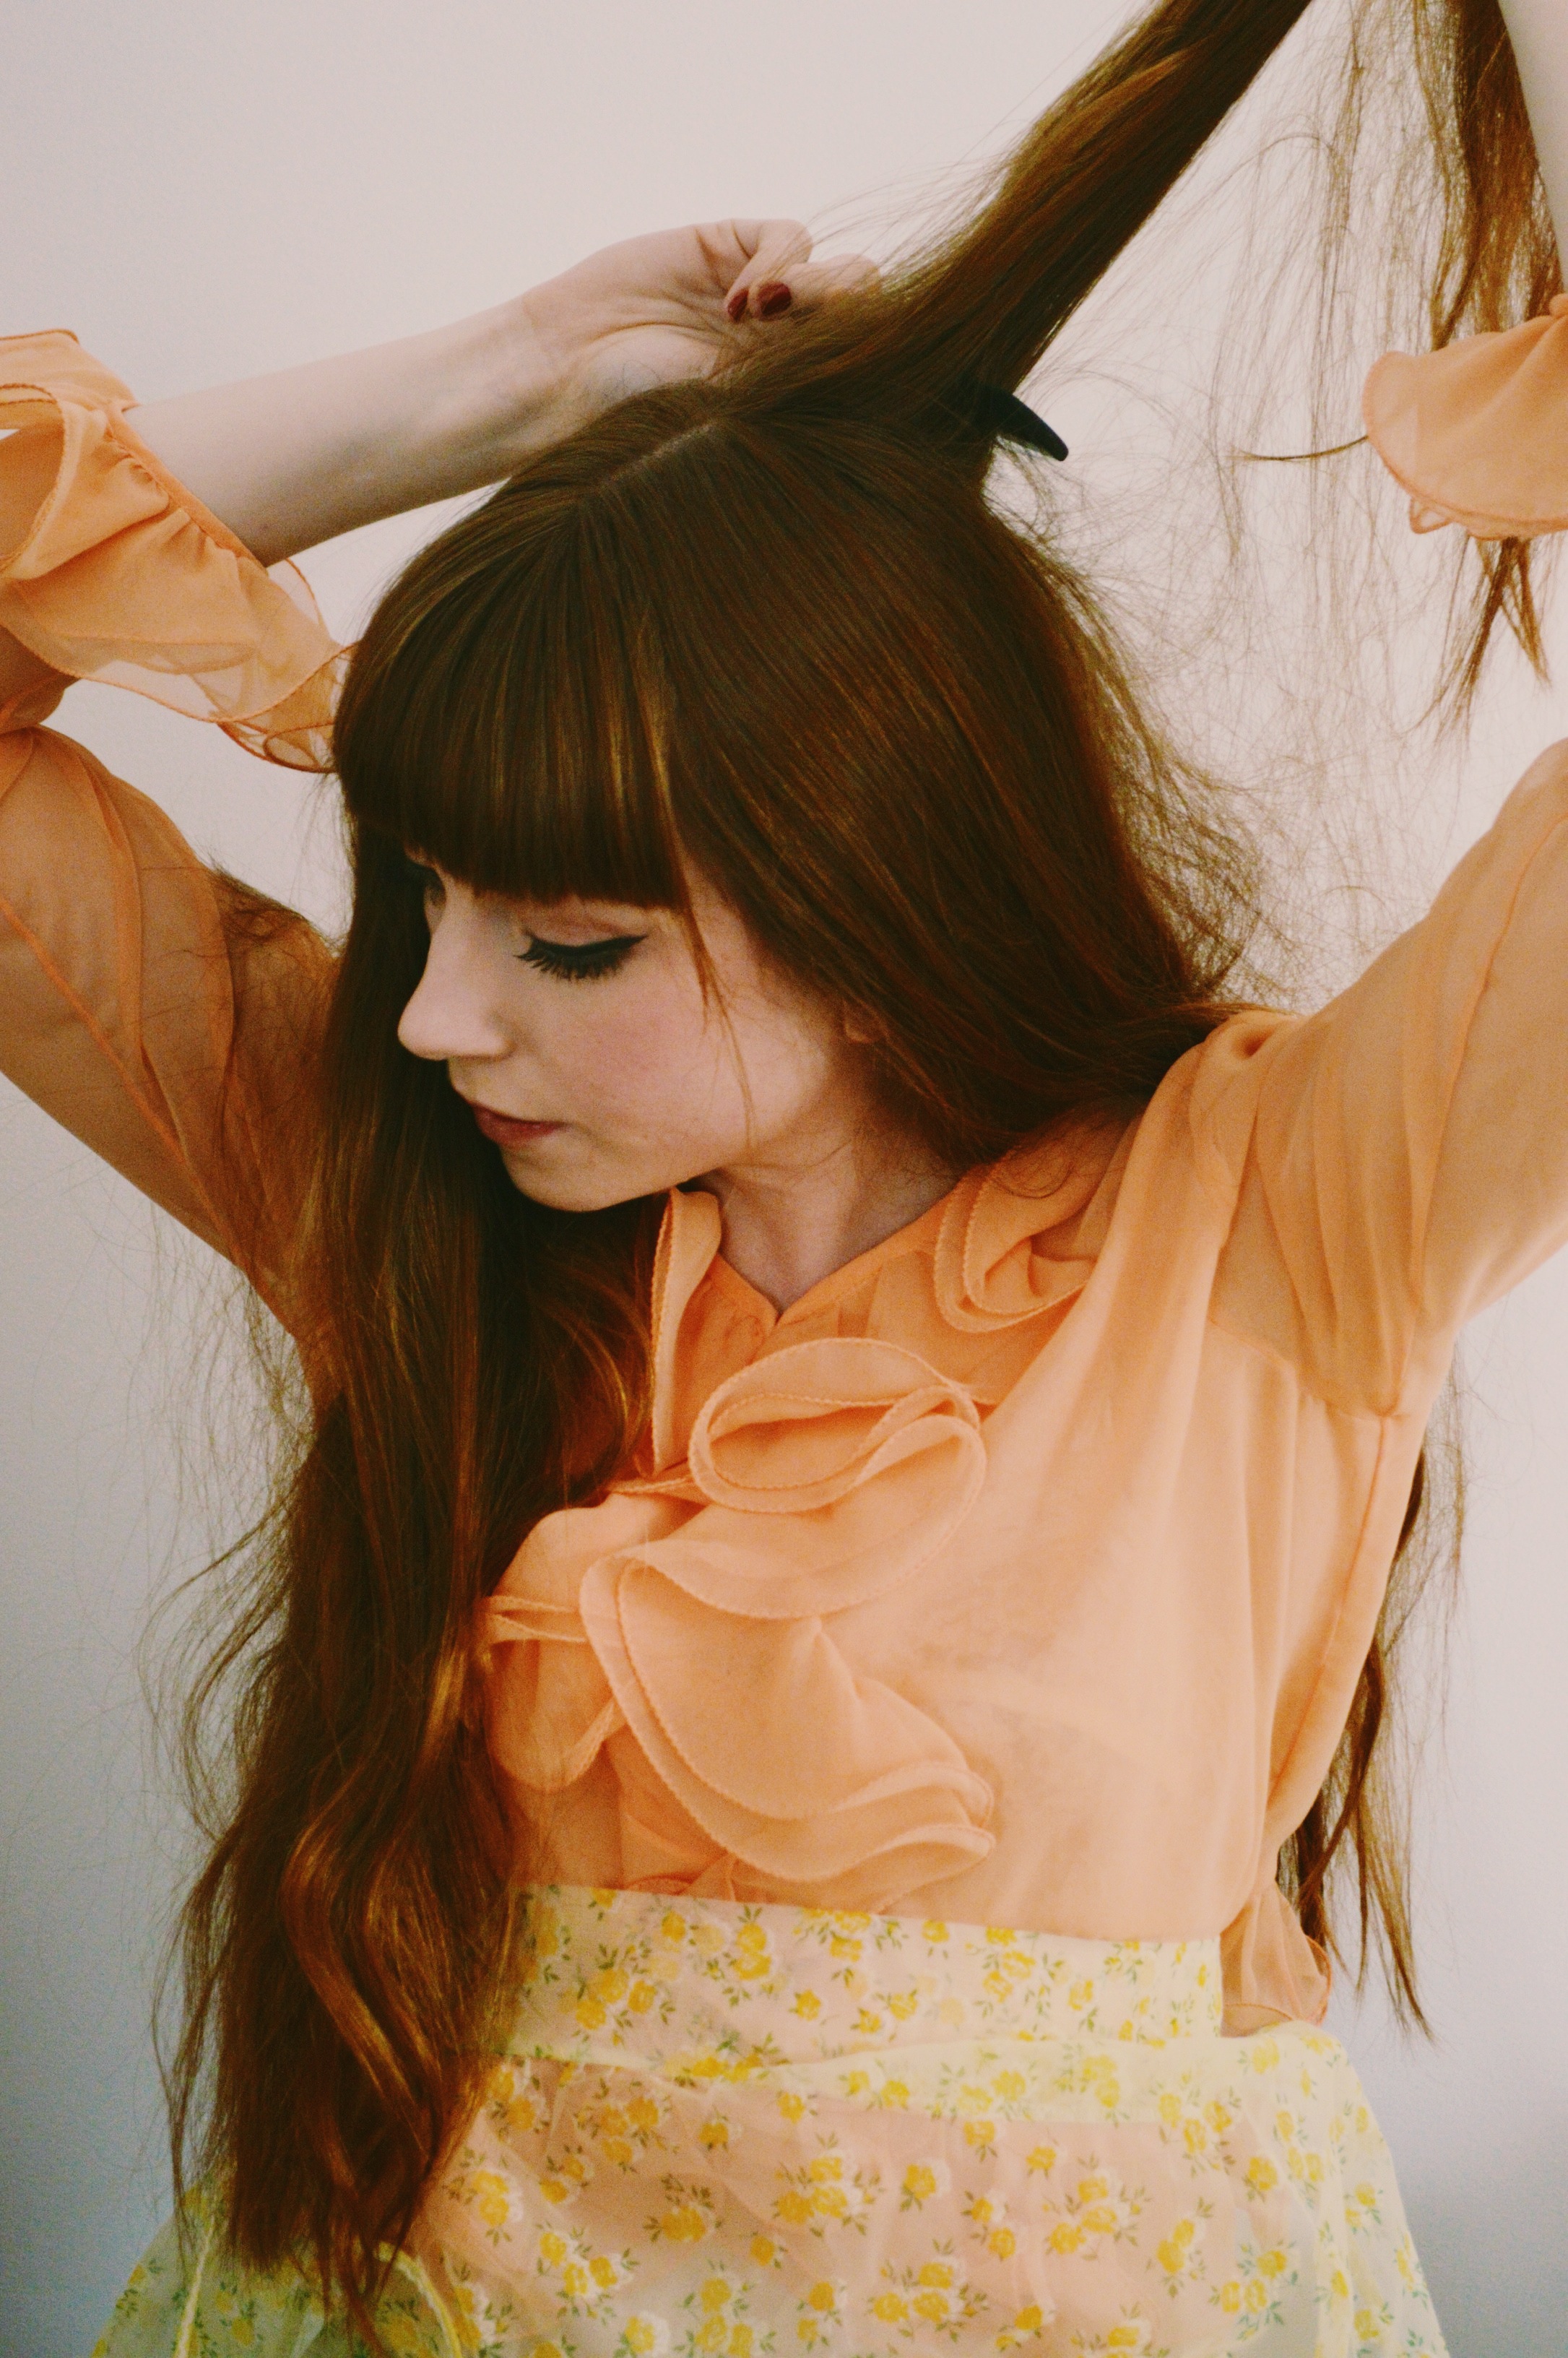 FOURTH STEP: Once I’ve taken my braid out and given my hair a wee brush, I often backcomb my hair so I have a bit more volume – my hair is quite thick and thus heavy, and so it can sort of just floop on my head like a giant shapeless mop.
 Ta-da! Easy peasy! I will note my waves could have been a bit better – if you don’t wash your hair for a few days and braid your hair every night, your waves, obviously, will be even more prominent.
Let me know if you guys are enjoying these tutorials. I’m thinking of including my daily makeup routine and other makeup/hair fun. Do you prefer written/picture tutorials like this, or are you more likely to watch a youtube video?
