
 Today I’m going to share a tutorial on how to do 1940s pigtail loop braids. I will say, I honestly feel this hairstyle works better for hair shorter than mine. I say this because I personally think it looks better when the loop holes aren’t so large (they mostly just get in the way when they are as big as mine) and it’s easier to get them to sit comfortably and closer to your posterior hairline at a shorter length. But, as you can see, I made it work, so this hairstyle works for many lengths. Okay, blahblahblah! The tutorial!


 STEP ONE: Start by separating your hair just the way you would to make pigtails and then braid each section of hair. Simple as that. If you can braid your hair, then this is a cake walk. If you have shorter hair, you can set your braids a bit farther back, behind your ear, this way your loops won’t get in the way as much.
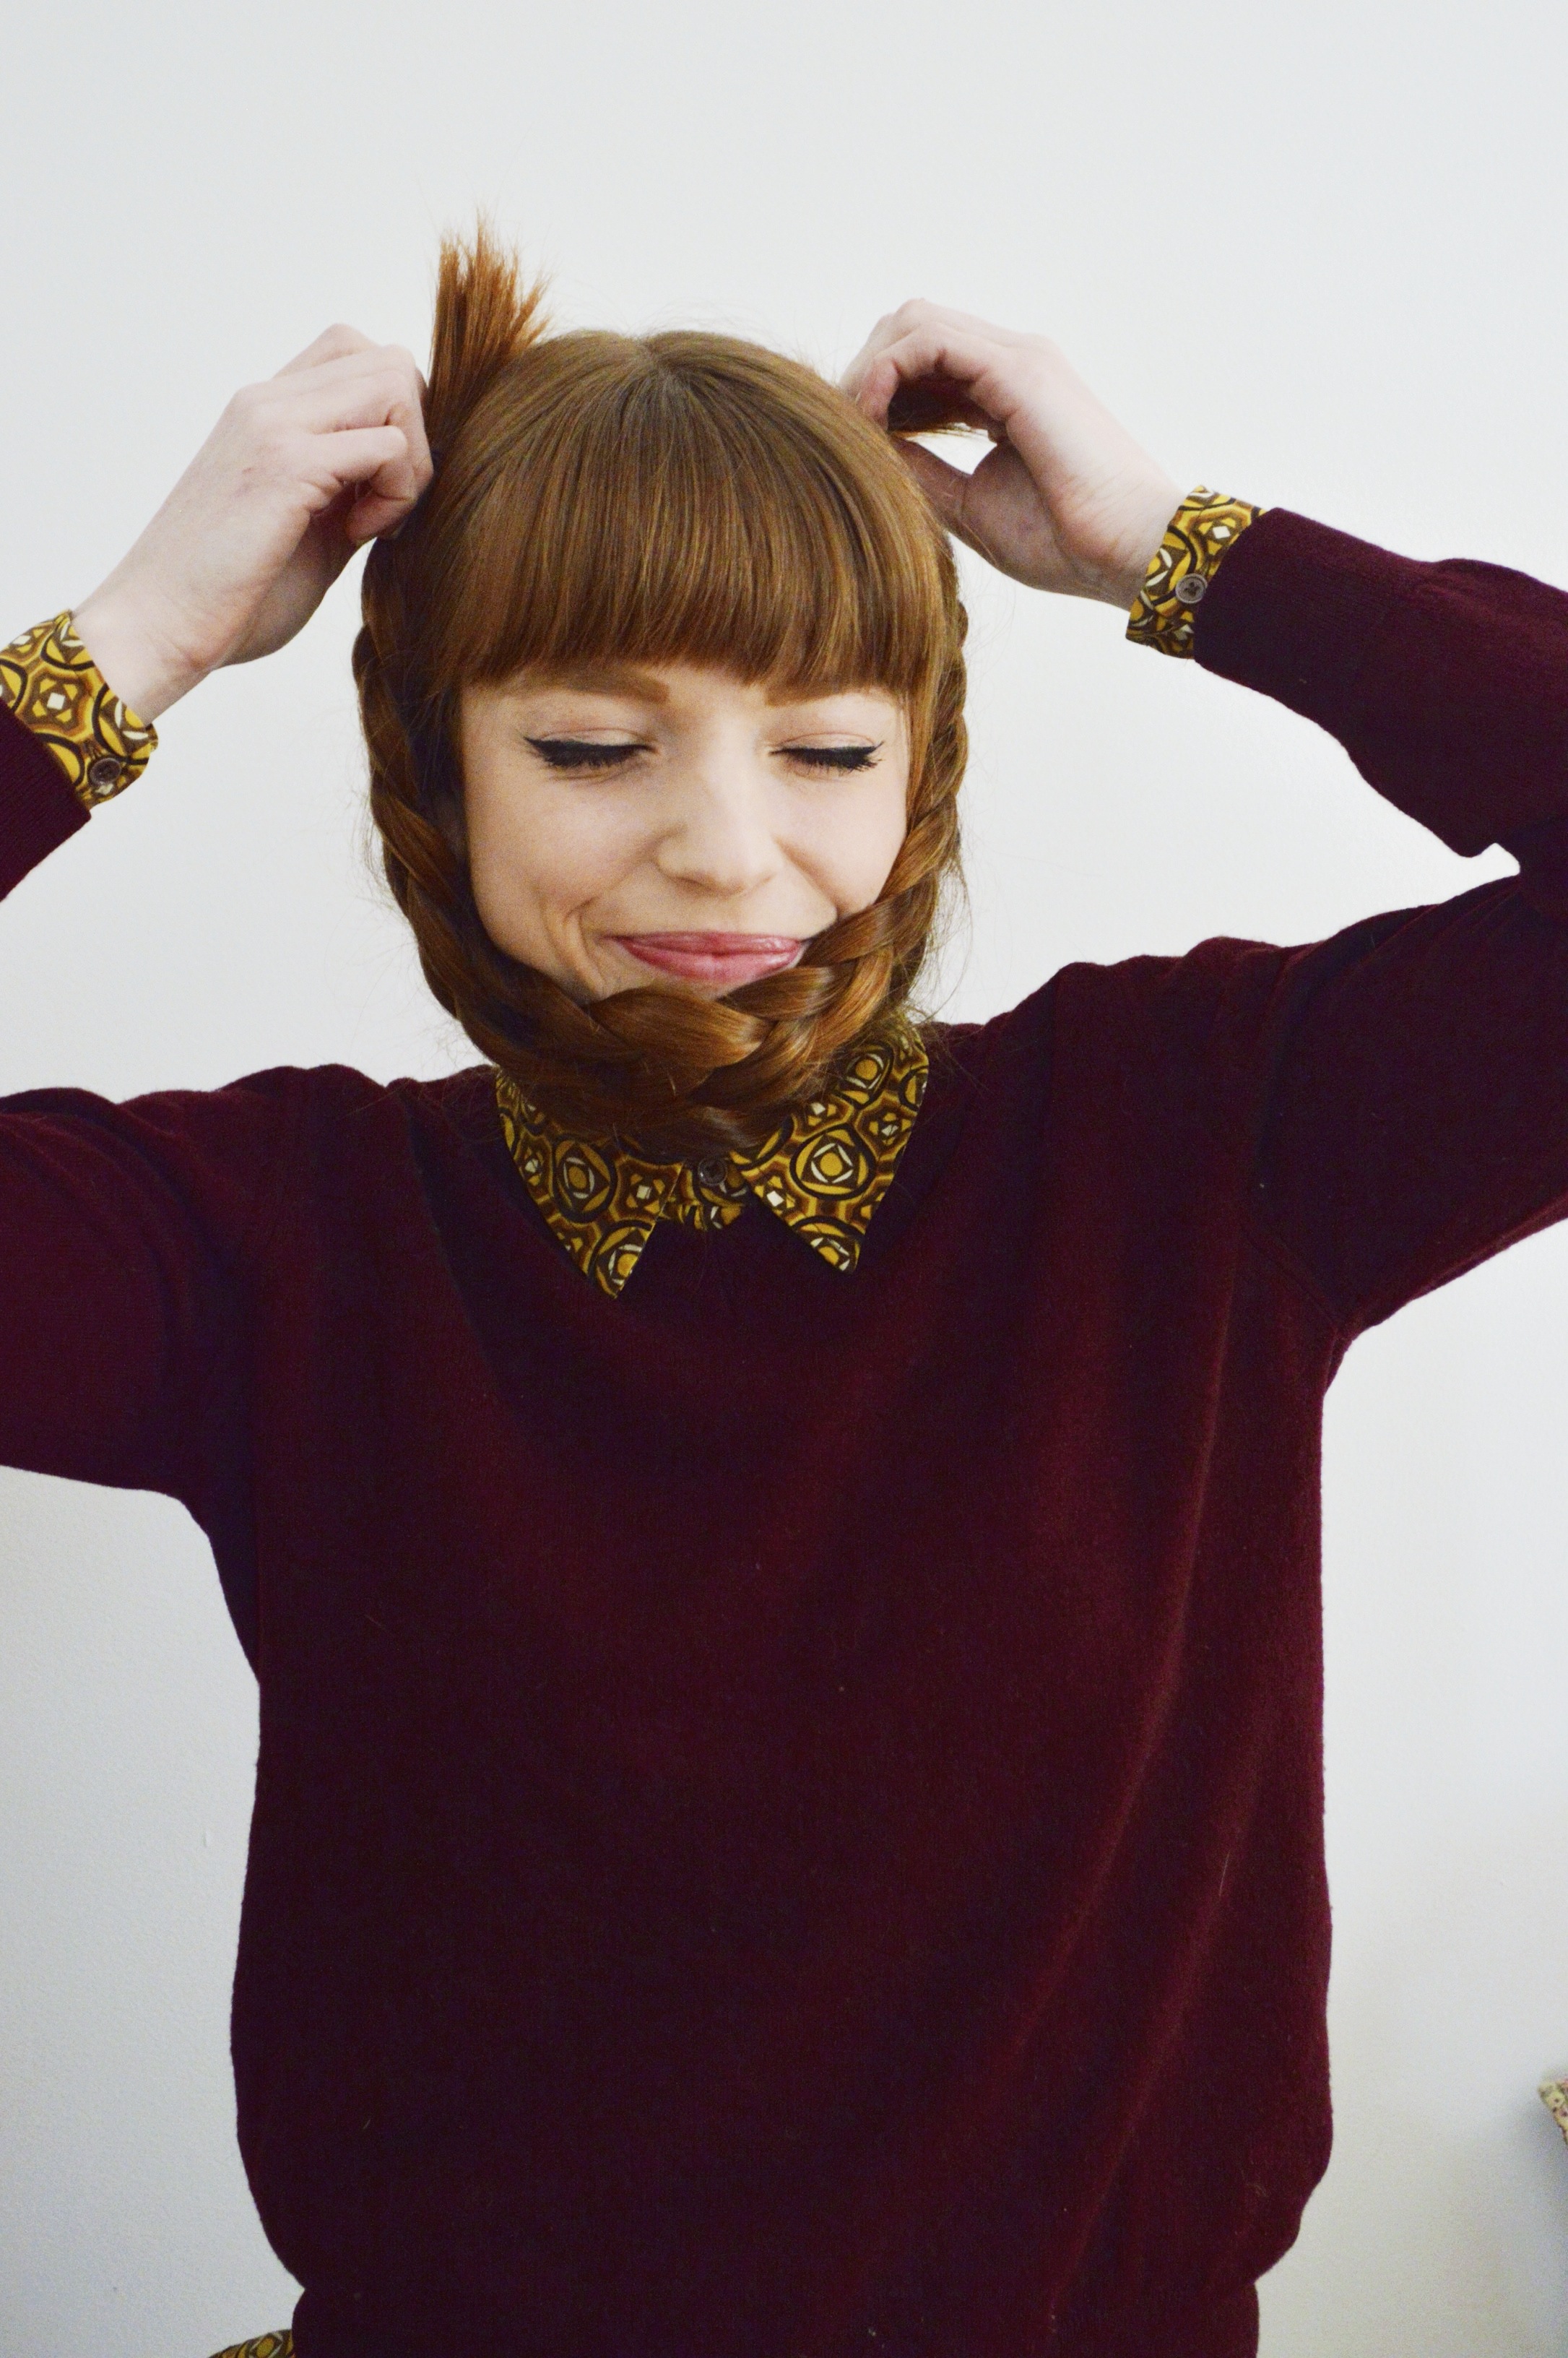 Surprise surprise, doing something weird with my braids…this time I made a braided beard.


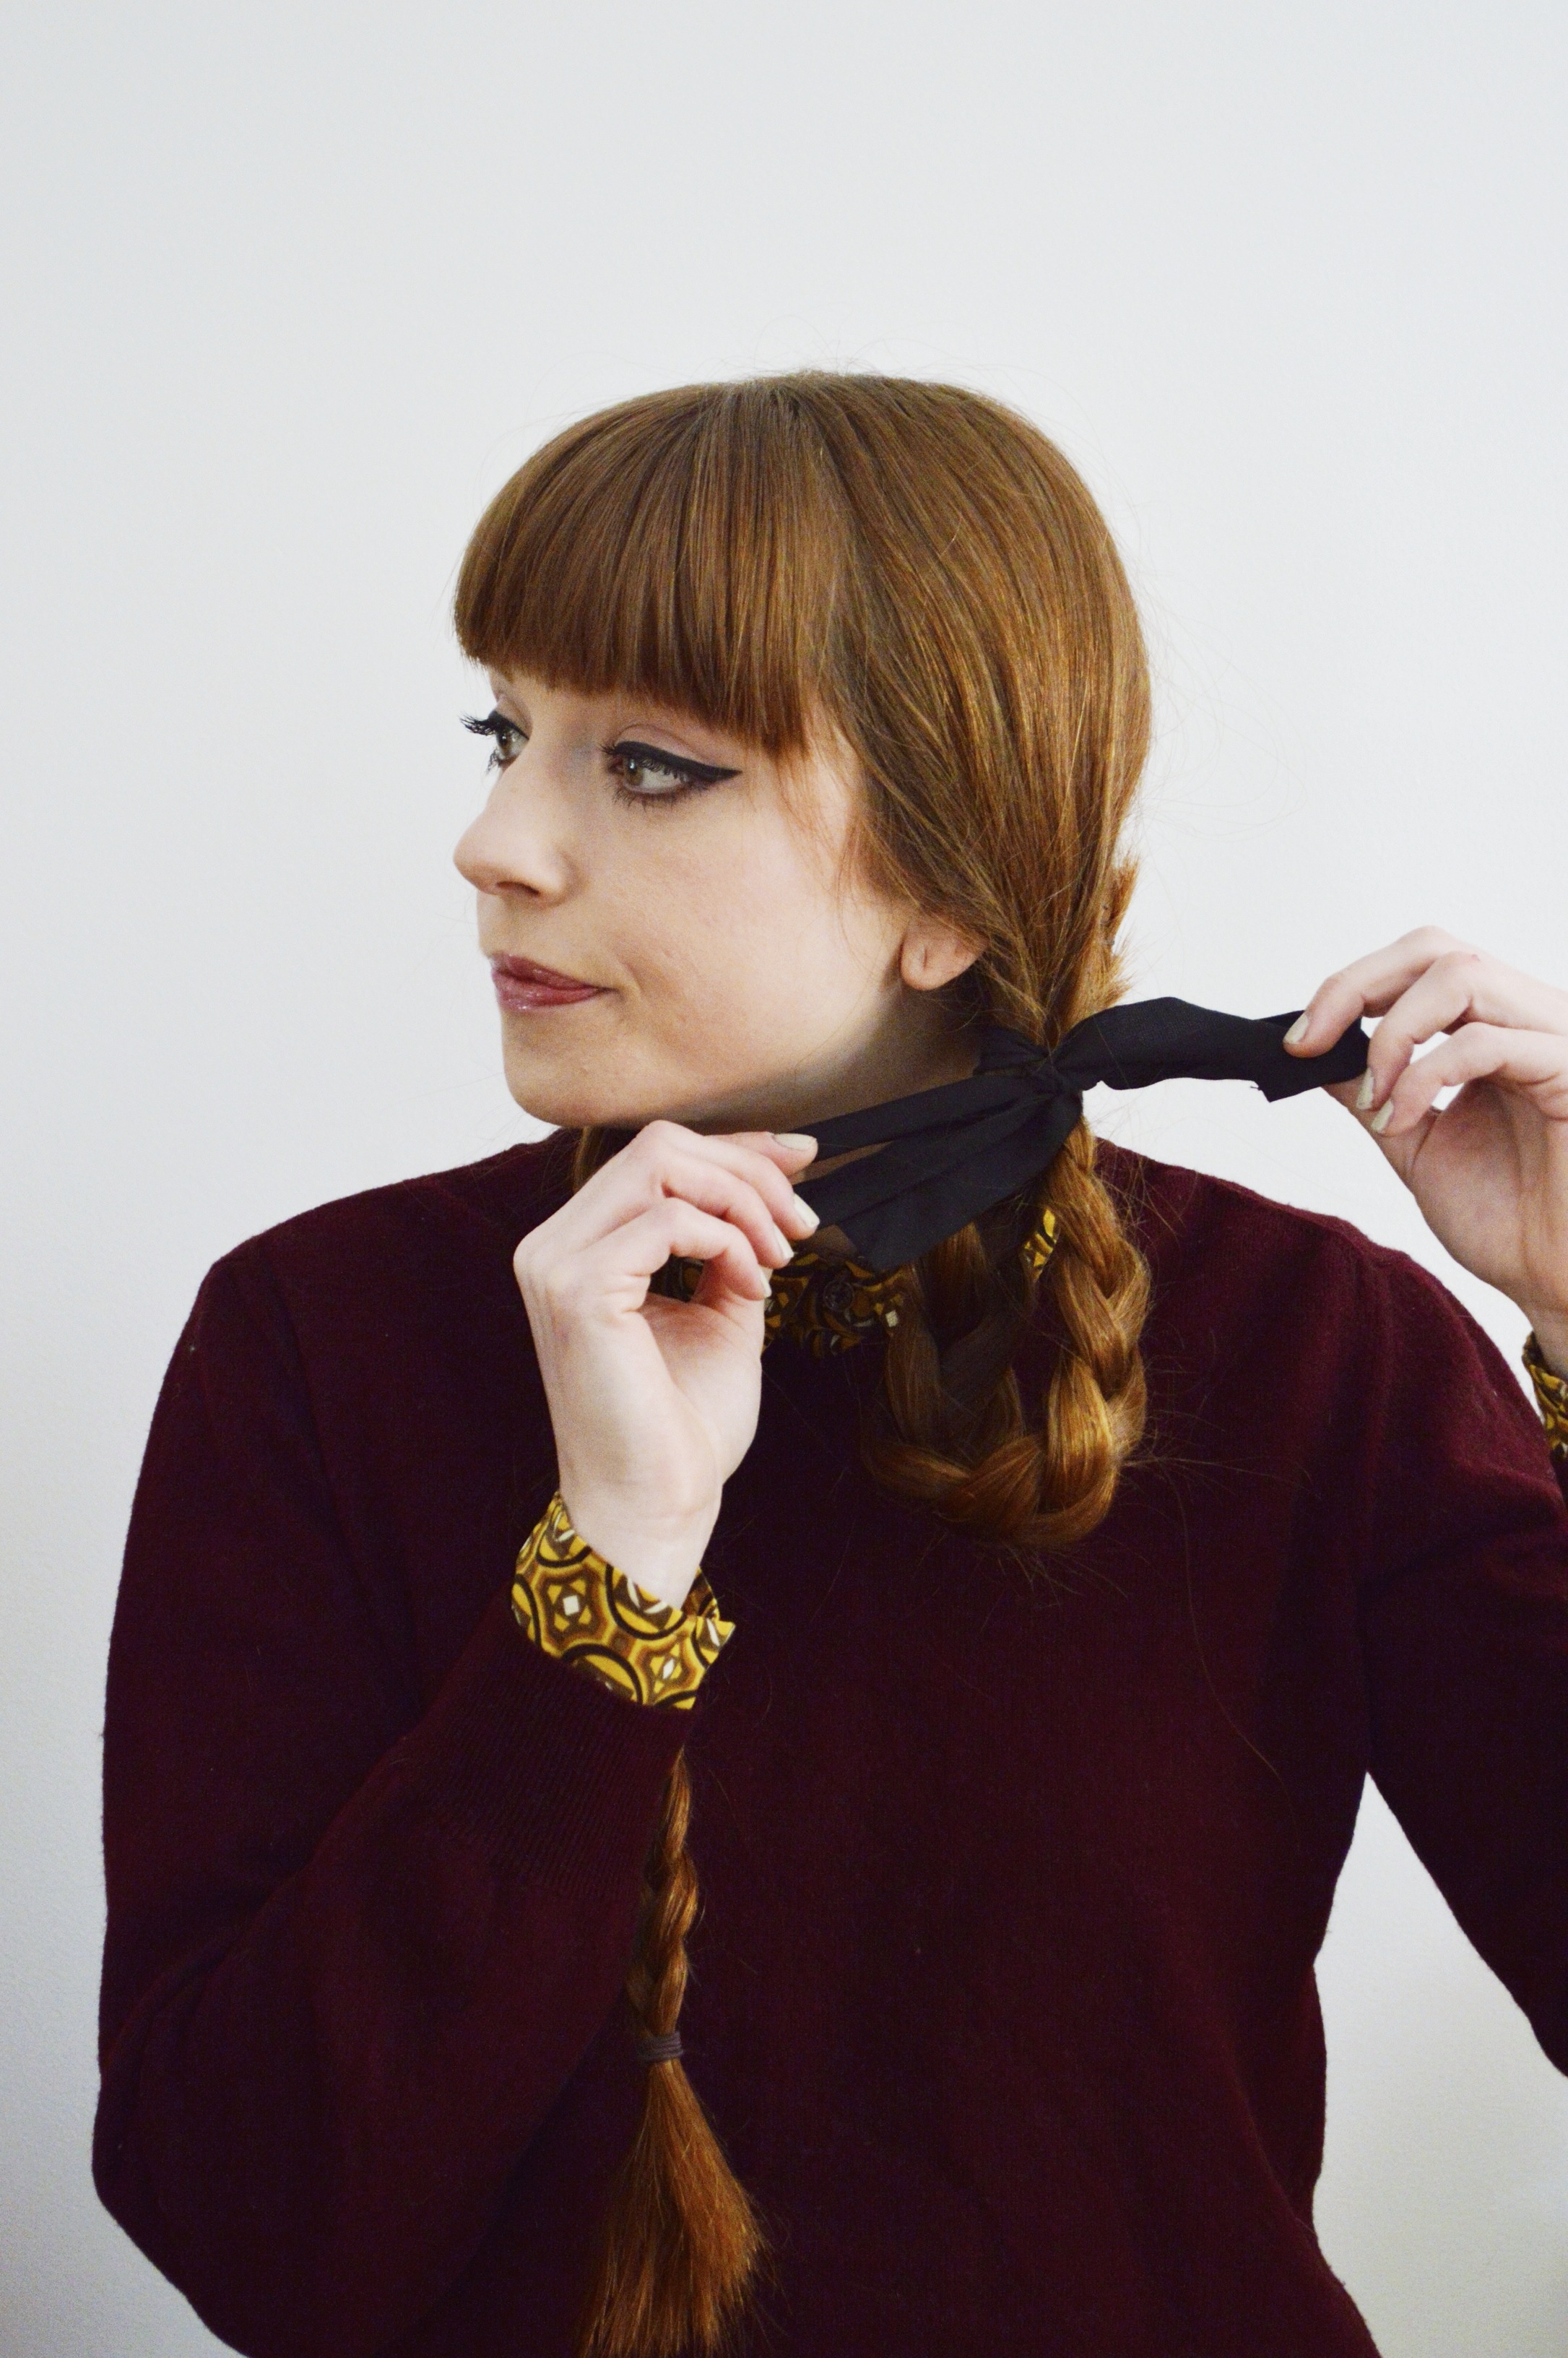 STEP TWO: Take the end of your braid and fasten it to the base of your head with bobby pins – you can do this either on the inside of your hair, closer to your ear, or the outside, which I have done here because my hair is so heavy and it was nearly impossible to pin on the inside. This step is way easier with shorter, light hair, in my opinion. I needed a ton of pins to hold my braids in place, which doesn’t look very aesthetically pleasing, but oh well. If you choose to do the outside, you can clean the look up a bit by hiding the ends of your hair inside the rest of your hair and fastening it with pins. To finish it off tie a bow around your loops to achieve a more pulled together (and adorable) look.
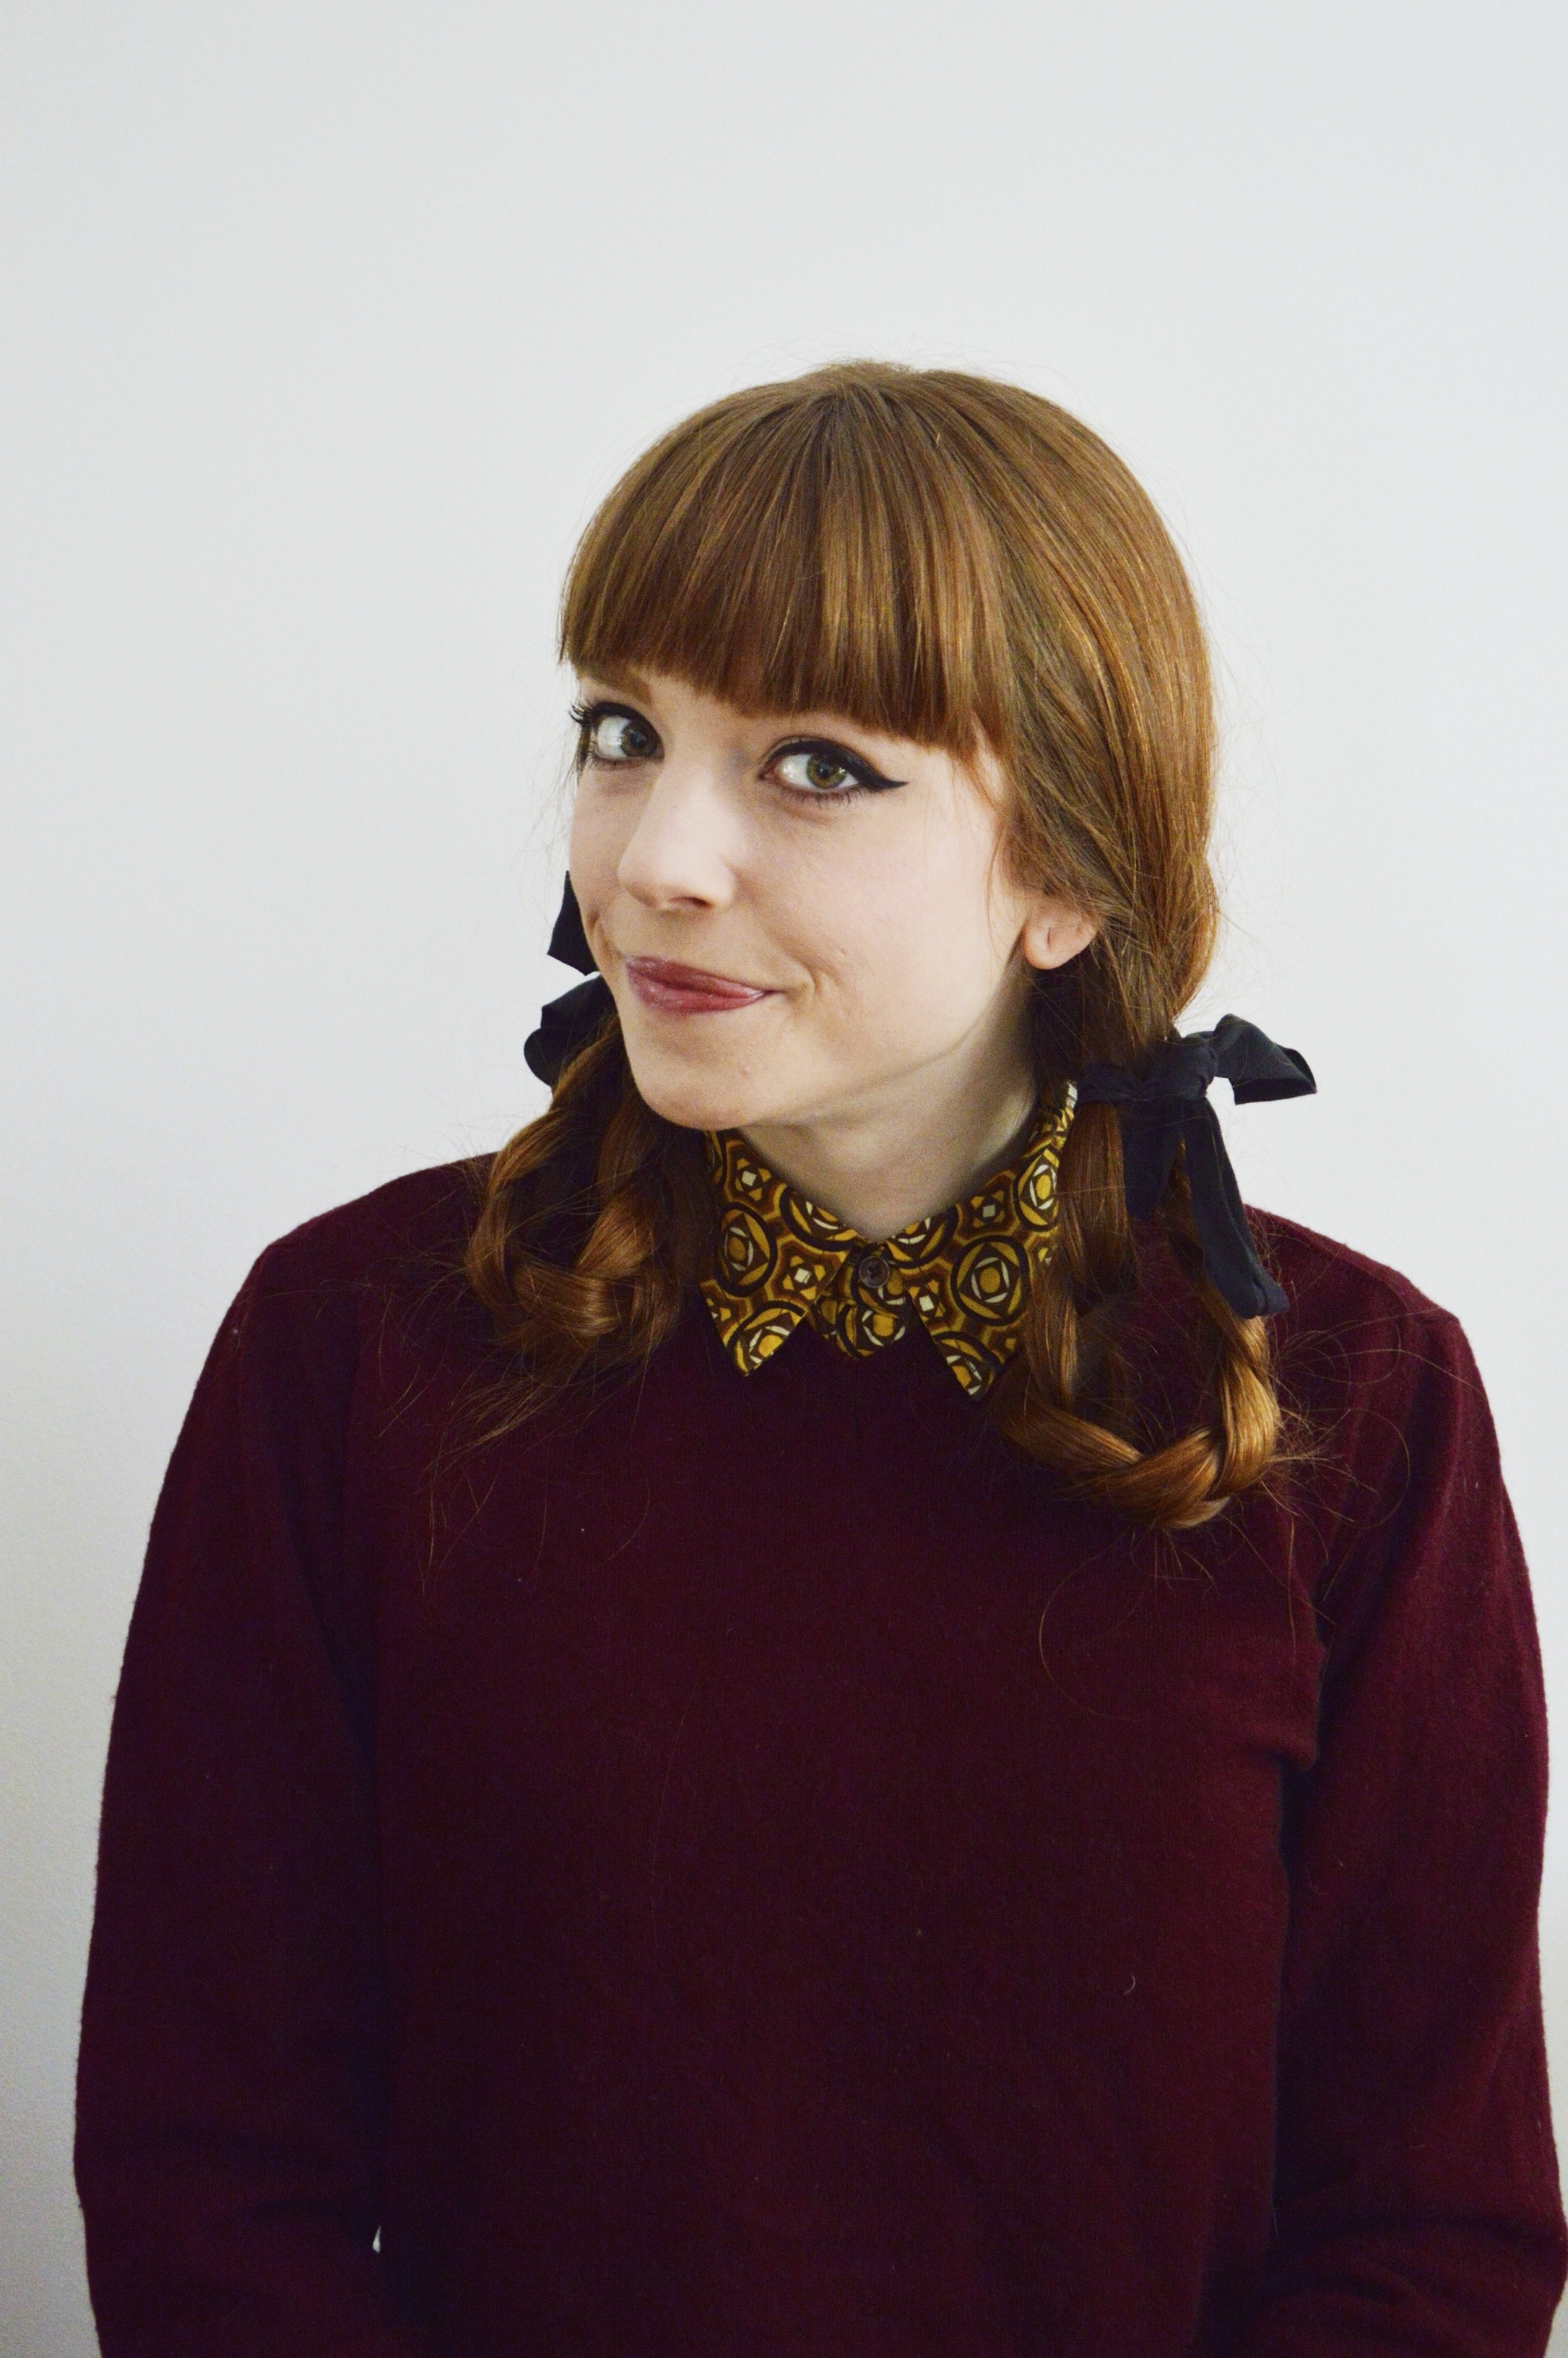 And bam! Done! Another easy and cute hairstyle for all. If you guys have any hairstyles you’re interested in learning, let me know. I’d be happy to oblige!
