Quite awhile ago I shared with you my daily skincare routine, but since that time I have really done a lot of searching and product testing and have now found what I really think is my go-to routine. I thought it only made sense to give you an update, show you all the products I’m loving of late and hopefully be able to show you some products that maybe you’ve never heard of, or have been wondering about.
I guess I should give you a lil update on what my skin has been like to start with. It seems my chin has been having a breakout for what feels like months now. I’ve never had the most blemish-free skin, but lately it feels like a lot more than usual. I have not been able to pinpoint why, but I added some products into my routine that help with blemishes (or acne rather). The zits I seem to get are almost cystic (in my opinion) and last for weeks on end, so some of these products have been a real help with reducing redness, pain and size of those little demons.
MORNING
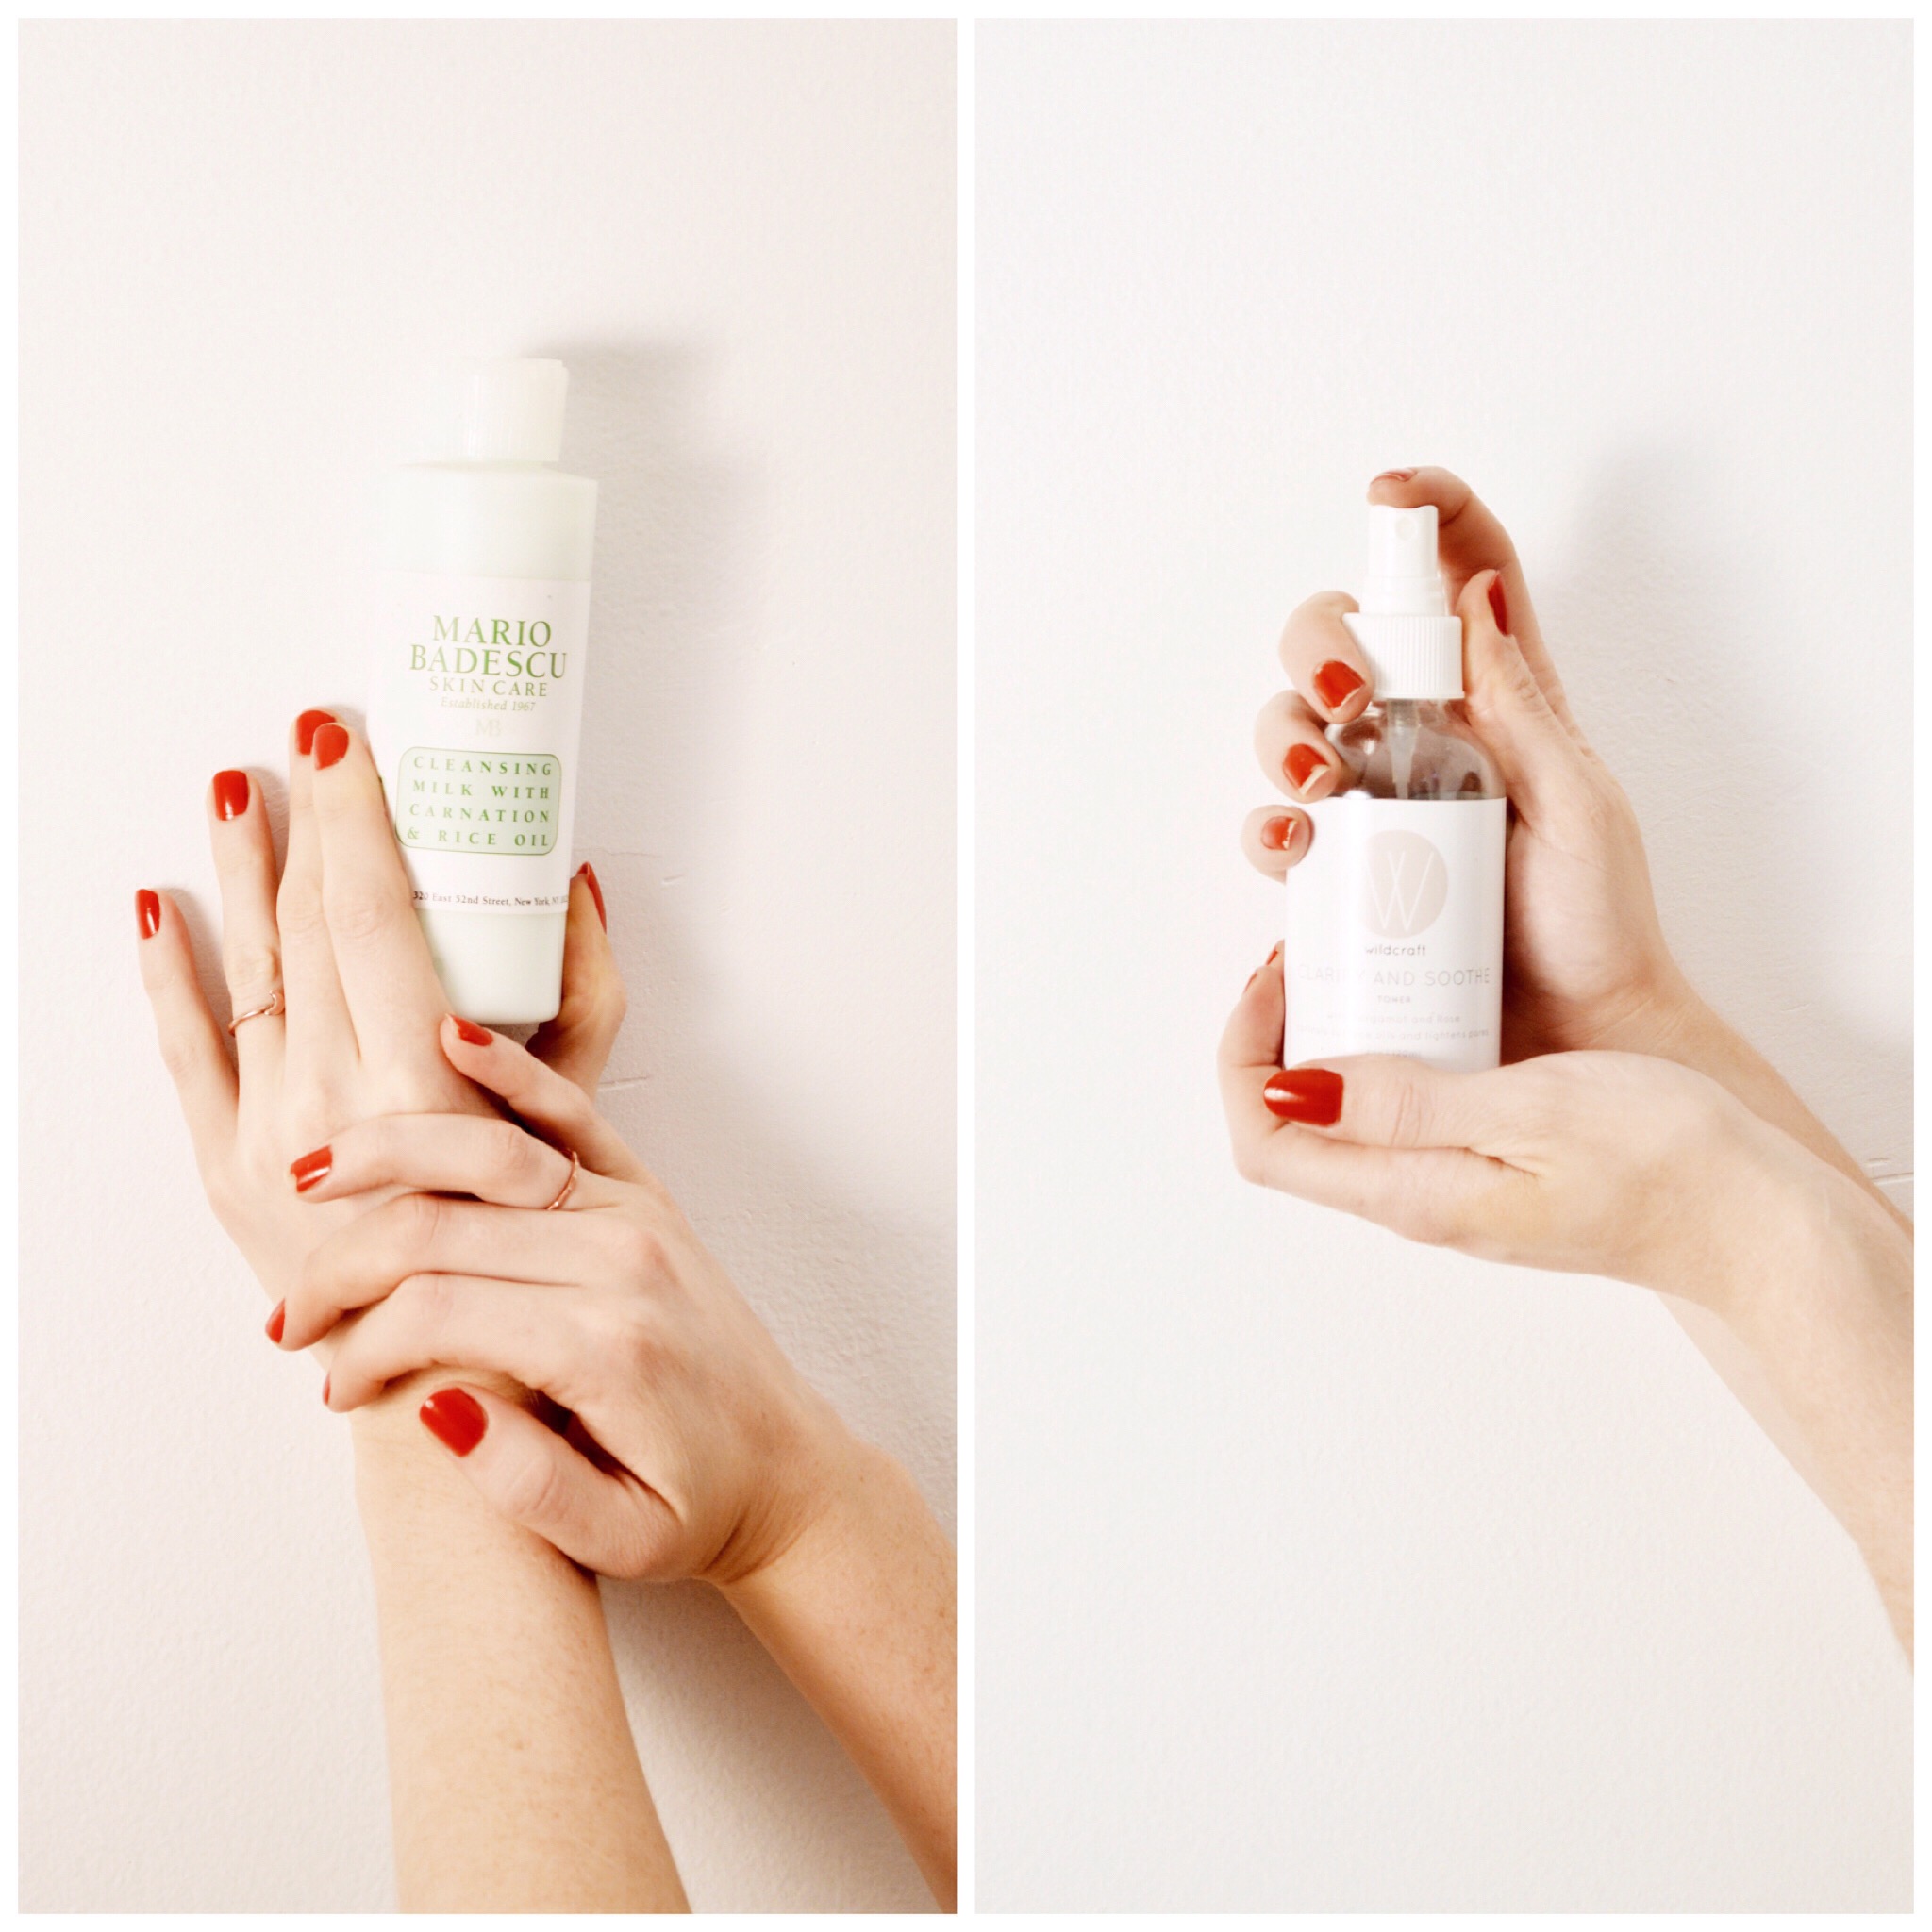
 1. In the morning I like to give my skin a good wash and hydrate as much as possible. I have fairly dry skin and even more so in the winter, so Mario Badescu’s Cleansing Milk with Carnation and Rice Oil is a true god-send when my skin is being a flakey monster.
2. After cleansing, I use Wildcraft Care Bergamost and Rose Toner to tighten up my skin while leaving it with a cool, refreshing feeling. I like that this toner is in a spray bottle – the application is much easier and I don’t have to worry about having cotton balls on hand (although I always do so what am I saying).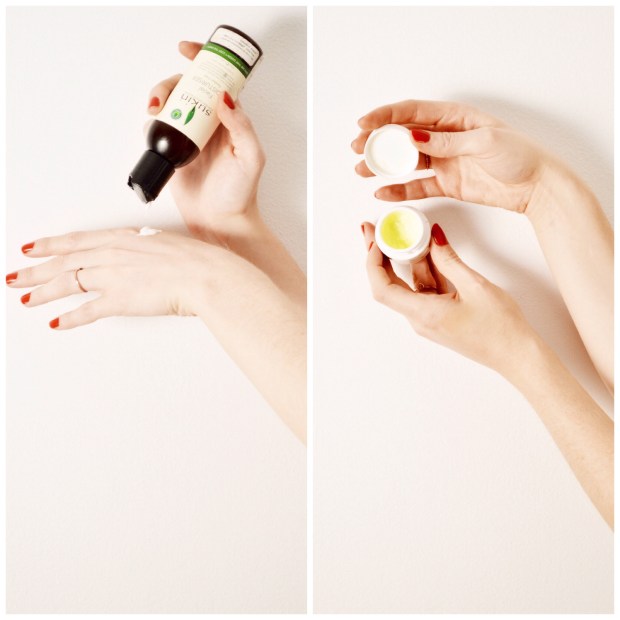 3. The moisturizer I have been using is by an Australian natural skincare brand called Sukin. I had never even heard of this brand before, but I quickly became a fan after using the Facial Moisturizer only a few times. The moisturizer is lightweight, but deeply penetrating and boasts an infusion of aloe vera, rose hip oil, avocado and sesame seed oil. Needless to say, it smells great, but it is also an awesome product for us dry skinned folk who do not want a thick moisturizer coating our face every morning (not good for the zitties, you know that I mean)
2. I have shared Kiehl’s Creamy Avocado Eye Treatment before, but it has remained a staple in my skincare routine for a long while now. To be honest, I don’t actually have dry under-eyes, but I do have some puffyness in the morning and I find the cooling sensation of the cream helps to wake my eyes up, which I feel both mentally and physically. It’s on the pricier side considering how small the tub is, but to be honest, a little goes a long way with this guy.
EVENING
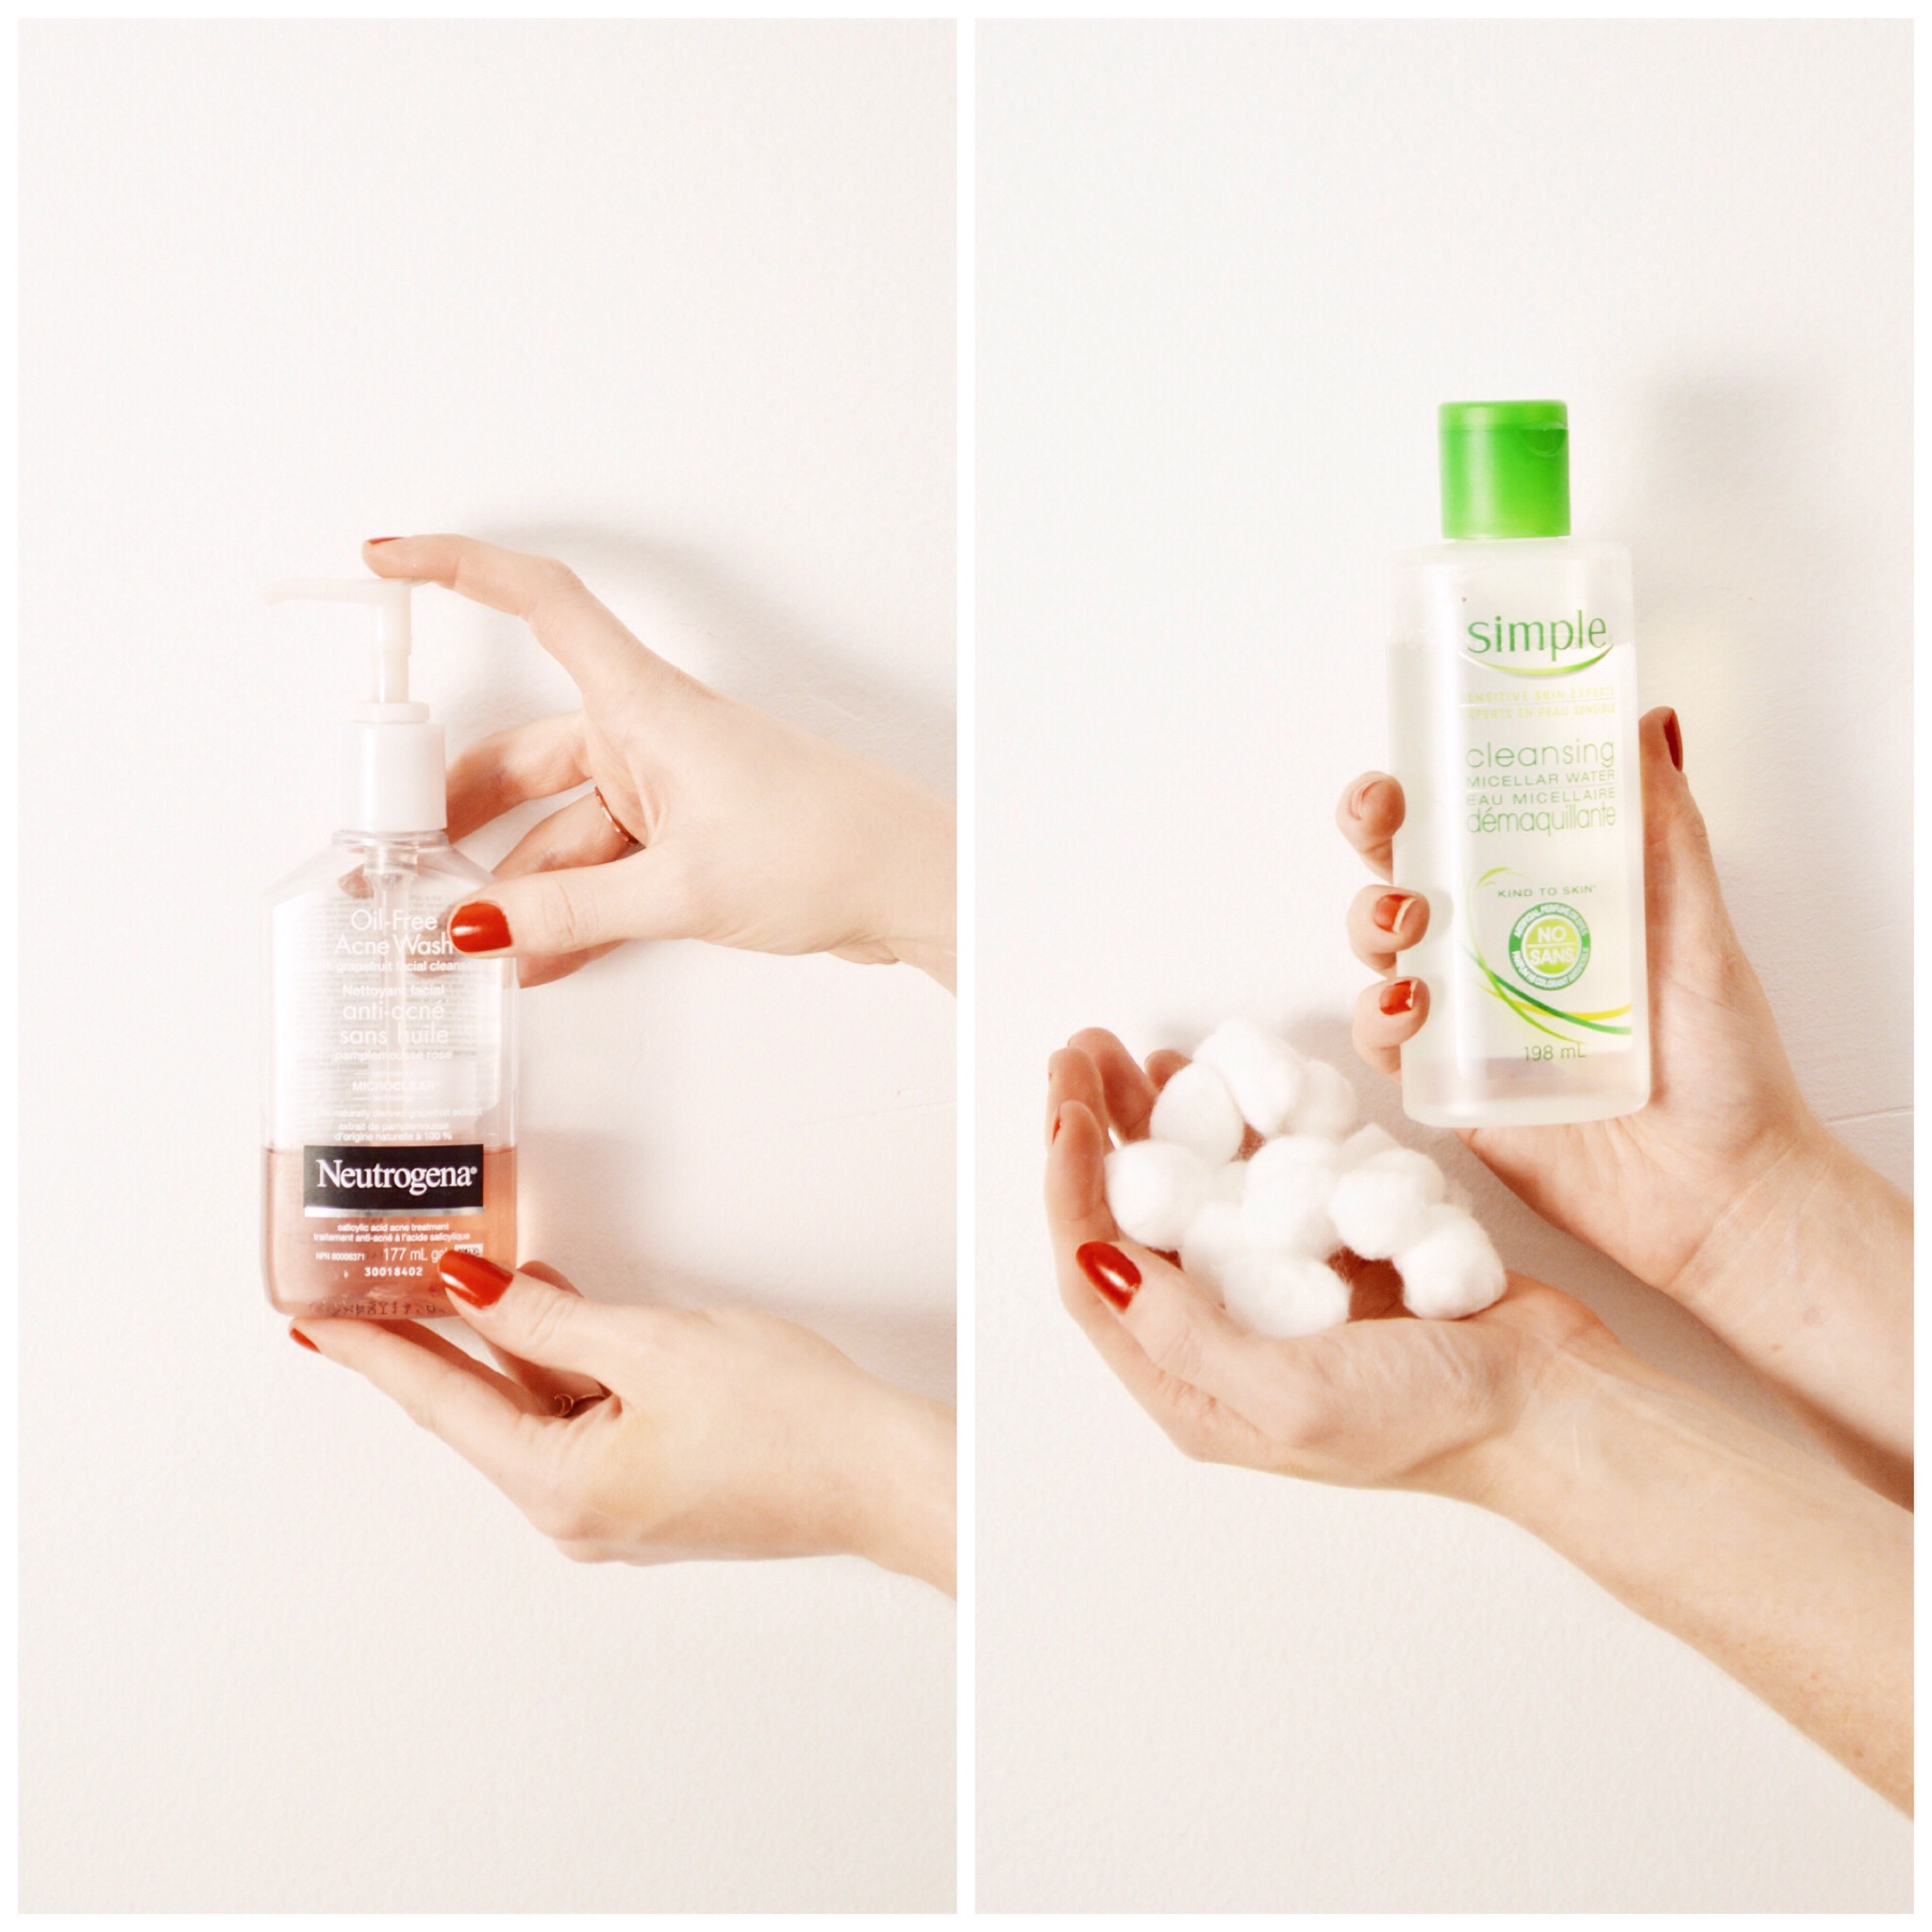
 1. Here is where I start talking about combating those god-awful blemishes. I have been using Neutrogena Oil-Free Acne Wash with grapefruit for a ridiculous amount of years. It feels like the only product that has ever kept those blemish demons at bay. I wash my face with this every evening and it leaves my skin feeling refreshed, totally makeup free and I know it’s working it’s zit fighting magic at the same time. I know not every product works for everyone, but if you have blemish prone skin, I suggest trying this gal.
2. Simple’s Micellar Water is a newer product for me, but an instant favourite. I poor a bit of it onto some cotton balls and wipe all over my face, which removes any remaining makeup and leaves the skin hydrated. I much prefer this product to remove eye makeup than a designated eye-makeup remover – I find it doesn’t leave that odd oily feeling or make my eyes feel cloudy for a few minutes after. 3. Clearasil Deep Pore Cleasing Pads is my true savior when my skin is at it’s worst. This product is not for those who really dislike a burning/tingly sensation on the skin. For me, I kind of like it because I feel as though it’s doing it’s job, but it is definitely not for everyone. However, in it’s defense, it noticeably reduces the redness and size of my zits over night, quite literally.
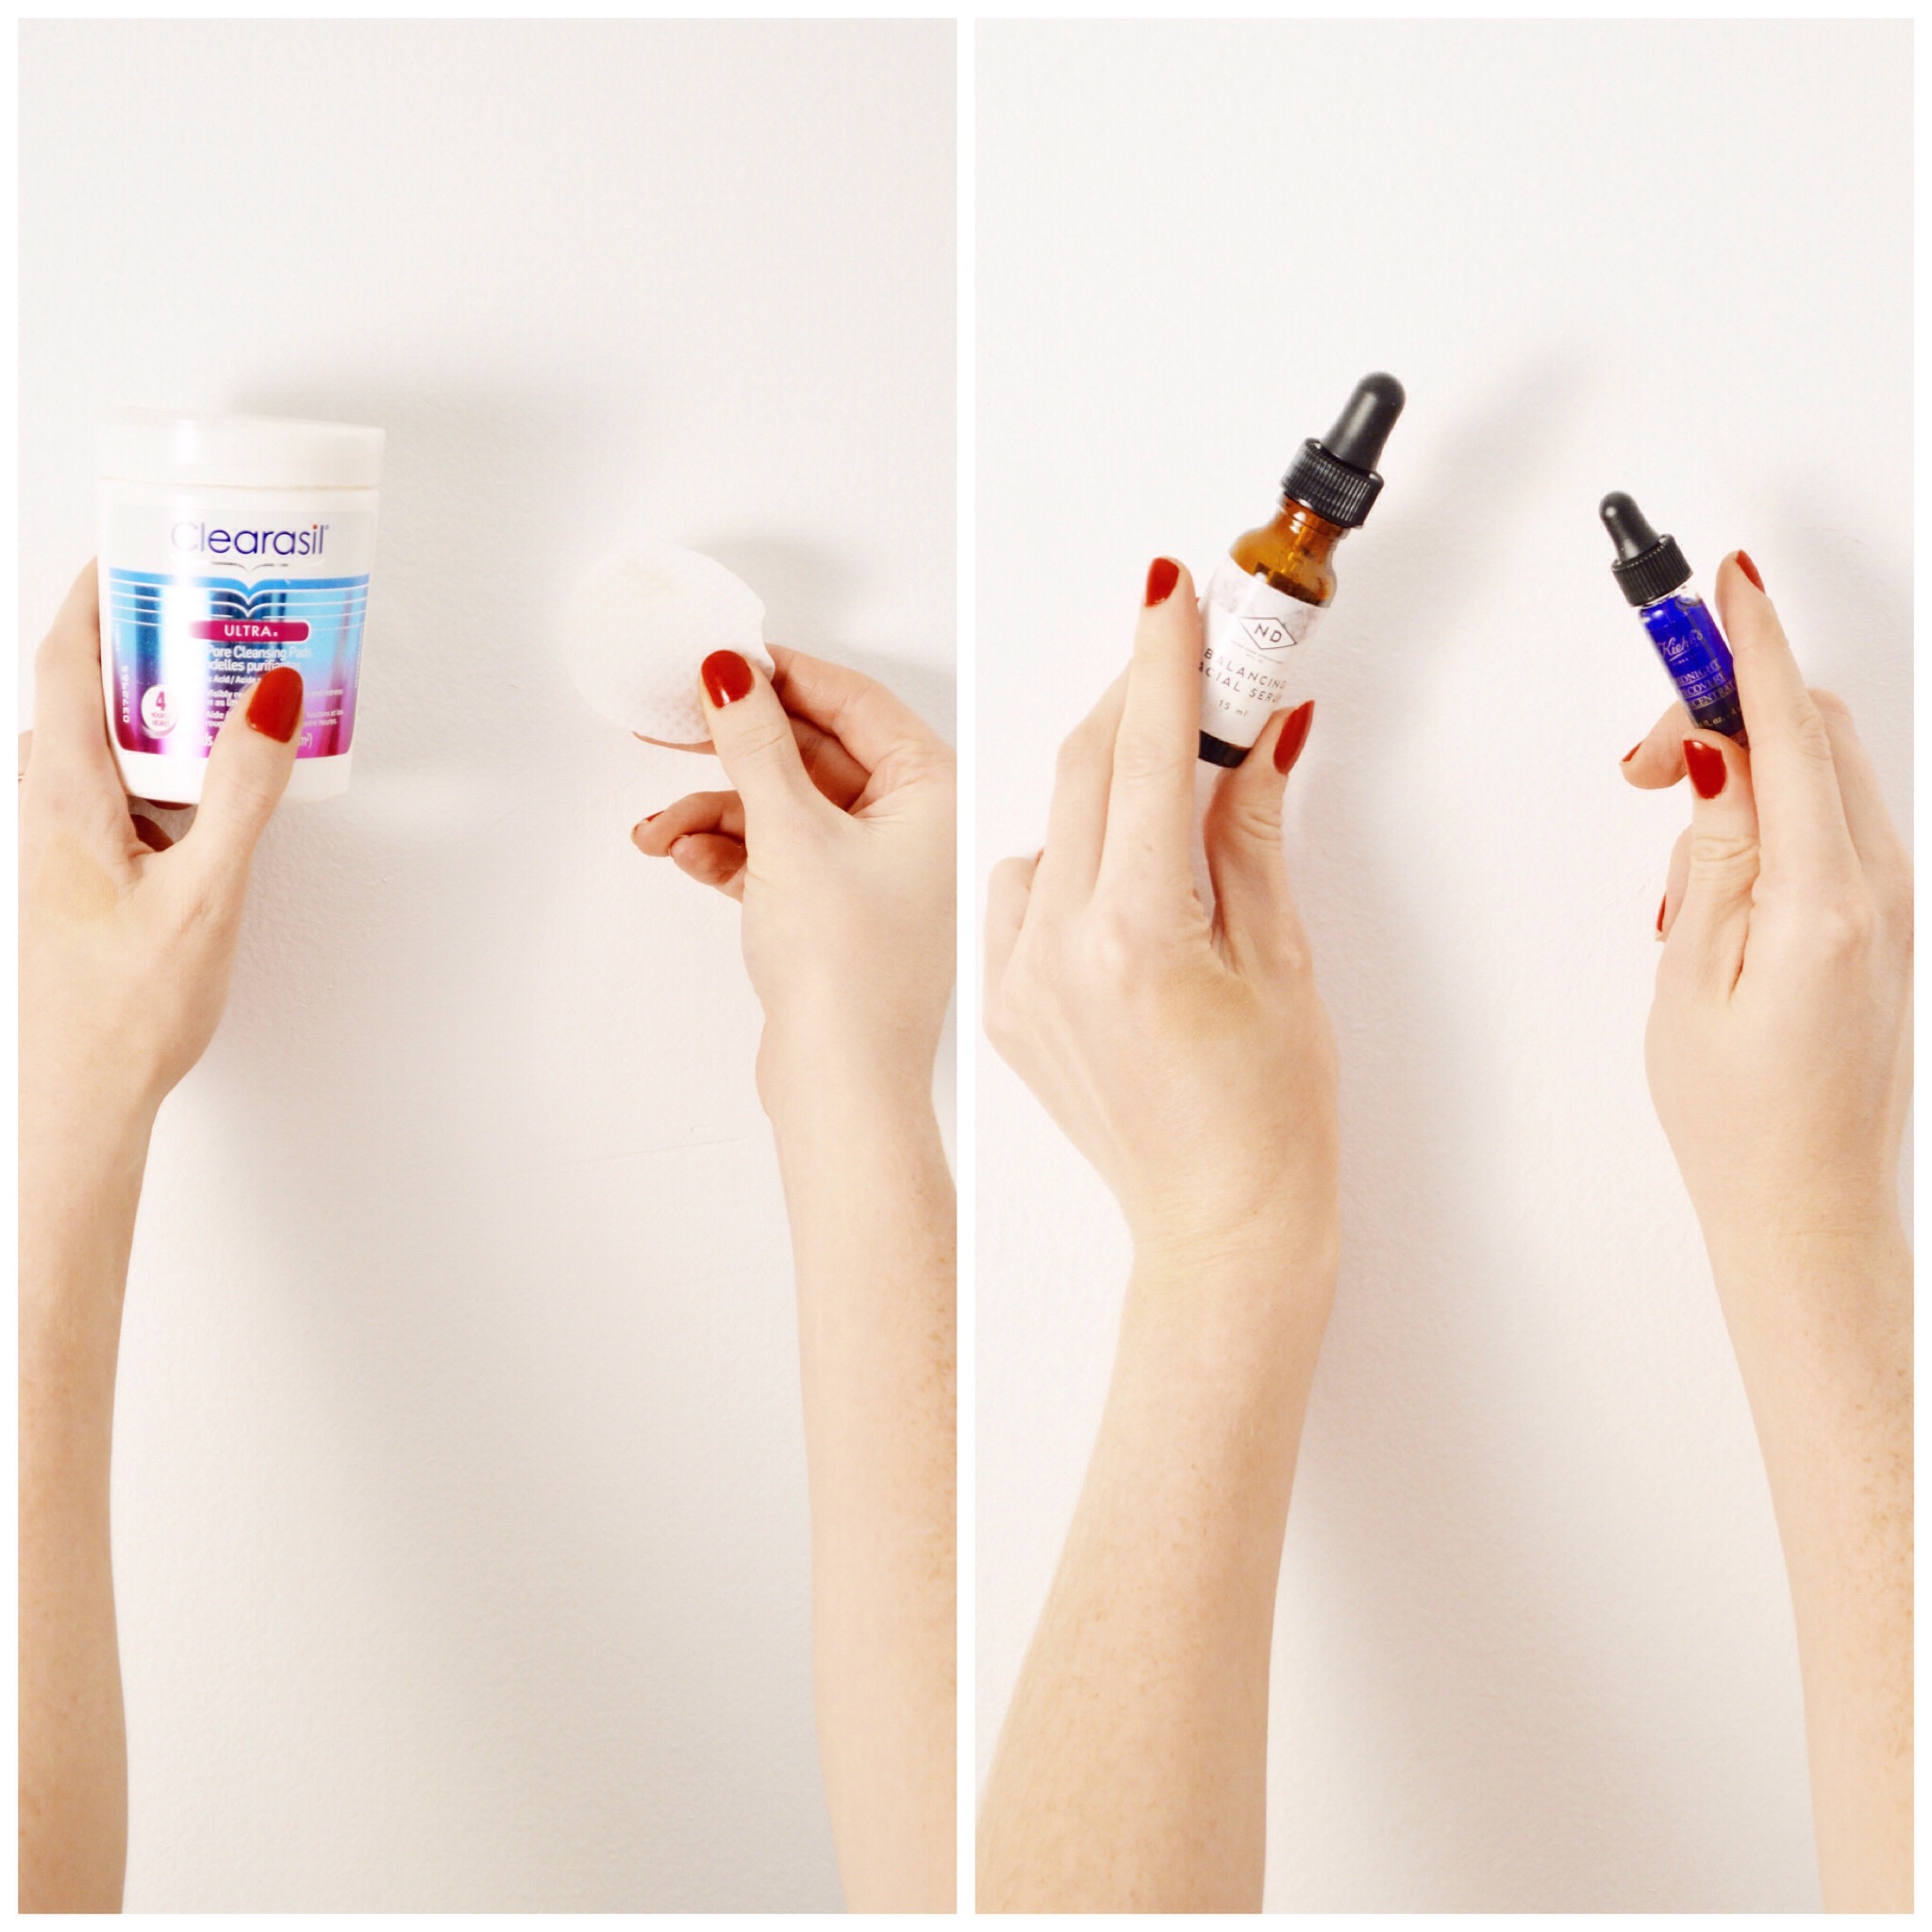
4. To finish off my night-time routine and give my skin an extra bit of love after all that acne treatment business, I use a combination of Notre Dame Apothecary Balancing Facial Serum and Kiehl’s Midnight Recovery Concentrate. Originally I had just been using the NDA serum, but I got a tester of the Kiehl’s oil and thought why not put them together. Both these products leave my skin feeling nourished and hydrated for ultimate smooth skin dreaminess in the morning. The Kiehl’s recovery replenishes the skin, while I find the NDA oil helps reduce any redness and combats my zitty friends.
I hope some of you found this helpful. Let me know if you use any of these products and tell me about your favs!
*find more beauty posts here

 It’s New Years Eve, and for those last minute peeps (much like myself) who aren’t quite ready, I thought I’d offer a simple look, easily achieved, but quite suitable for a night of ringing in the New Year right proper.
 Dress c/o Unique Vintage
 As you can see, my fringe is a little out of control these days. It’s been about 4 months since I had a trim, and I’ve been pretty lazy about booking a hair appointment or trimming it myself (which I usually do). I figured I was likely not the only one this happens to regularly, so I thought it made sense to show you some ways to style your fringe when you’re in-between haircuts or trying to grow out them bangs, so that our eyeballs may see and not be poked by strands of hair all day long.
 The Bette Middler: This is a style I sport most often when my bangs are too long to sit straight across my forehead; it’s pretty simple as you can see…just part your bangs down the middle, following your natural part (if you have one). If you find your fringe is not staying in it’s desired place, try bobby pinning each side for a little before leaving the house – that should help to keep them in place, and when in doubt, a little hairspray goes a long way.
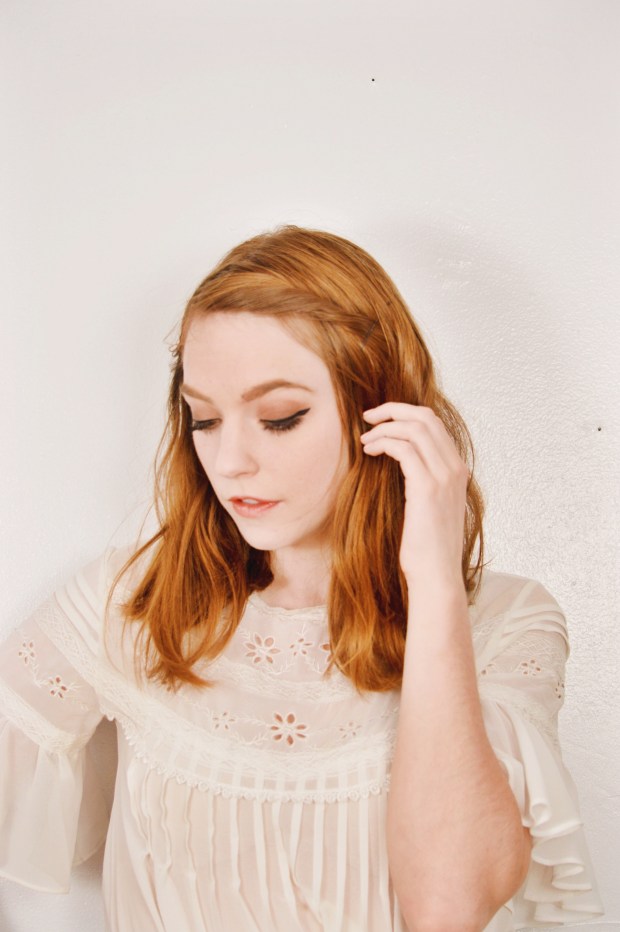 The Twister: This style can be a bit scary if you don a straight-across fringe religiously, like myself – I mean, our fringe is what hides our forehead, and now we are exposing it! But you know what, lets live without fear! To achieve this style, just start twisting your fringe at the root and continue down until our entire fringe is twisted and then fasten with a bobby pin; you can hide that pin by placing some hair over-top or you could also use a fun hair clip to hold in place.
 The Wave: This one is a teeny bit more time consuming, but well worth it. Parting your fringe to one side, use a curling iron (a flat iron might work as well), and wrap parts of your fringe – starting from the root and working downward – in an ‘under and over motion’ around your iron, so that your waves (or curls) are held upwards, a la Farrah Fawcett styles. Continue this until you’ve got your desired wave going on.
 The Side Bitch: Another style I sport most often is a simple side bang. In my case, naturally, my hair likes to part this way, so it’s quite easy for it to stay in place, but if you are finding it is moving about, again, a bobby pin to hold it in place will do, either all day if you have a cute pin, or just for a little while before leaving the house so your hair knows it’s place (she just a side bitch, after-all).