
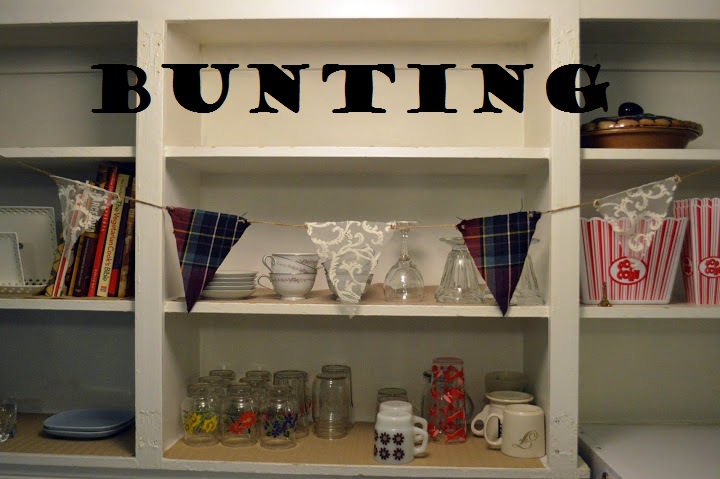
This week’s installment of D.I.Y. Wednesdays is another lazy one I’m afraid (we’re going to get better, we promise!). Still, this bunting, albeit incredibly easy to make, is a fun craft and makes for a pretty darn cute decoration!
All you’ll need is:
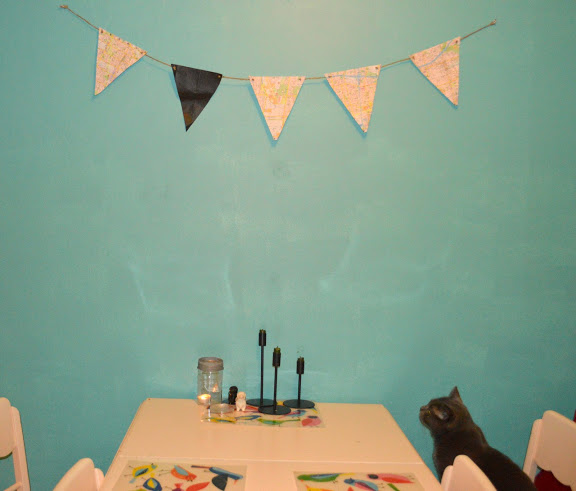
- Some cute looking fabric or paper that you don’t mind cutting up (Alex used leftover fabric from some curtains she made, and a dress she hemmed – and I used a map of Toronto!)
- Scissors
- A hole punch
- Some twine, yarn, ribbon or string of any kind
- A ruler or pre-measured triangle cut out to ensure your pieces are the same size
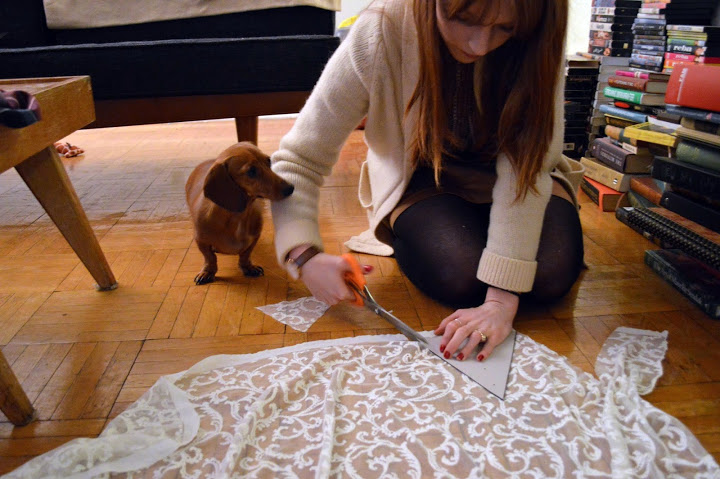
For starters, cut your fabric or paper into equal sized triangles. We measured and cut one out of cardboard and used it as a template. If you want to go the extra mile inch, you can finish the edges of your fabric using a serger or a zigzag stitch to keep it from fraying. If you’re using paper, make sure you lay it out flat, and maybe even dry iron it so it doesn’t curl up.
Once you have your triangles, use a hole punch (or if you don’t have one, like us, use a nail) to punch a hole on both top corners of each triangle.
Next, string your yarn/twine/ribbon/string/etc. through the holes. We used short lengths of twine between each piece, and tied knots at each corner. You can also thread it through the holes and have the string run along the back of the piece of paper/fabric. Up to you. Leave a little length of cord on either end of the bunting to hang it with.
Find a spot in your home where you’d like to hang it – the edge of a shelf, or above a table, or really anywhere you’d like – and tie it to some nails, or thumbtacks. You can let the middle sag a little like we did, or hang a nail in the center to make a sort of double dip.
This will likely be one of the easiest crafts you’ve ever made, but it’s a really fun way to decorate your house for a party, or just in general.

Posted by Meaghan & Alex

I love how easy and super cute this is!! xxM
LikeLike