
 HOW TO KILL A SWEAT MONSTER
I don’t know about your summer, but mine has been real sweaty! I had no intention of letting my hair grow as long as it has, but with many scheduling issues trying to book a haircut and lets be honest, pure laziness, my hair has become a huge source of heat, warming my already warm self on hot days. To prevent from becoming too, what I like to call, heangry (heat angry), I need to wear it off my neck and/or forehead a lot of the time, so I’m going to show you three of the easiest and most common hairstyles I have been wearing when I am in desperate need of a quick forehead/neck cool down. These are by no means hairstyles you haven’t seen before, but I think it’s quite easy to end up just throwing your hair into a topknot because it’s fast and relatively simple, however, imho, these styles are just as fast and certainly as simple, so why not try something different next time you find yourself becoming a sweat monster. HERE WE GO!
 The Pippi: We can only assume Ms. Longstocking was v chilled down all the time; You’ve all seen pigtails, you’ve all seen braids. No explanation needed. Neck cooled, instantly.
 A No-Braider: something that requires or involves little or no mental effort…which is is the definition of no-brainer, but is quite a fitting explanation for this hairstyle as well; I’m going to be honest, I don’t know how to do one of those trendy fishtail braids, and no one has time for that when they are in desperate need of sweat relief anyway. Why not try a simple braid in the back, takes no time (well, a little time) and looks just fine messy and a bit wonky.
 Cinnabun Minibun: This style is certainly hot like a tasty mini cinnabon atm, but not in the literal sense (cooled down is theme here afterall); Yes, this style is v trendy right now, but let’s be real, when you want the hair off your face while still showing off your luscious locks, its the ultimate style. Little tip: if you aren’t a bun master or your hair is thick like mine, fake bun it! On your last pony tail loop, pull your hair through only a bit forming a “samurai” bun. Much faster and honestly holds better than a true bun for you thick haired folks.
Tell me about your sweaty head go-to hairstyles in the comments below! Will you be trying any of these?
Thanks to all the cuties who gave name suggestions for these hairstyles! Was so nice and fun to read all your great ideas! Love you all!

 1. I’ve said this for every one now, but, get a lip pencil. It will help immensely because we are drawing outside our natural lip line…unless of course you already have full lips. But even still, pencils just make everything more clean. The lip is horizontally elongated and we focus less on the “heart shape” lip look.
 2. Elongated and round is the look of the lower lip. Should be real easy to achieve
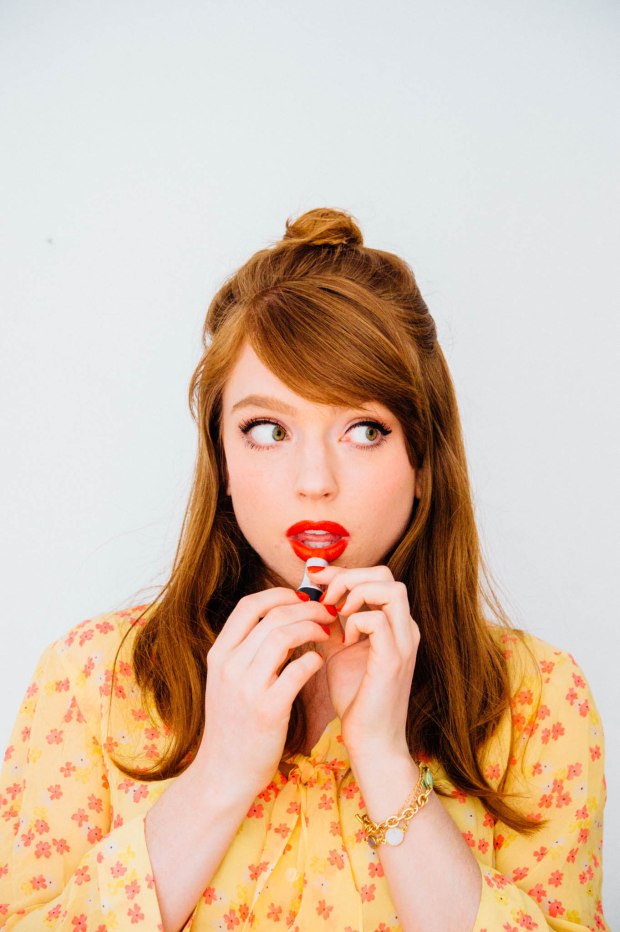 3. Grab your lipstick and clean it all up. Hide that lip liner and get those lips looking as punchy and plump as you’d like.
 And that’s it! Big, beautiful, in your face lips!
 1. A lip pencil is key for me when putting on a red lip, and to achieve this particular look I think it’s pretty essential. We’ll need to overdraw the upper lip, so having something with more precision will help you (unless you are magical, in which case, teach me!). Note that the upper lip is horizontally elongated, while still being shapely.
 2. The bottom lip is round, but like the top lip, elongated. This lower lip should be super easy to draw.
 3. The fun part, fillin’ em in! For this one I also used Dubonnet by MAC since berry shades were popular at this time (although in the later 30s, orange shades became a thing, much to my delight). Be sure to start covering your outline and cleaning up any shaky bits with your lipstick.
 4. When learning about this lip style, I noted many images of women with a bit of gloss on their lower lip, right in the centre. I liked the idea of recreating that look, so I used my Bert’s Bees red gloss that has a bit shimmer and applied it right to the centre of my lower lip. This is not a necessary step, but I personally like it.
 And voila, you are looking 1930s glamorous in almost no time at all!


 1. I pretty well always use a lip pencil to outline my lips before lipstick (a v much like precision), but regardless of my habits, I really believe a lip pencil is helpful in achieving this look, at least at first. 1920s lips are all about the cupid’s bow shape and not everyone has such a defined lip shape, so a pencil is v helpful in creating this look.
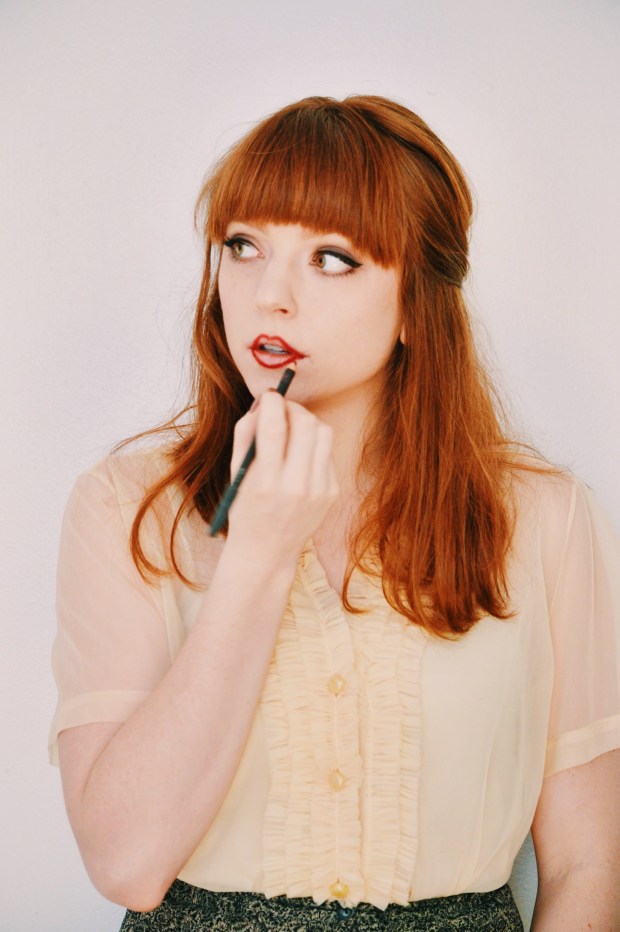 2. The bottom lip has a very rounded shape, like a wide U and like the upper lip, needs to be under-drawn at the sides. The upper and lower lip should match up, so keep that in mind when under-drawing.
 3. Now the easy part! Filling in those lips. I used Dubbonet by MAC first, which is a creamy deep berry shade and fairly glossy (perfect for this era) and on top of that, very lightly brushing 01 by Kate Moss – which is a traditional matte red – over the base, which creates nice depth to the lips.
 Et voila! Not too hard, right? I think this lip style is not too over the top (like it’s counter-part, 1930s lip can often be), and could be worn any time.