
 Yes, I got a haircut…
I realized I forgot to mention that here! I did share my haircut (that I got a couple weeks ago, actually) on insta and snapchat (pushyspence), but not all of you may follow me there, so it was a bit silly of me not to share it here as well. Better late than never I guess.
xxxxxxxxxxxxx
I thought today I would also share with you one of the ways I have been styling my bob. It’s funny, you’d think having short hair would be less maintenance, but actually, it’s been more maintenance, at least for me. I did very little to my long hair each day – I could always just get up and go – but now I have to do something to it or (like my boyfriend lovingly called it) it will look like “mom hair”. Prior to getting this haircut, I had pinned and looked at tons of images of gals with the cut I wanted so I would be able to reference that when styling it myself. Because really, you can ask for a haircut from an image, but you certainly cannot expect it to look that way unless you learn to style it. So this is one of the ways I have been styling it, which is a traditional 60s does 20s bob style, but a bit more messy because sleek hair scares me. Pre-style: Because I have pretty straight hair that doesn’t love to do anything (except the opposite of what I want it to do), I have to will it a bit to get that dishevelled look. To make my hair more malleable and tousled looking, I spray some salt water spray (well this one is actually a salt-infusion…whatever that means) evenly throughout my damp or dry hair. Salt water spray just helps to give you that kind of beachy feel and look to your hair.
  Styling: Parts of my hair do actually naturally curl into my face, but other parts don’t, and since I’m not all that good with a round brush/blow dryer combo and since I don’t wash my hair everyday, I’ve been using my flat iron to get my desired look. Sadly, my amazing flat iron that was given to me as a gift like 11 years ago (thanks Mel!) finally bit the dust last week (it was honestly so good! it lasted 11 years for goodness sakes!!), so I went out to the drugstore, doing very little research, and bought the Chi Air Expert – it has been working well so far, but I doubt it will be 11 years working well. Anyways! I seriously digress! Styling! Parting my hair and starting with the bottom layer, I take a section of hair, pull my iron down it and guide it towards my face at the bottom. I do this all around my head, pulling down a new section, until everything looks nice and curled into my face. I still style my fringe this way, so I won’t repeat that here. Tip! Make sure to only start turning your iron toward your face near the bottom, otherwise your going to have much too much of a mushroom look. Unless that’s what you want. It’s your life, of course. Do what you want!
 Finishing touches: At this point my hair is pretty sleek looking (oOoOo scary!) since flat irons have a tendency to make everything look perfecto, which is both a curse and a blessing, really. So from there I’ve been using a matte hair wax (which is Zach’s and I don’t remember the name. Sorry!) or this Fructis matte cream (that is branded as surf hair, which I find annoying, but I still bought it, so you tell me!). I use a little of the wax or cream, rub it into my fingertips to warm it up and then twist parts of the end of my hair with it, tousling it here and there, all throughout my hair (like a Dr. Seuss rhyme, apparently)…this is where you can manipulate your hair the way you want to achieve your desired messy look.
 And, c’est fini! Surprisingly, this doesn’t take all that long. The other way I have been styling my hair (which I will share later) takes a little longer, so I’ve been doing this one more frequently.
Do you have a bob? Tell me the ways you have been styling it! Thinking of getting a bob? Tell me about that too, in the comments below, as always 🙂
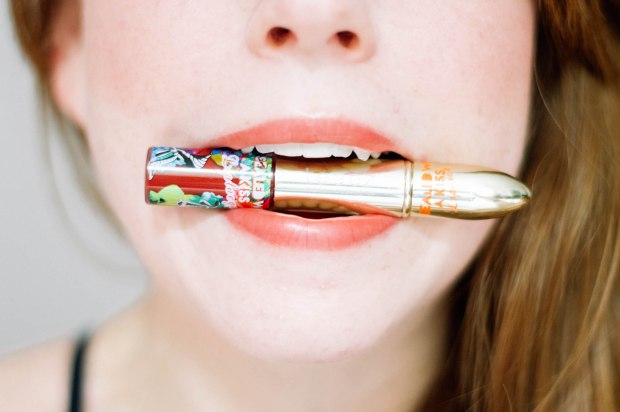
 GIVIN’ YOU LIP
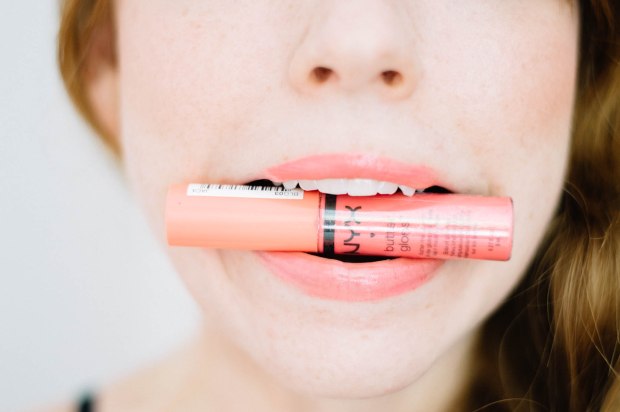

 HOW TO KILL A SWEAT MONSTER
 The Pippi: We can only assume Ms. Longstocking was v chilled down all the time; You’ve all seen pigtails, you’ve all seen braids. No explanation needed. Neck cooled, instantly.
 A No-Braider: something that requires or involves little or no mental effort…which is is the definition of no-brainer, but is quite a fitting explanation for this hairstyle as well; I’m going to be honest, I don’t know how to do one of those trendy fishtail braids, and no one has time for that when they are in desperate need of sweat relief anyway. Why not try a simple braid in the back, takes no time (well, a little time) and looks just fine messy and a bit wonky.
 Cinnabun Minibun: This style is certainly hot like a tasty mini cinnabon atm, but not in the literal sense (cooled down is theme here afterall); Yes, this style is v trendy right now, but let’s be real, when you want the hair off your face while still showing off your luscious locks, its the ultimate style. Little tip: if you aren’t a bun master or your hair is thick like mine, fake bun it! On your last pony tail loop, pull your hair through only a bit forming a “samurai” bun. Much faster and honestly holds better than a true bun for you thick haired folks.
 1. I’ve said this for every one now, but, get a lip pencil. It will help immensely because we are drawing outside our natural lip line…unless of course you already have full lips. But even still, pencils just make everything more clean. The lip is horizontally elongated and we focus less on the “heart shape” lip look.
 2. Elongated and round is the look of the lower lip. Should be real easy to achieve
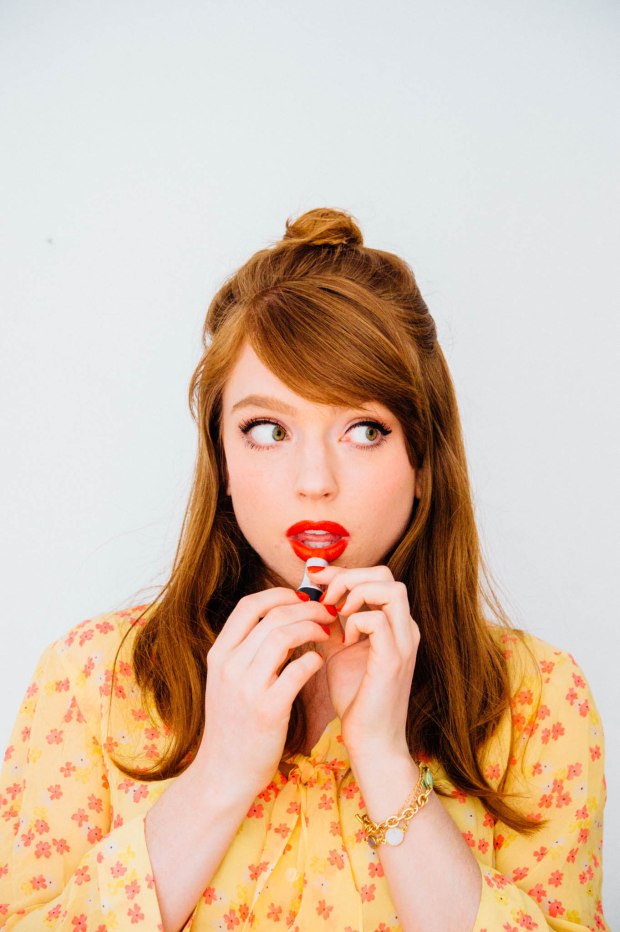 3. Grab your lipstick and clean it all up. Hide that lip liner and get those lips looking as punchy and plump as you’d like.
 And that’s it! Big, beautiful, in your face lips!
 1. A lip pencil is key for me when putting on a red lip, and to achieve this particular look I think it’s pretty essential. We’ll need to overdraw the upper lip, so having something with more precision will help you (unless you are magical, in which case, teach me!). Note that the upper lip is horizontally elongated, while still being shapely.
 2. The bottom lip is round, but like the top lip, elongated. This lower lip should be super easy to draw.
 3. The fun part, fillin’ em in! For this one I also used Dubonnet by MAC since berry shades were popular at this time (although in the later 30s, orange shades became a thing, much to my delight). Be sure to start covering your outline and cleaning up any shaky bits with your lipstick.
 4. When learning about this lip style, I noted many images of women with a bit of gloss on their lower lip, right in the centre. I liked the idea of recreating that look, so I used my Bert’s Bees red gloss that has a bit shimmer and applied it right to the centre of my lower lip. This is not a necessary step, but I personally like it.
 And voila, you are looking 1930s glamorous in almost no time at all!