
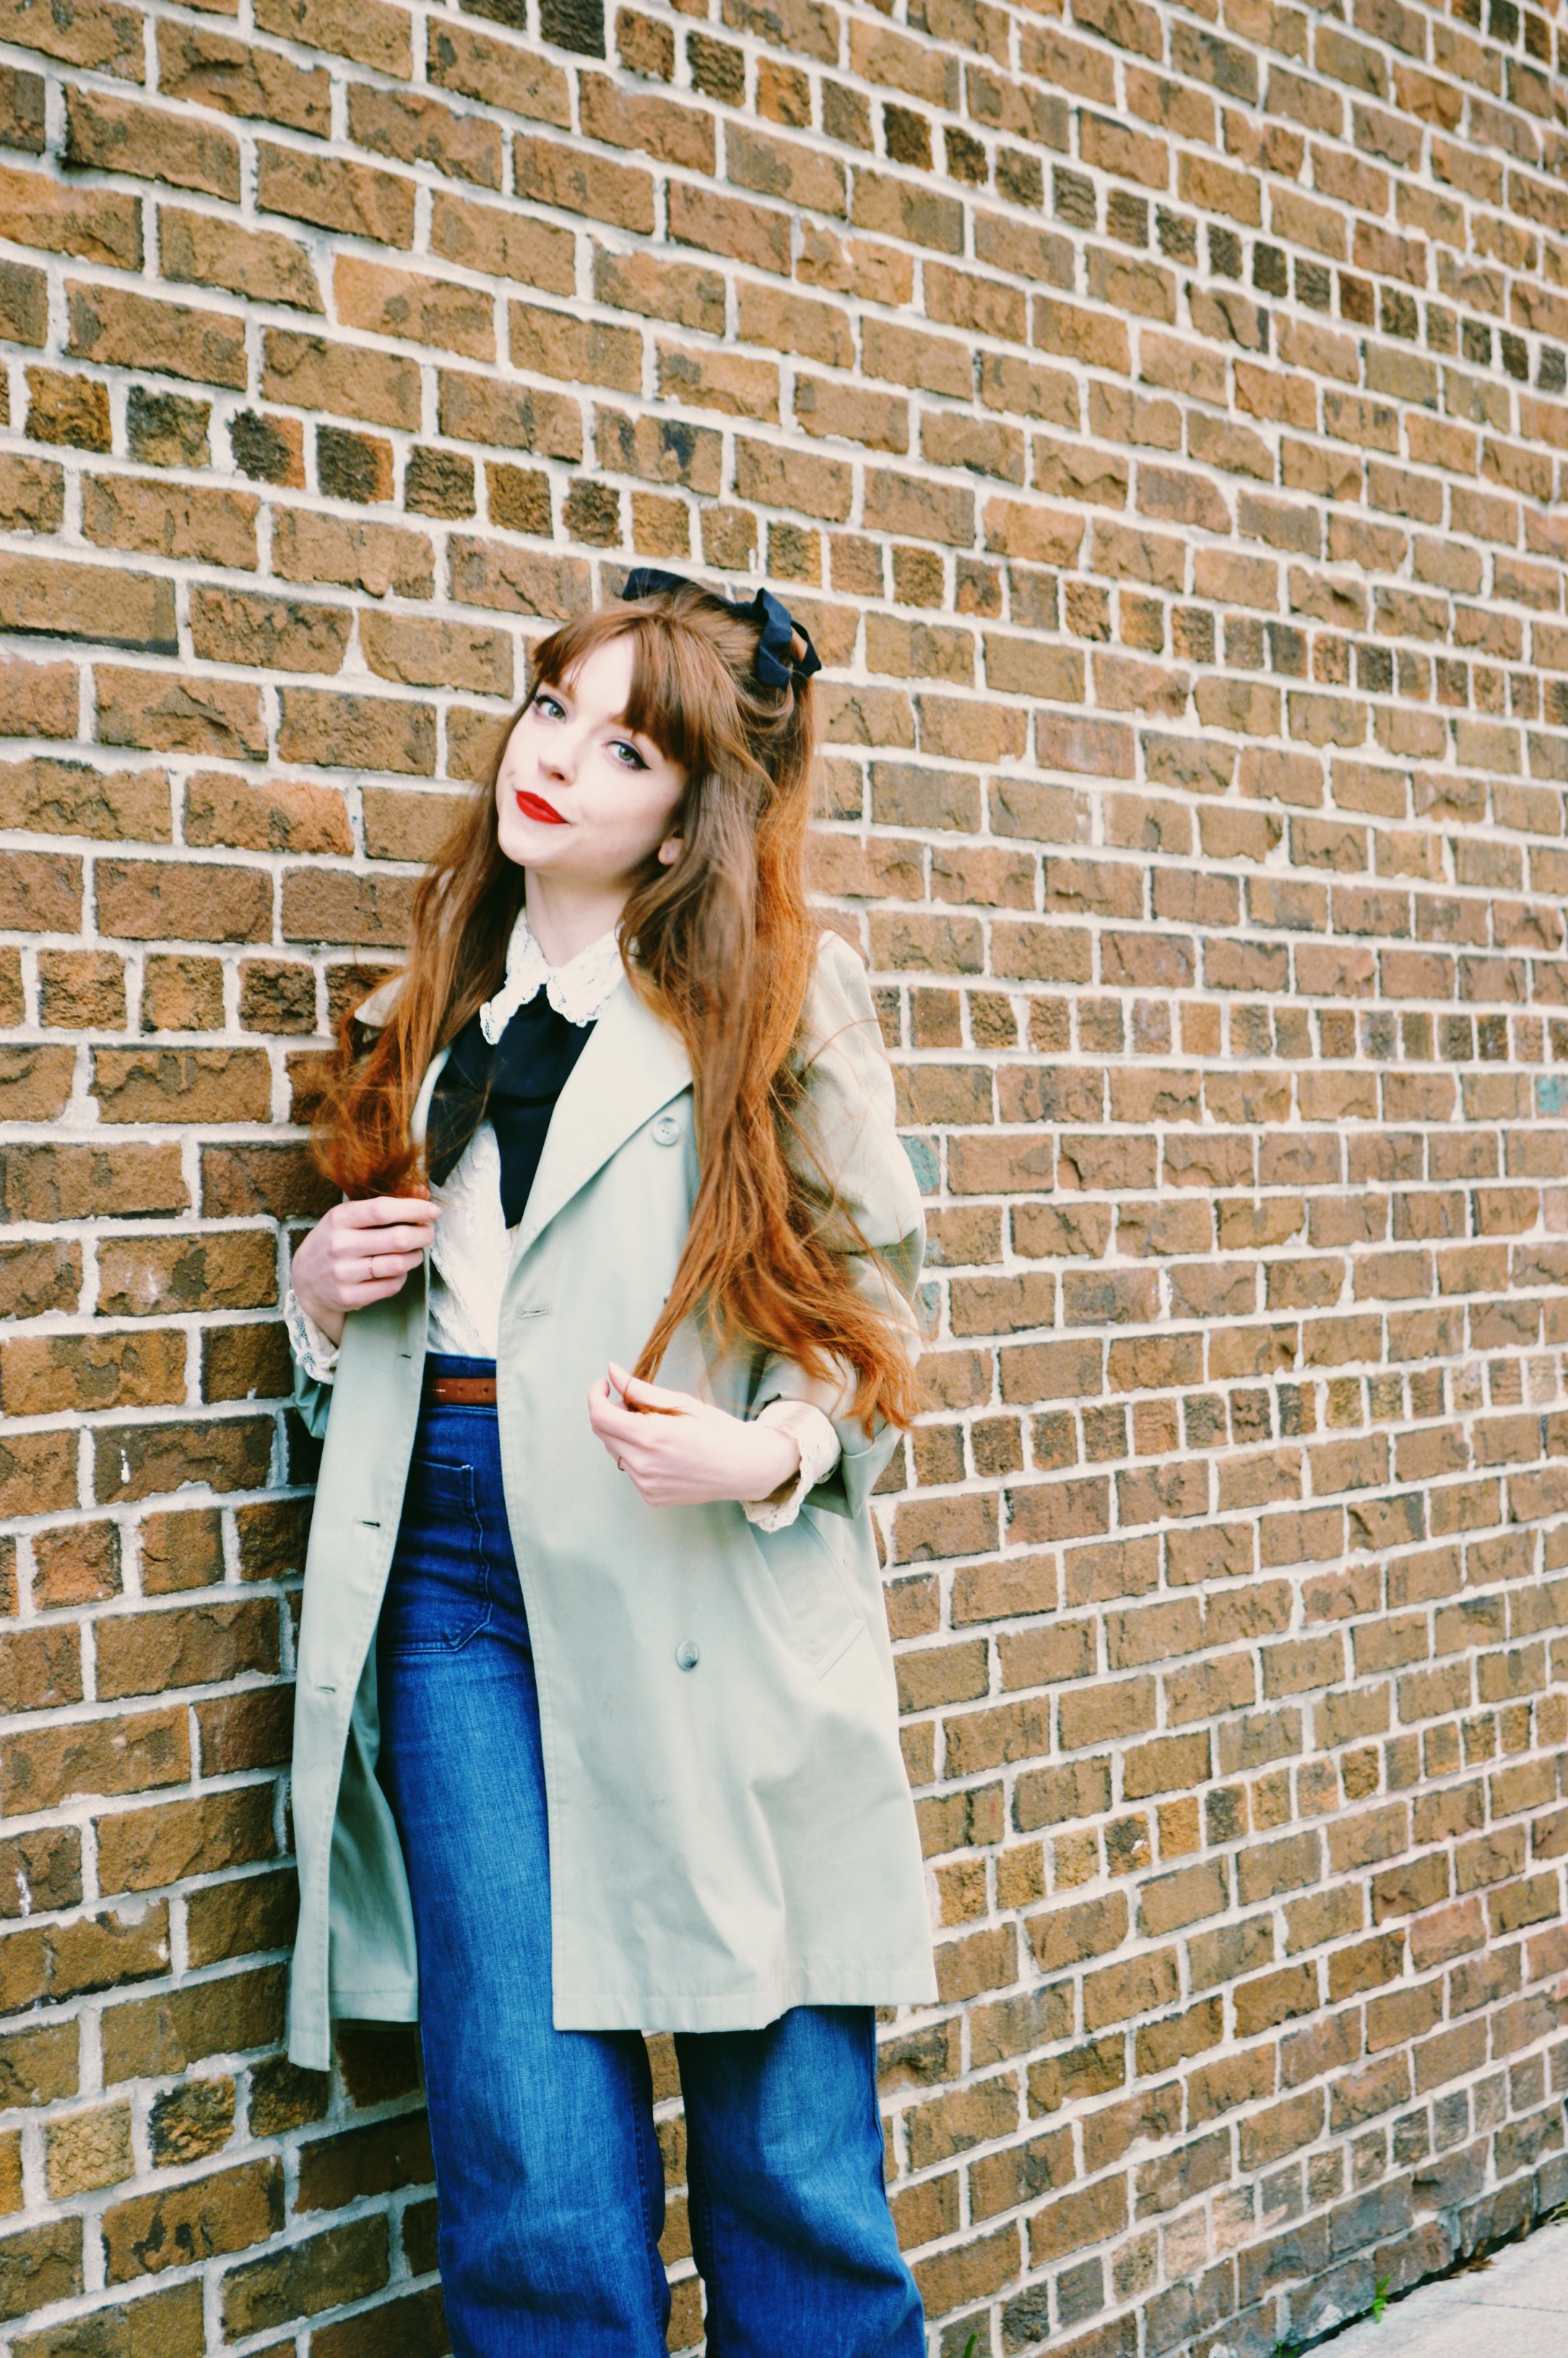
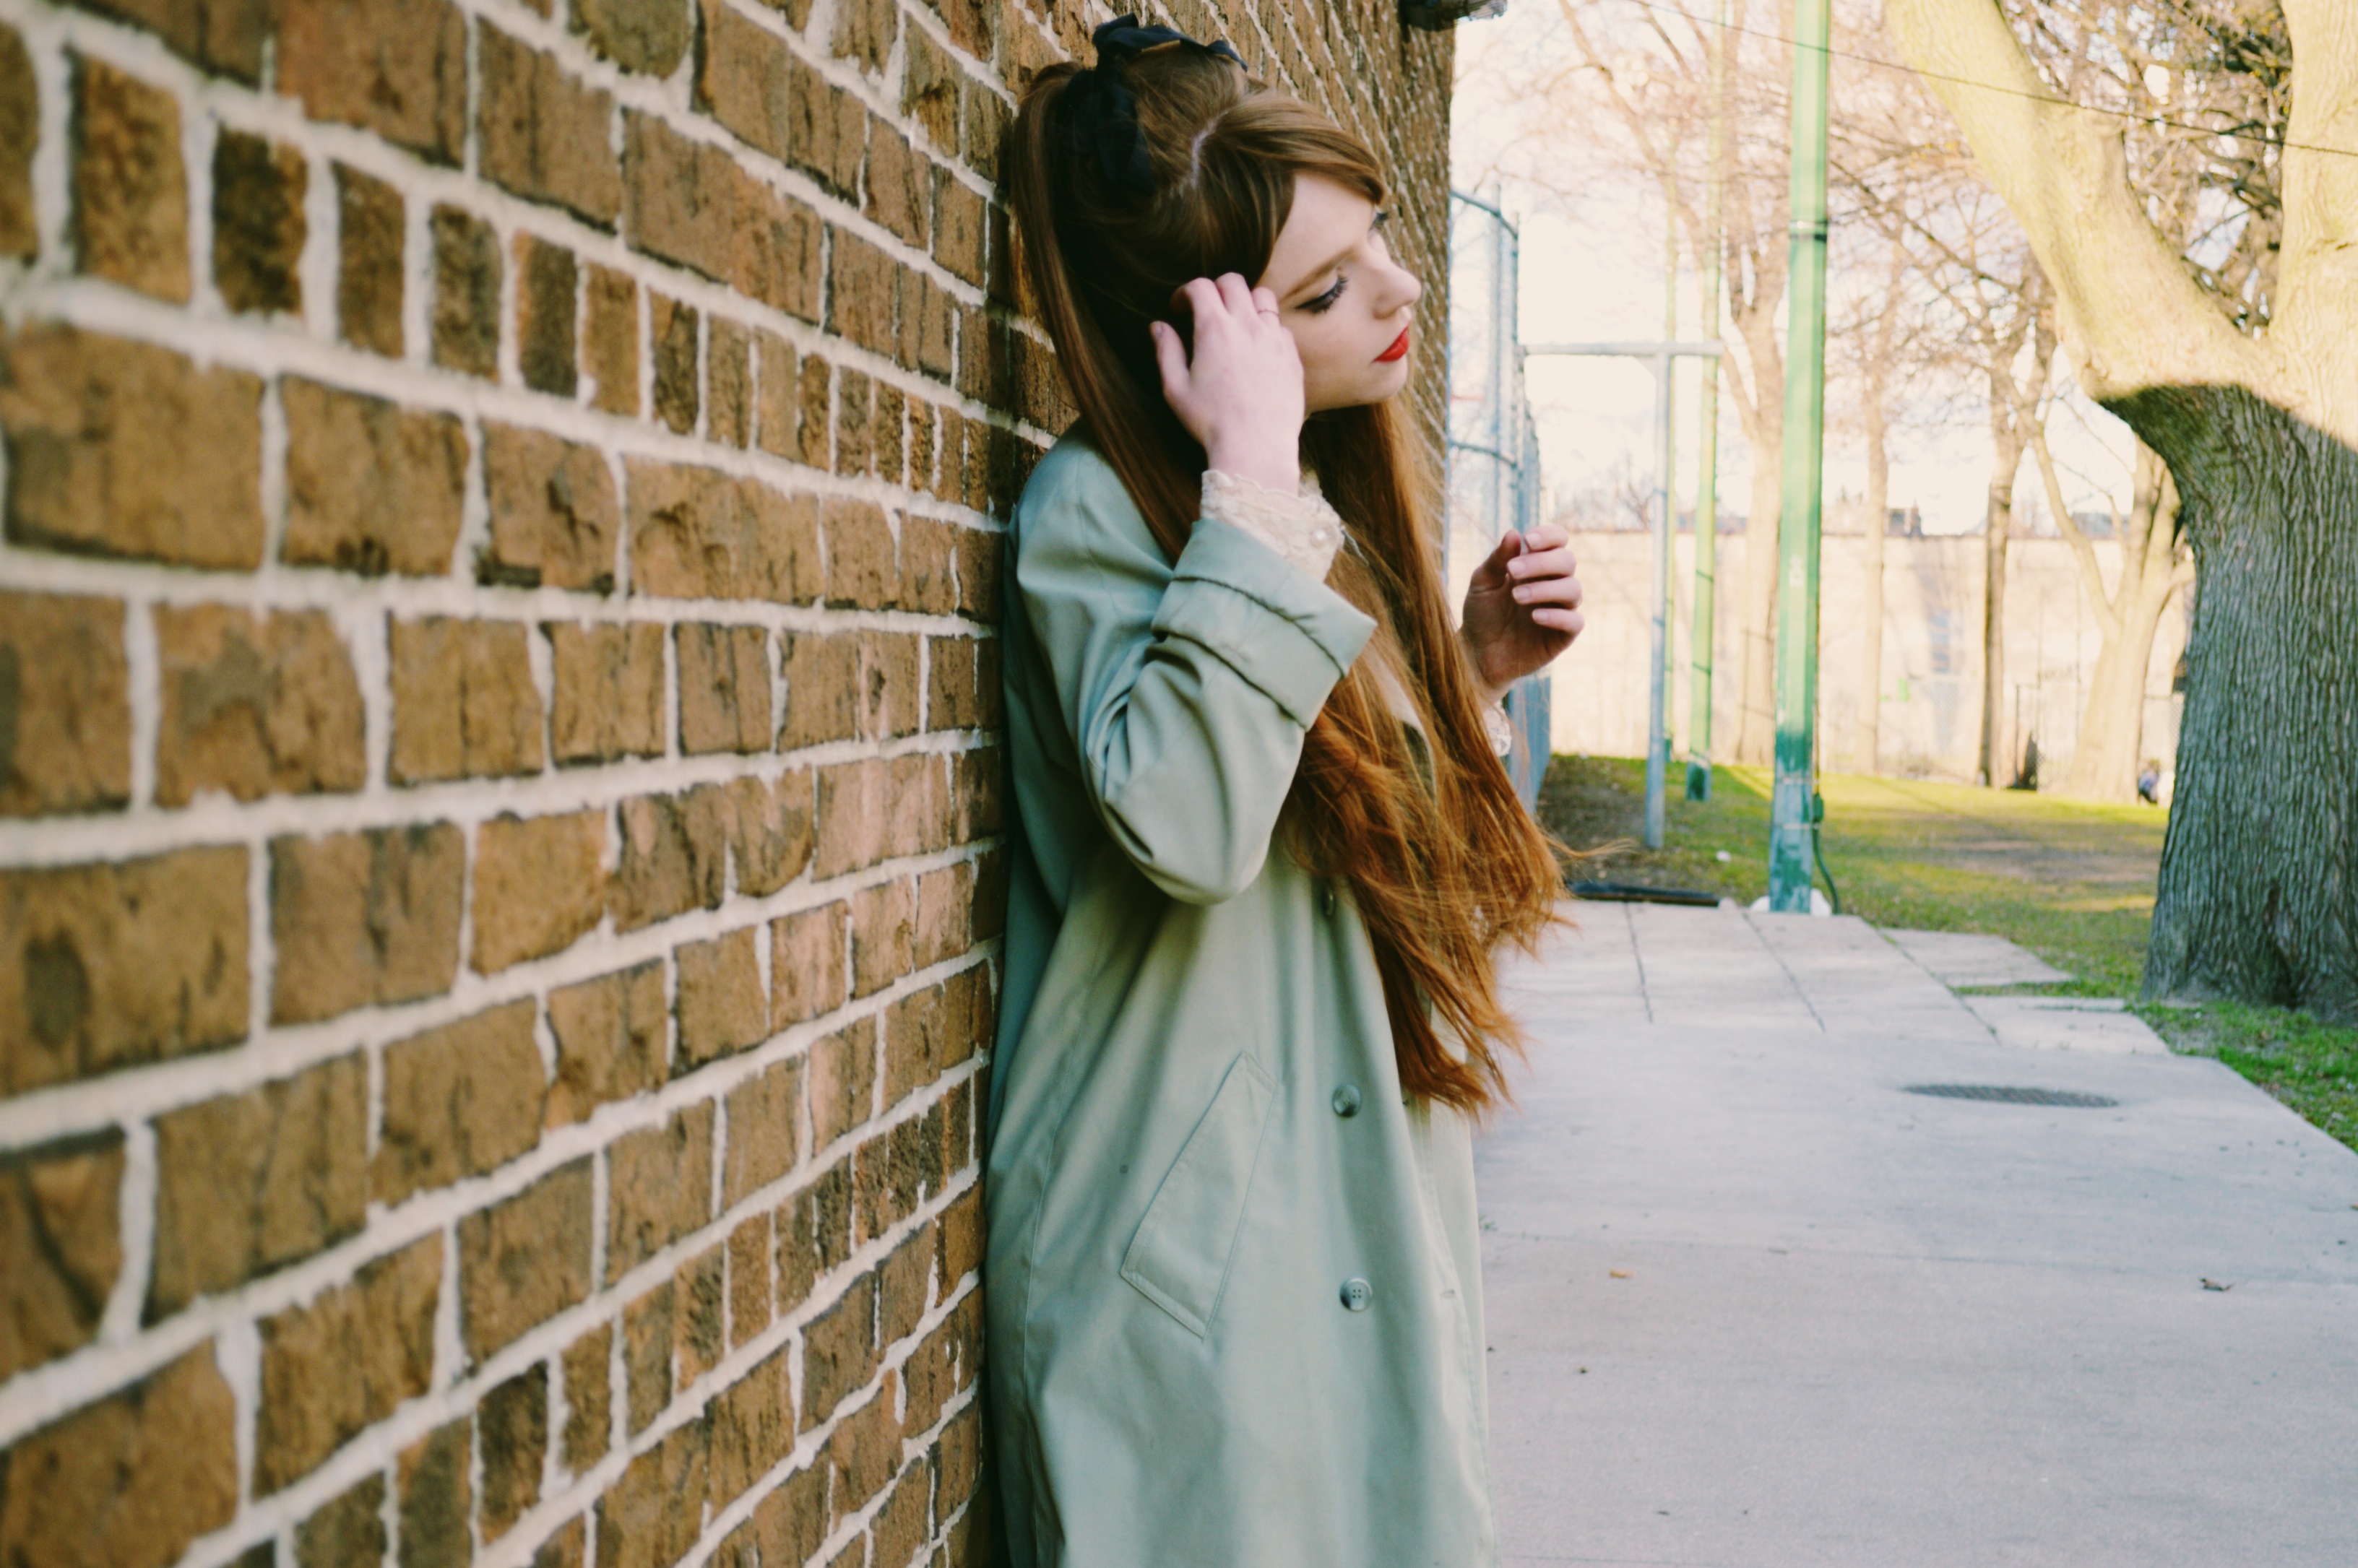
 If you had told me a year ago that I would purchase a pair of high waisted flared denim jeans, I would have laughed in your face. Yet, here I am, with a pair of high waisted flared jeans, and I’m loving them. When I bought them, I wasn’t really sure if it would end up being a wasteful purchase. I have a tendency to want to try new styles, only to find I feel totally uncomfortable and never end up wearing them. This is usually only the case with pants. It’s really just personal insecurities that make me dislike pants – my legs are too short, they look thick in pants (or in my own candid words, like sausages), I feel too masculine…silly things really. It’s not that these pants don’t make me feel that way…they still do at times, but I like them regardless, because they feel vintage, because they are so flippin versatile, because I can style them in a truly feminine way and because not having too worry about your dress/skirt blowing up in the wind is an amazing feeling. You probably won’t catch me wearing pants all the time, I’m still a dress/skirt girl to the very end (ride or die), but I like that I’m stepping out of my comfort zone and giving a little nod to the 70s, and an even bigger nod to Bridgitte Bardot with this hairstyle and oversized bow tie.
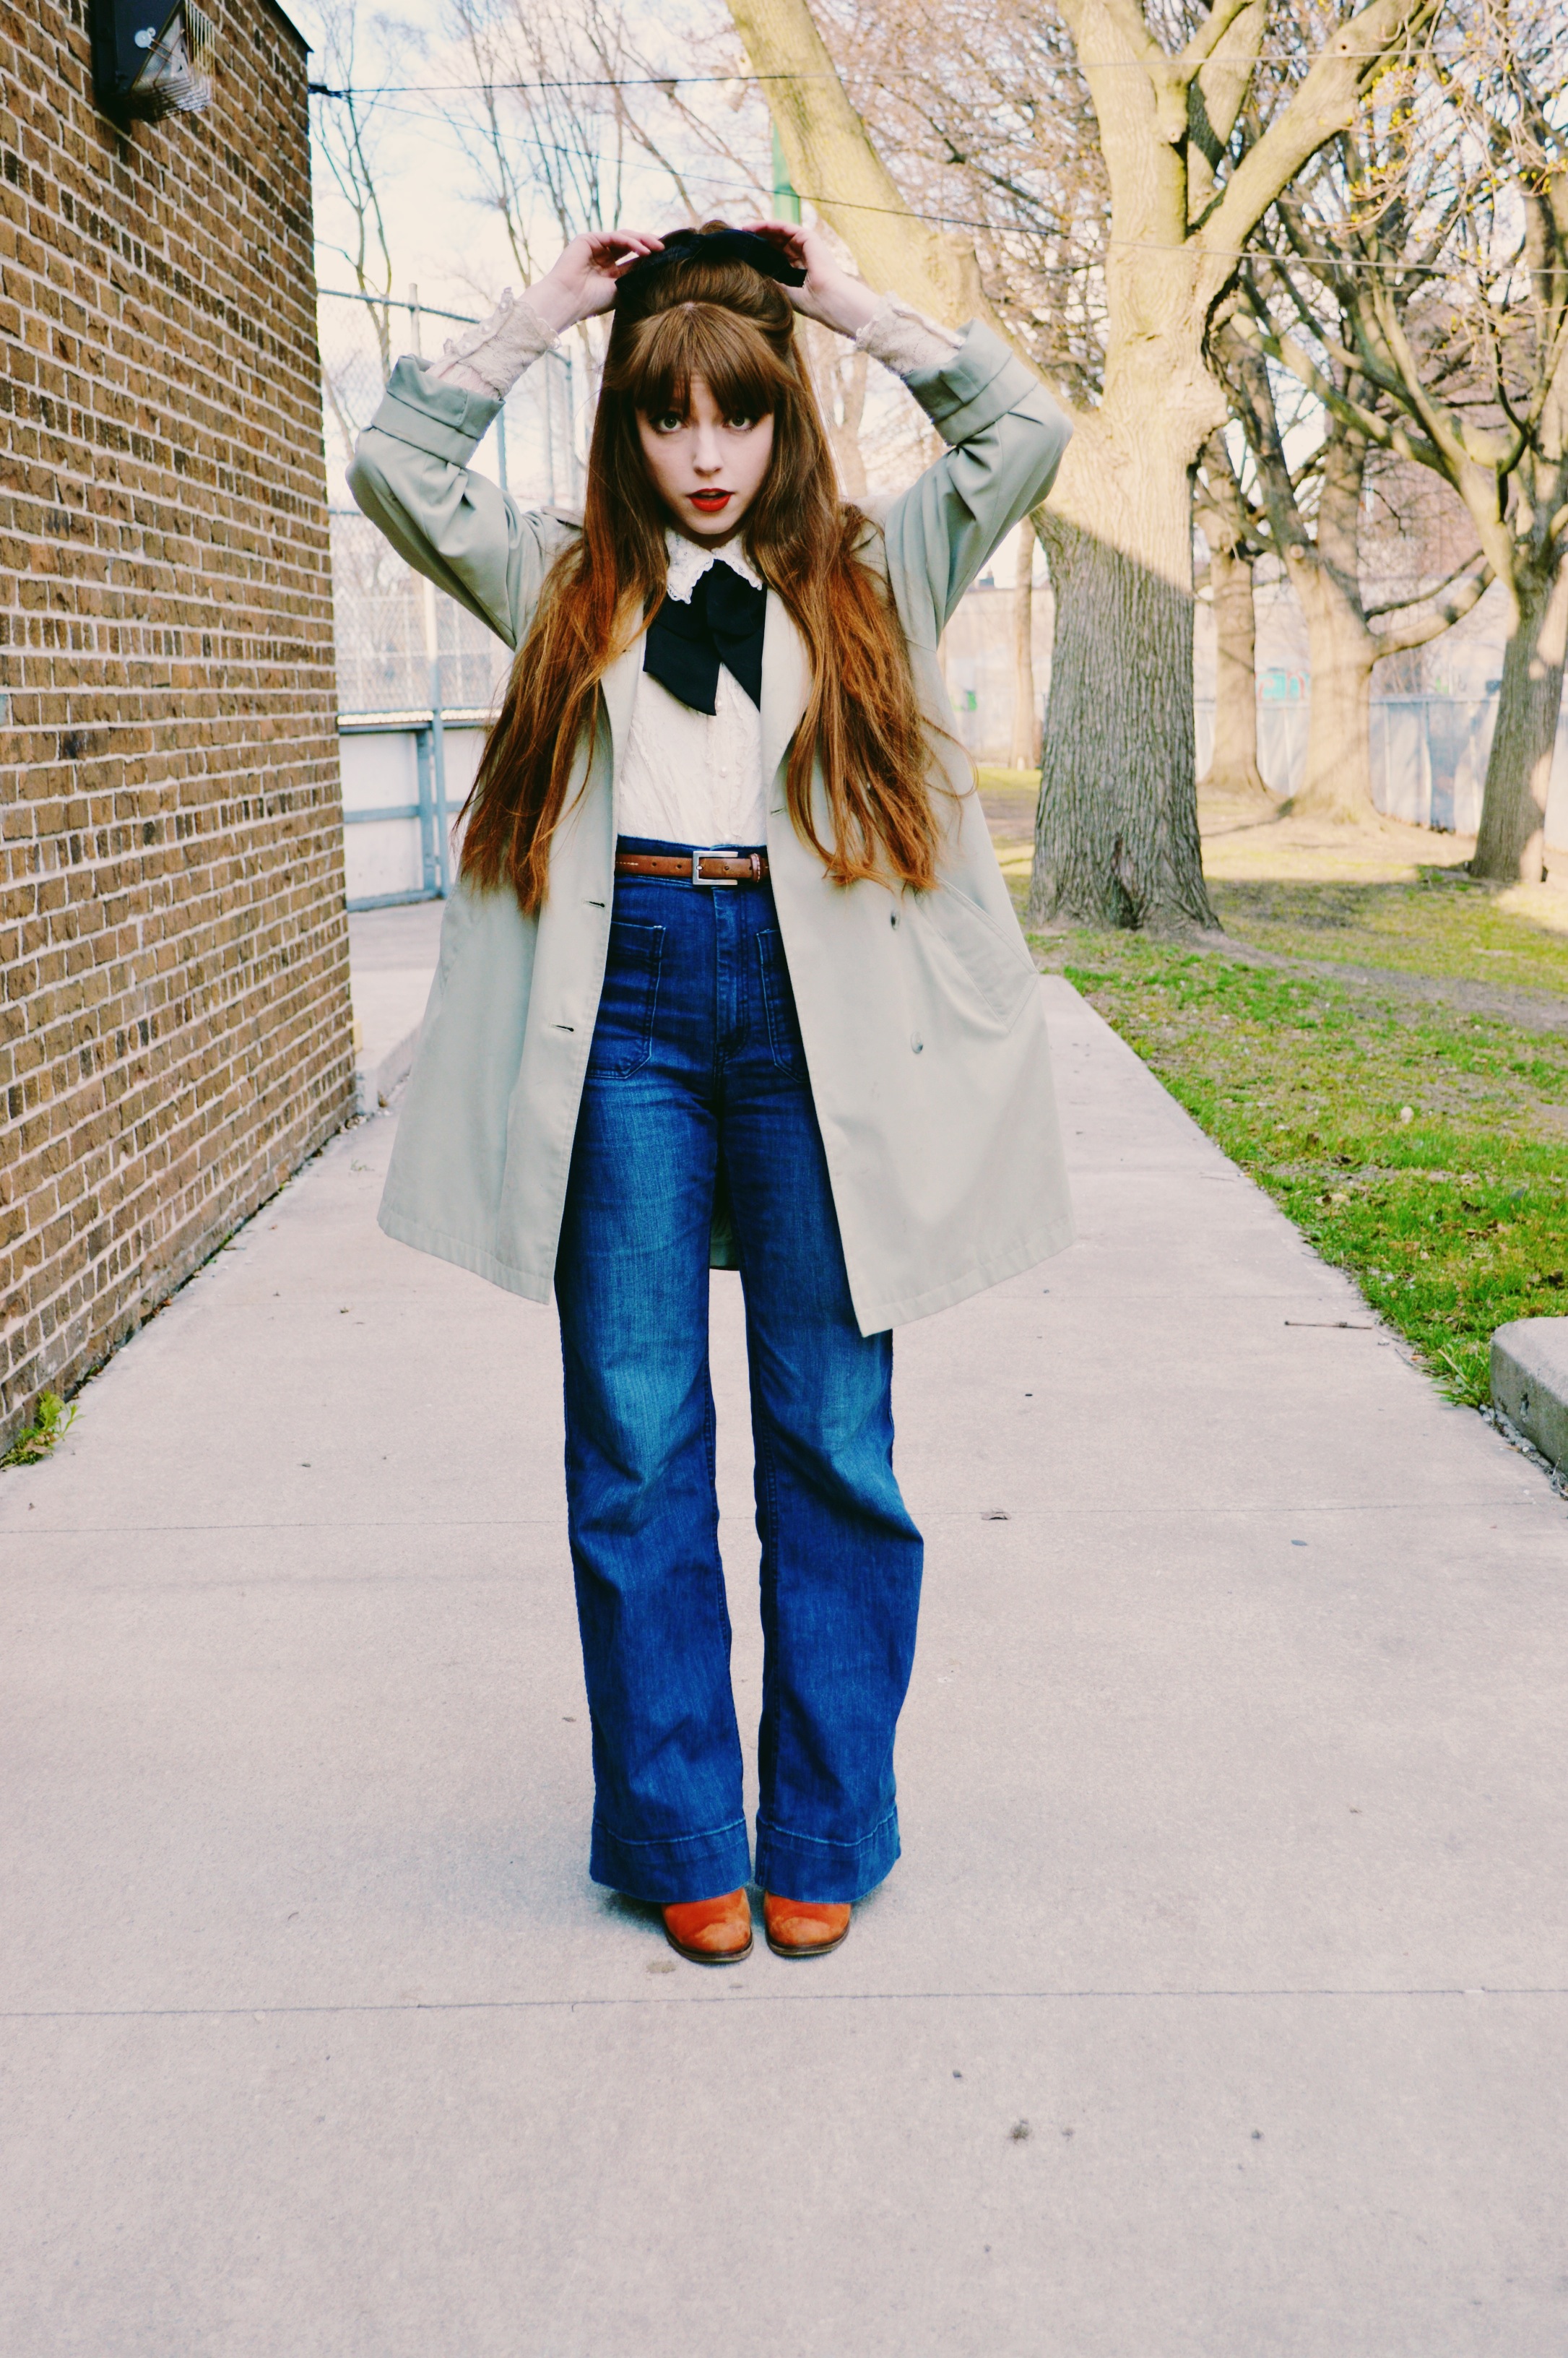
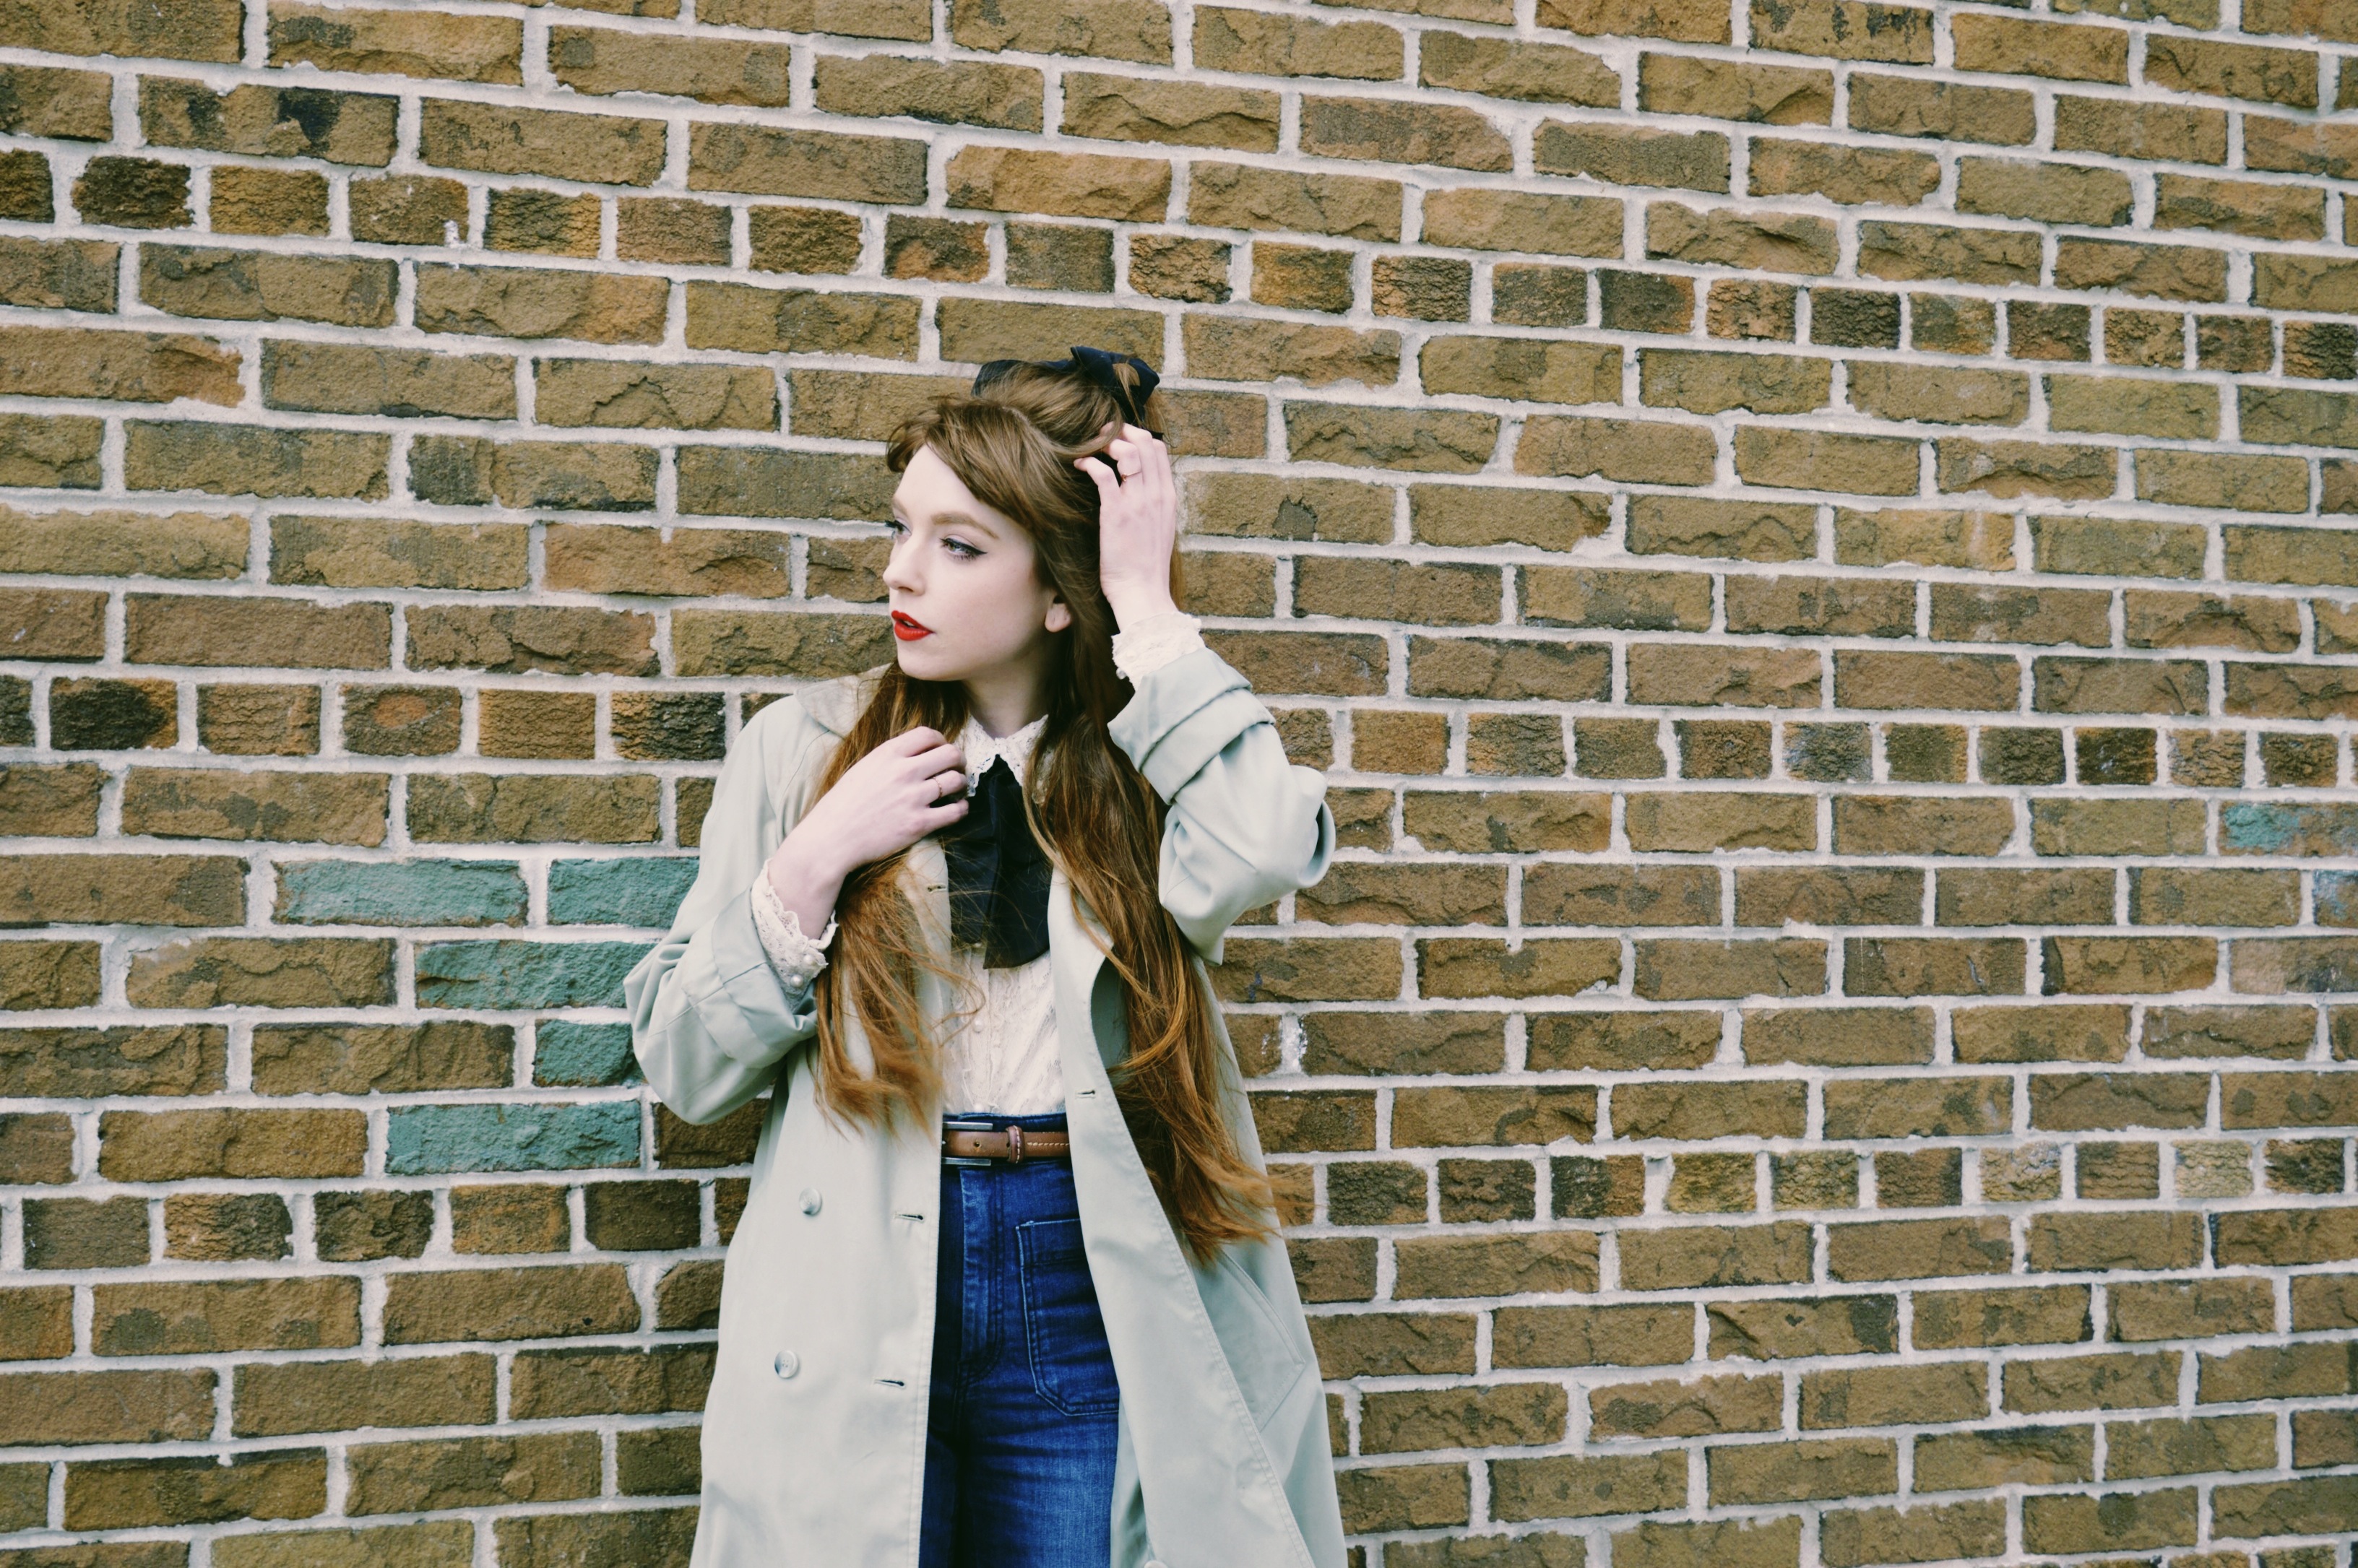
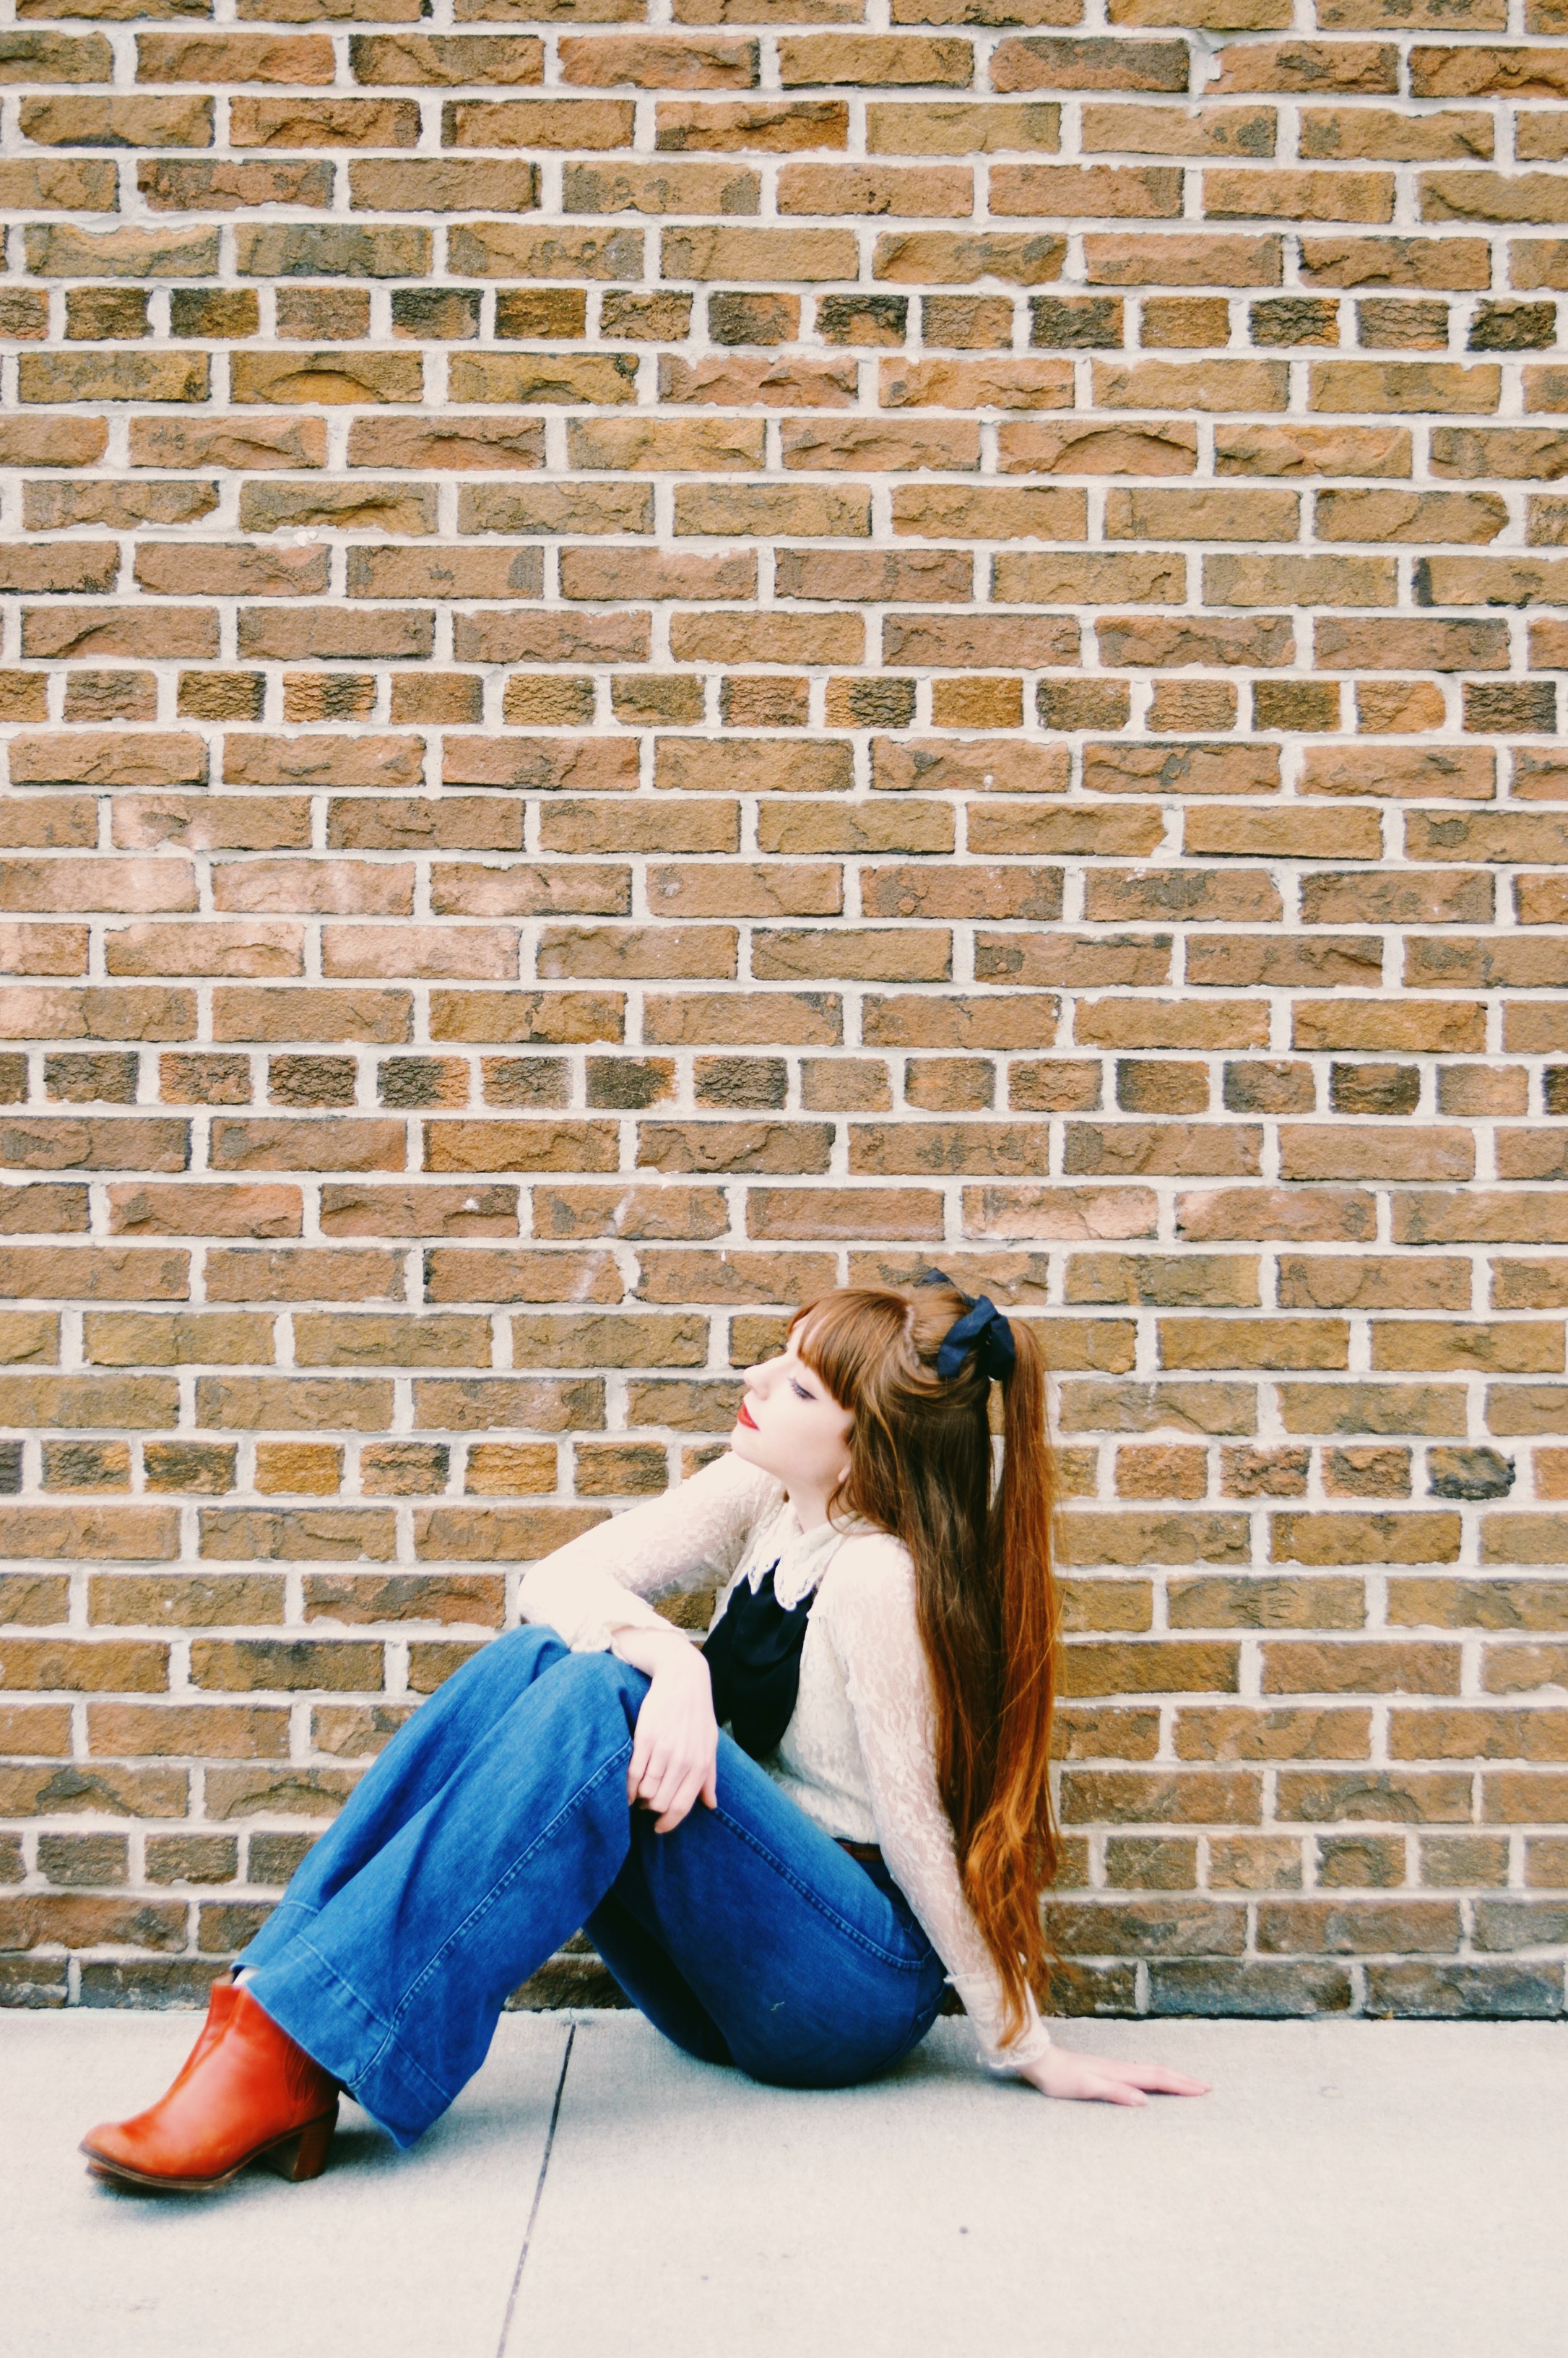
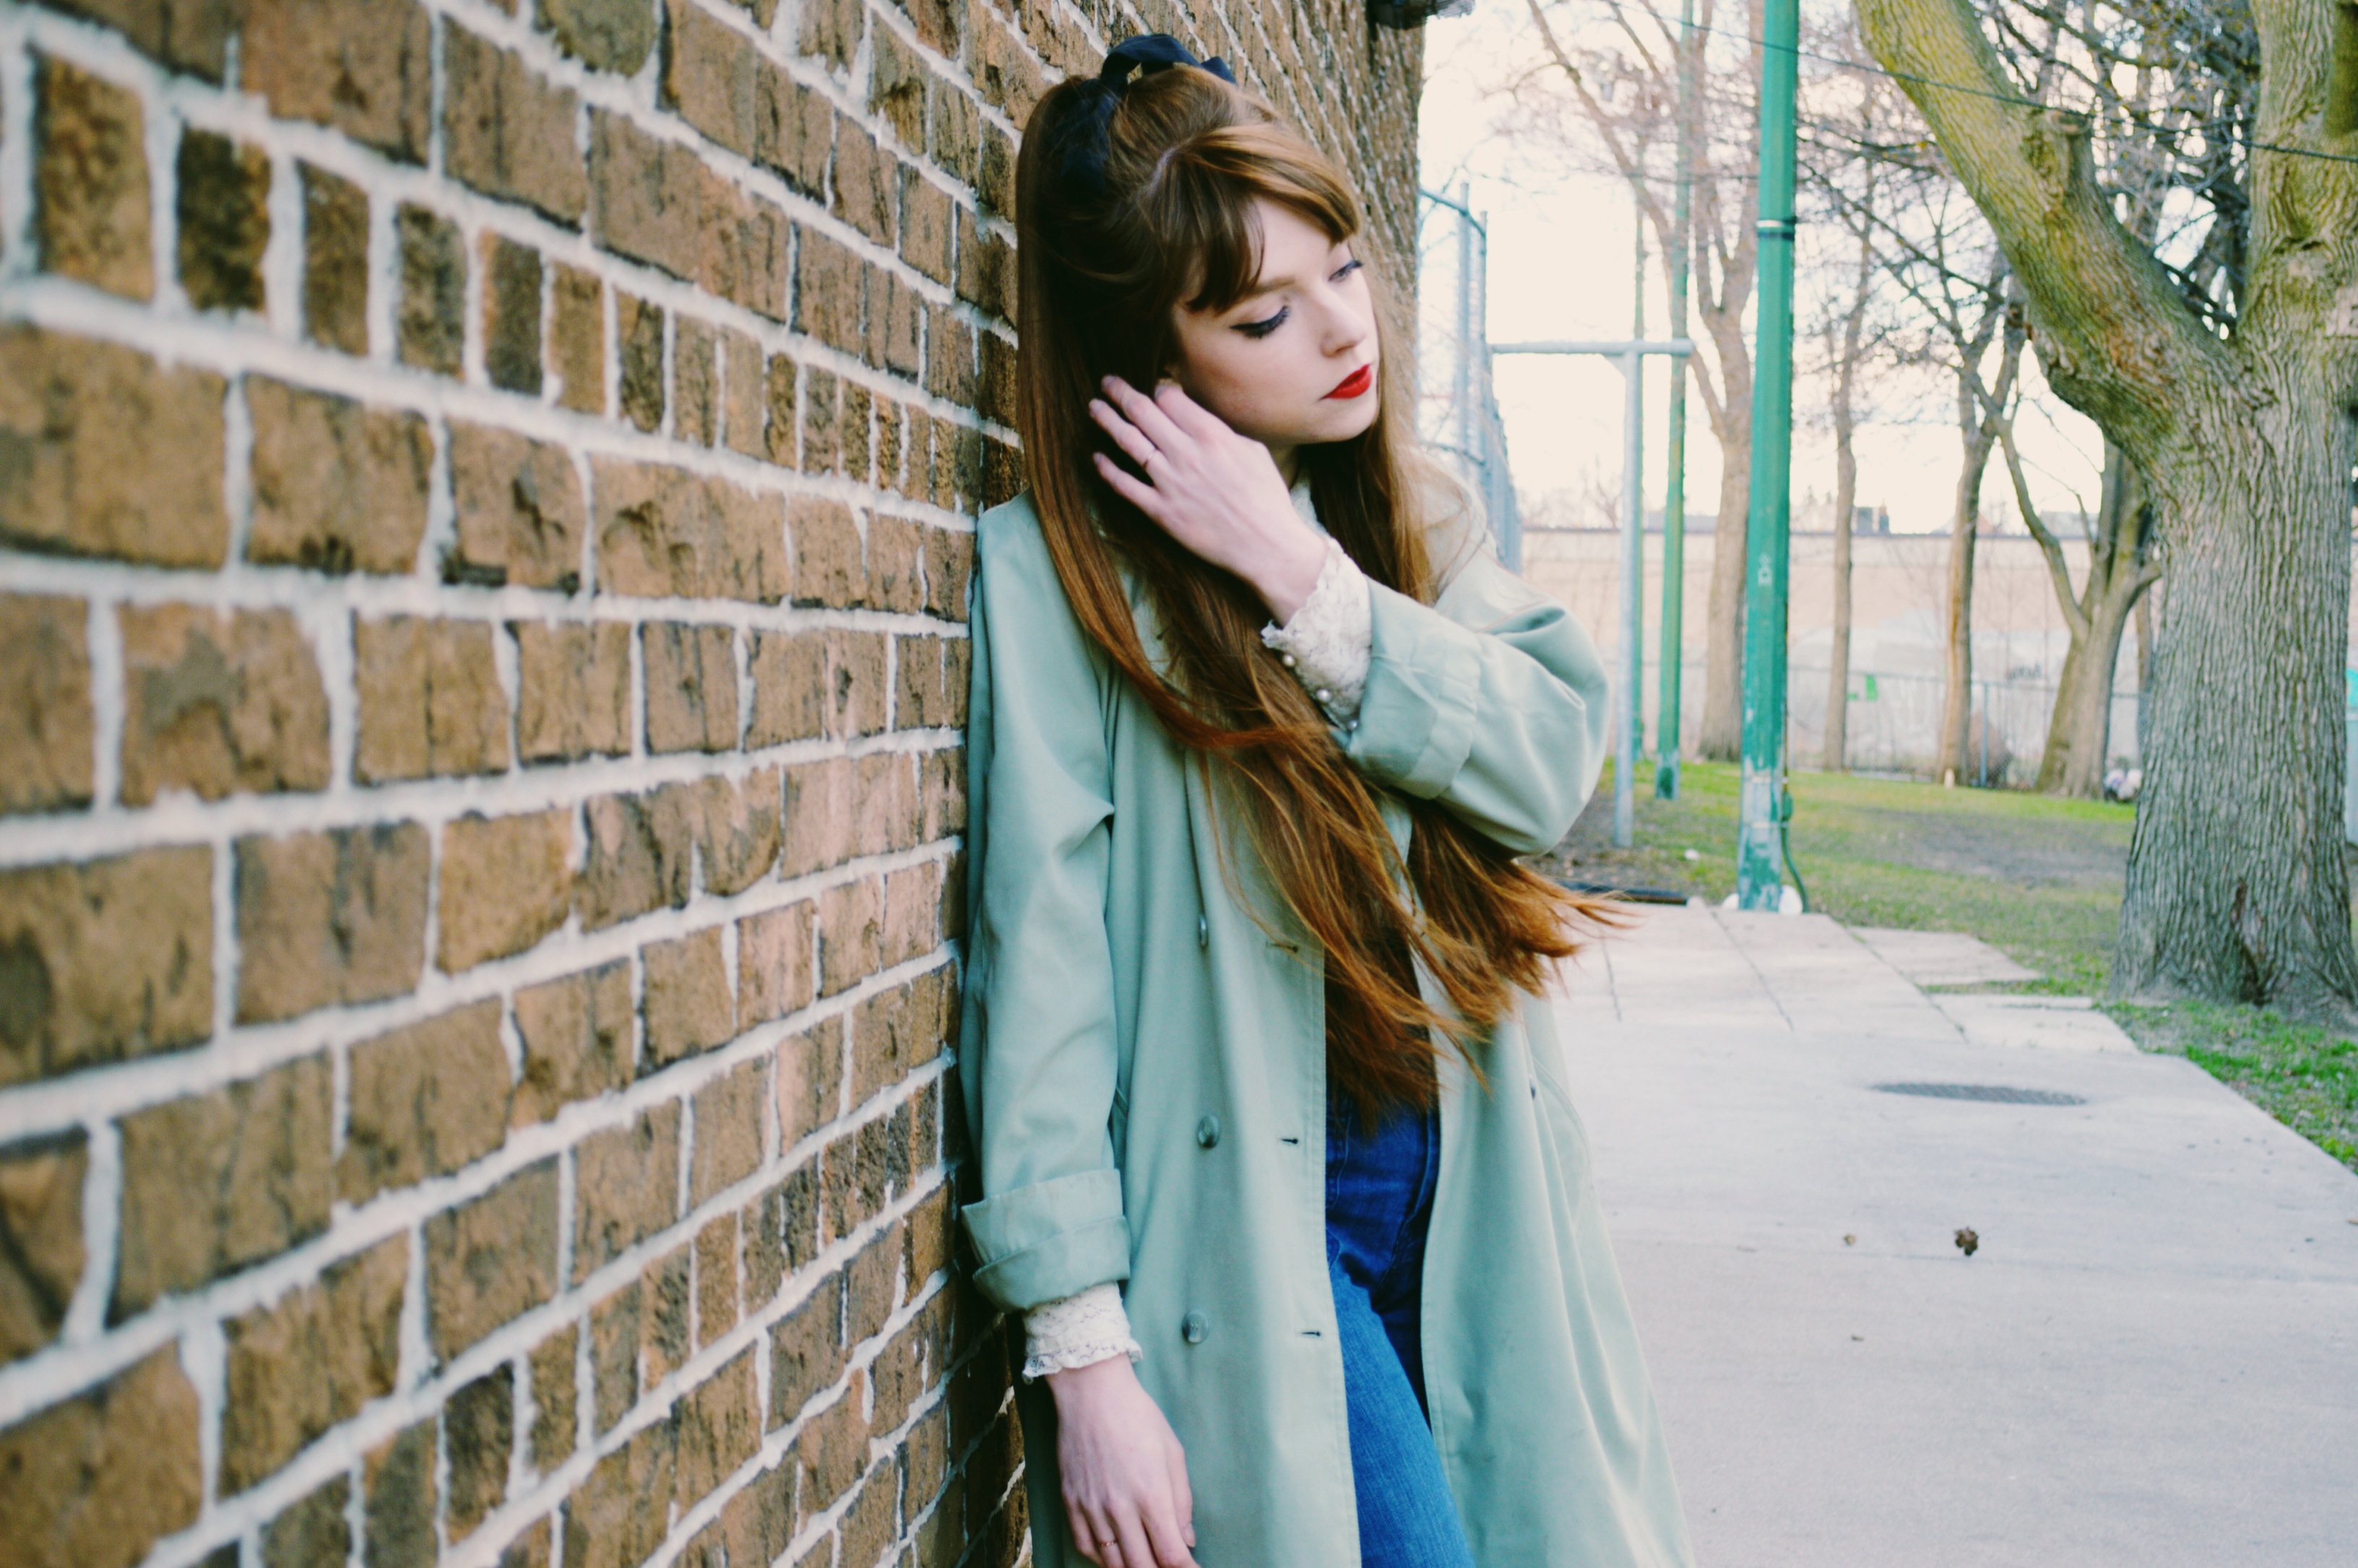
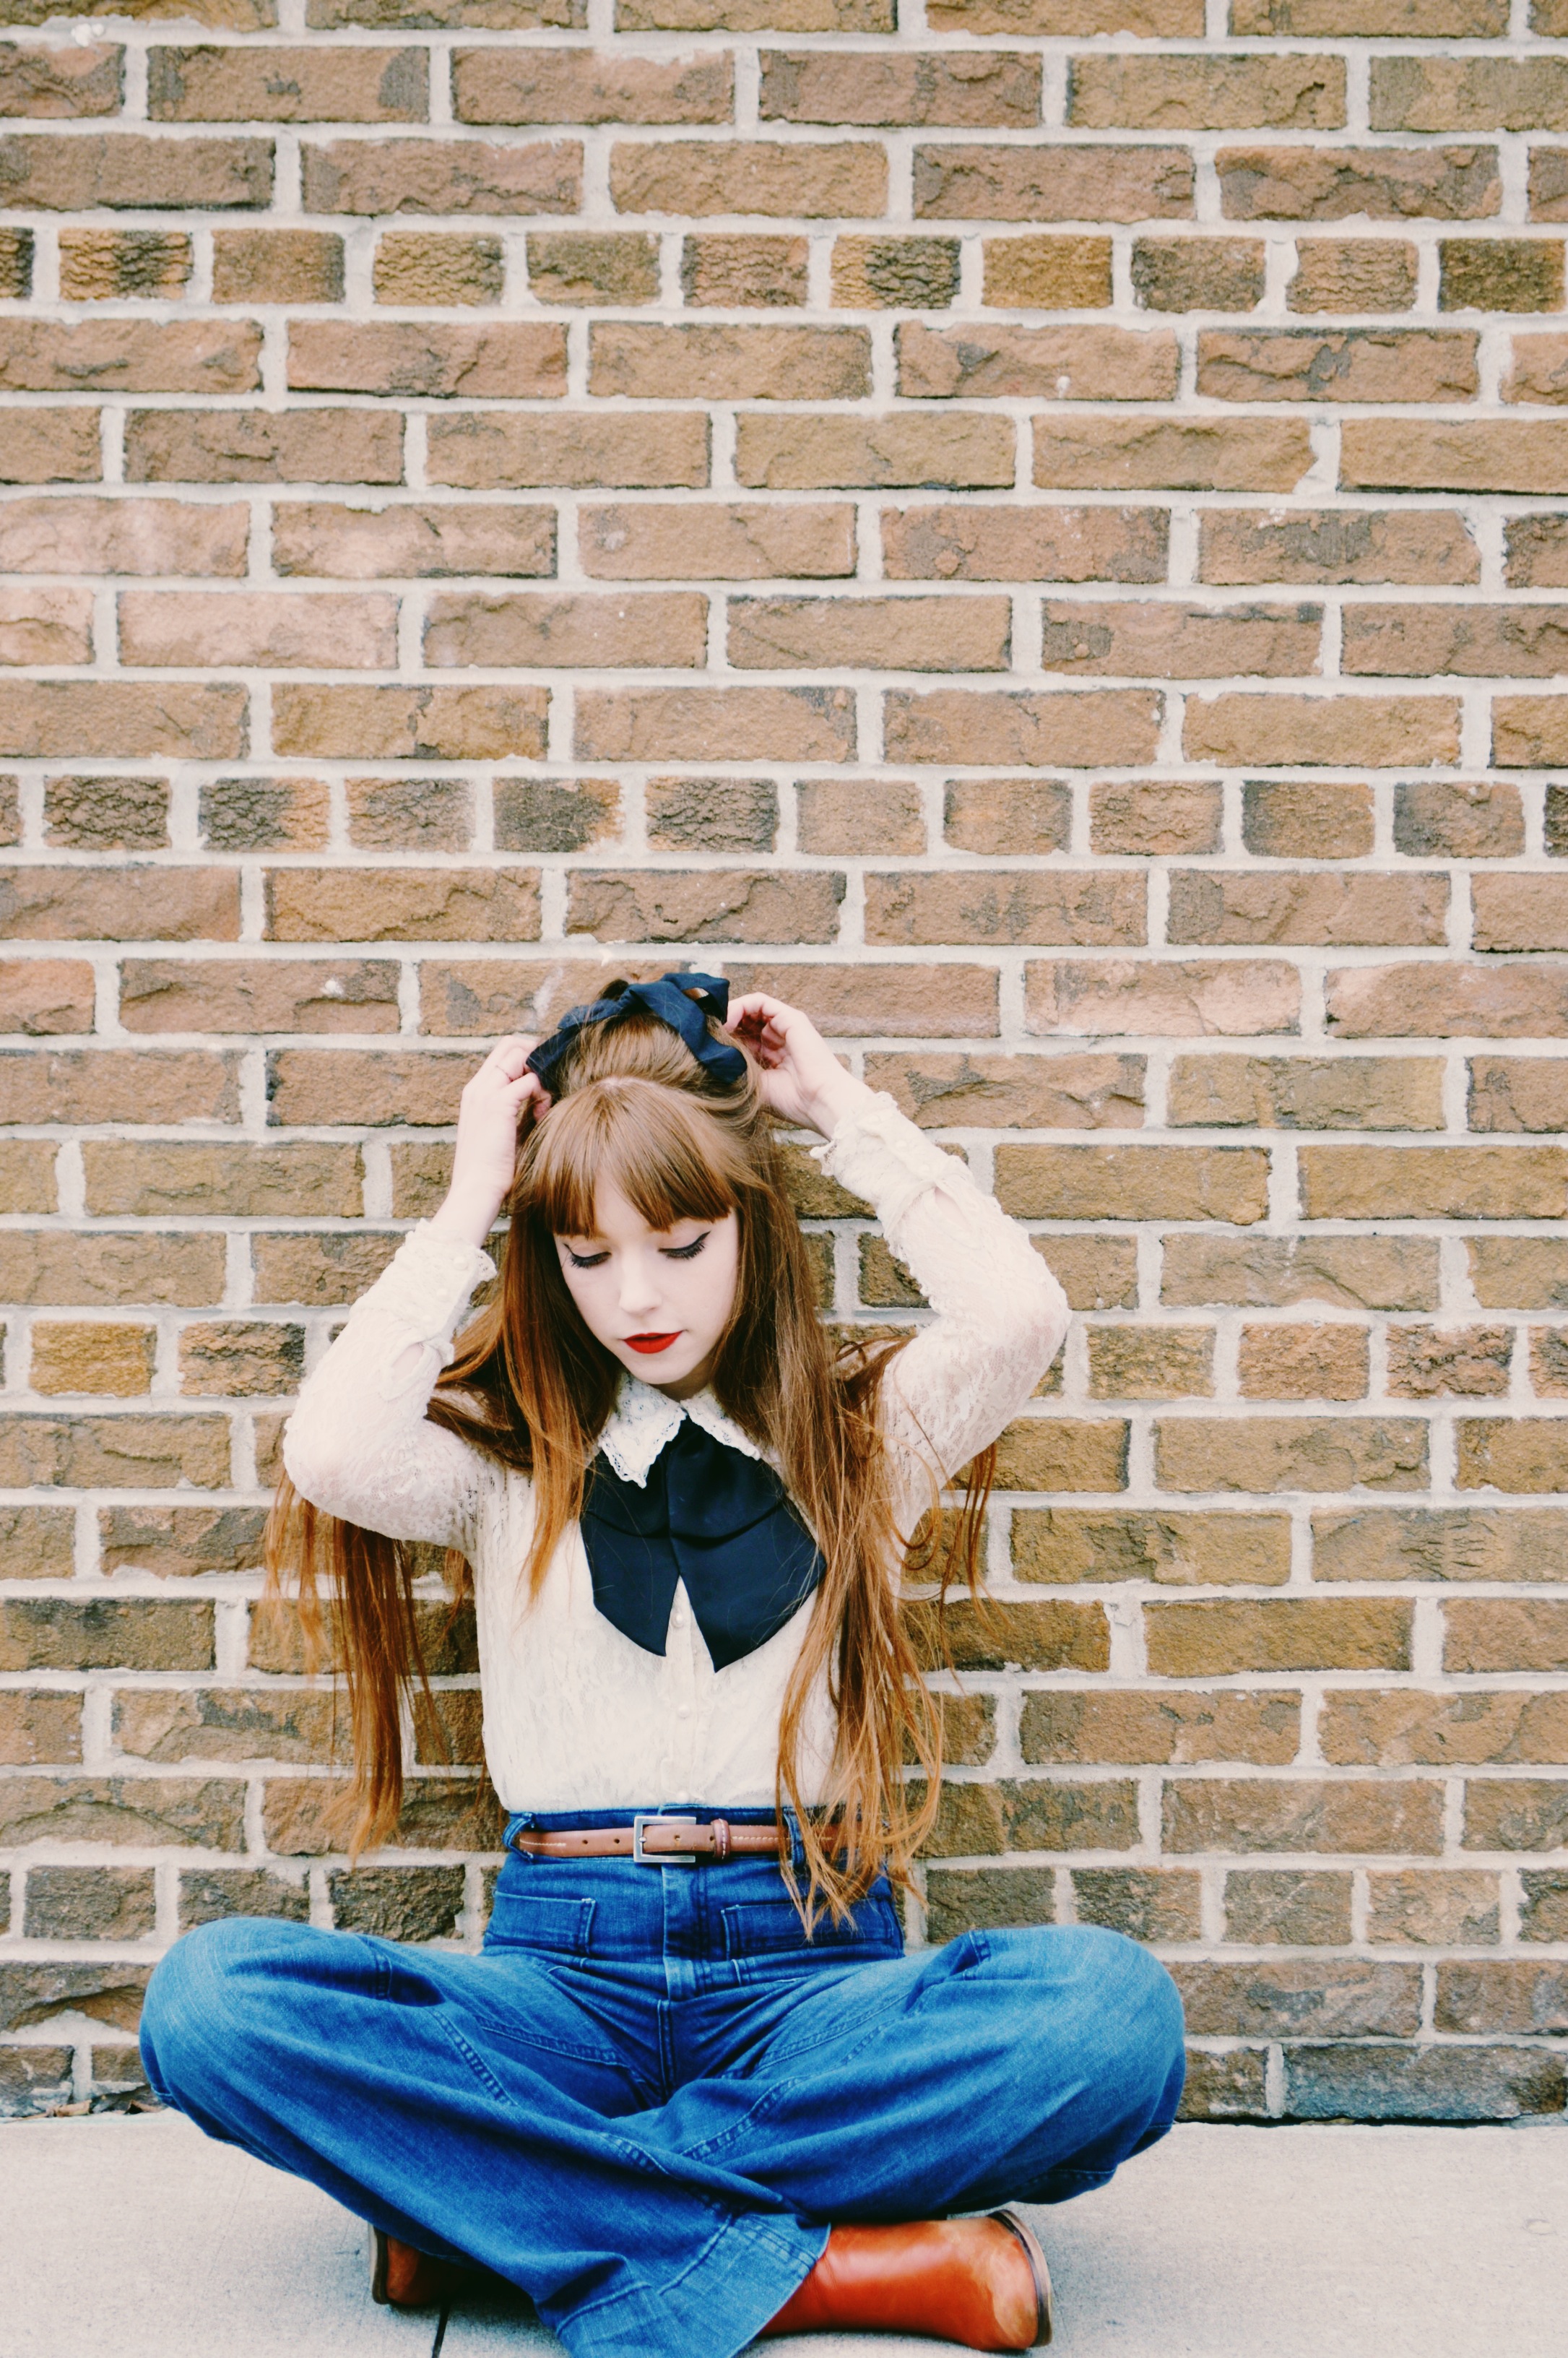

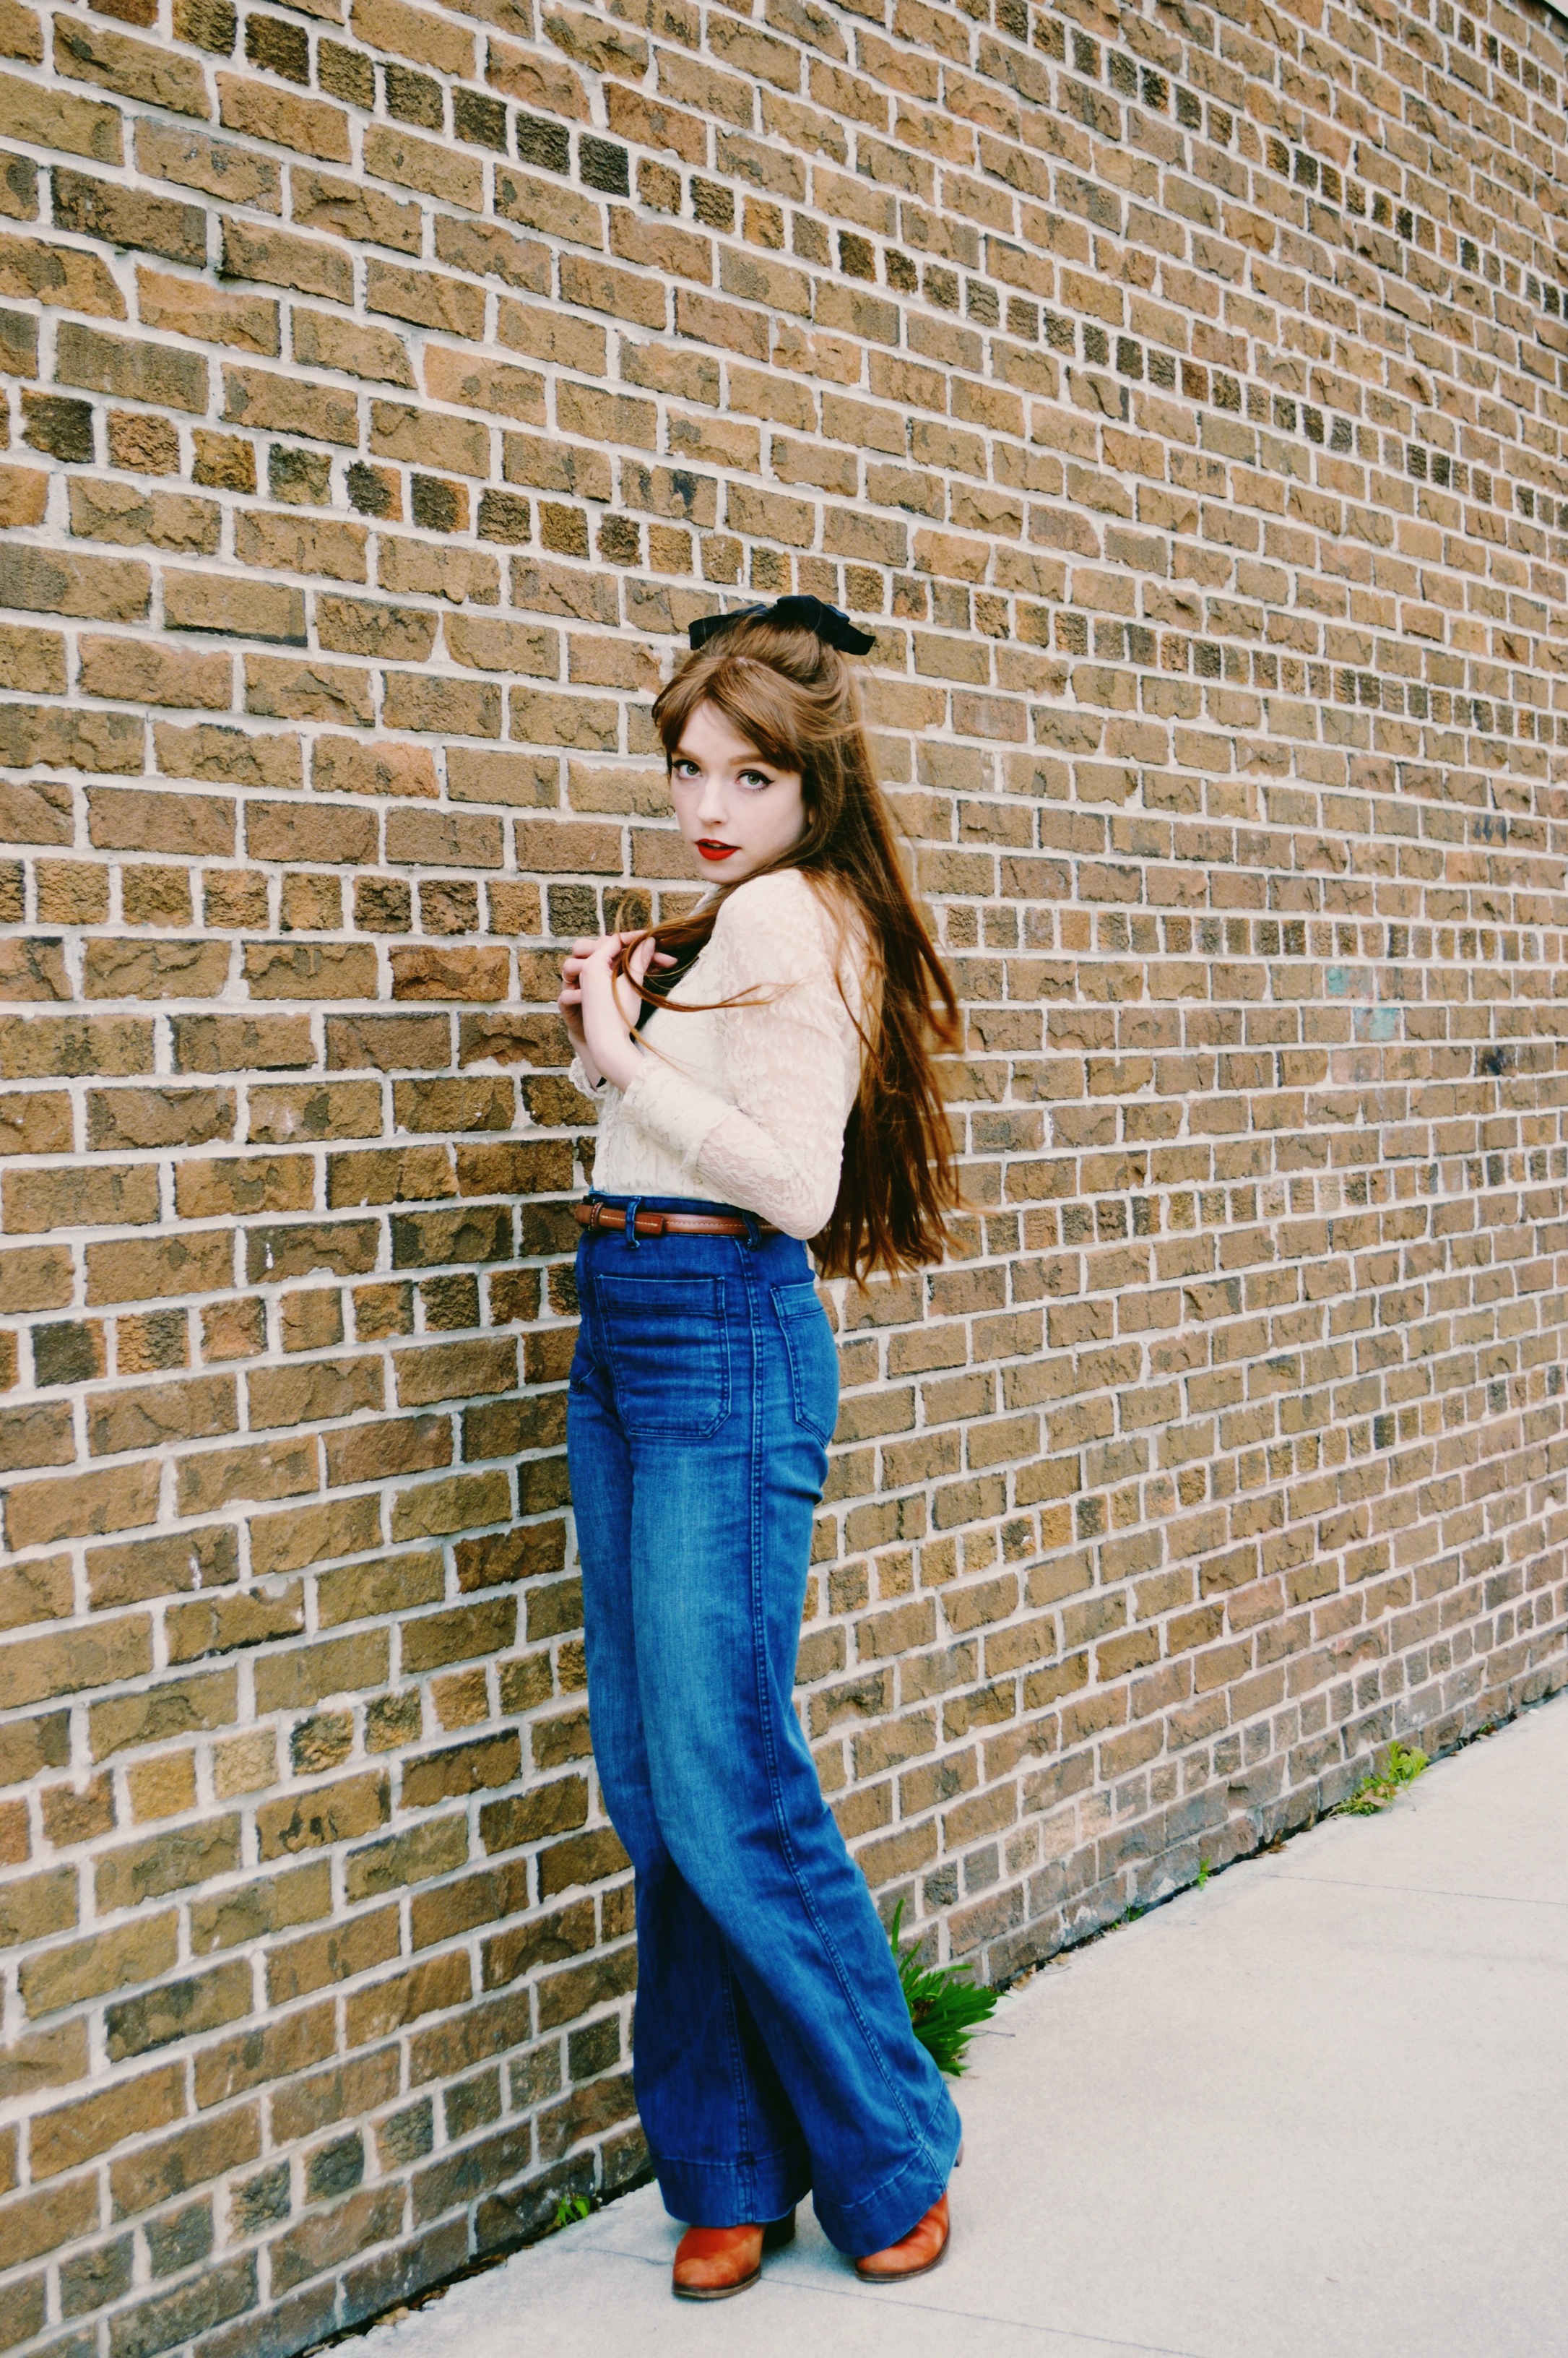
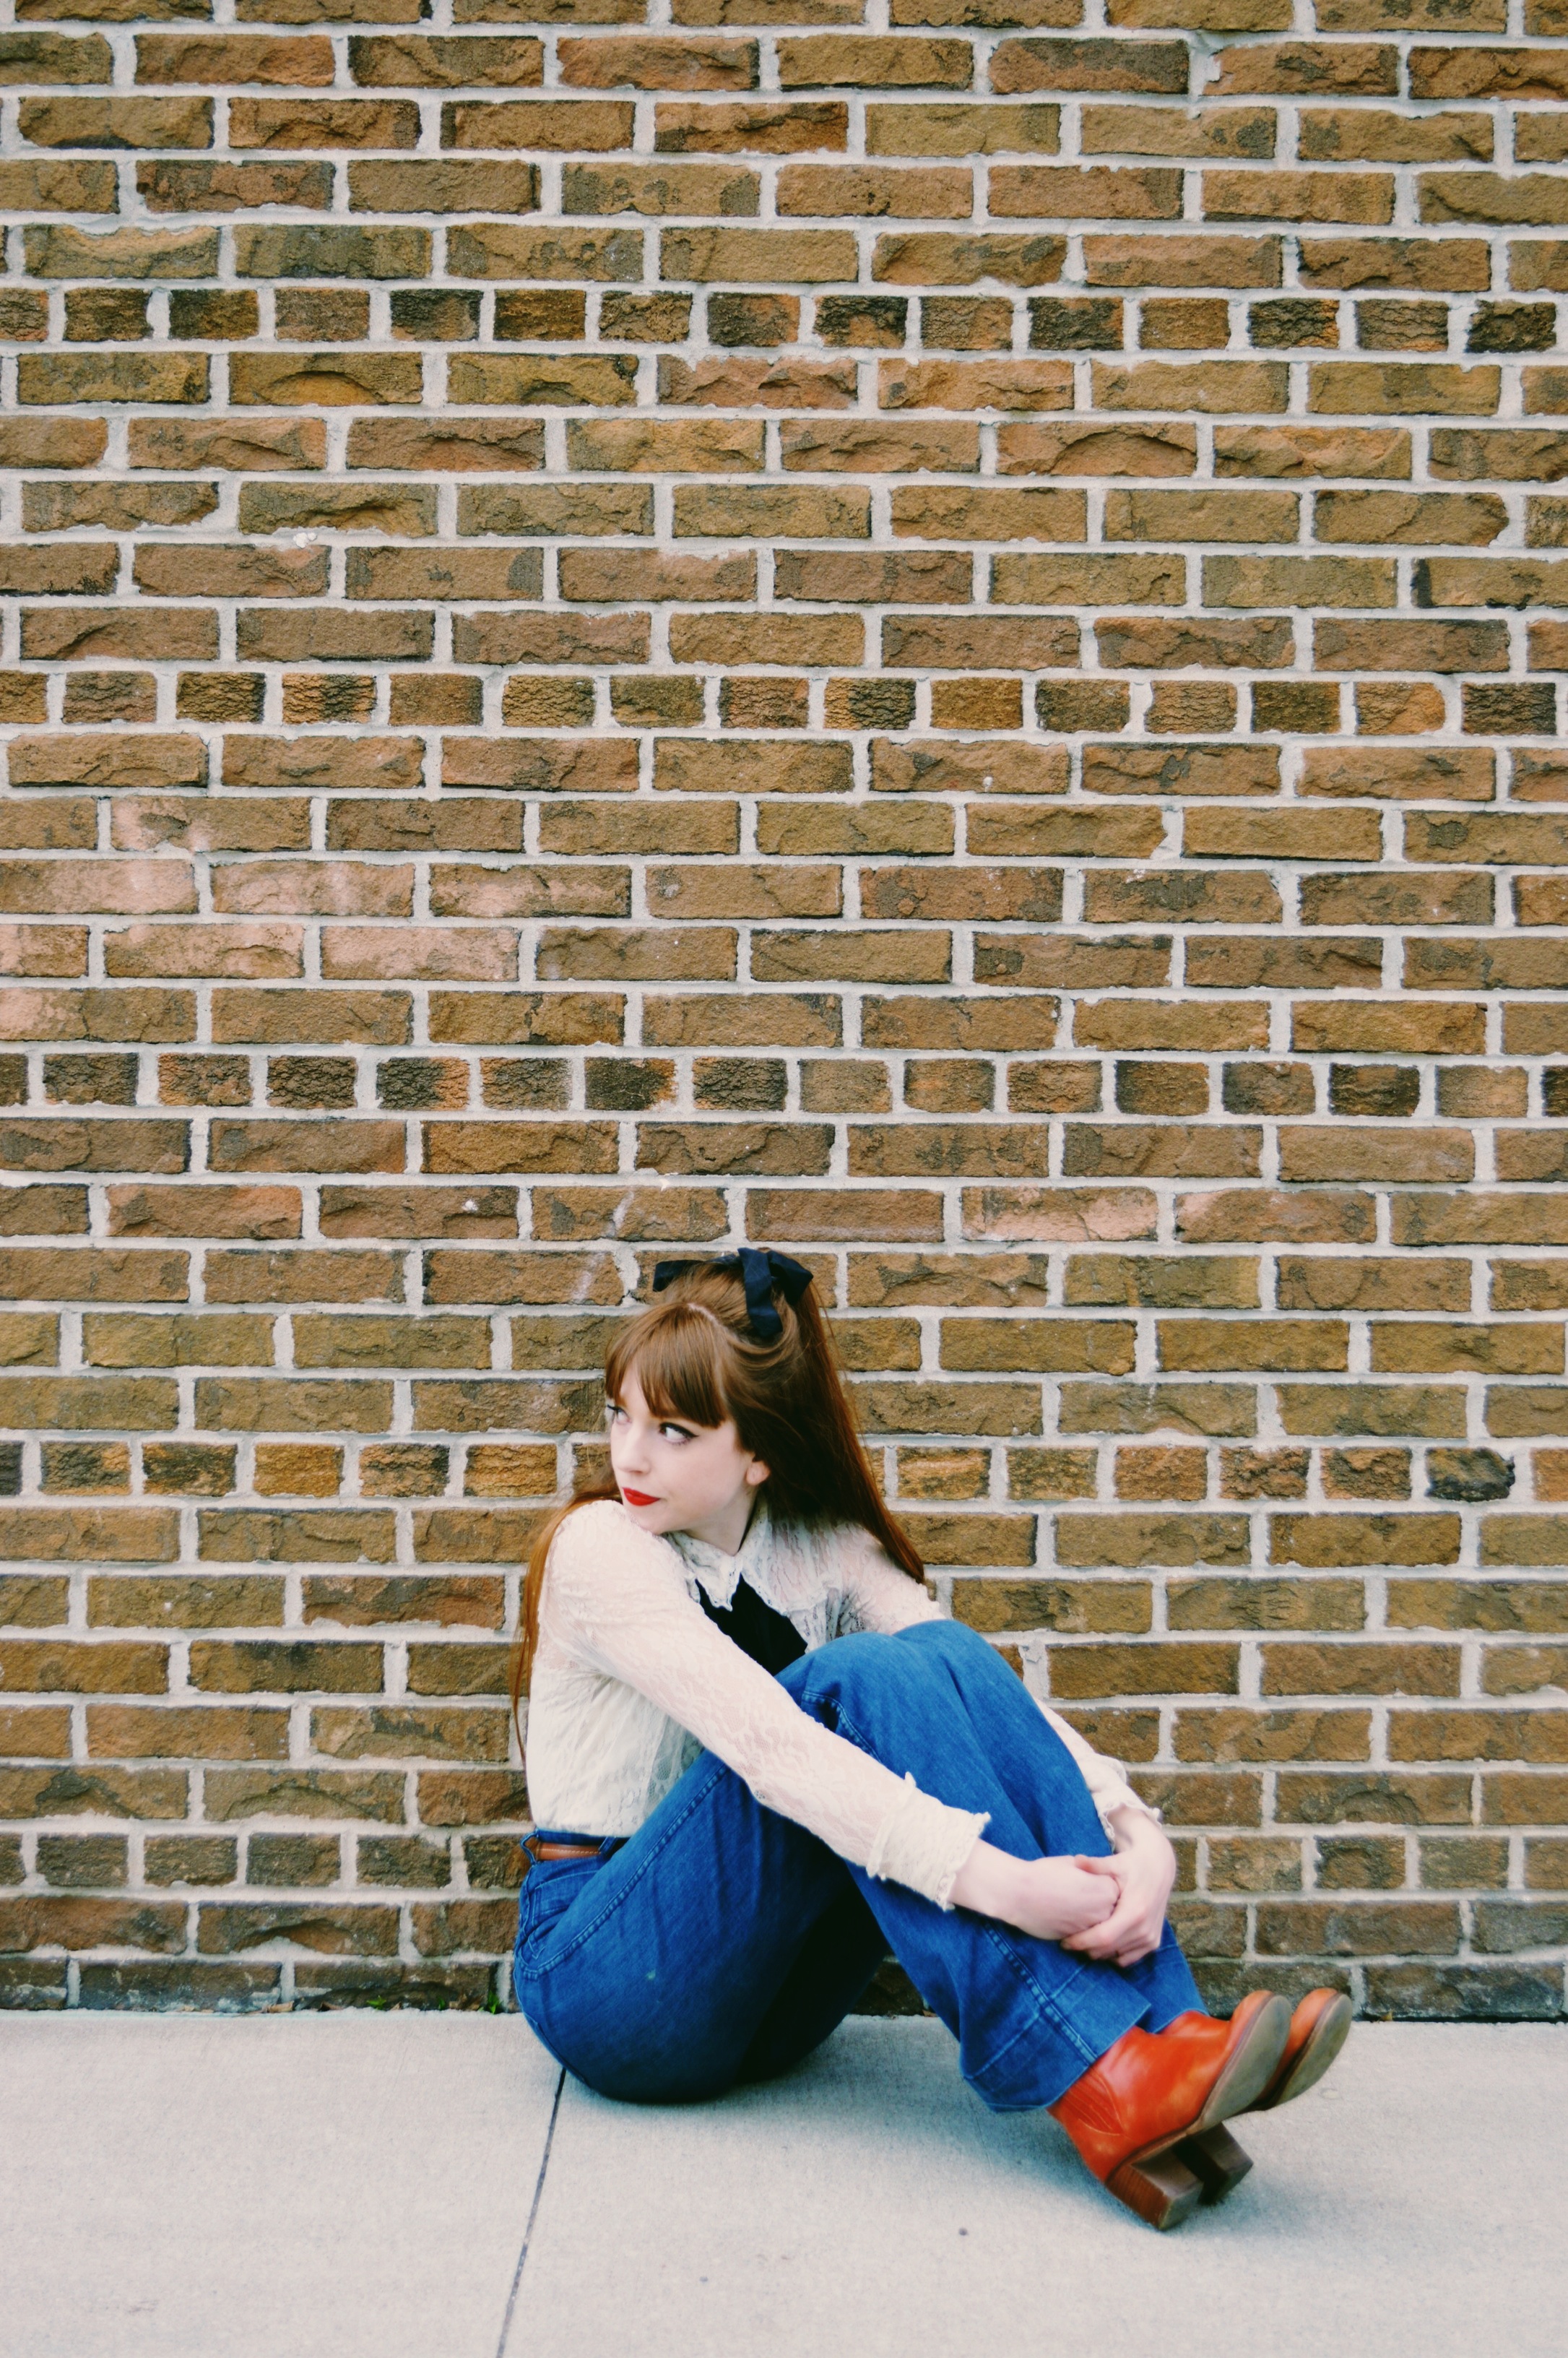
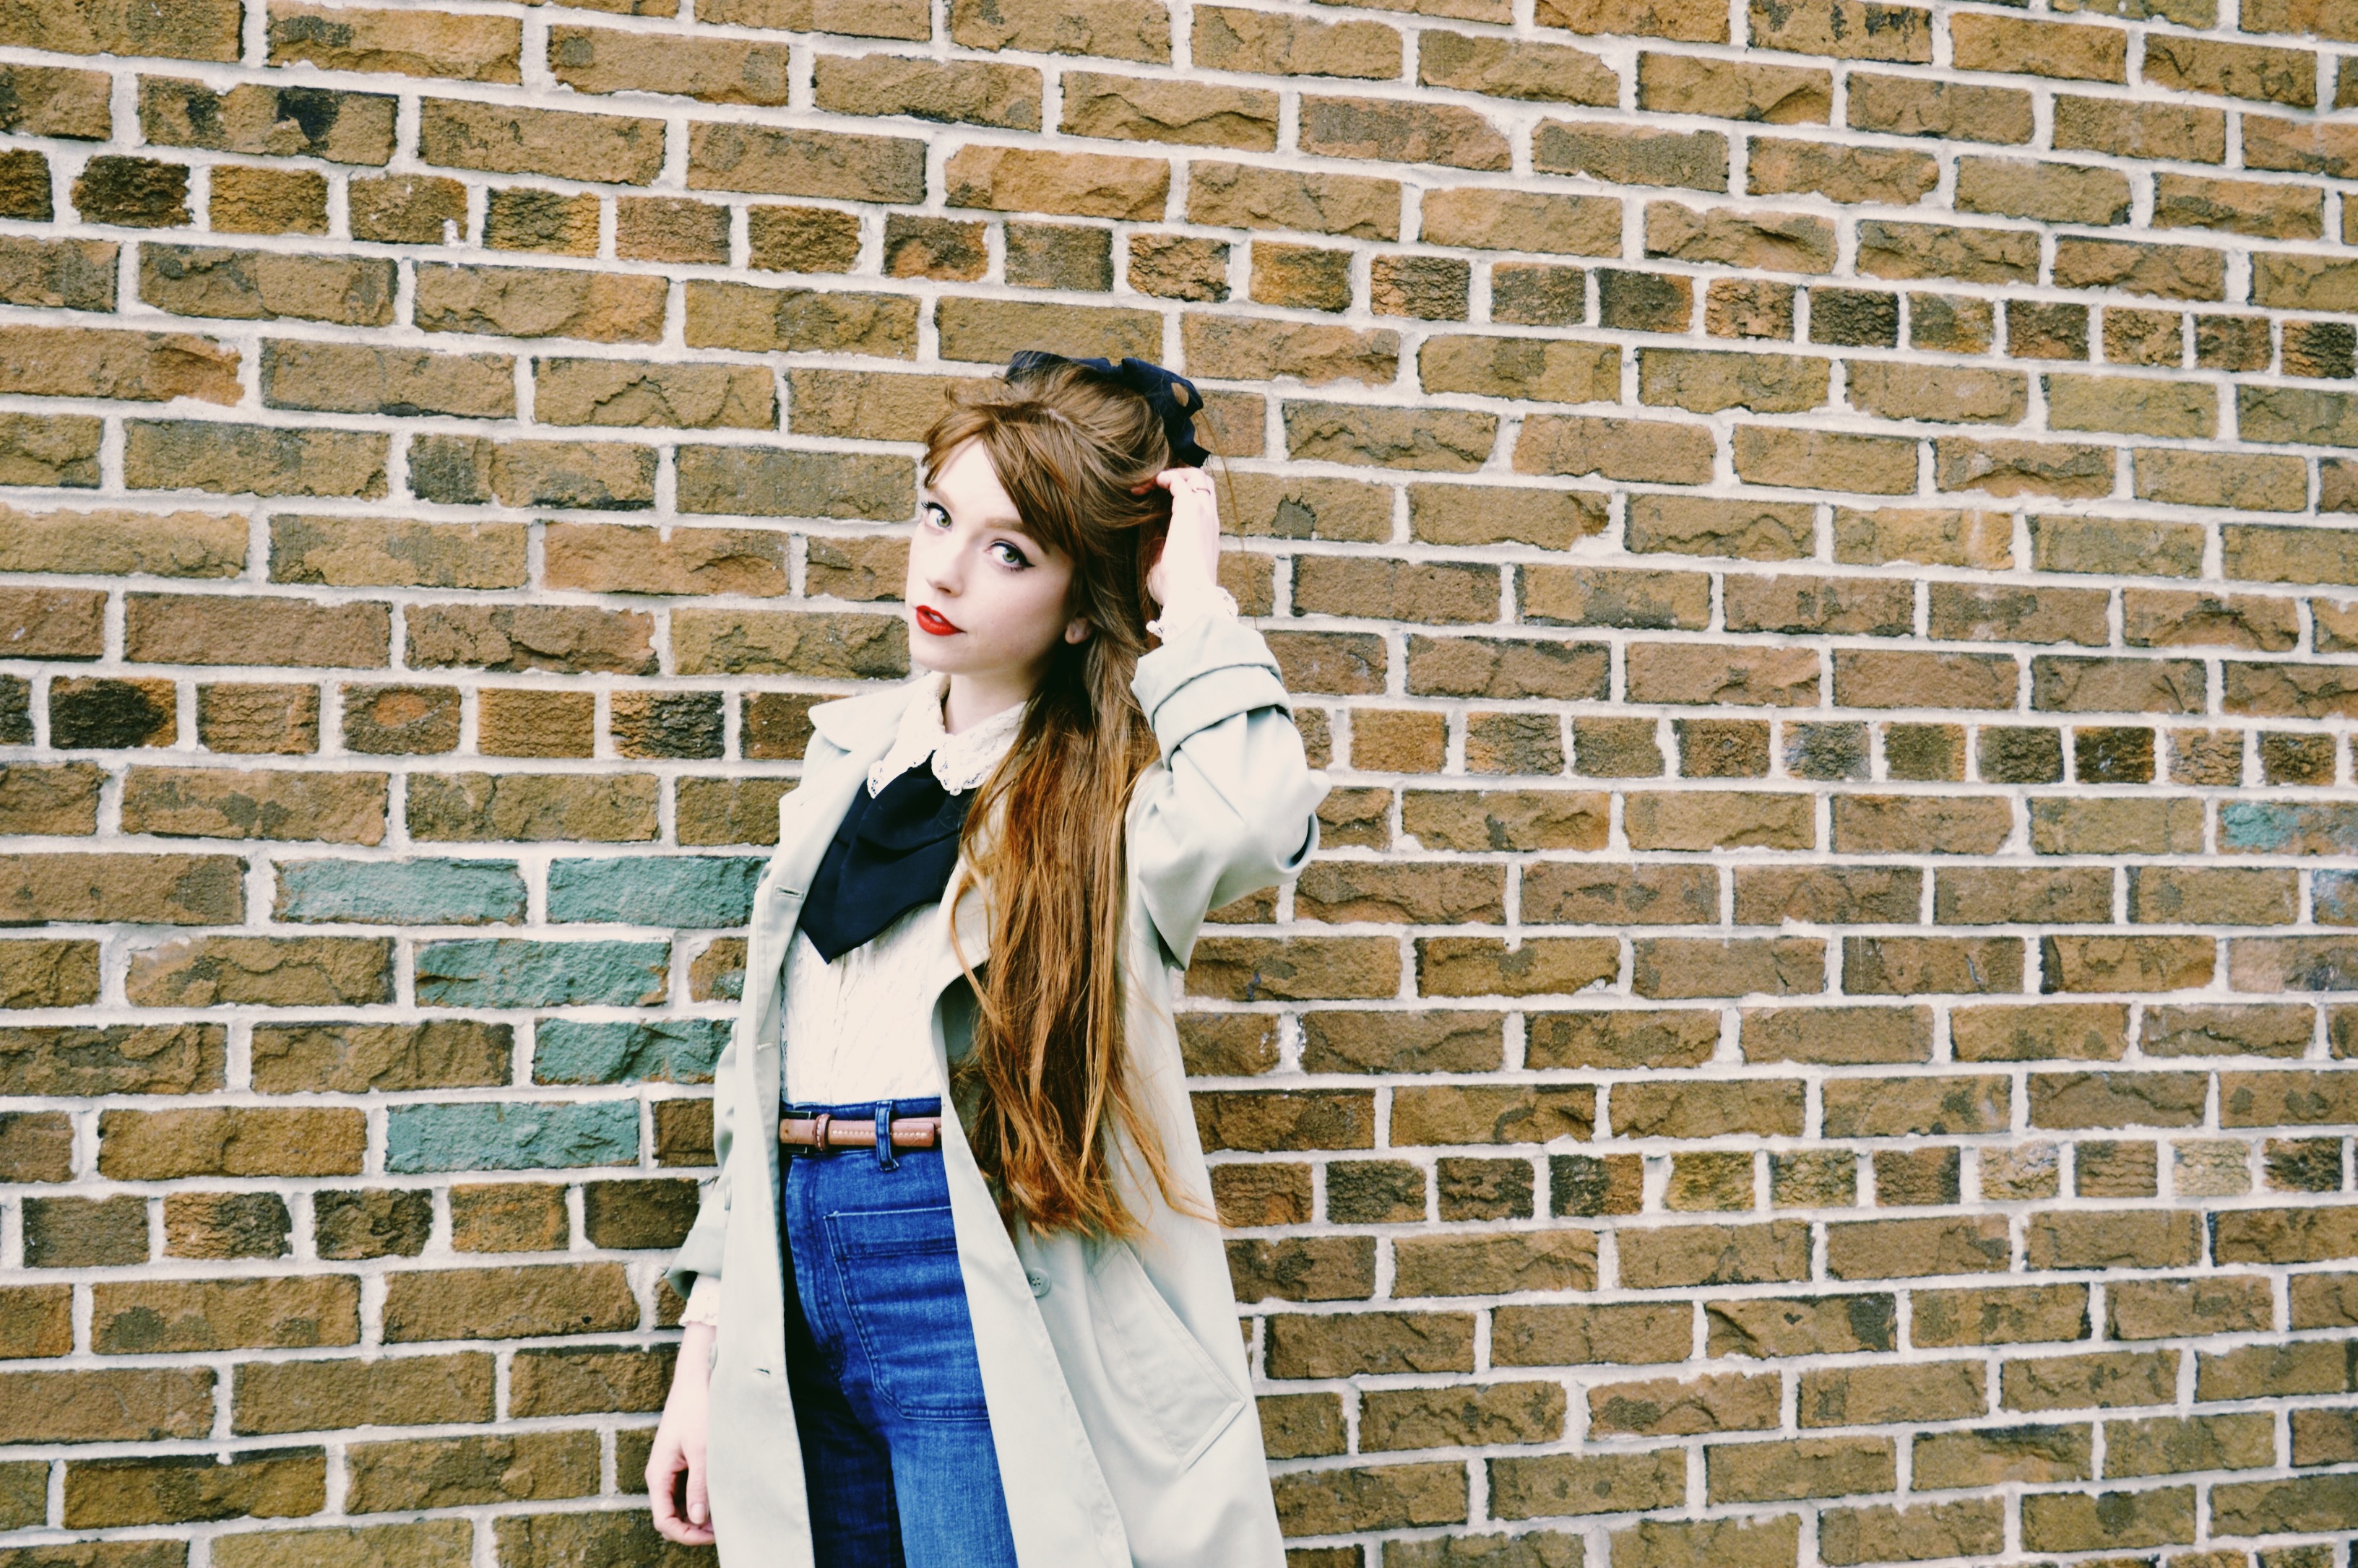 Blouse & coat: thrifted
Pants: H&M
Bow tie: TLO
Boots: Samantha Pleet x Wolverine
Tag: fblogger
Beauty / Daily Makeup Routine
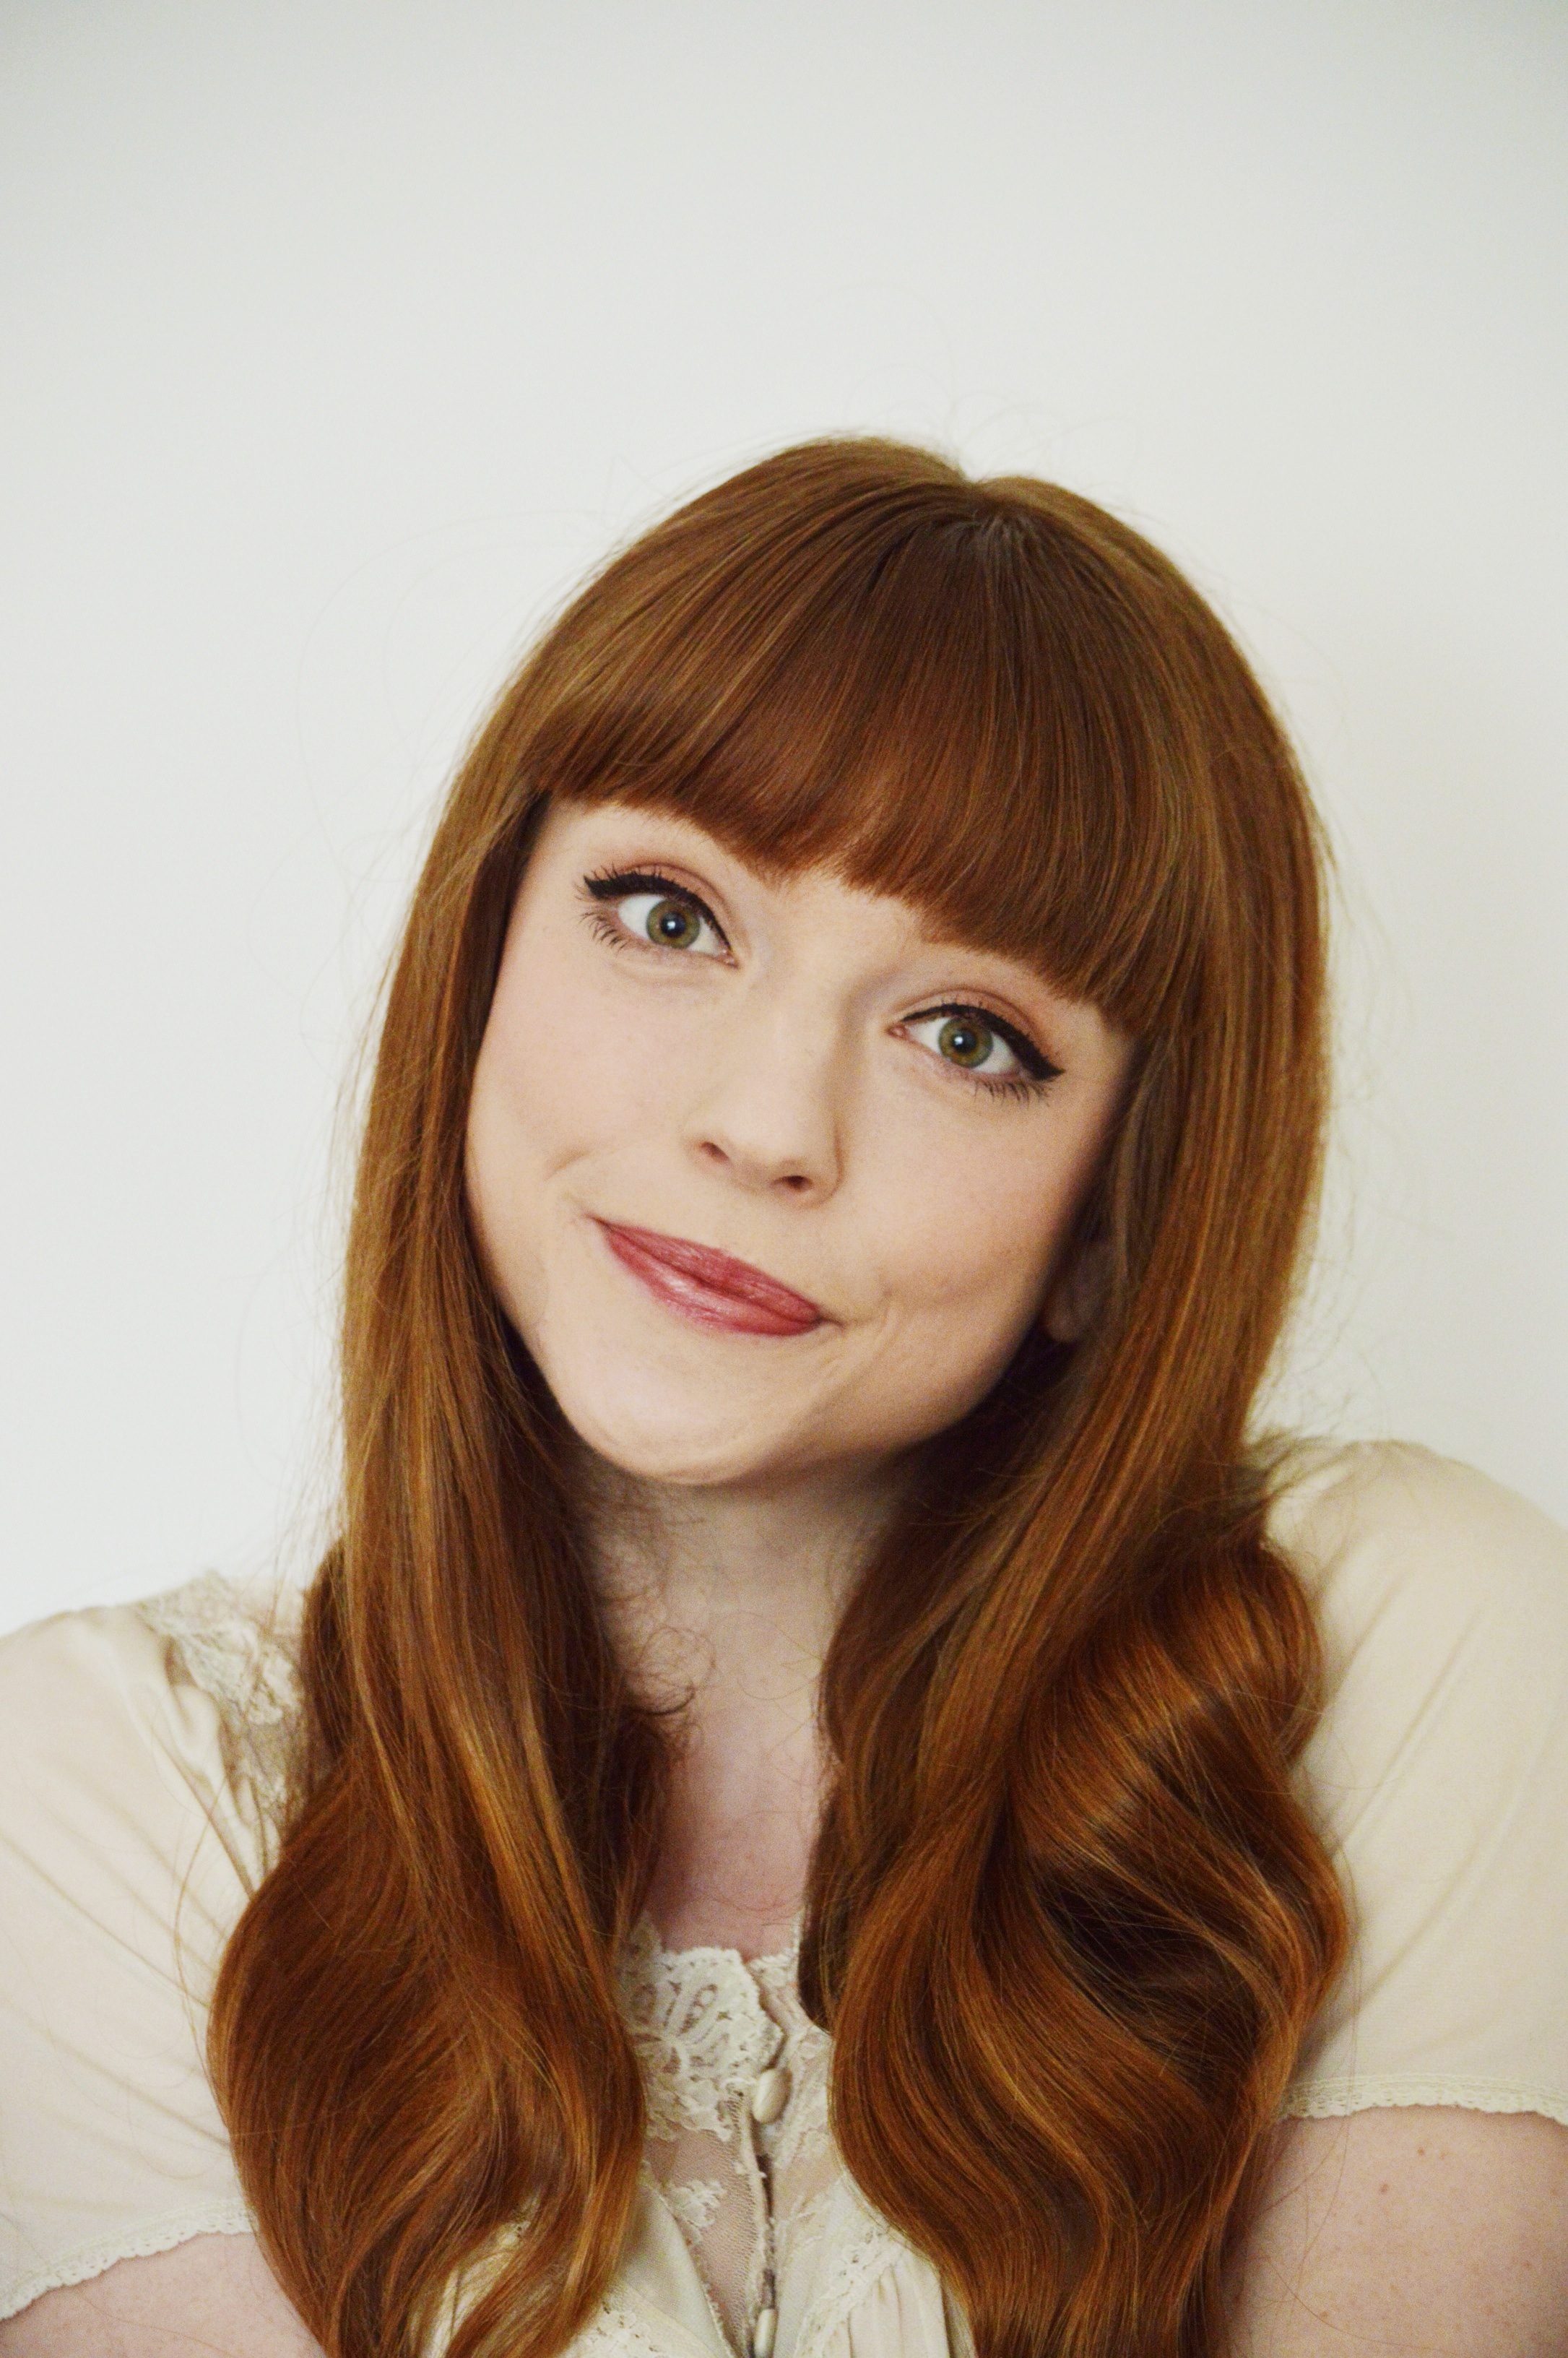 I get quite a few questions about what makeup I use, or how I do my insert word here ,so I thought it was about damn time I share. Originally, and the reason I had been holding off is, I wanted to make this in video format. But, I’m kind of a perfectionist and I watch a lot of amazing youtubers, so I sort of got in my head that I don’t want to make a video unless it is good quality. So one day, I hope, I will have the means to do that so you can hear my lil’ voice and we can connect in a different way. In the mean time, here is my daily makeup routine in picture format.
PRODUCTS


 Skin
Skin
+ Maybelline Dream Fresh BB cream light 100
+ MAC Studio Fix NW15
+ Rimmel Wake Me Up concealer in very fair
Cheeks and Lips
+ Revlon blusher in Melon-Drama
+ Revlon Photoready Skinlights face illuminator in 200 Pink Light
+ Burt’s Bees lipgloss in Evening Glow
Eyes and Eyebrows
+ Marcelle eyebrow pencil in Blondine
+ Lise Watier eyebrow shadow in blonde
+ Revlon Illuminance Cream Shadow in Skinlights
+ L’Oreal Telescopic Shocking Extensions Mascara
+ Revlon Colorstay liquid liner
Brushes
+ Zoeva 102 silk finish
+ 142 concealer buffer
+ 106 powder
+ 317 wing liner
+ 231 luxe petit crease
+ 127 luxe sheer cheek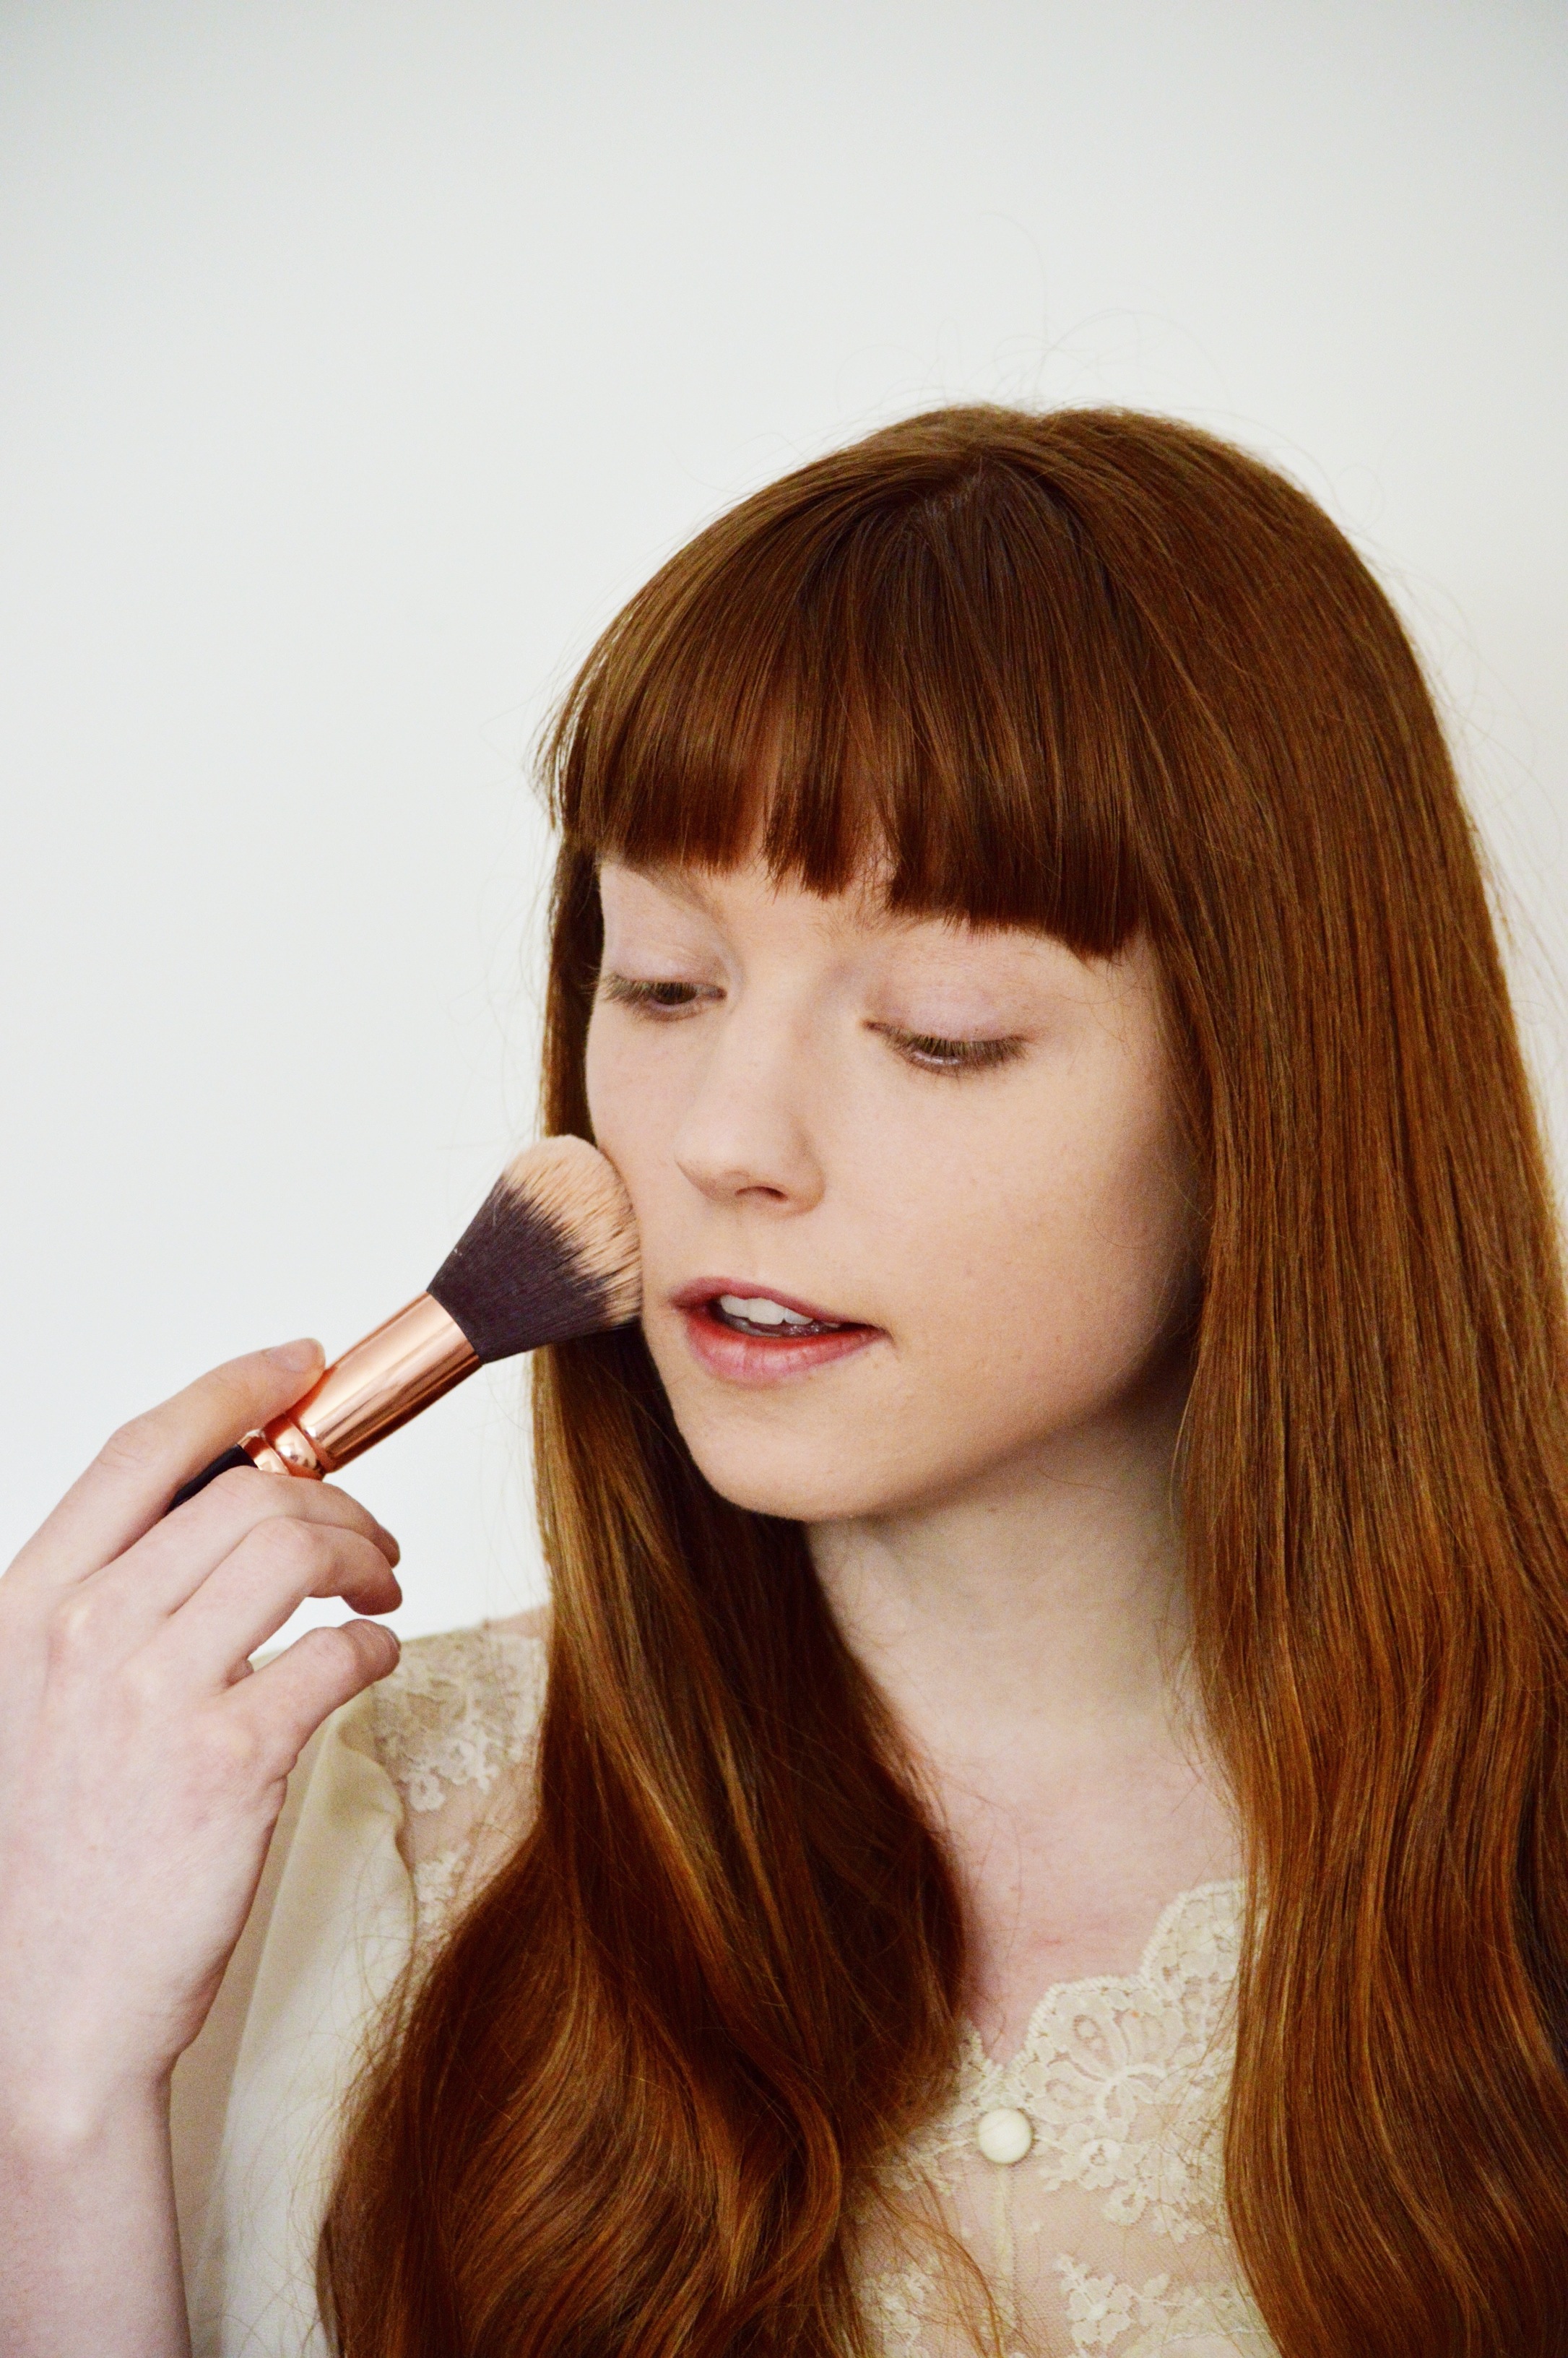 To start (and my favourite part), I squeeze about a nickle size of my Maybelline BB cream on to the top of my hand and with my zoeva 102 brush I apply in circular motions all over my face, making sure I get as much coverage as possible and so it blends thoroughly. Next, I apply my concealer under my eyes and on any blemishes I may have (which I always do), blending with the 142 brush. I usually blend under my eyes with my fingers first, and then use my brush to buffer. To finish it off I use my MAC studio fix powder with the 106 brush all over my face to create a matte finish, which diminishes the shine that the bb cream causes. I have to say, I do like the dewy look that the bb cream creates, but I find my face feels incredibly greasy to the touch, which annoys me.
 For my eyebrows, since they are pretty invisible (a ginger’s life), I first lightly outline my natural brow shape with an eyebrow pencil and then using my 317 brush and brow shadow I fill them in. To finish them off, using the brush on the opposite end of my brow pencil, I brush through my brows, evenly distributing the colour throughout, giving them a less harsh and more natural look.
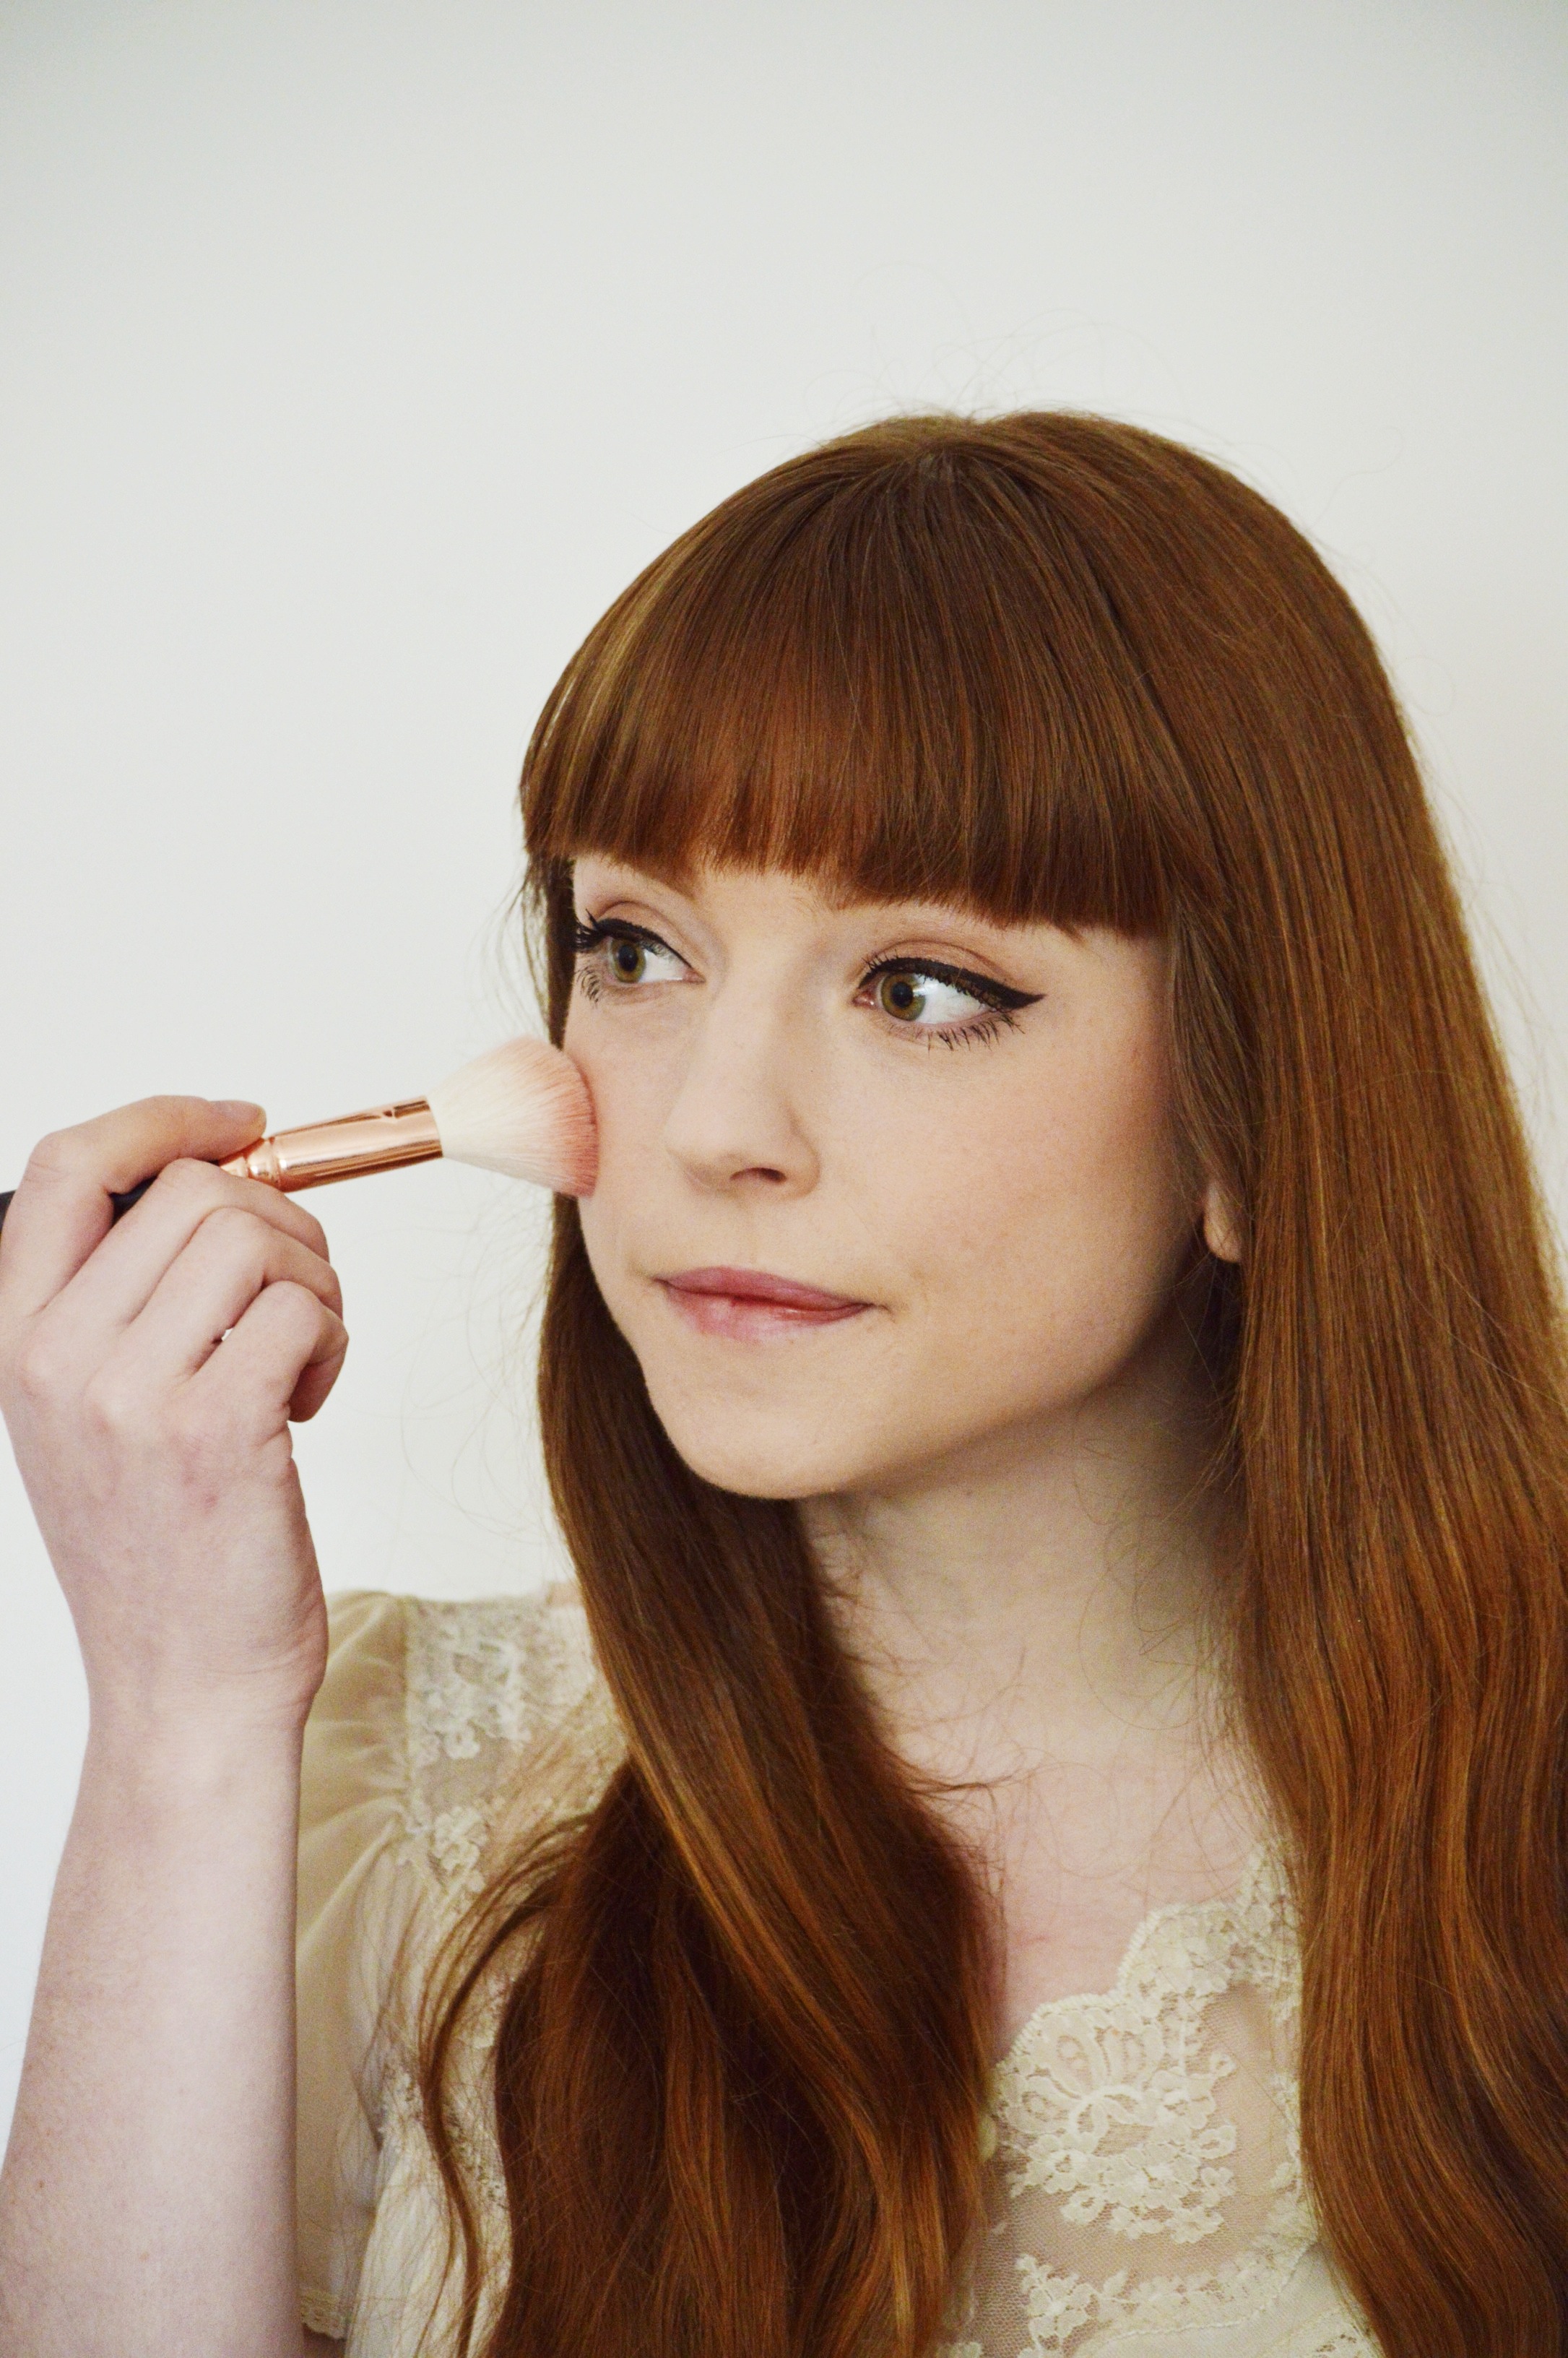
 Recently for my eyes, I’ve been using a cream shadow palette, which I like because it has all the neutral colours I enjoy wearing for a more natural look (and I also wanted to give cream shadow a go…my report, it is decent). Unfortunately, they don’t have a name for each colour in the palette (but the palette I’m using is called skinlights), so if you go off my third product photo, using my 231 brush and the second shade in, which is a light cream colour, I apply it right under my brows to give them a more lifted, awake look. On my lids I do a base of the fourth shade in, which is a flesh tone, and starting in the outer corner of my lids and blending inward and into the crease of my lid, to give an ever so slight smokey eye, I use the first colour, which is essentially brown with some golden tones.
 I’ve been doing a cat eye for years. I’m talking yeeeeears. I first learned how to do it when I was just a wee one because it was essential for stage makeup (I’ve been a dancer since I was 3, in case you didn’t know), so I feel at this point, I’m pretty well versed in the art of the winged liner…so I’ll share my secrets with you. To have my liner stay on as long as possible, I first use a pencil liner and then go over top of that with a liquid liner. This is also great because you can really straighten up those lines when going over it again with liquid. I start from the middle of my lid going outward and when I reach the outer corner where my two lids meet, I wing the liner up a bit, having it become even with my brows. After I will go to the inner corner of my eye, and turning the pencil on slight angle so I’m less heavy handed, I will make a thin line that joins to the line I have already made. From there I go over top of what I have just done with my liquid liner, in the same sort of process, only this is the time I really pay attention to steady my hands, and I’ll also play around with the thickness of the liner, ie., a thin line at the start that gradually becomes thicker near the end. And to finish my eyes off, I apply my mascara to the top lashes in an up and fanning out motion, creating that sort of doll-like effect, and I put a slight amount on my lower lashes just in the outer corners.
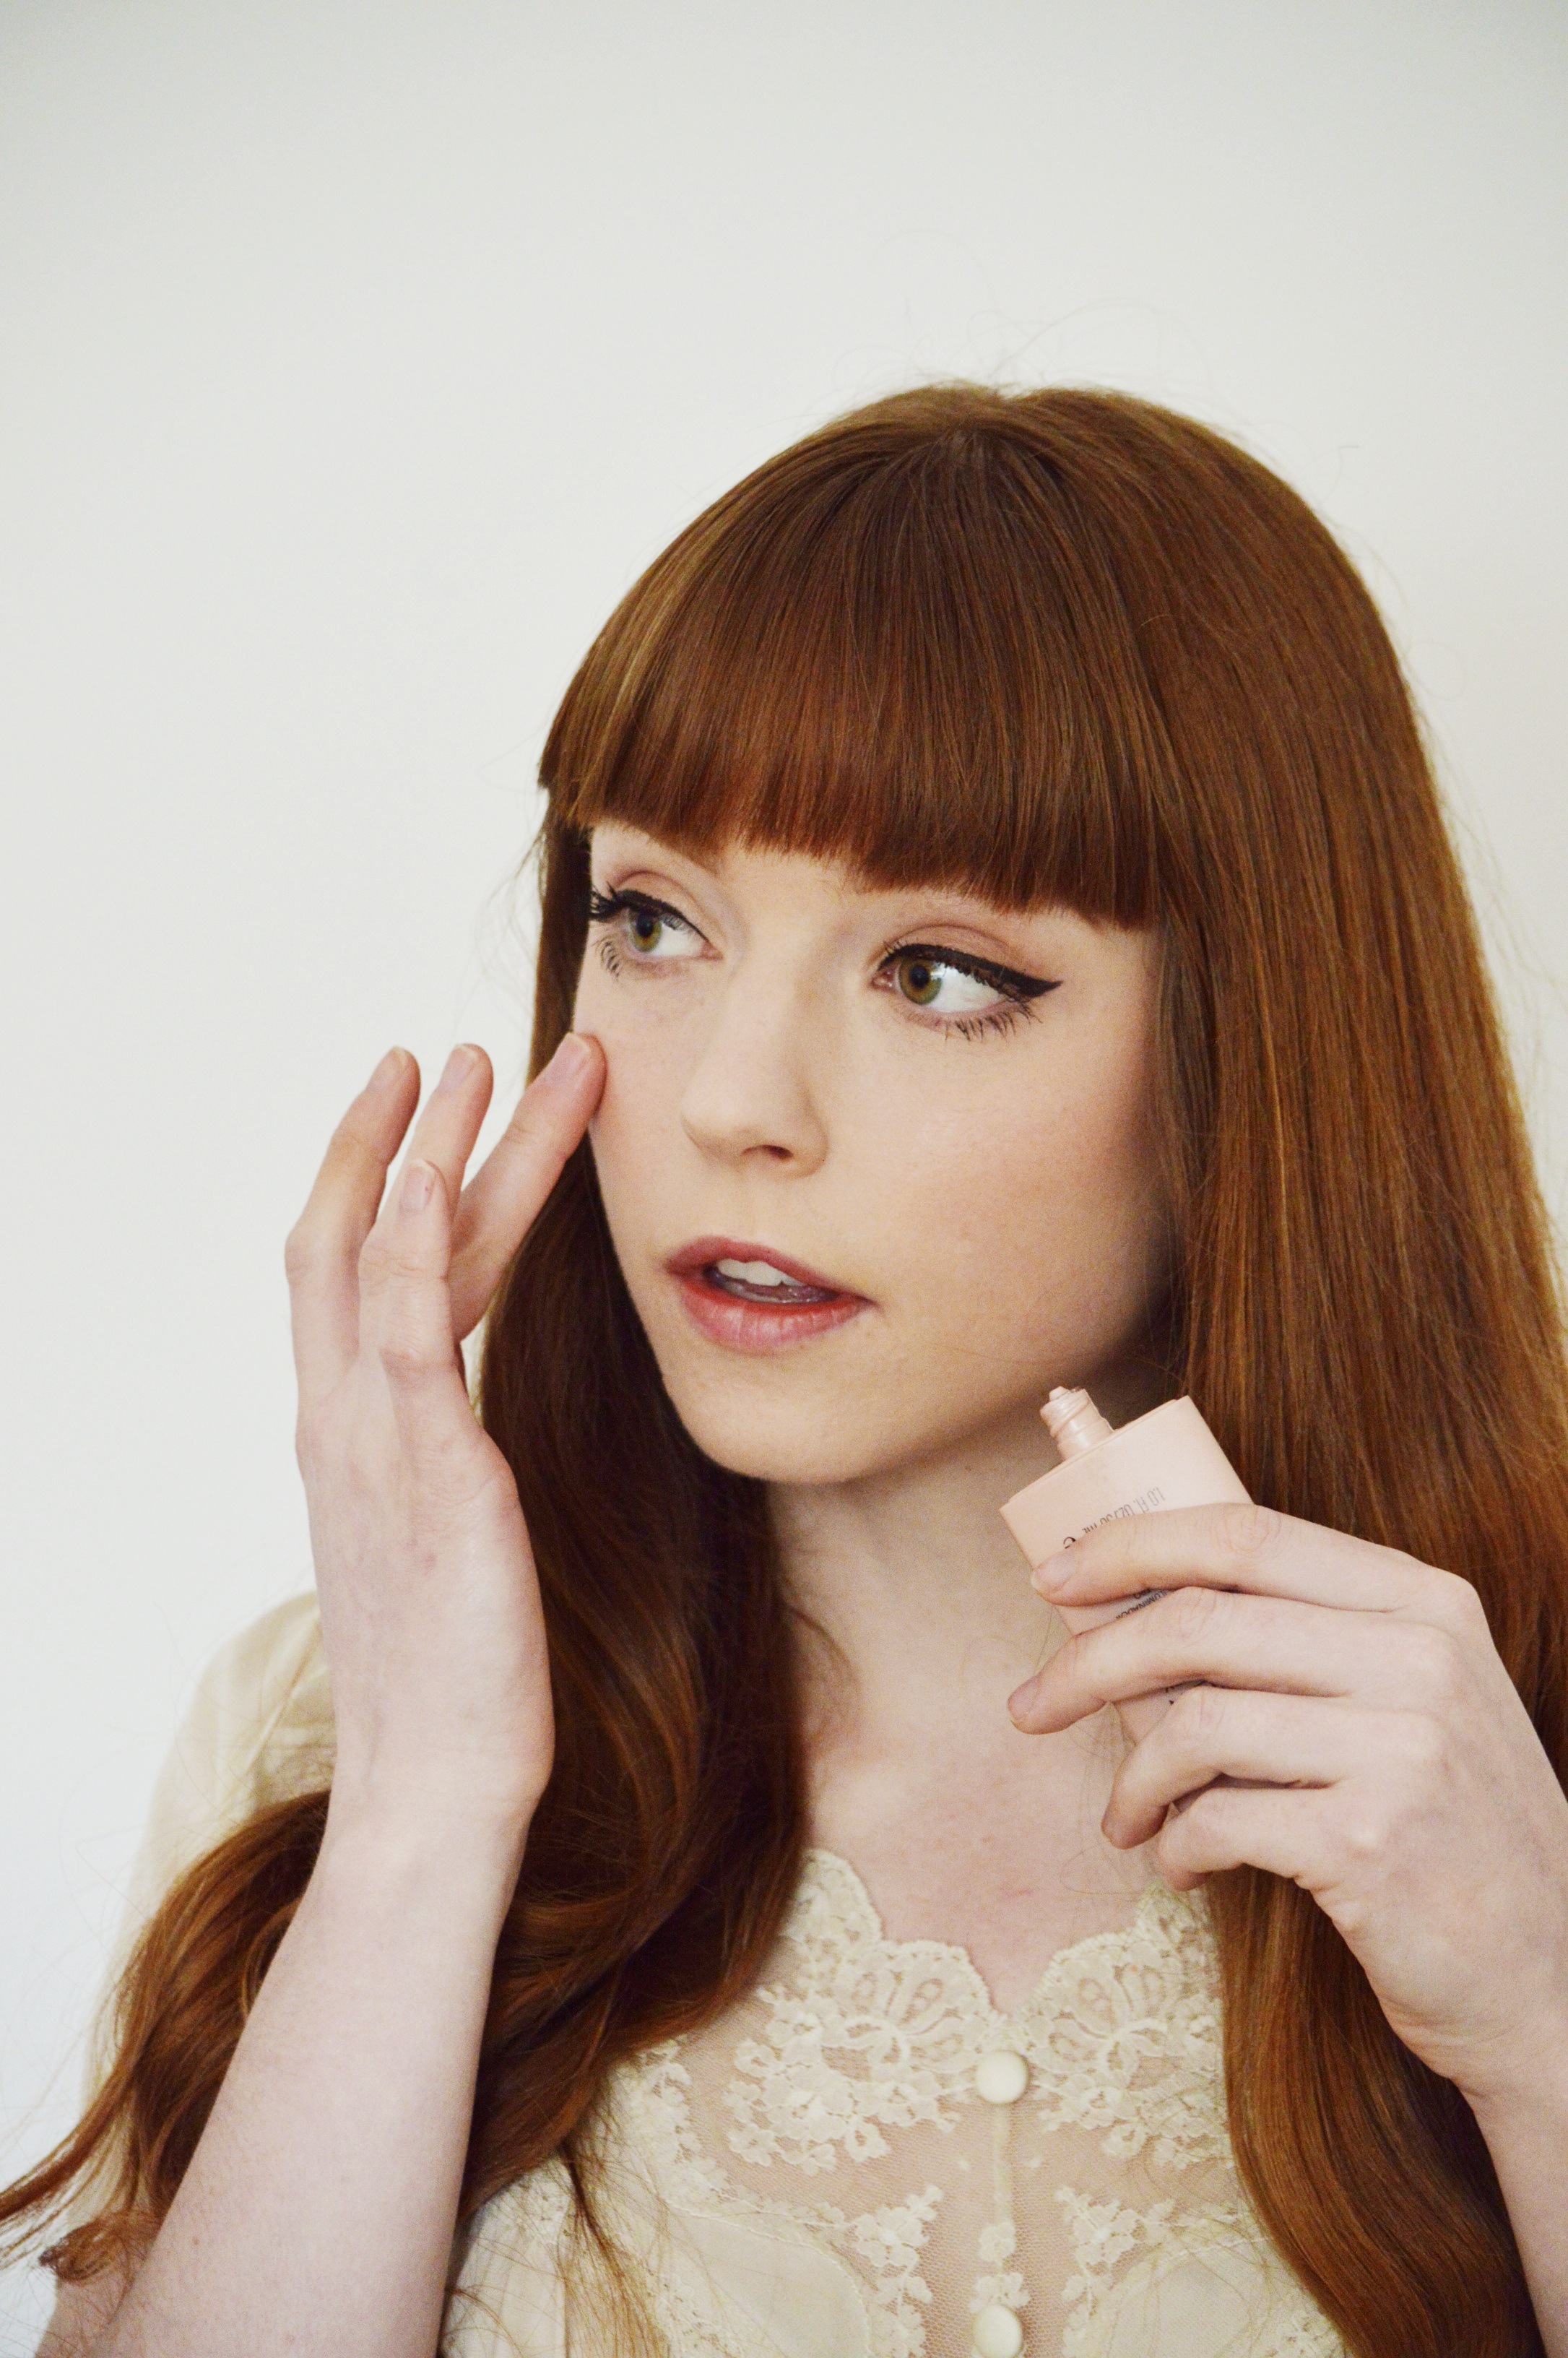 Next, using my 127 brush (my favourite one because I like the way white and pink look together) I apply my blusher. Because I don’t do any true contouring, I use blush as a sort of contour. So, I apply the blush on the apple of my cheeks, as well as my cheek bones (you know when you suck in your cheeks? ya, right in that spot). And to give my face a nice, bright look, I dab my liquid illuminator right above my blusher, on the cheek bones, which makes me feel angelic and wonderful.
 And last, but certainly not least, lip colour. Now, when I do really want to give my lips a punch, I use a true red lipstick (usually So Chaud by MAC), but since this is an everyday look, and I can’t be bothered to wear lipstick on the regular, I’m using my Burt’s Bees lipgloss. To be honest, I’m not a huge fan of glosses, especially strongly pigmented ones. I have quite thin lips, so a more pigmented shade of lipgloss I tend to steer away from because it just doesn’t look right, but since I like this colour a lot, I make it work for me. I just dab the gloss on with the applicator, and from there I blend it in with my finger, so instead of it looking like I added a glossy colour to my lips, it gives a more flushed sort of look, like hey, my lips are just naturally this rosy. how cute of me.

 And that is my everyday make up. Sorry if there was a lot of writing…man is it ever hard to explain in writing how you apply make up! Also, all of this takes me about 15 minutes, so if you think this is too much work for everyday, think again. And if you have any other questions or things that need clarifying, please let me know. I may do a post that is more in depth about my favourite products I use regularly, so let me know if that is something you would be interested in.
Bonjour, From Montreal!
 Last Friday I made my way to Montreal, and I’ll be here until this coming Friday, spending time with my best friend Kristen and other MTL pals. The reason for my trip wasn’t totally for leisure, however. I have a couple dance shows this week in this lovely city, so I decided to make it an extended trip, ensuring I’d be able to have some fun with my best pal who I hadn’t seen in months, before I get busy this week with rehearsals and performances.
I decided to snap some photos of my new dress I purchased this past weekend in Kristen and Sergio’s flippin’ amazing kitchen. The outfit goes so perfectly with their kitchen and decor, it is like a match made in heaven.
How was your weekend? Let me know, I’d love to hear.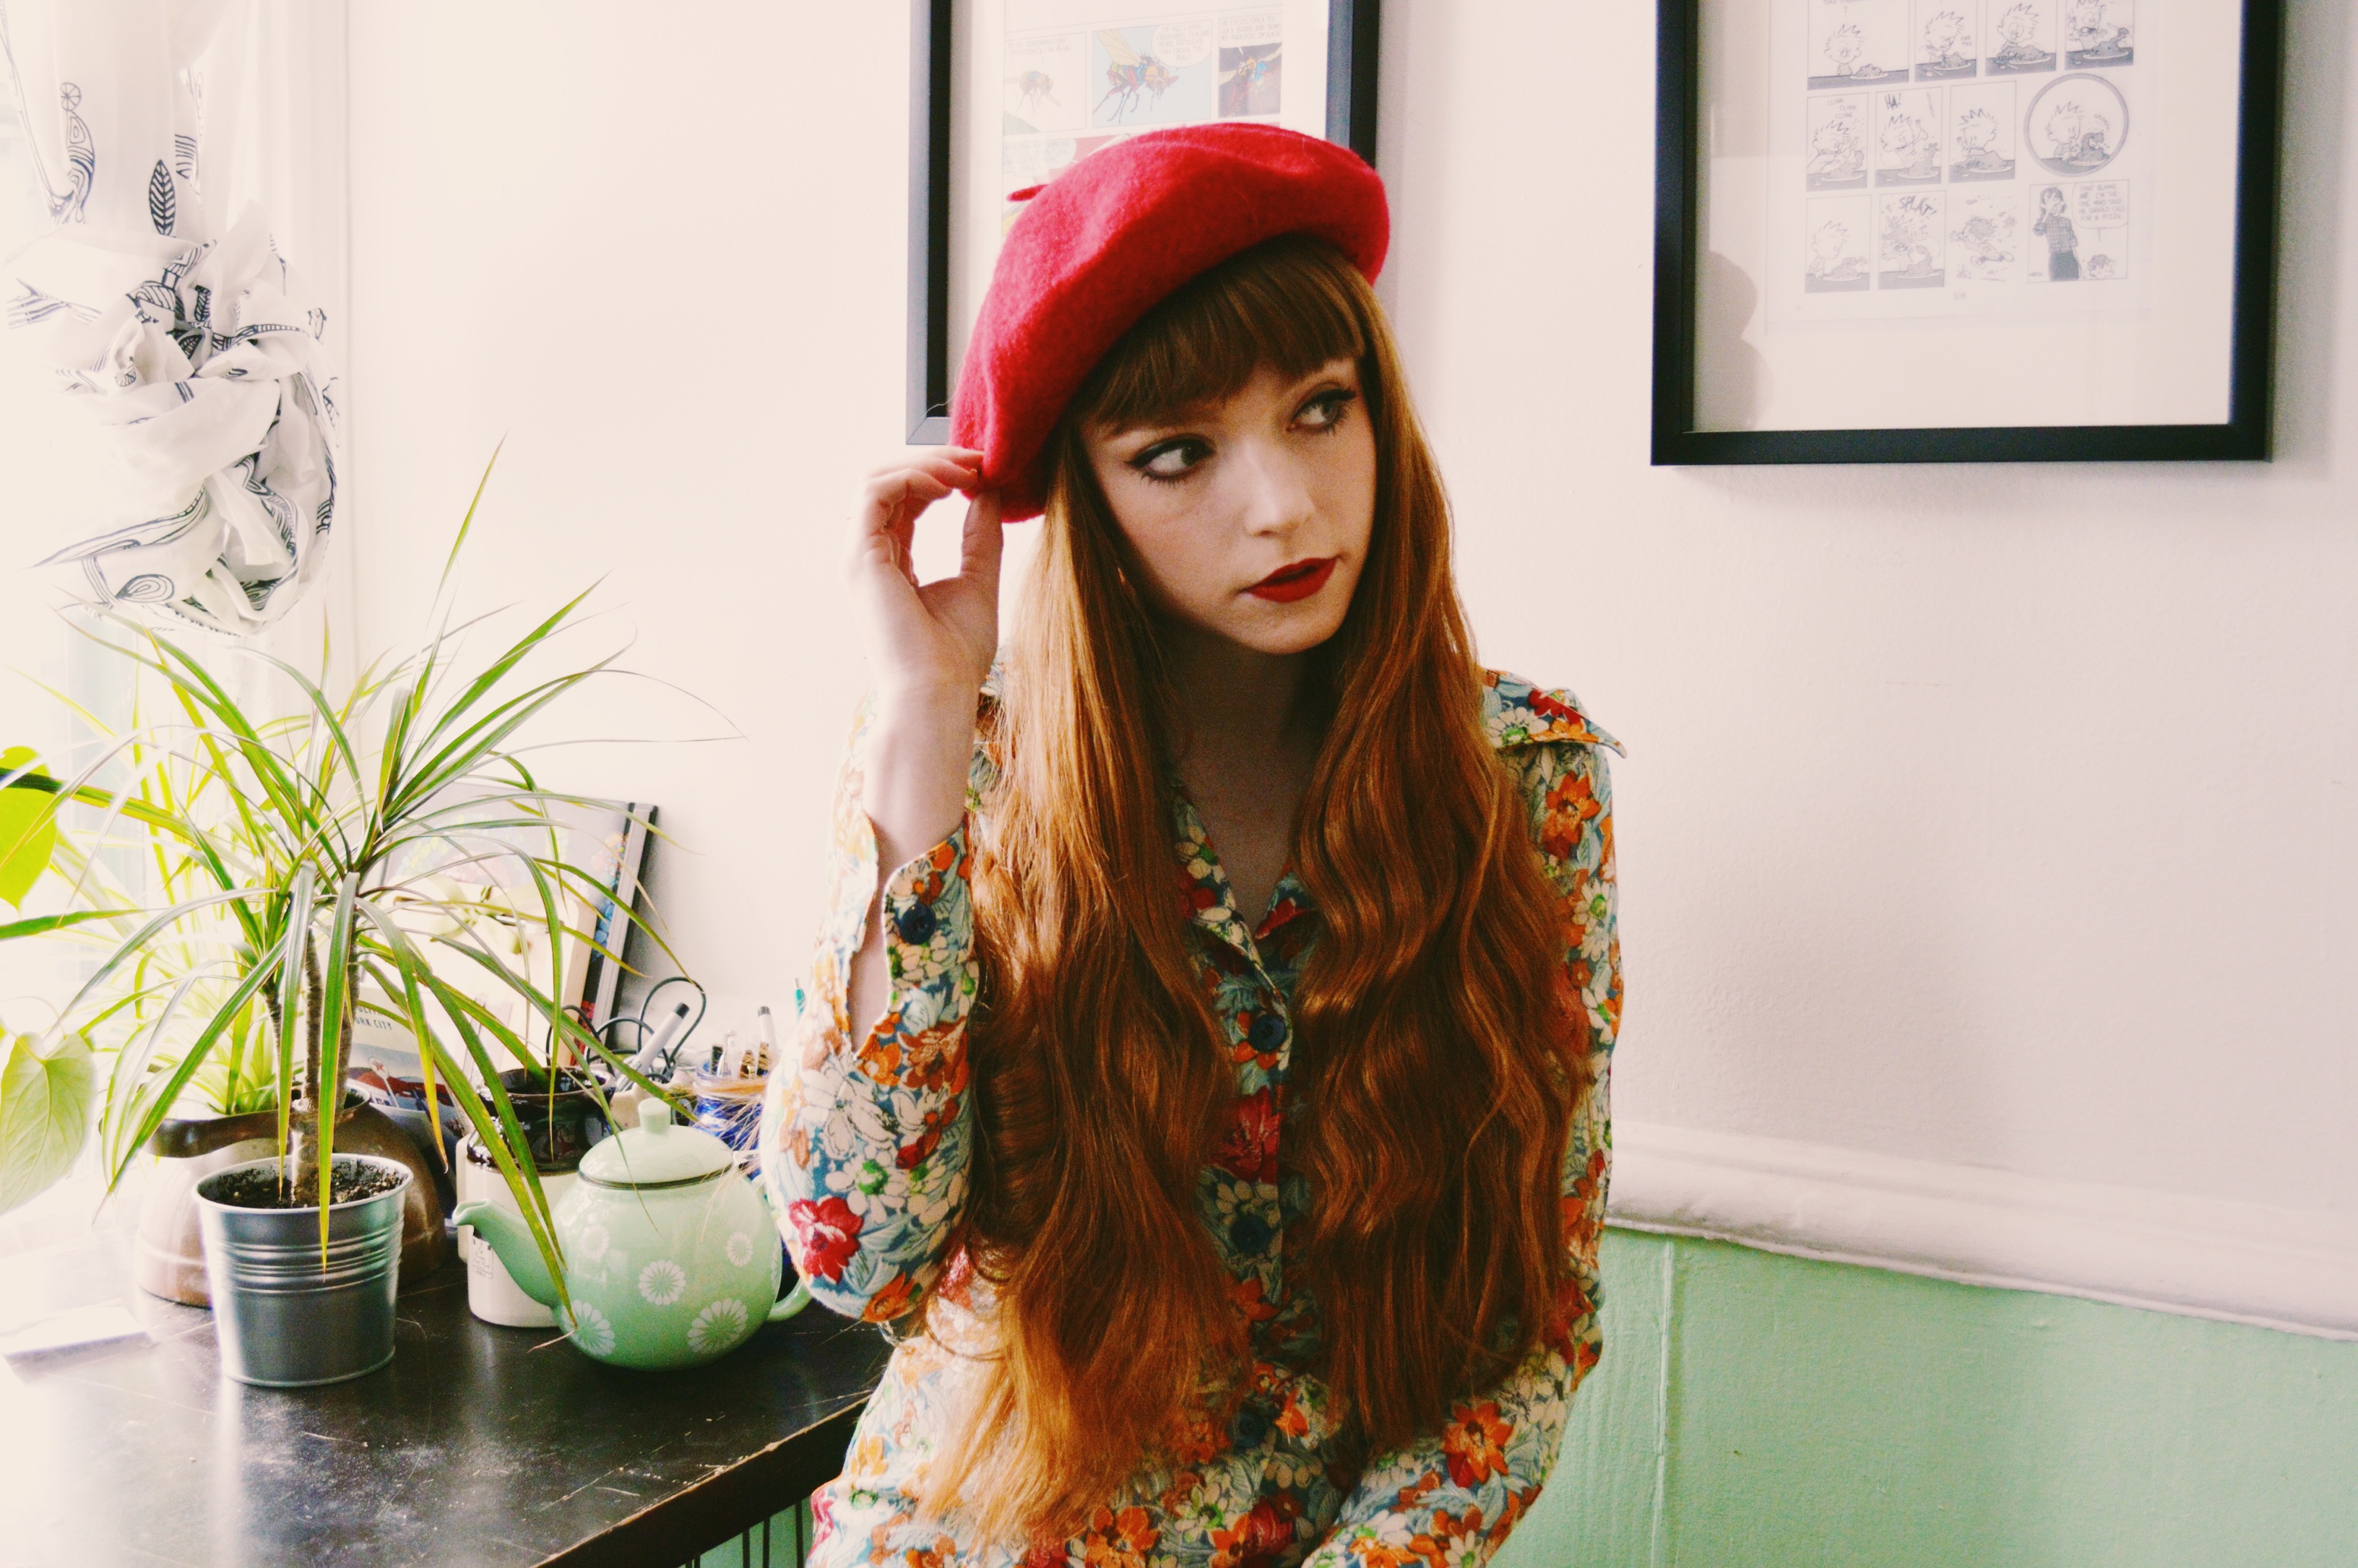

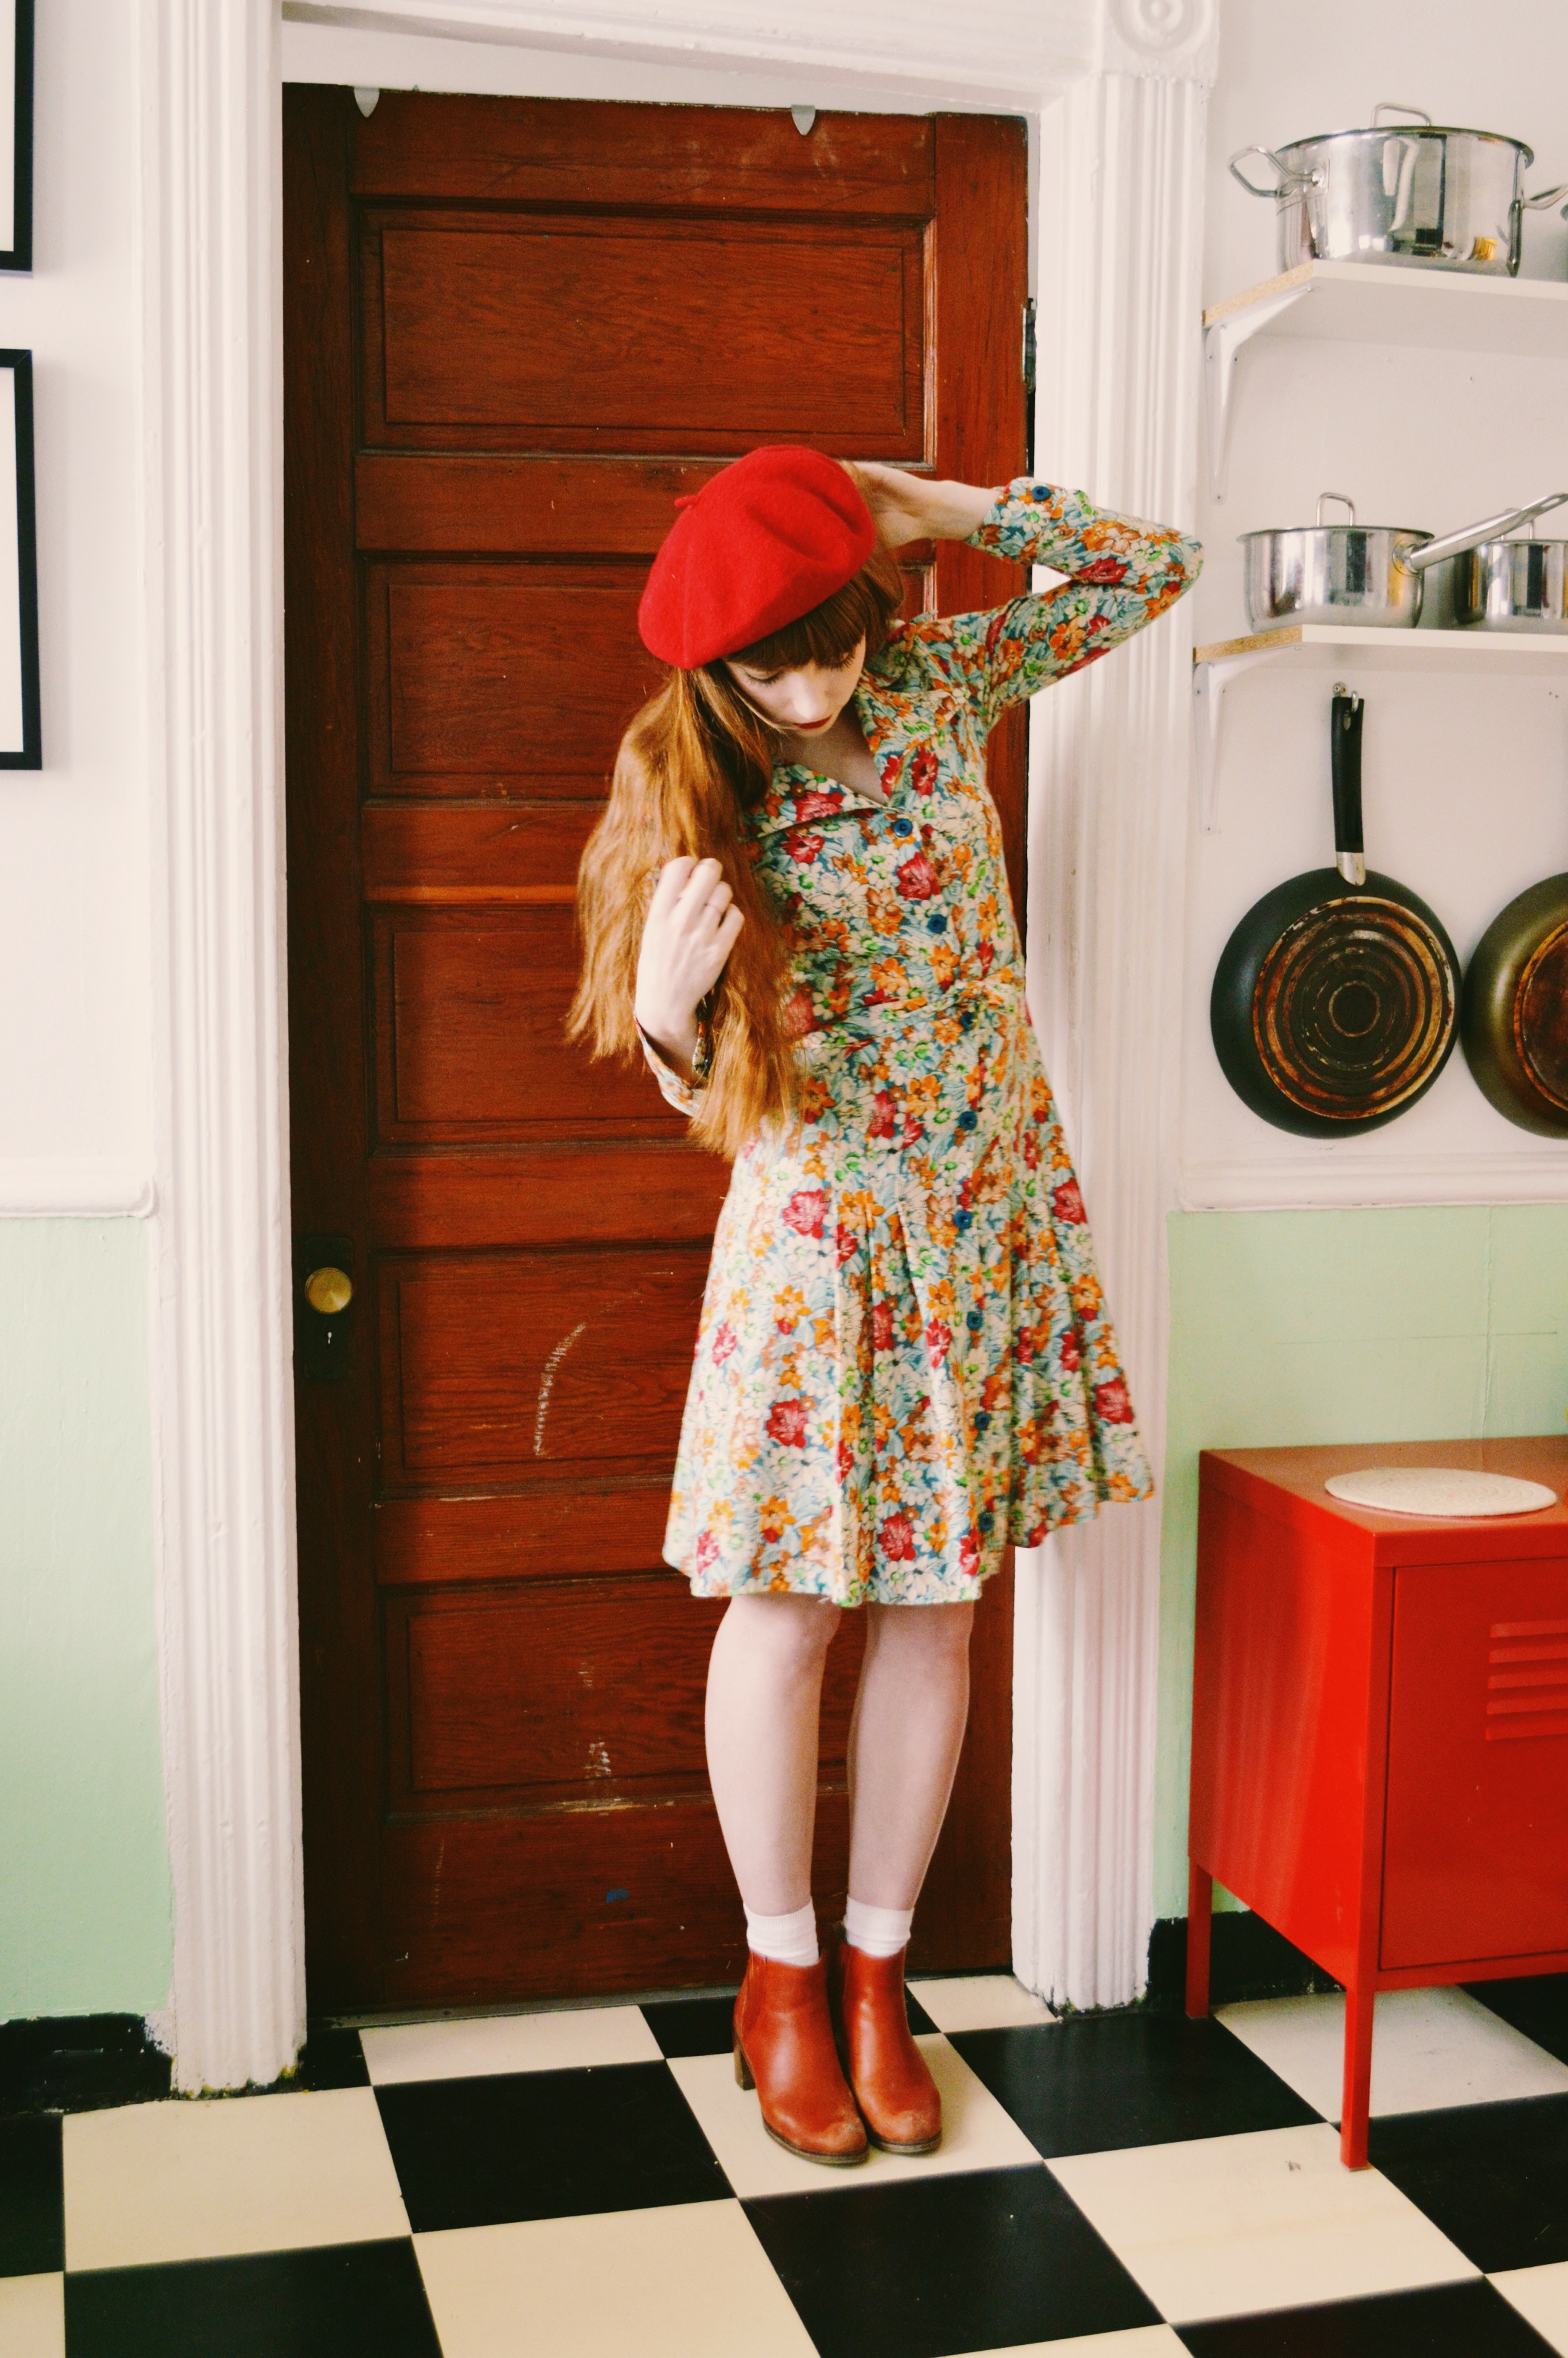
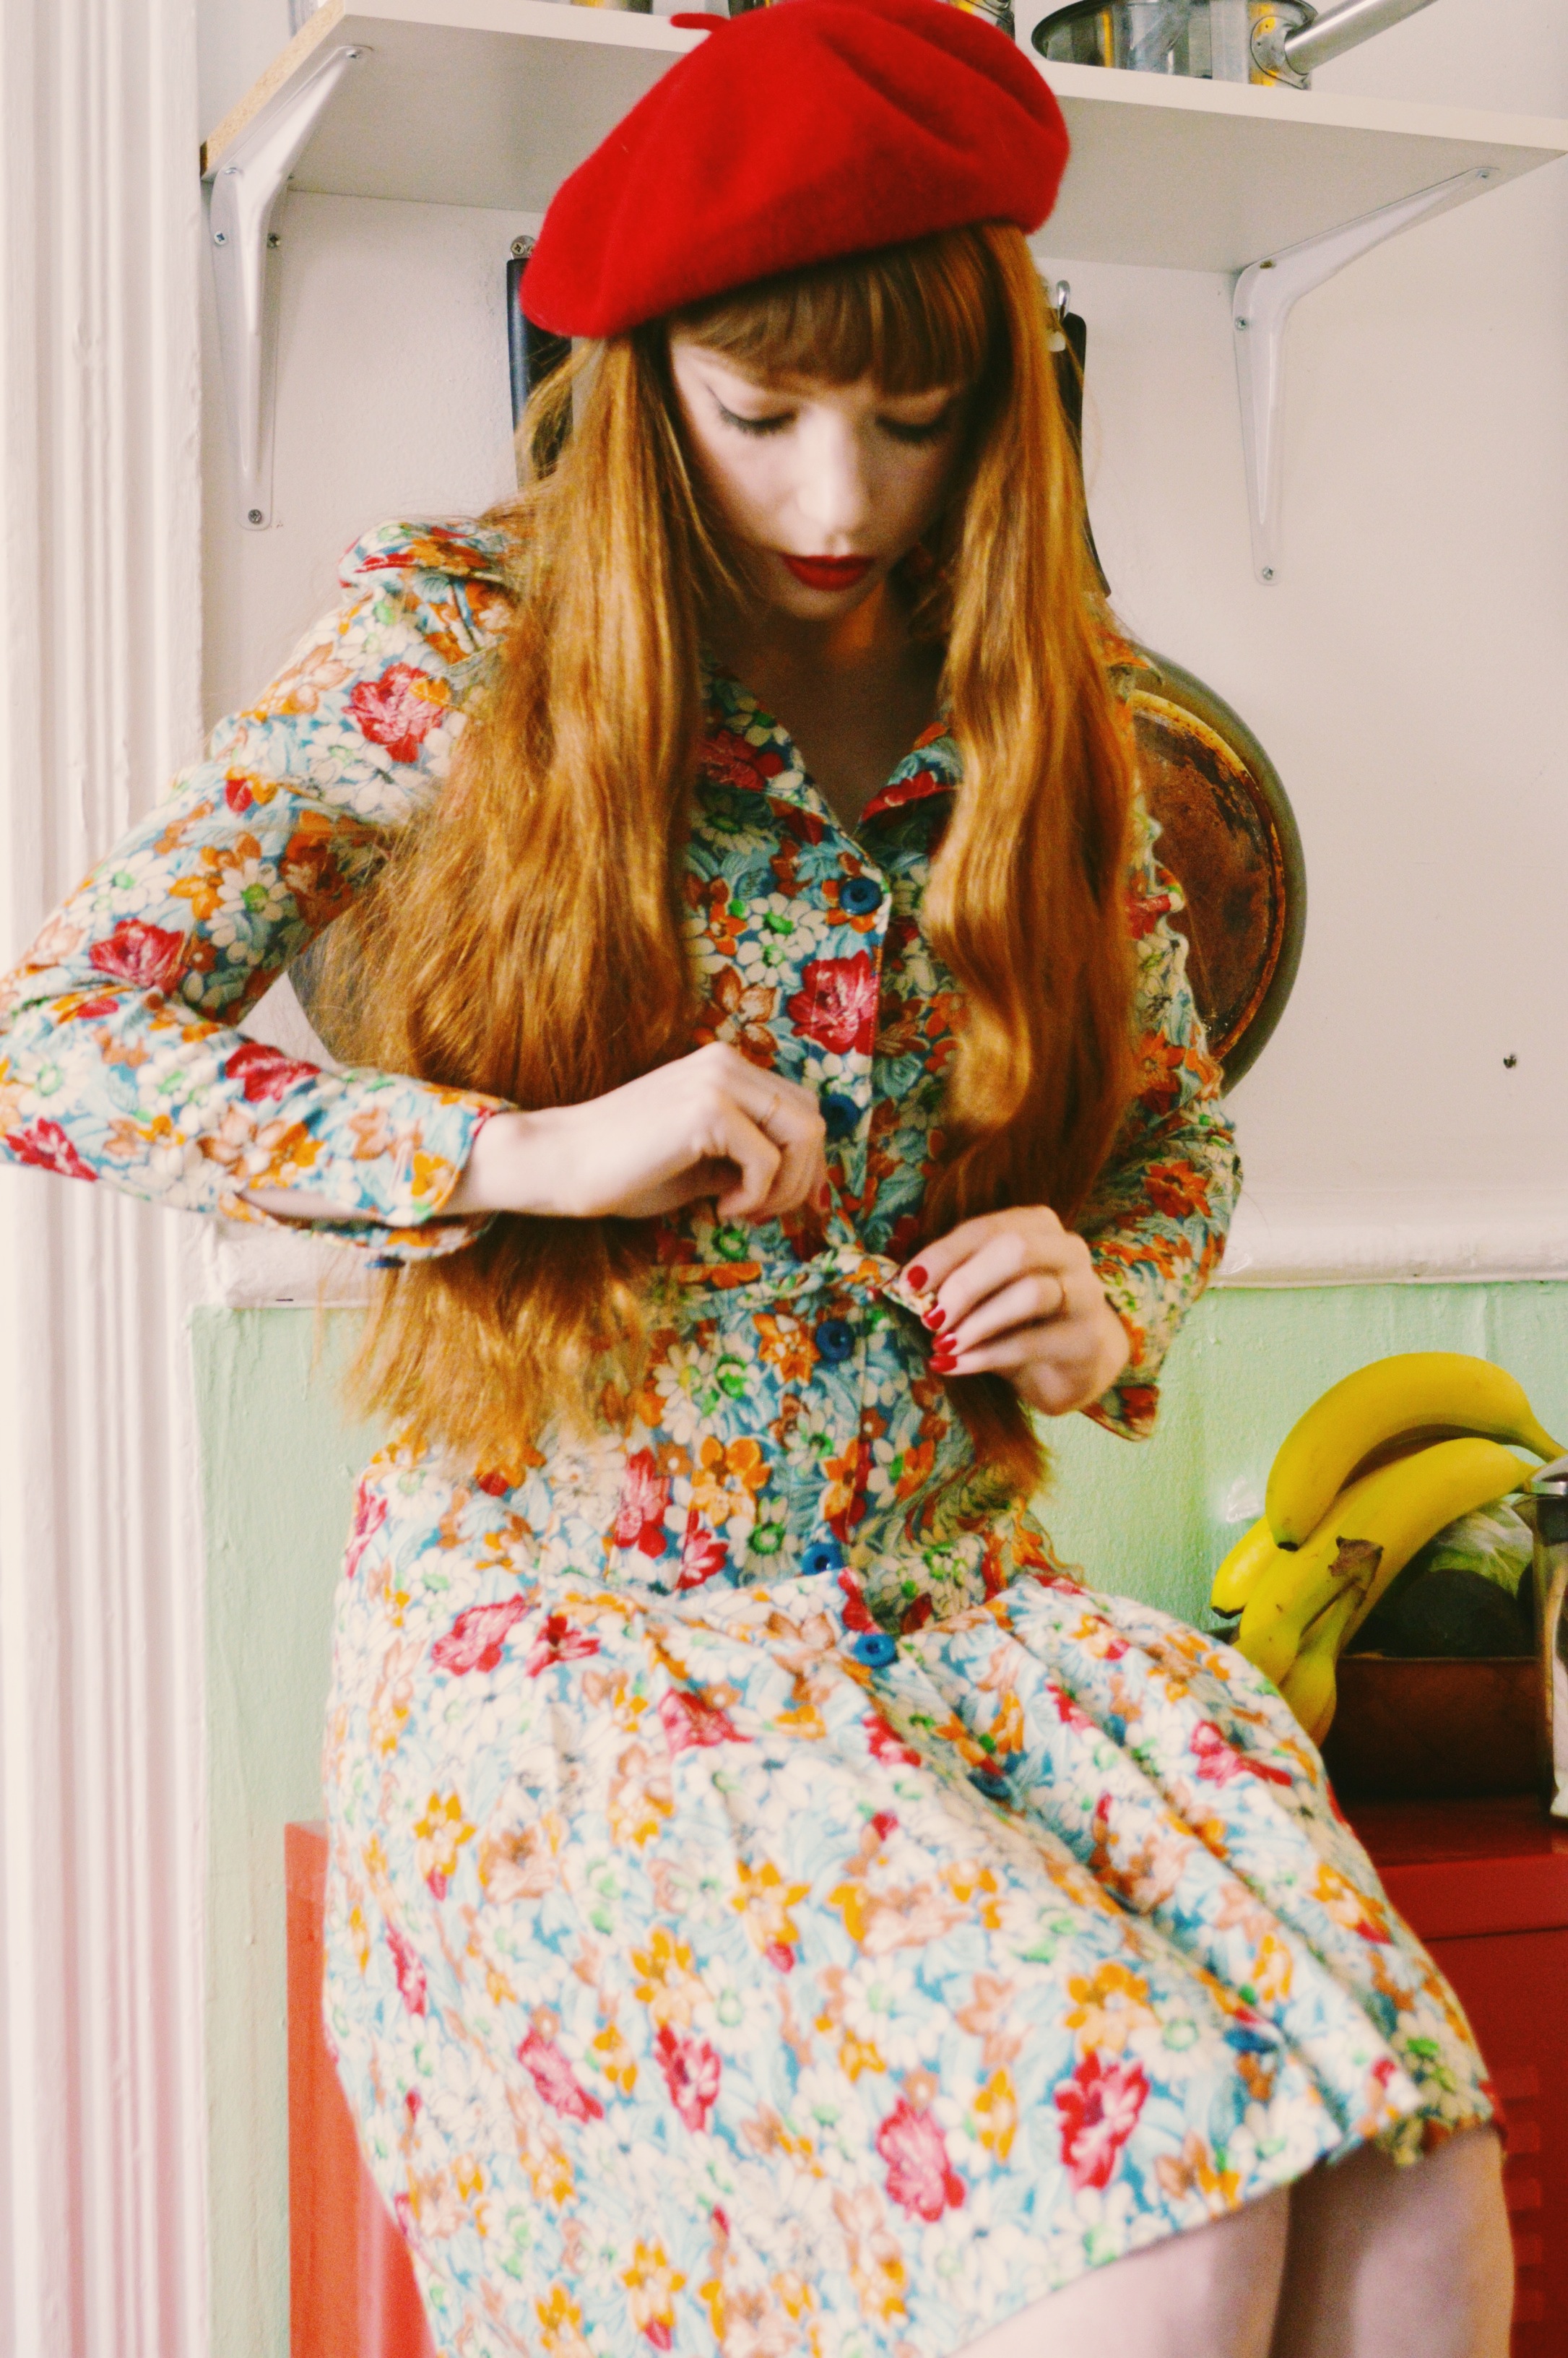
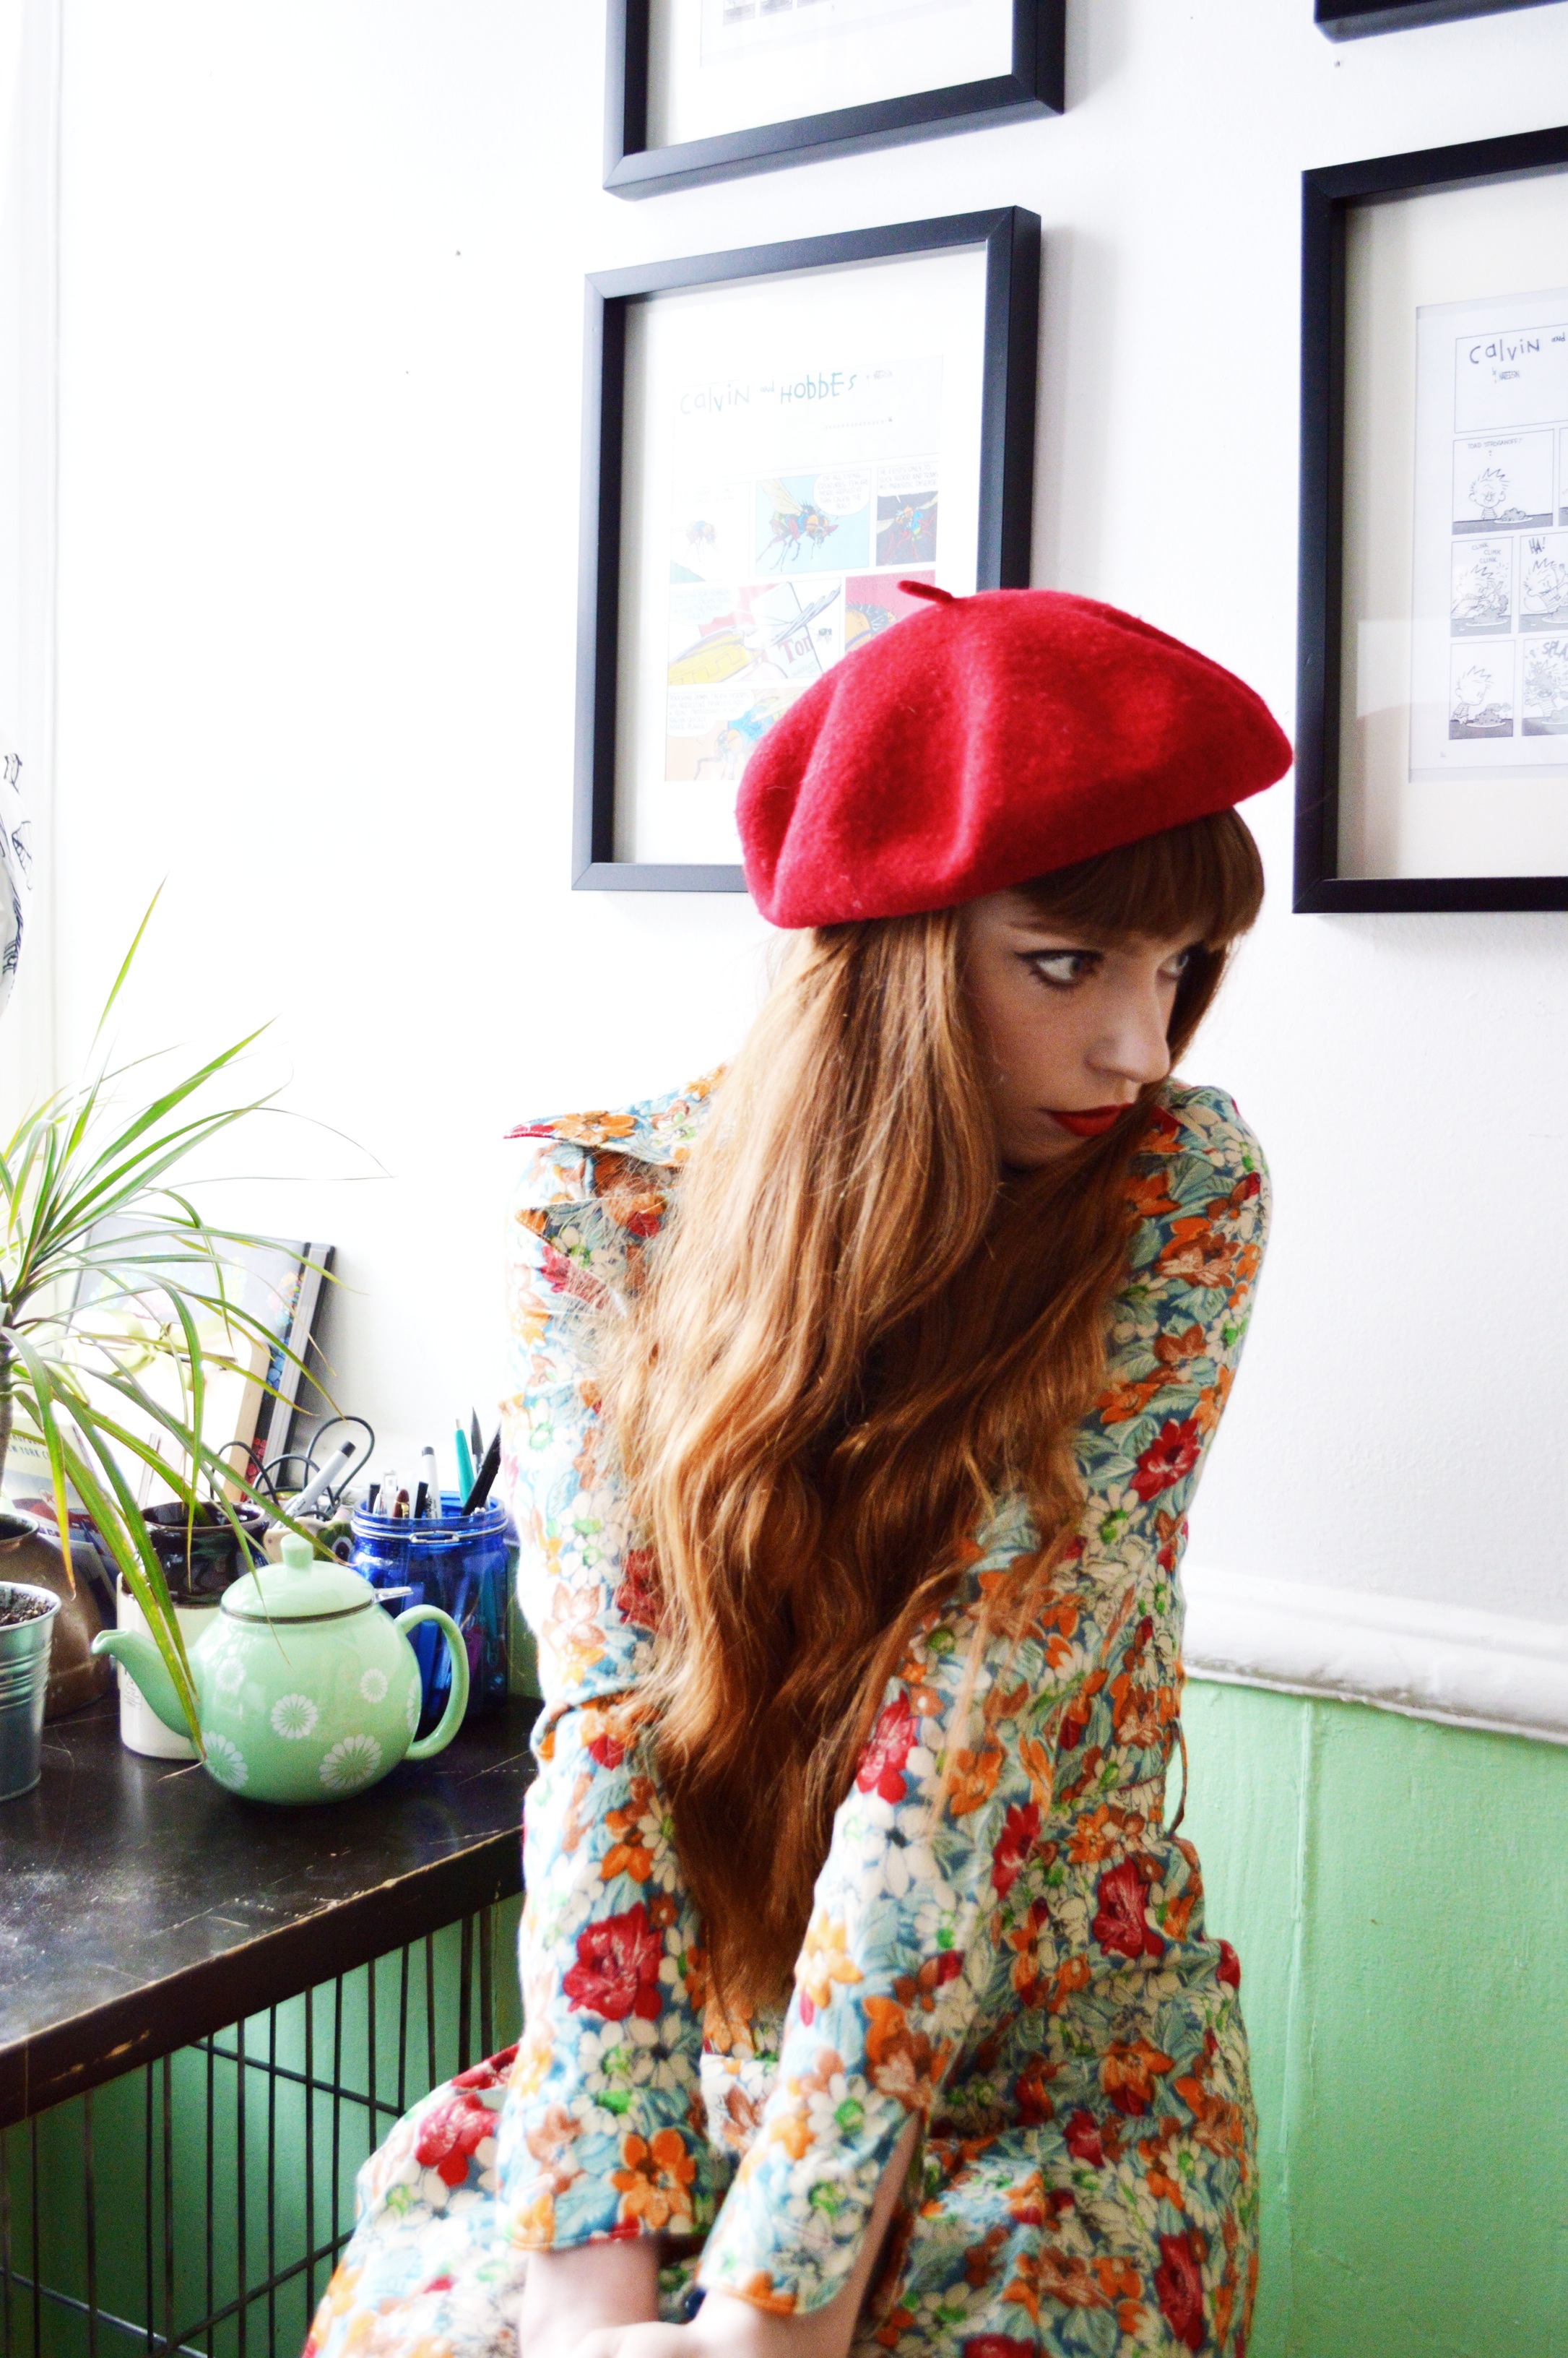

 Dress: vintage via Empire Exchange
Beret: thrifted
Boots: Samantha Pleet x Wolverine
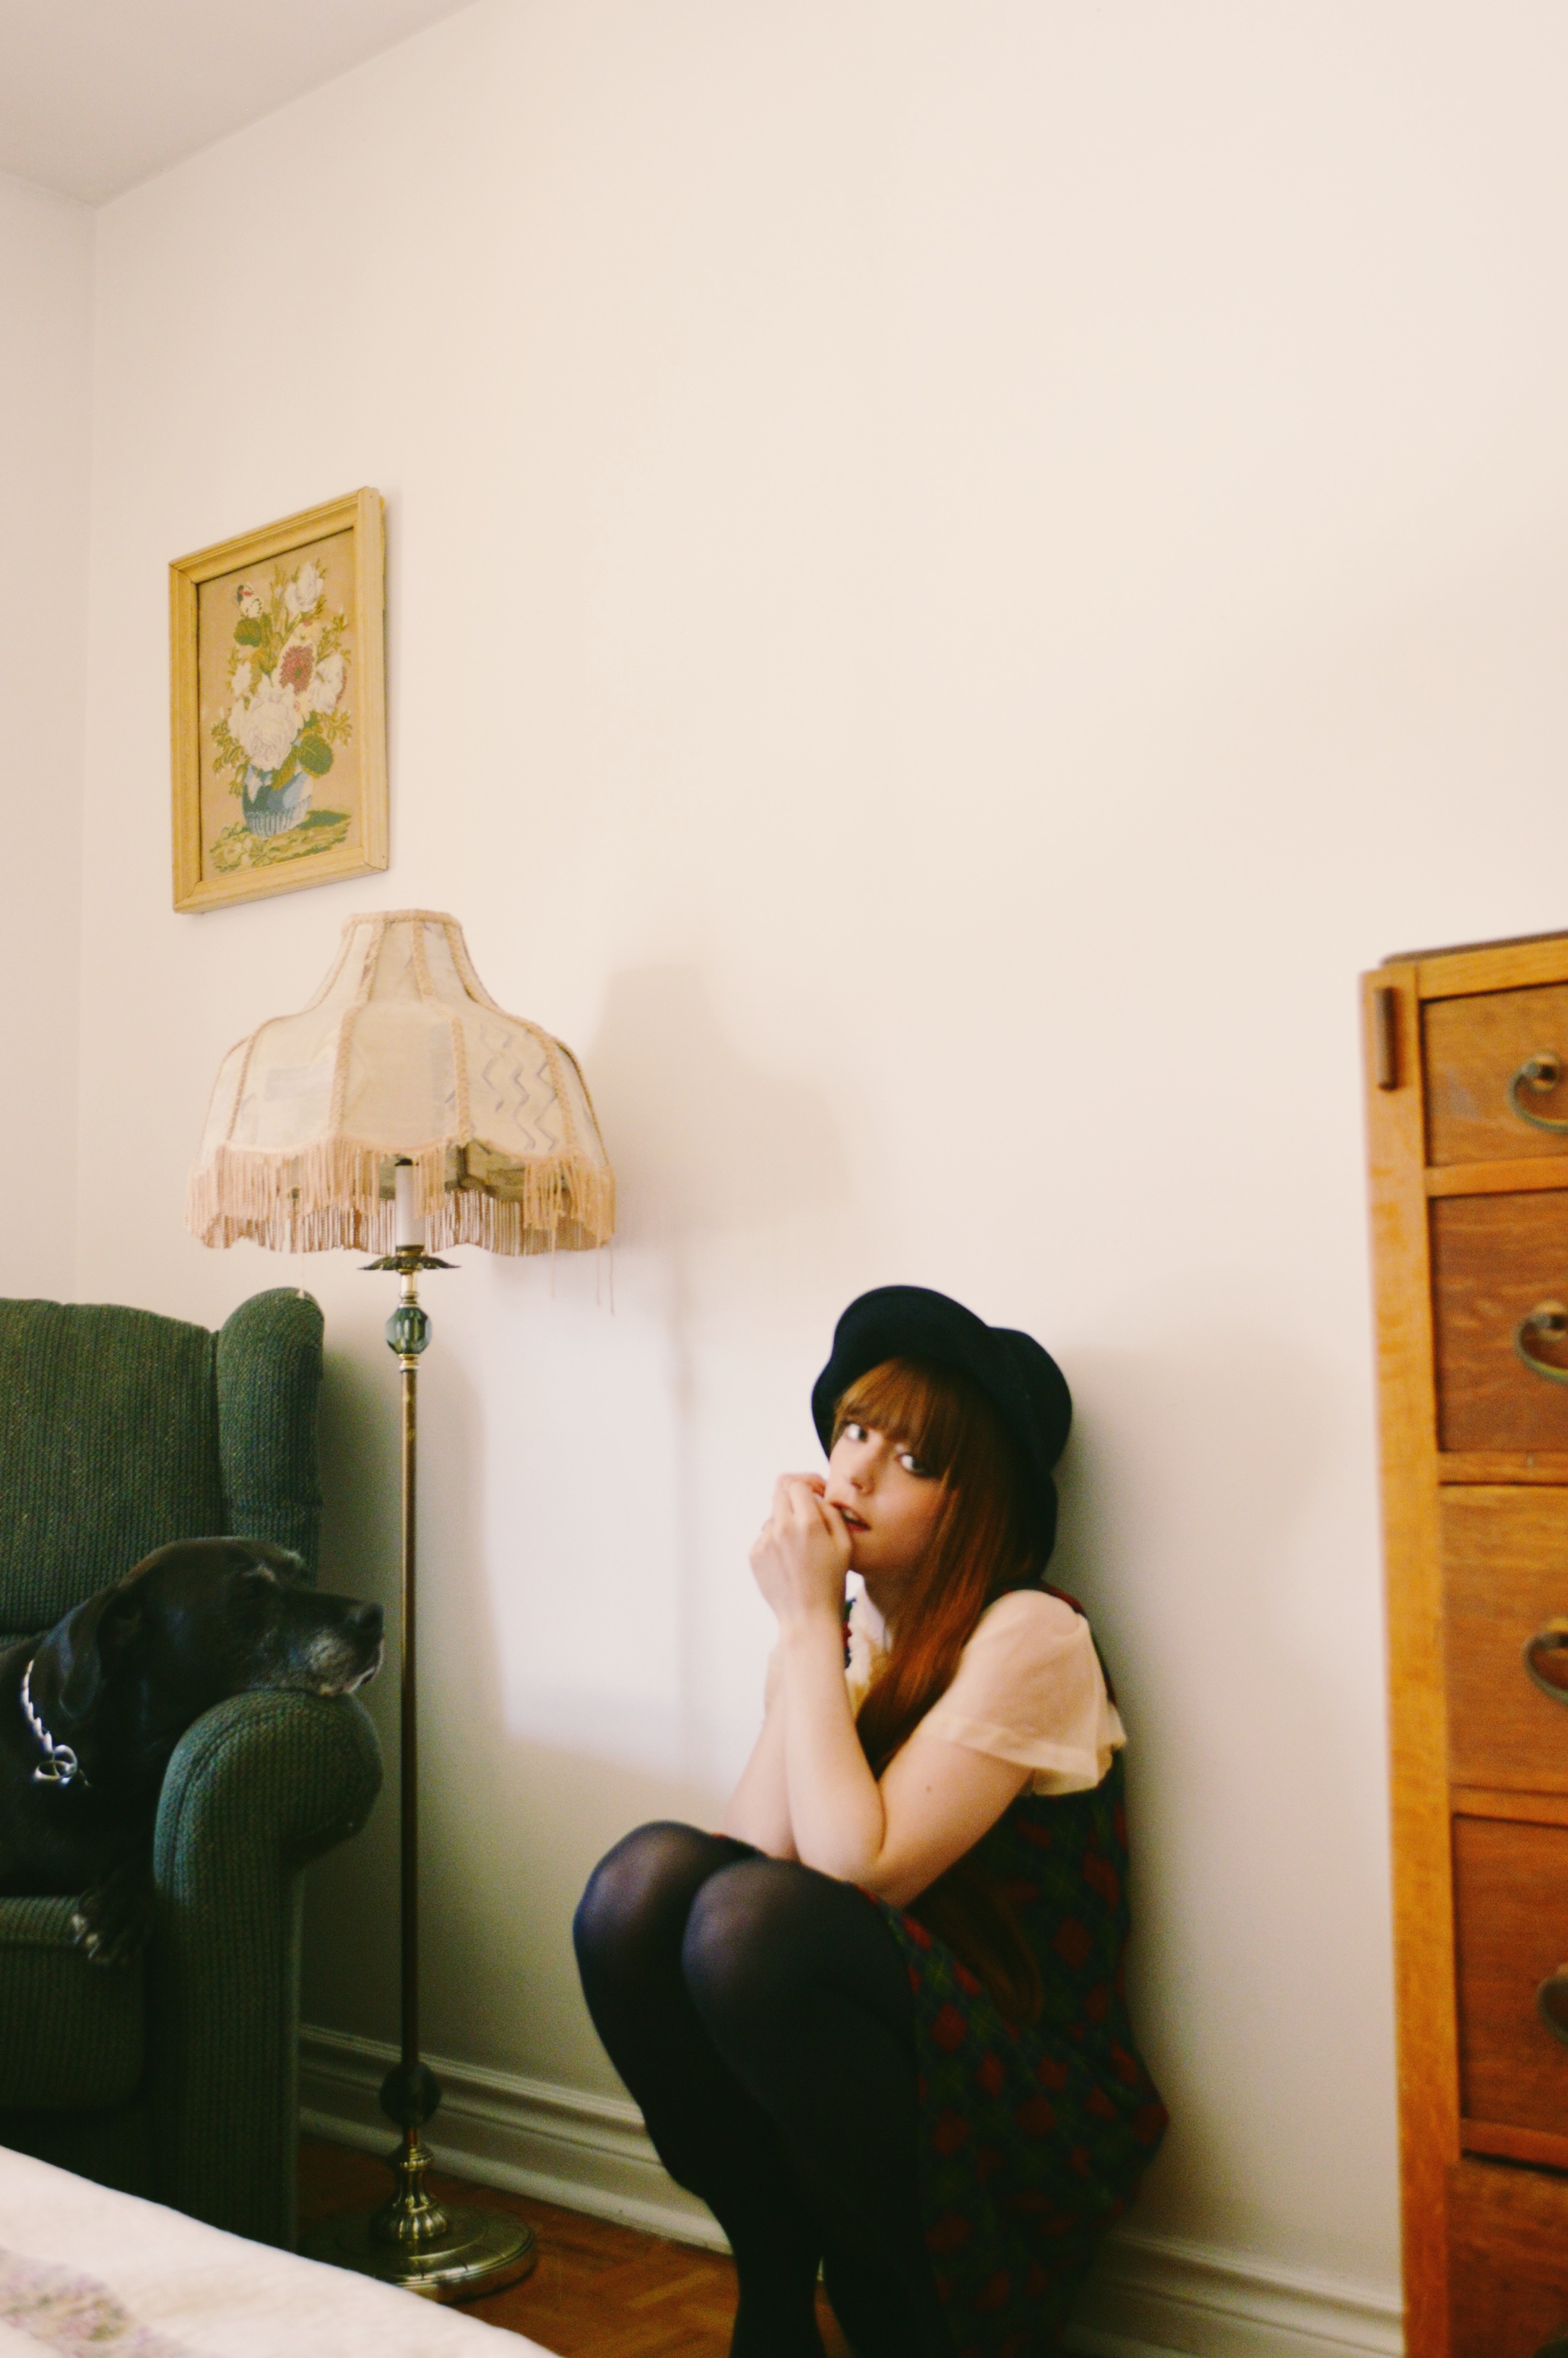
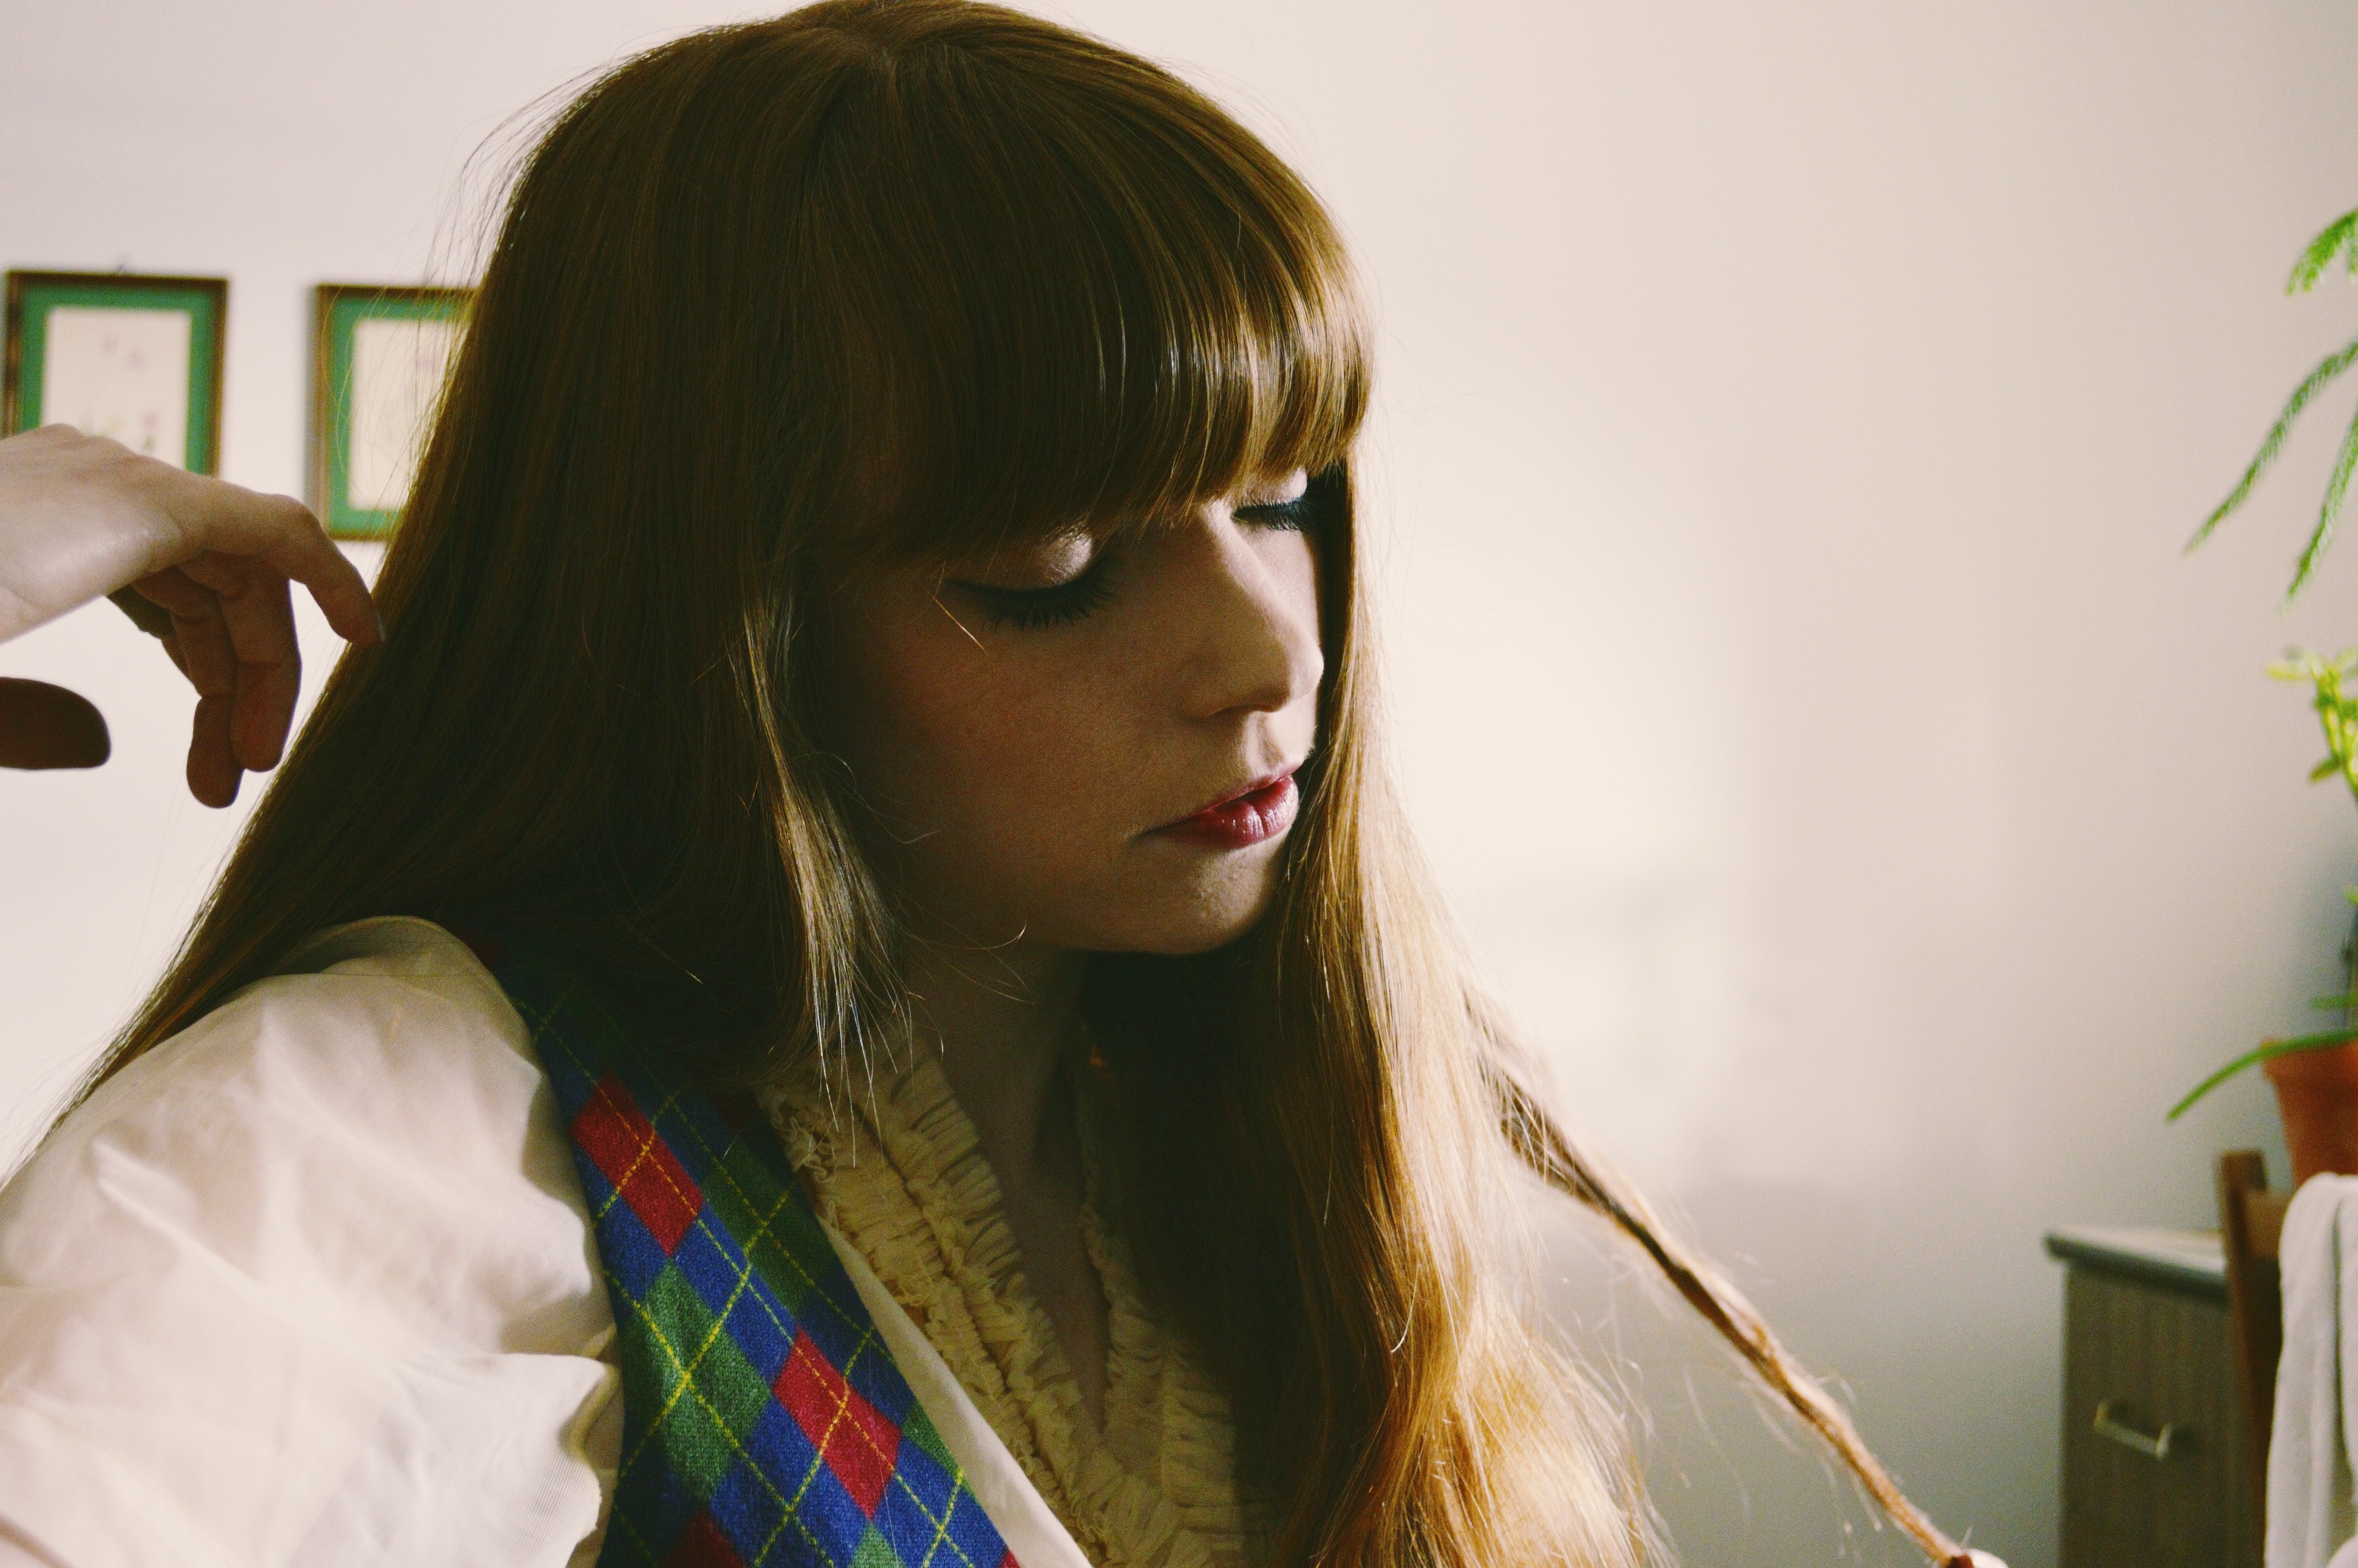
A Dress for Always
 I’ve had this pinafore since December, but am only getting around to photographing it now. To be honest, I think I only had only worn it once or twice before this, which is quite unusual for me, since I am notorious for wearing new pieces to death. I think the problem was, in my mind, it seemed way more holiday inspired than it actually is. So once the holiday season was over, I thought this pinafore might be too over the top. But after looking back at the photographs I took, I realized that the navy really pops (especially when paired with navy tights), and sort of cancels out the holiday-esque effect that red and green have together. Instead, it’s quite a striking colour combination, especially when photographed against light, muted tones, such as my lamp, wall hanging and stark white walls. Plus it matches our arm chair (which Beans LOVES, as you can see), so that’s an aesthetically pleasing bonus. Needless to say, this will not be one of my “only appropriate for holidays” dresses.
Do you guys have any pieces you avoid wearing and save for the holidays? Have you ever thought you couldn’t wear a piece because it was reminiscent of colour combinations associated with a specific holiday?


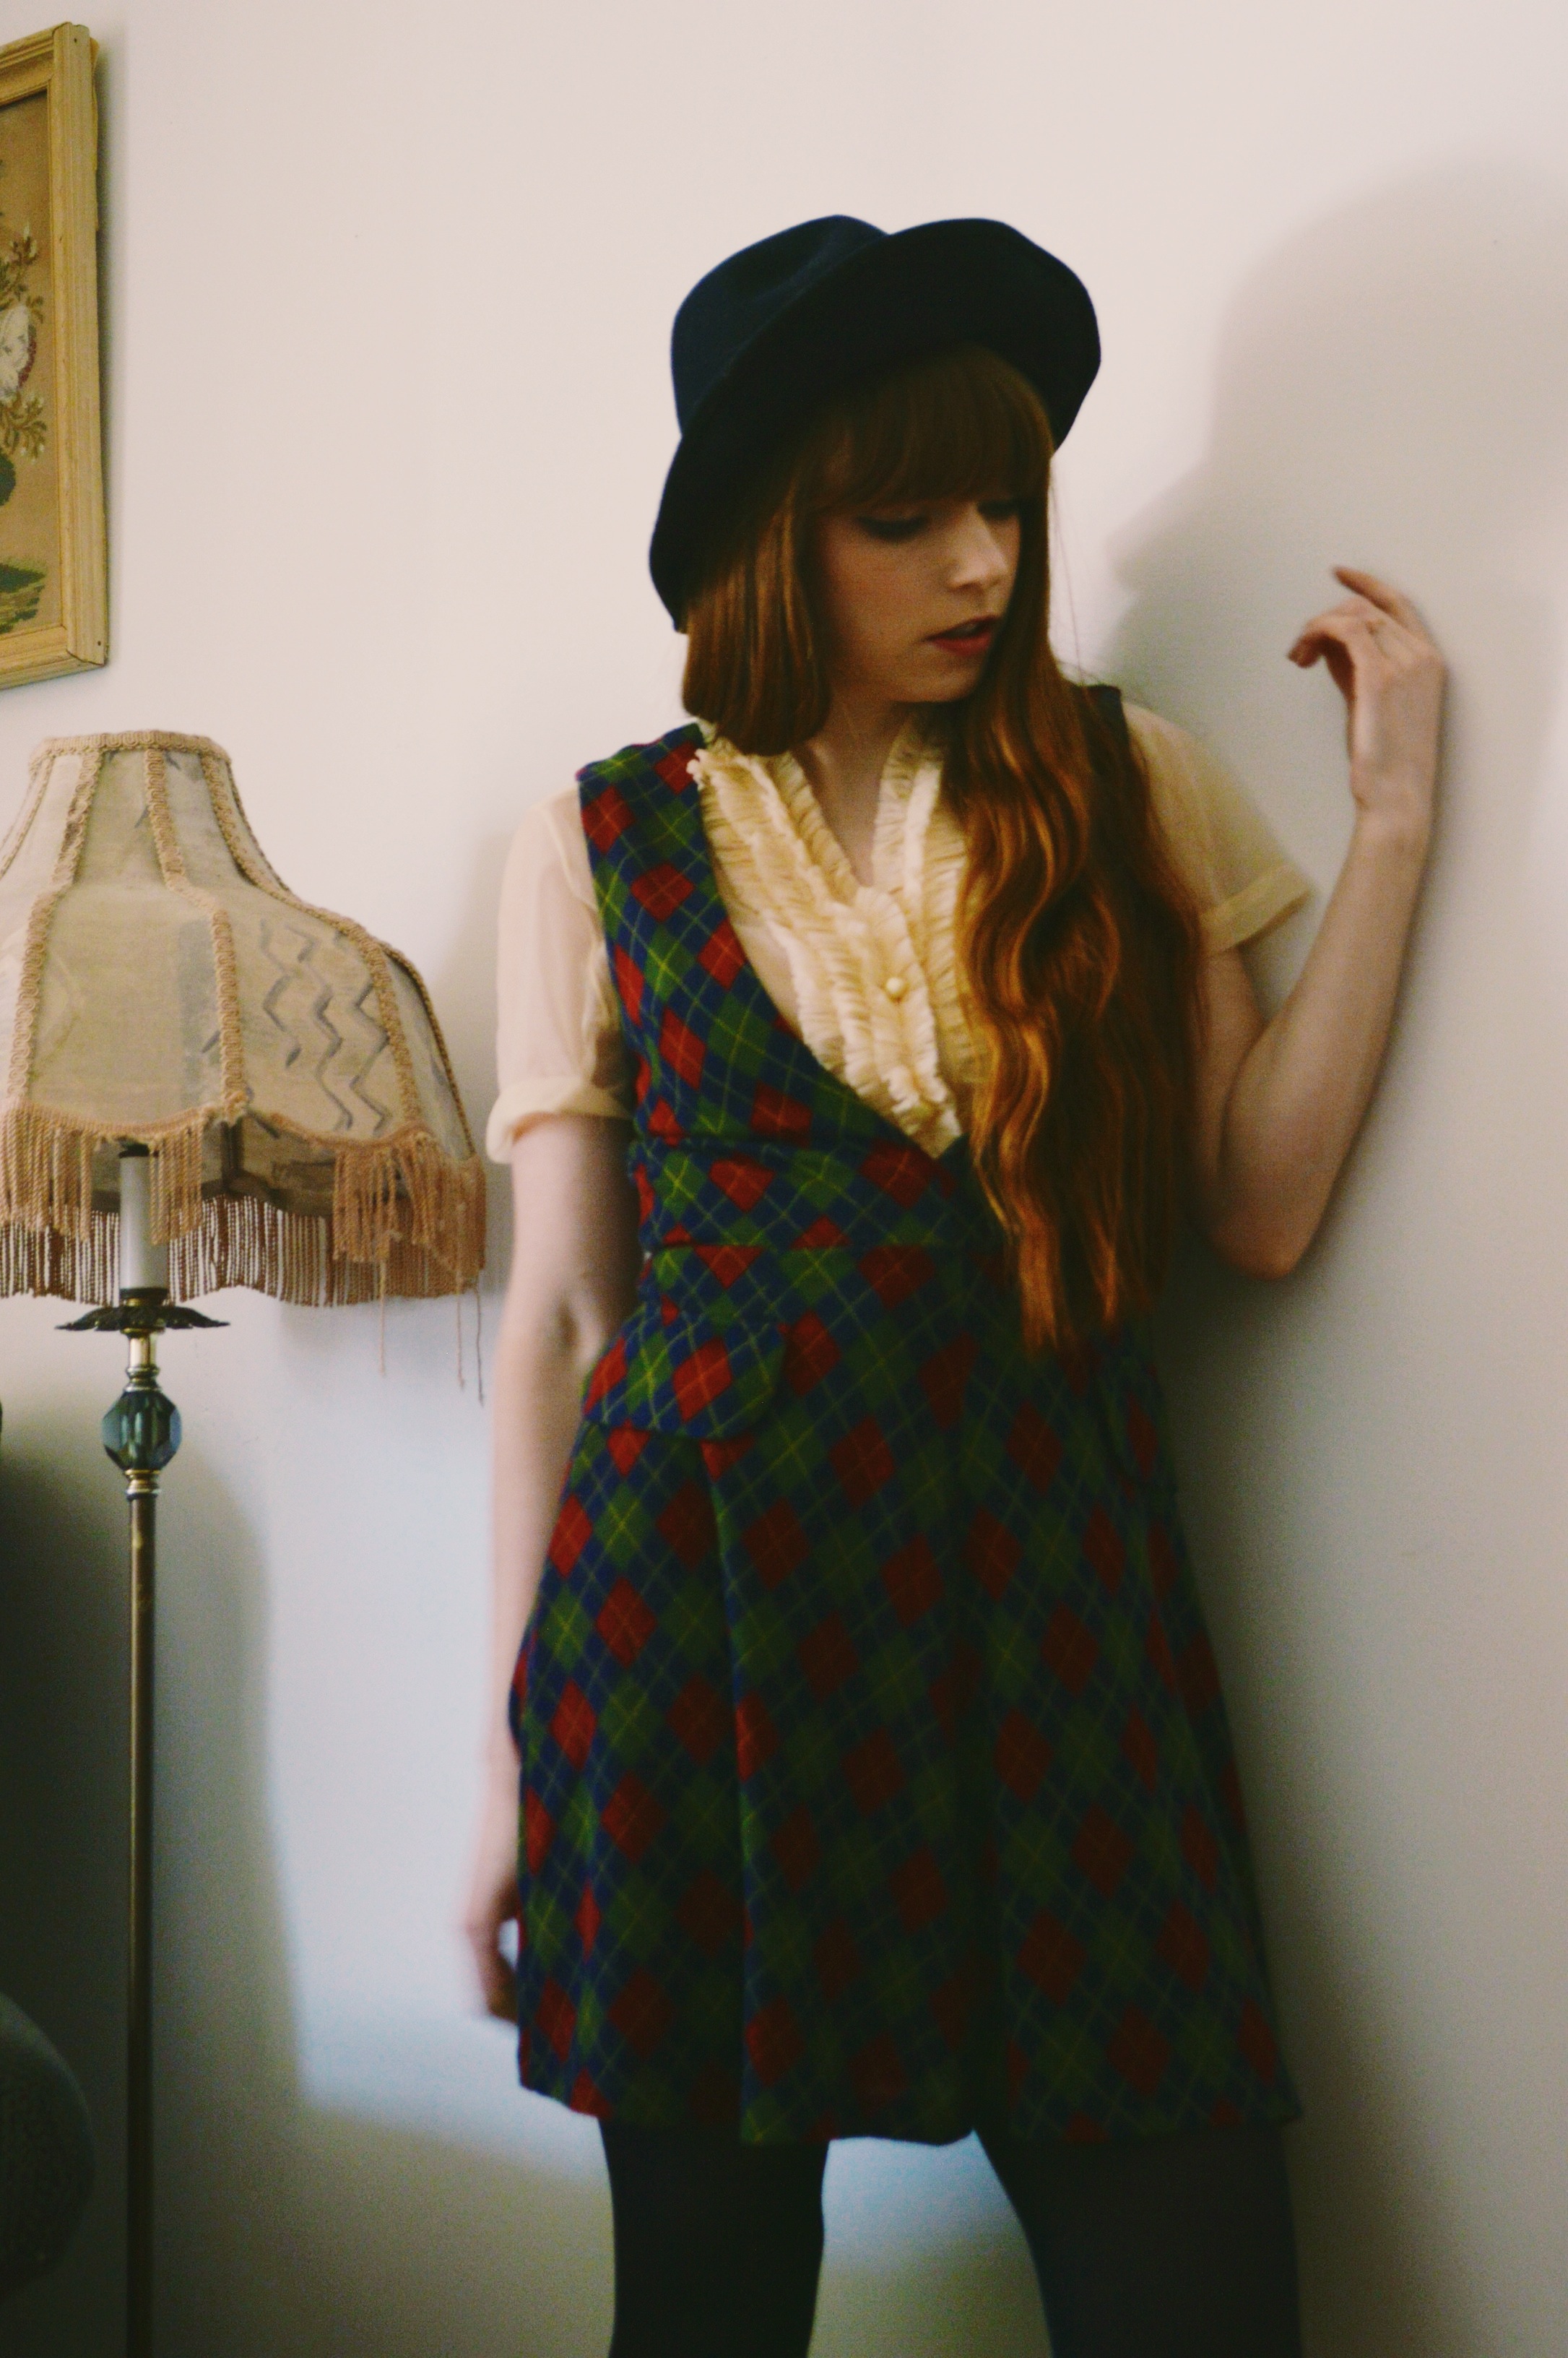
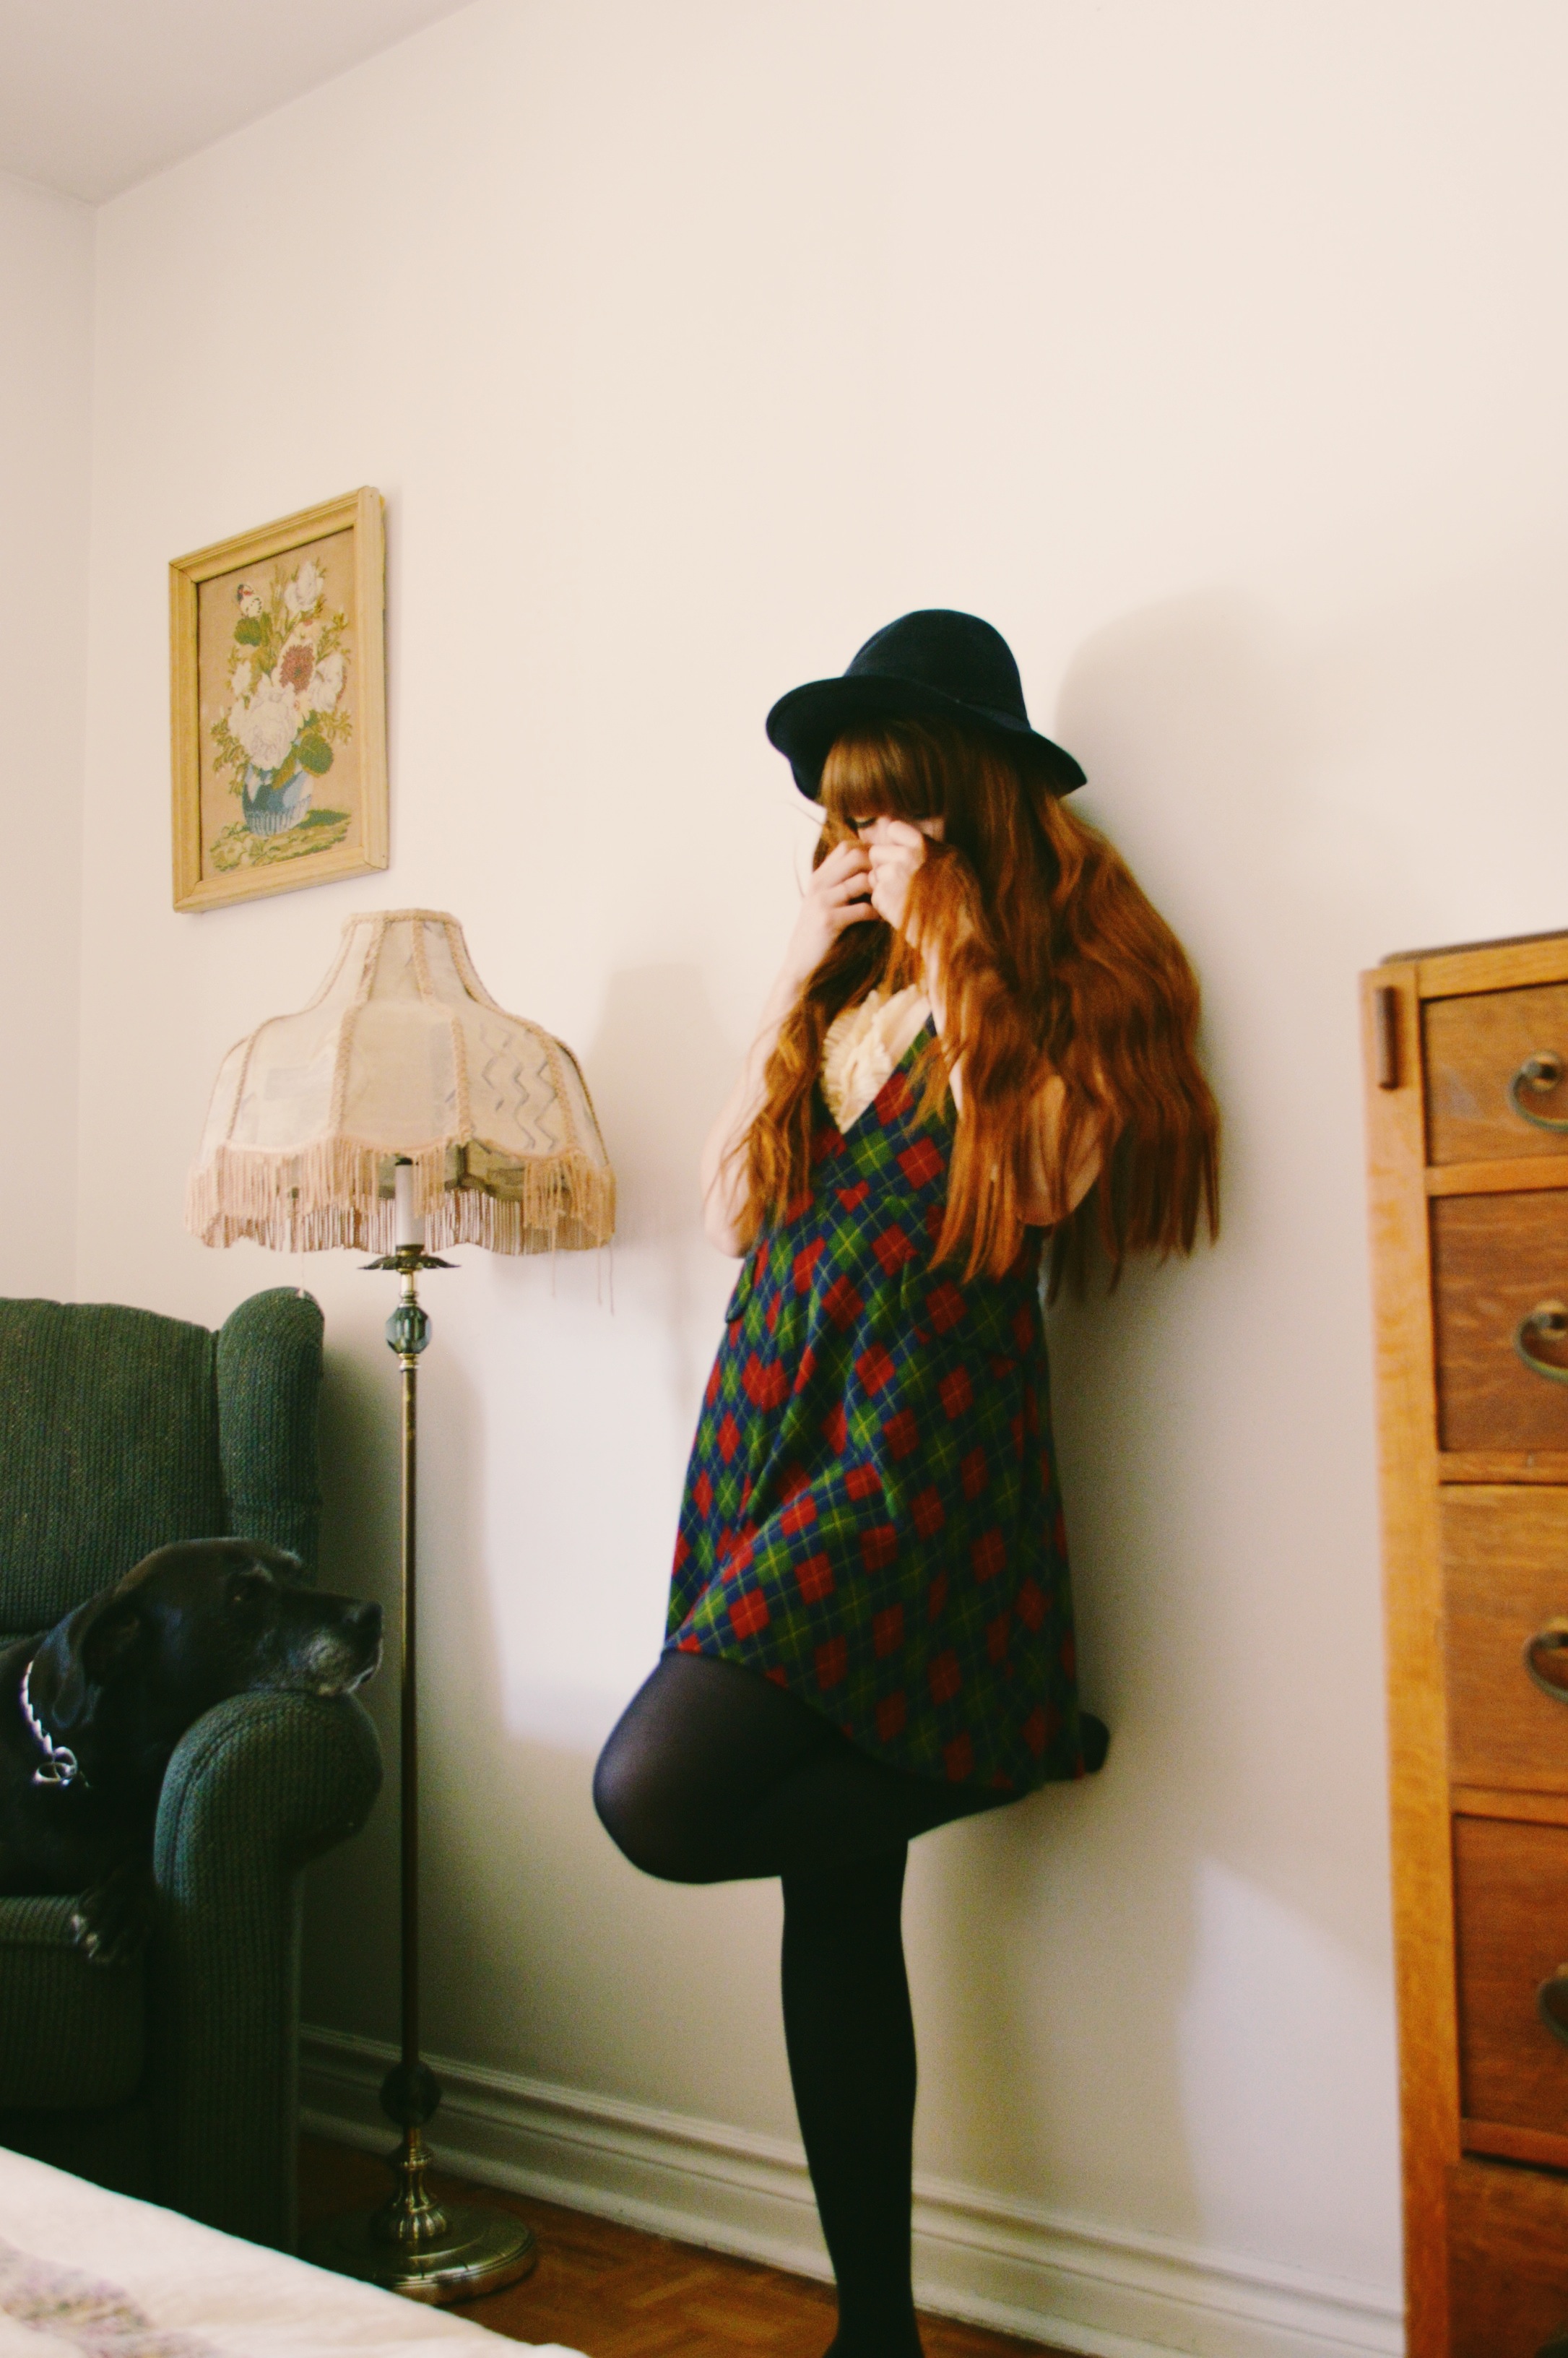 Pinafore: Miss Patina
Blouse: vintage via Public Butter
Hat: gift
Tights: H&M
In Your Head
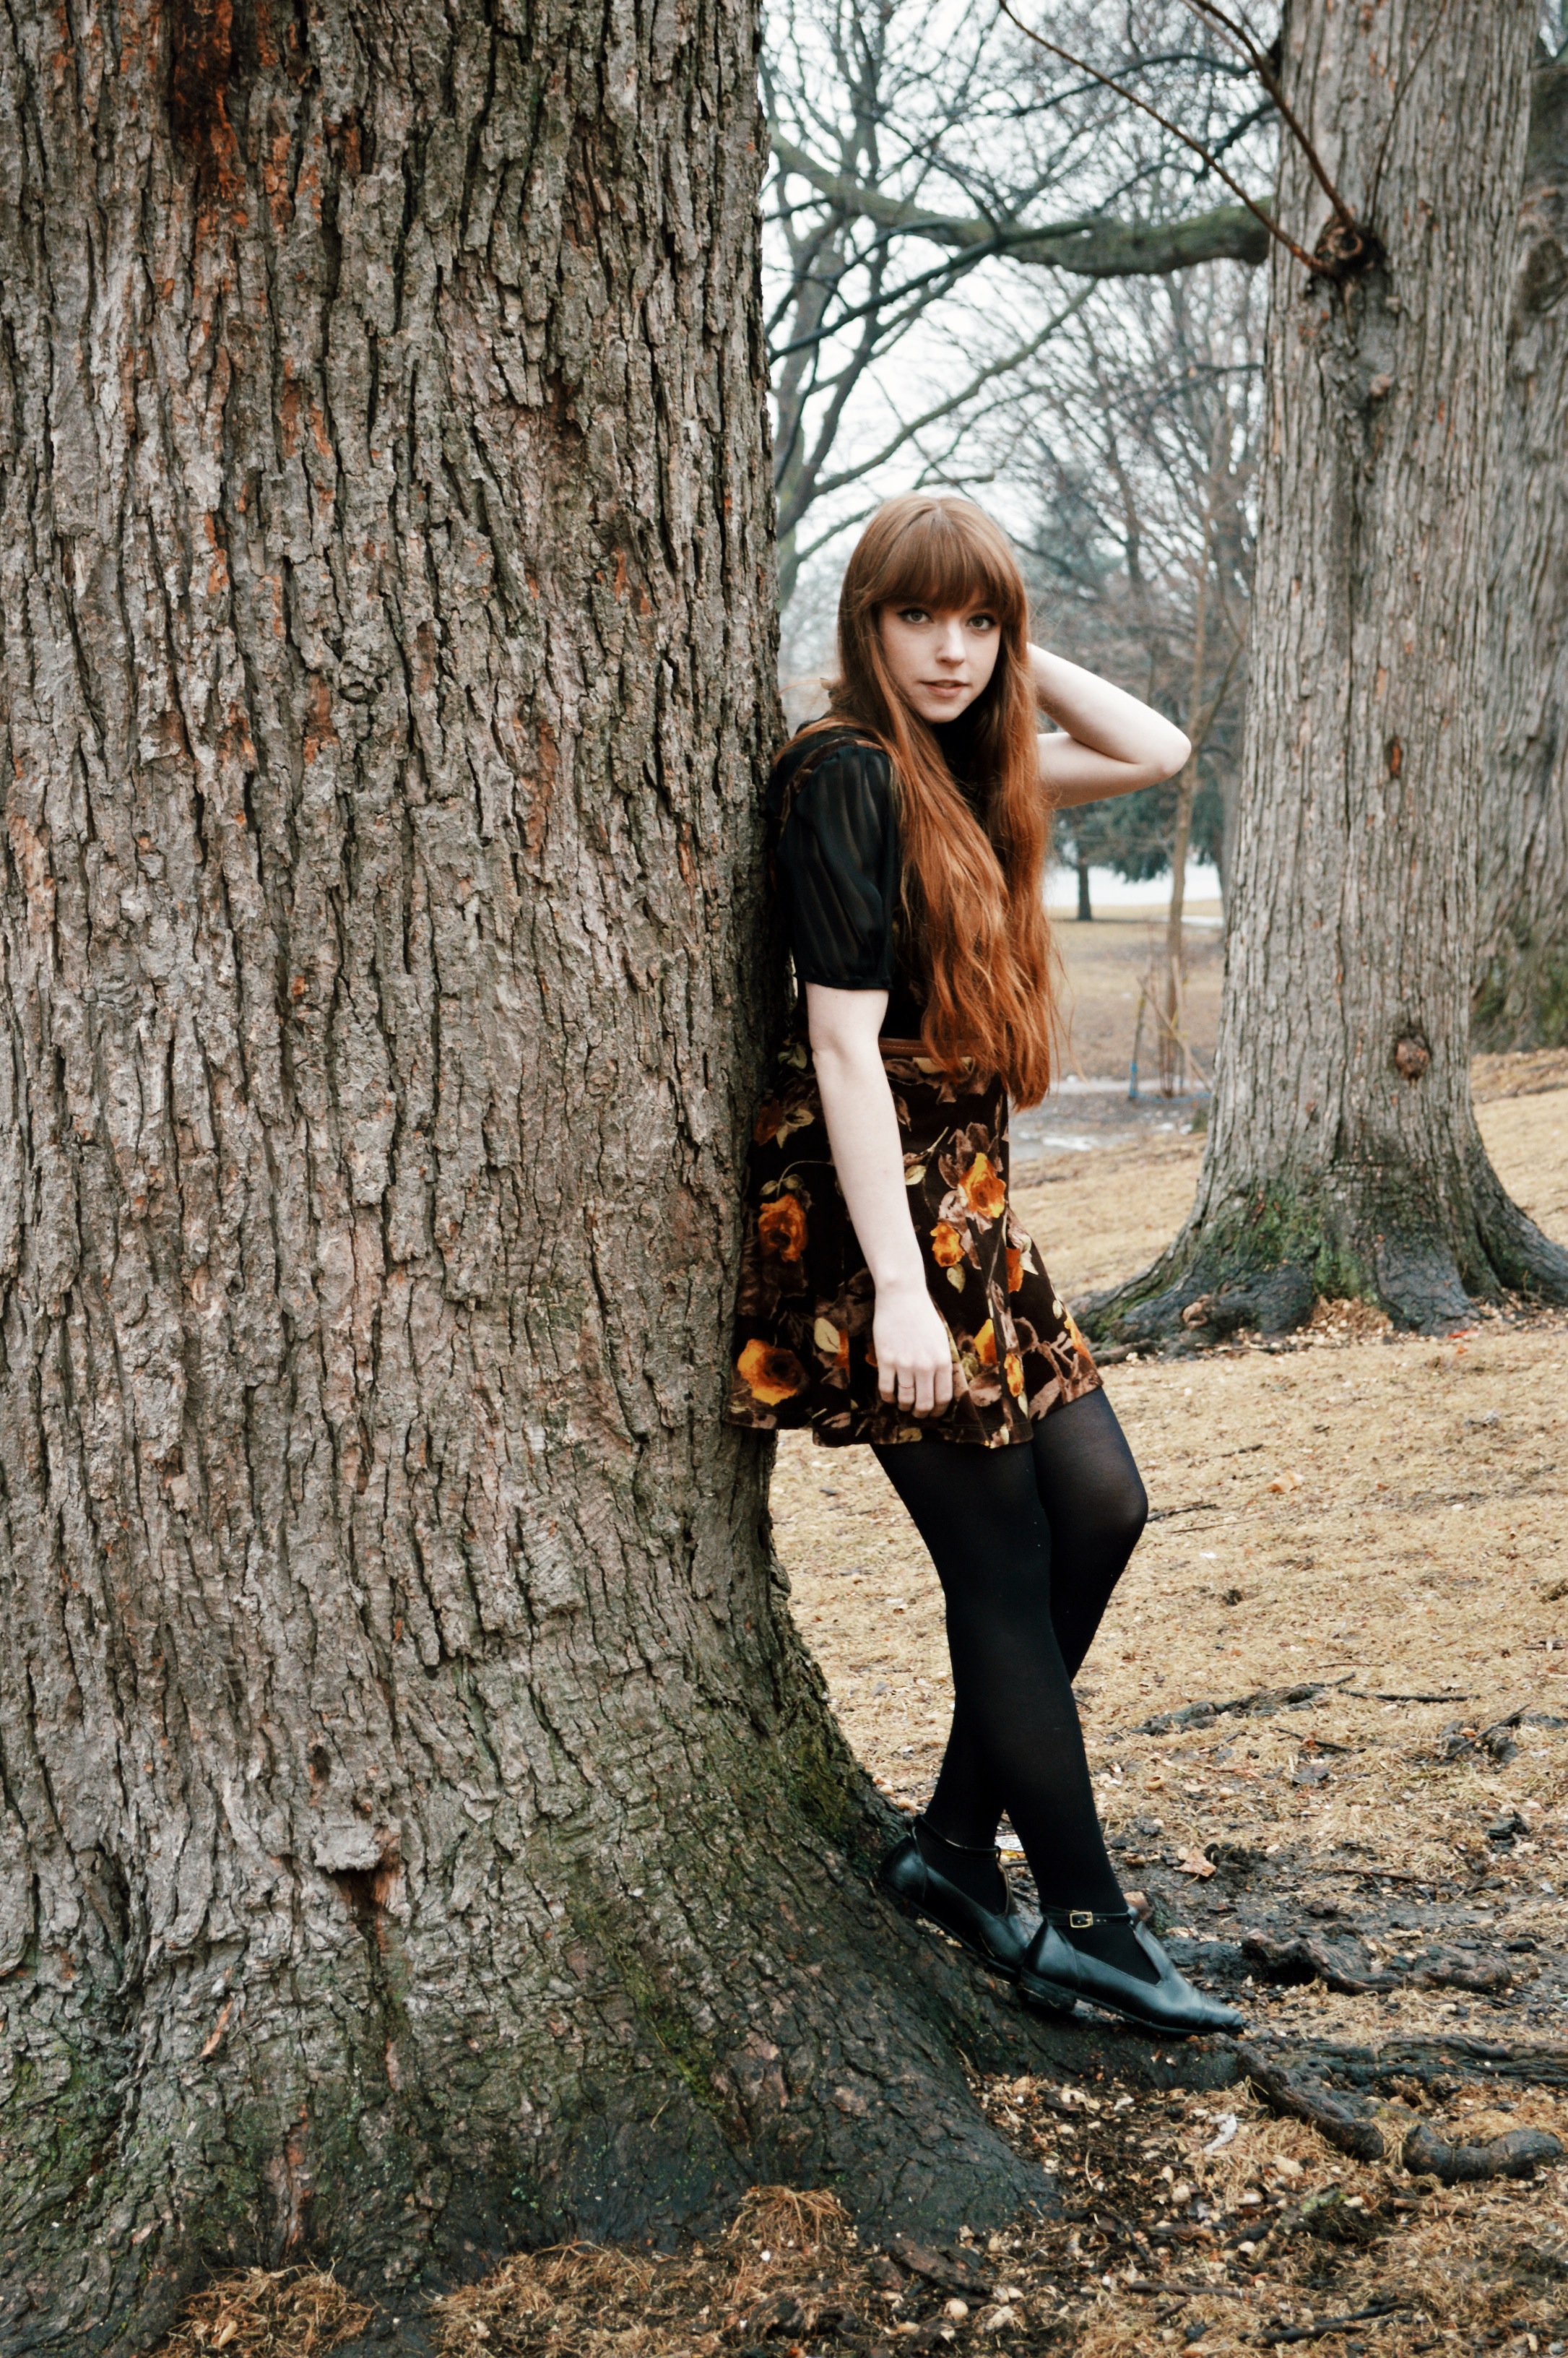 With the snow almost totally melted, more than anything, I’m looking forward to walks/hikes in and around the city. It’s always been important to me to make sure I fill my days with things that help me get outside of my head, because I am serious a over-thinker. I think things to death and often get lost in my thoughts, which can be positive, but it can also be quite negative. So knowing this about myself, I try to do things that help me leave my mind for a bit. This is usually something creative, like dancing, taking pictures, writing…but hiking is also a positive outlet for me. I’ll admit, I don’t like walking that much if it is to get a specific destination, but if I’m walking just for the sake of walking, I love it.
On this particular day, Ryan and I had planned to head to High Park (the best park in Toronto, imo) for a walk in the woods, but it was rainy and muddy and just not the ideal day for a leisurely stroll, so after brunch we headed to Dufferin Grove (a park close to our house) to snap some pictures and at the very least, breathe in fresh air for a little bit. I’m quite looking forward to summer in my new neighbourhood. I’ve never lived this close to a park, so I’m really hoping I’ll take advantage of it’s close proximity come the warmer days.
What about you guys, are you also over-thinkers? What helps you get out of your mind, and live in the present?
*photos by Ryan


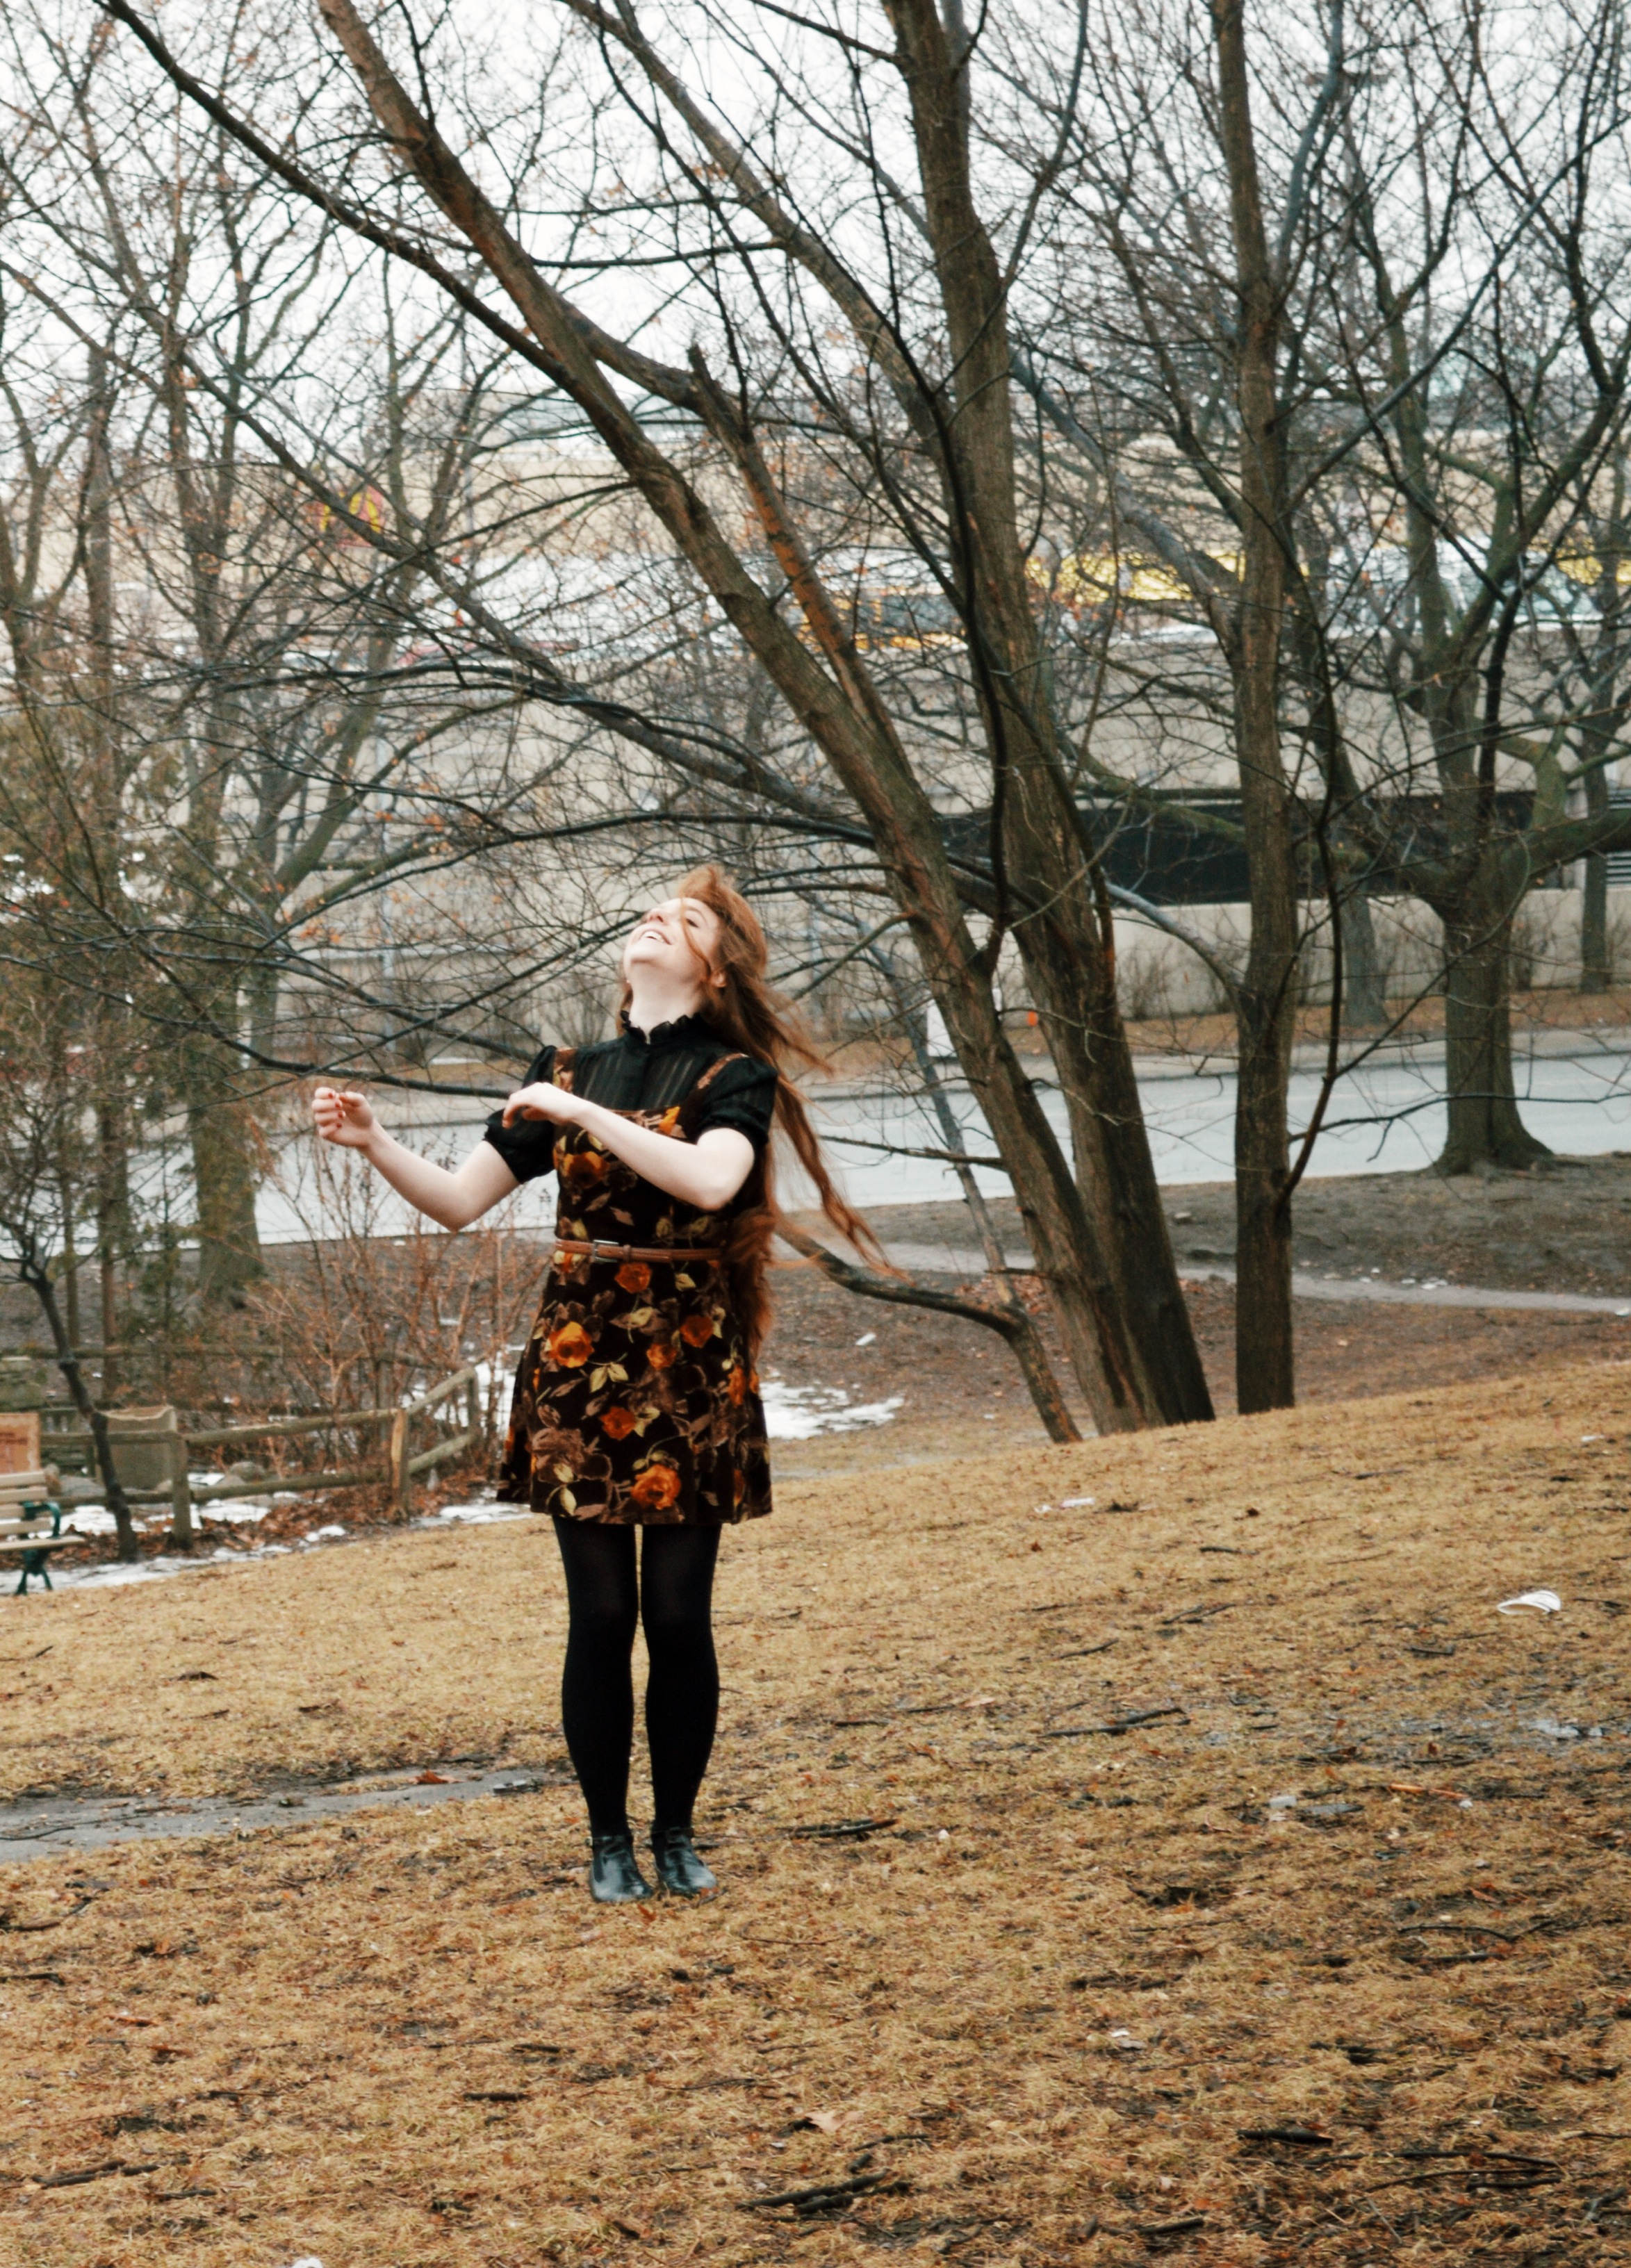


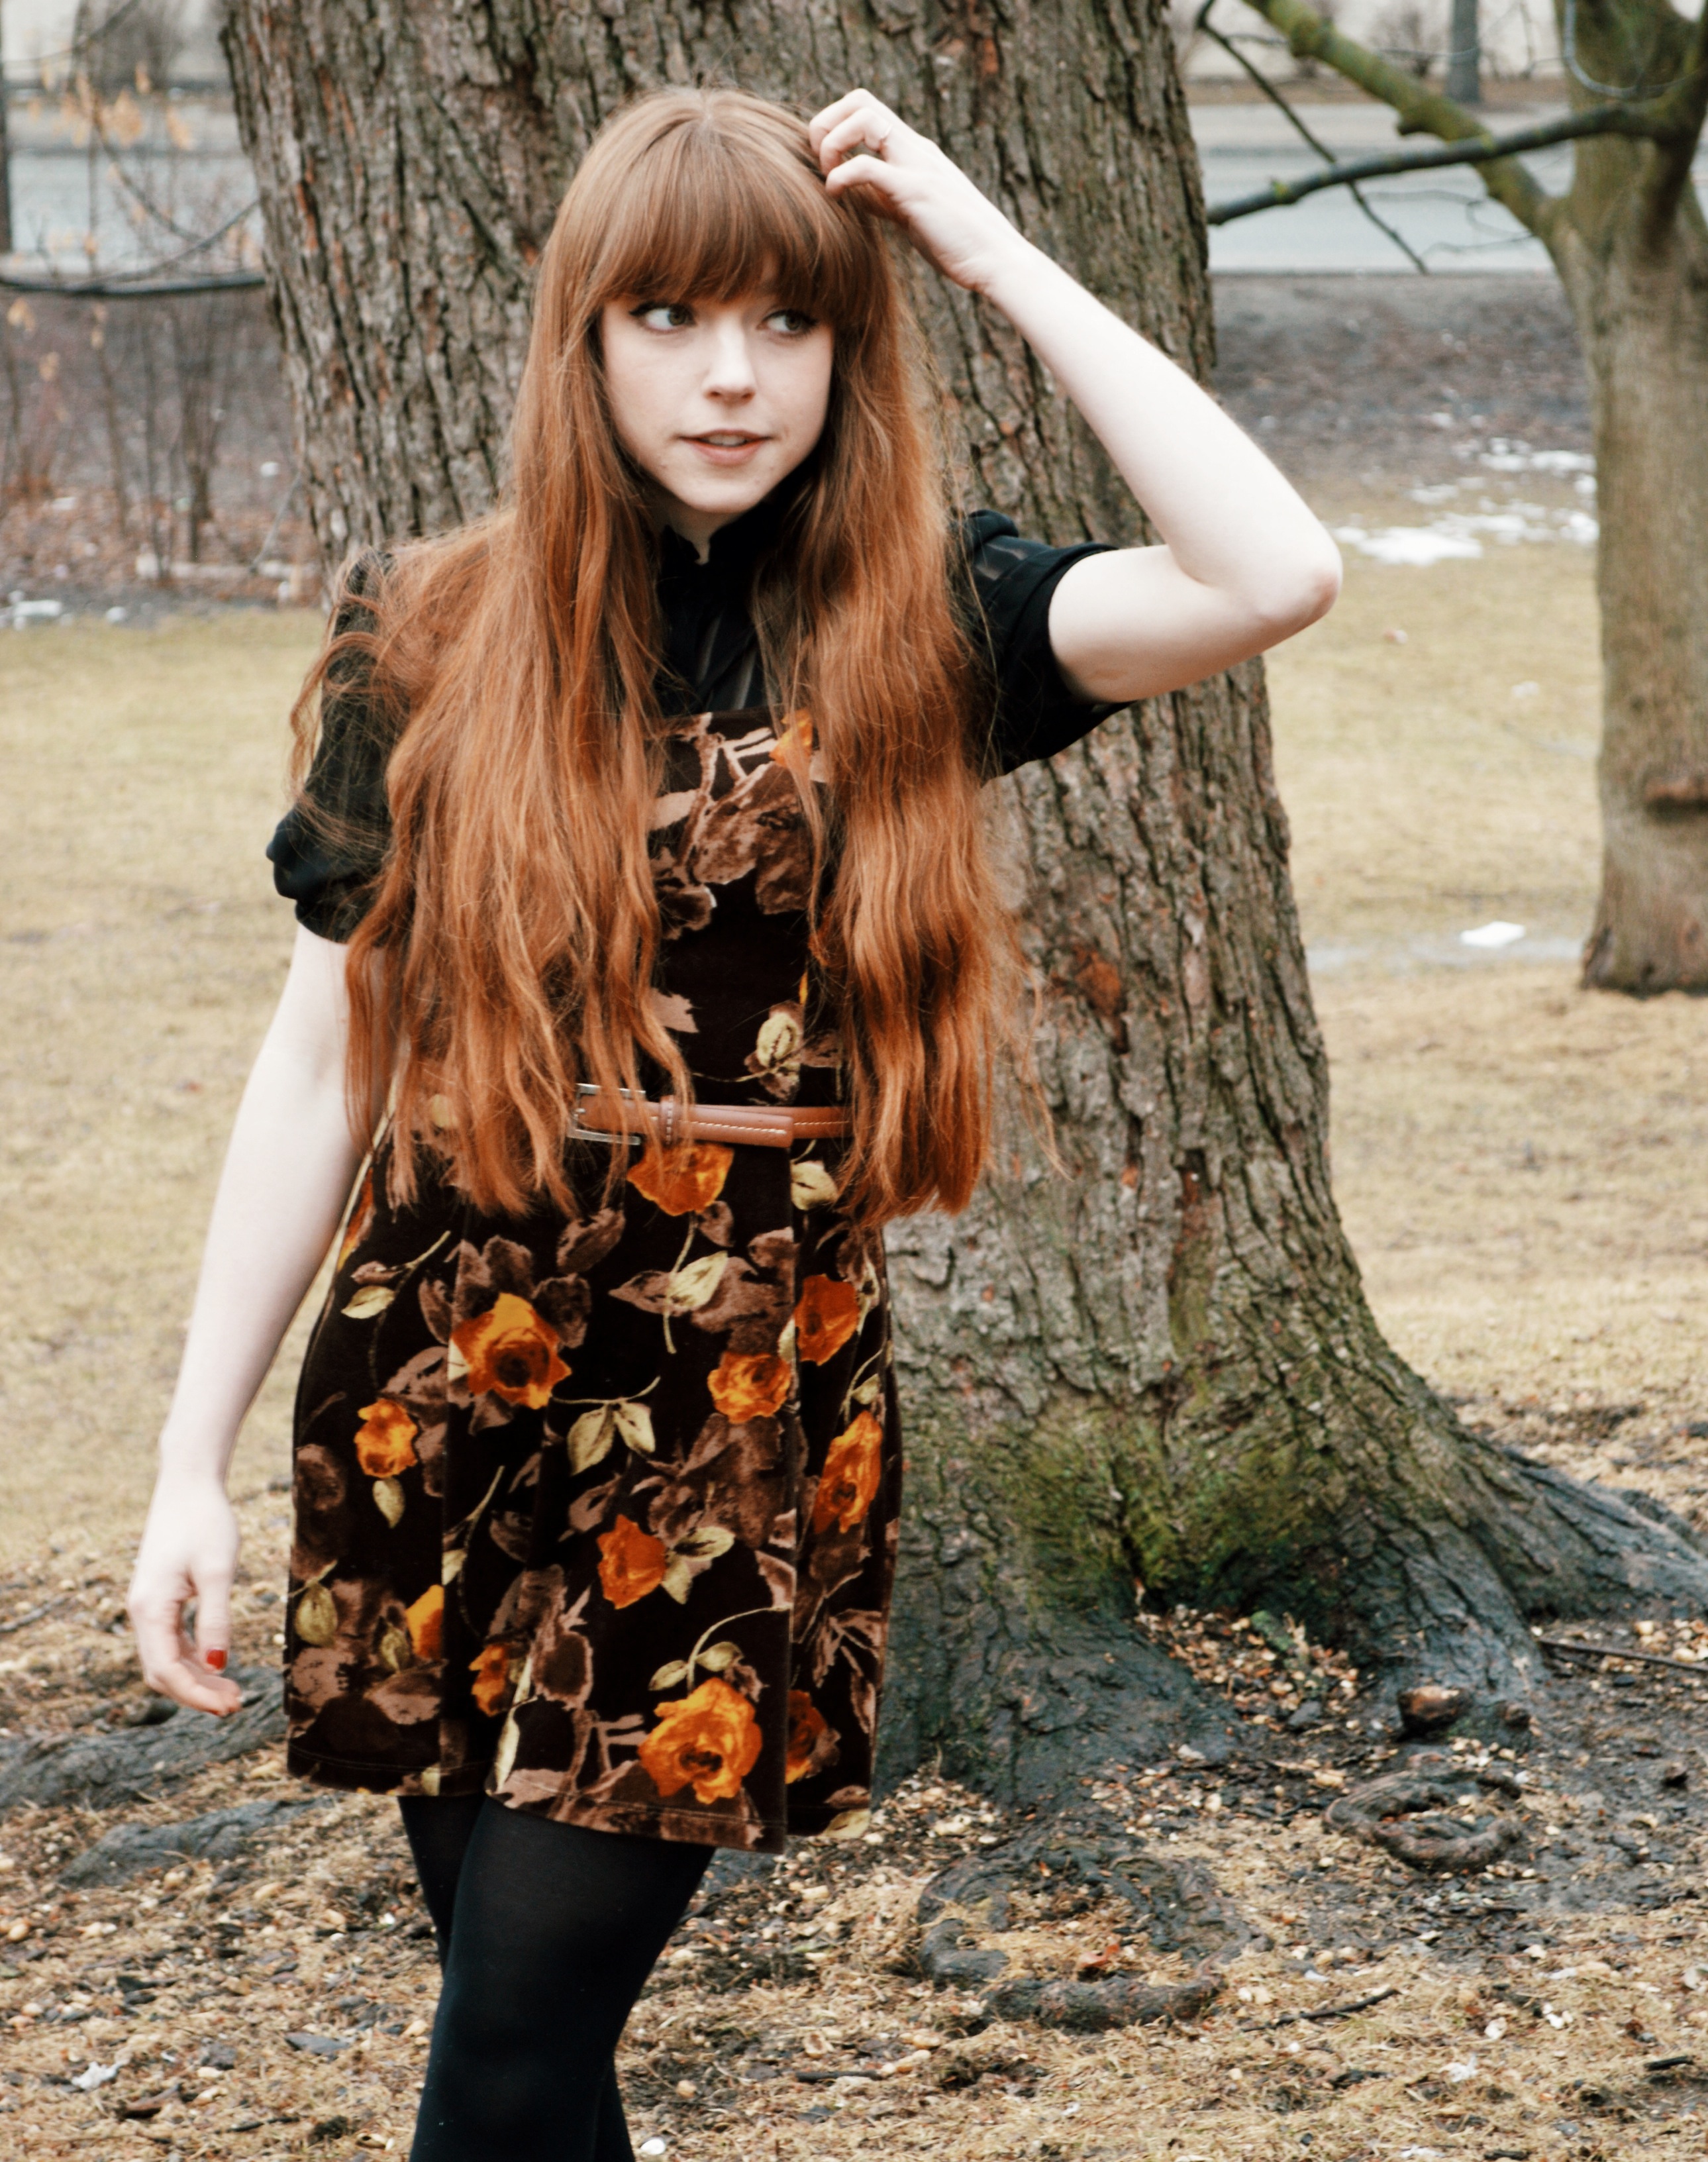
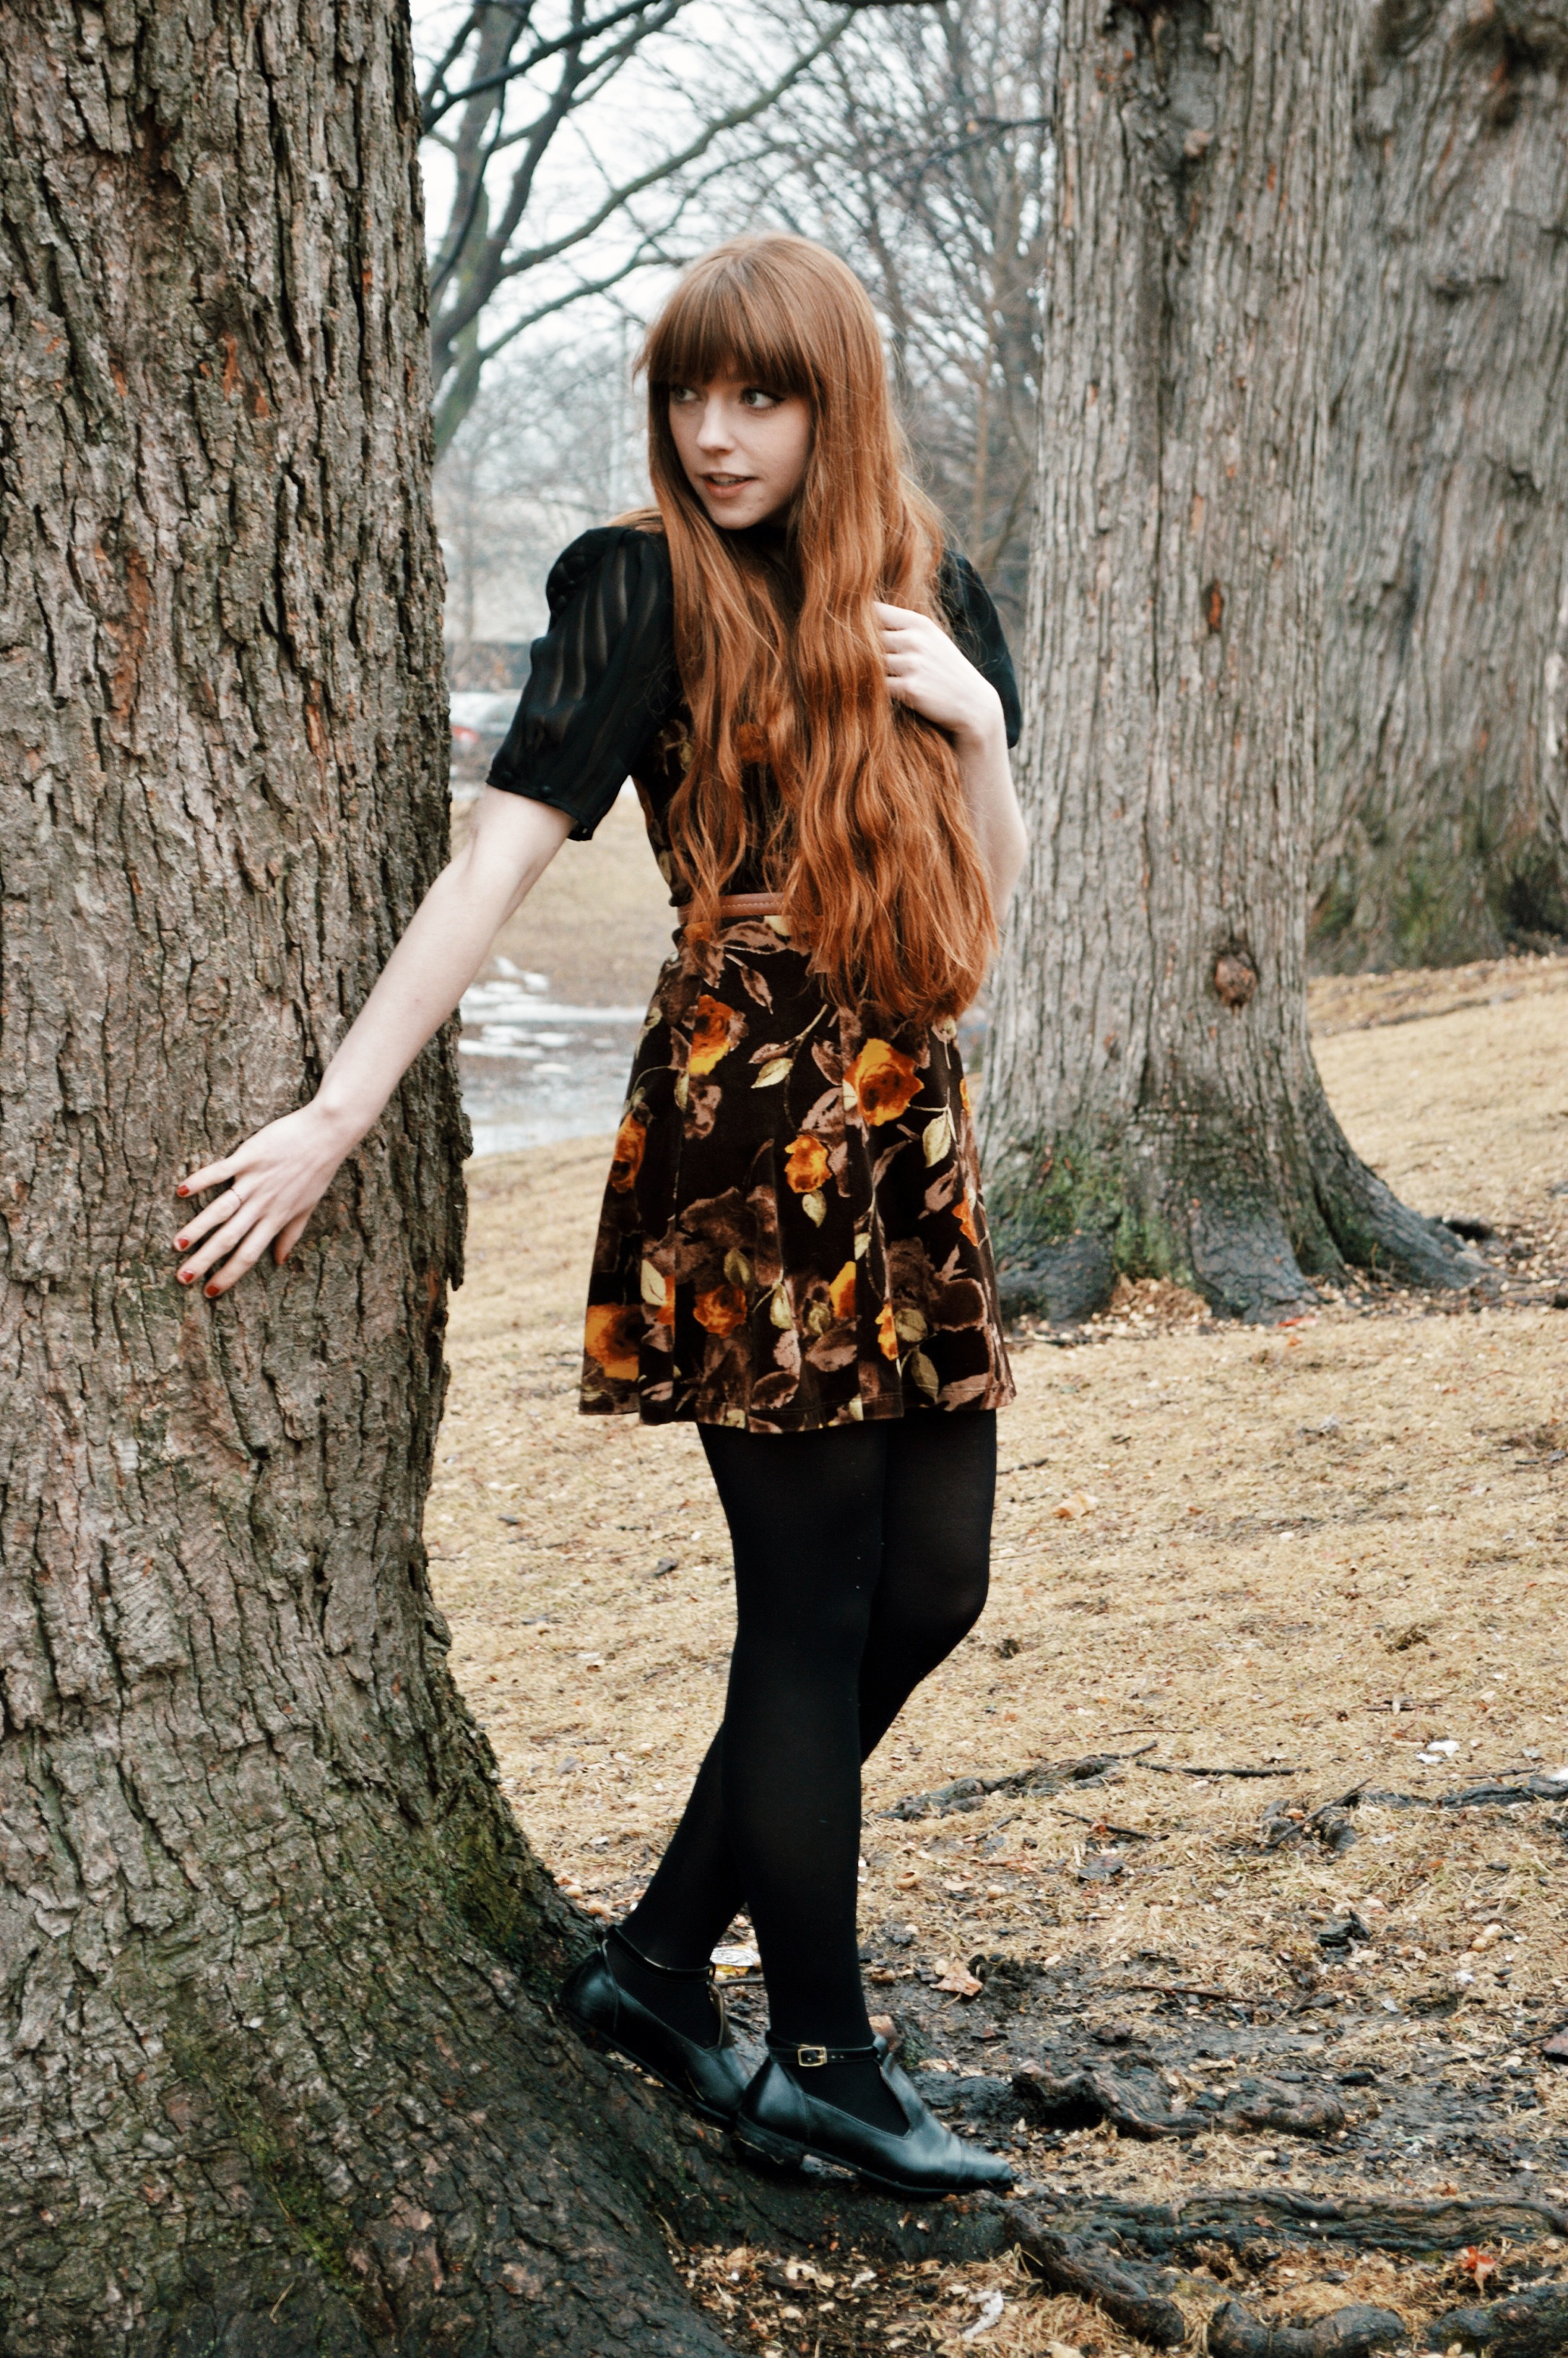 Blouse, dress, belt: thrifted vintage
Shoes: Sylvie and Shimmy
