
 Now that my hair is short, I’ve been interested in figuring out hairstyles that I can do in a pinch, because even though my hair is at a much shorter length, it’s actually more maintenance, which means I have become perpetually late on early mornings. These hairstyles are not ground breaking, but they are super easy and take about 10 seconds, which is (as you know) very important to me.
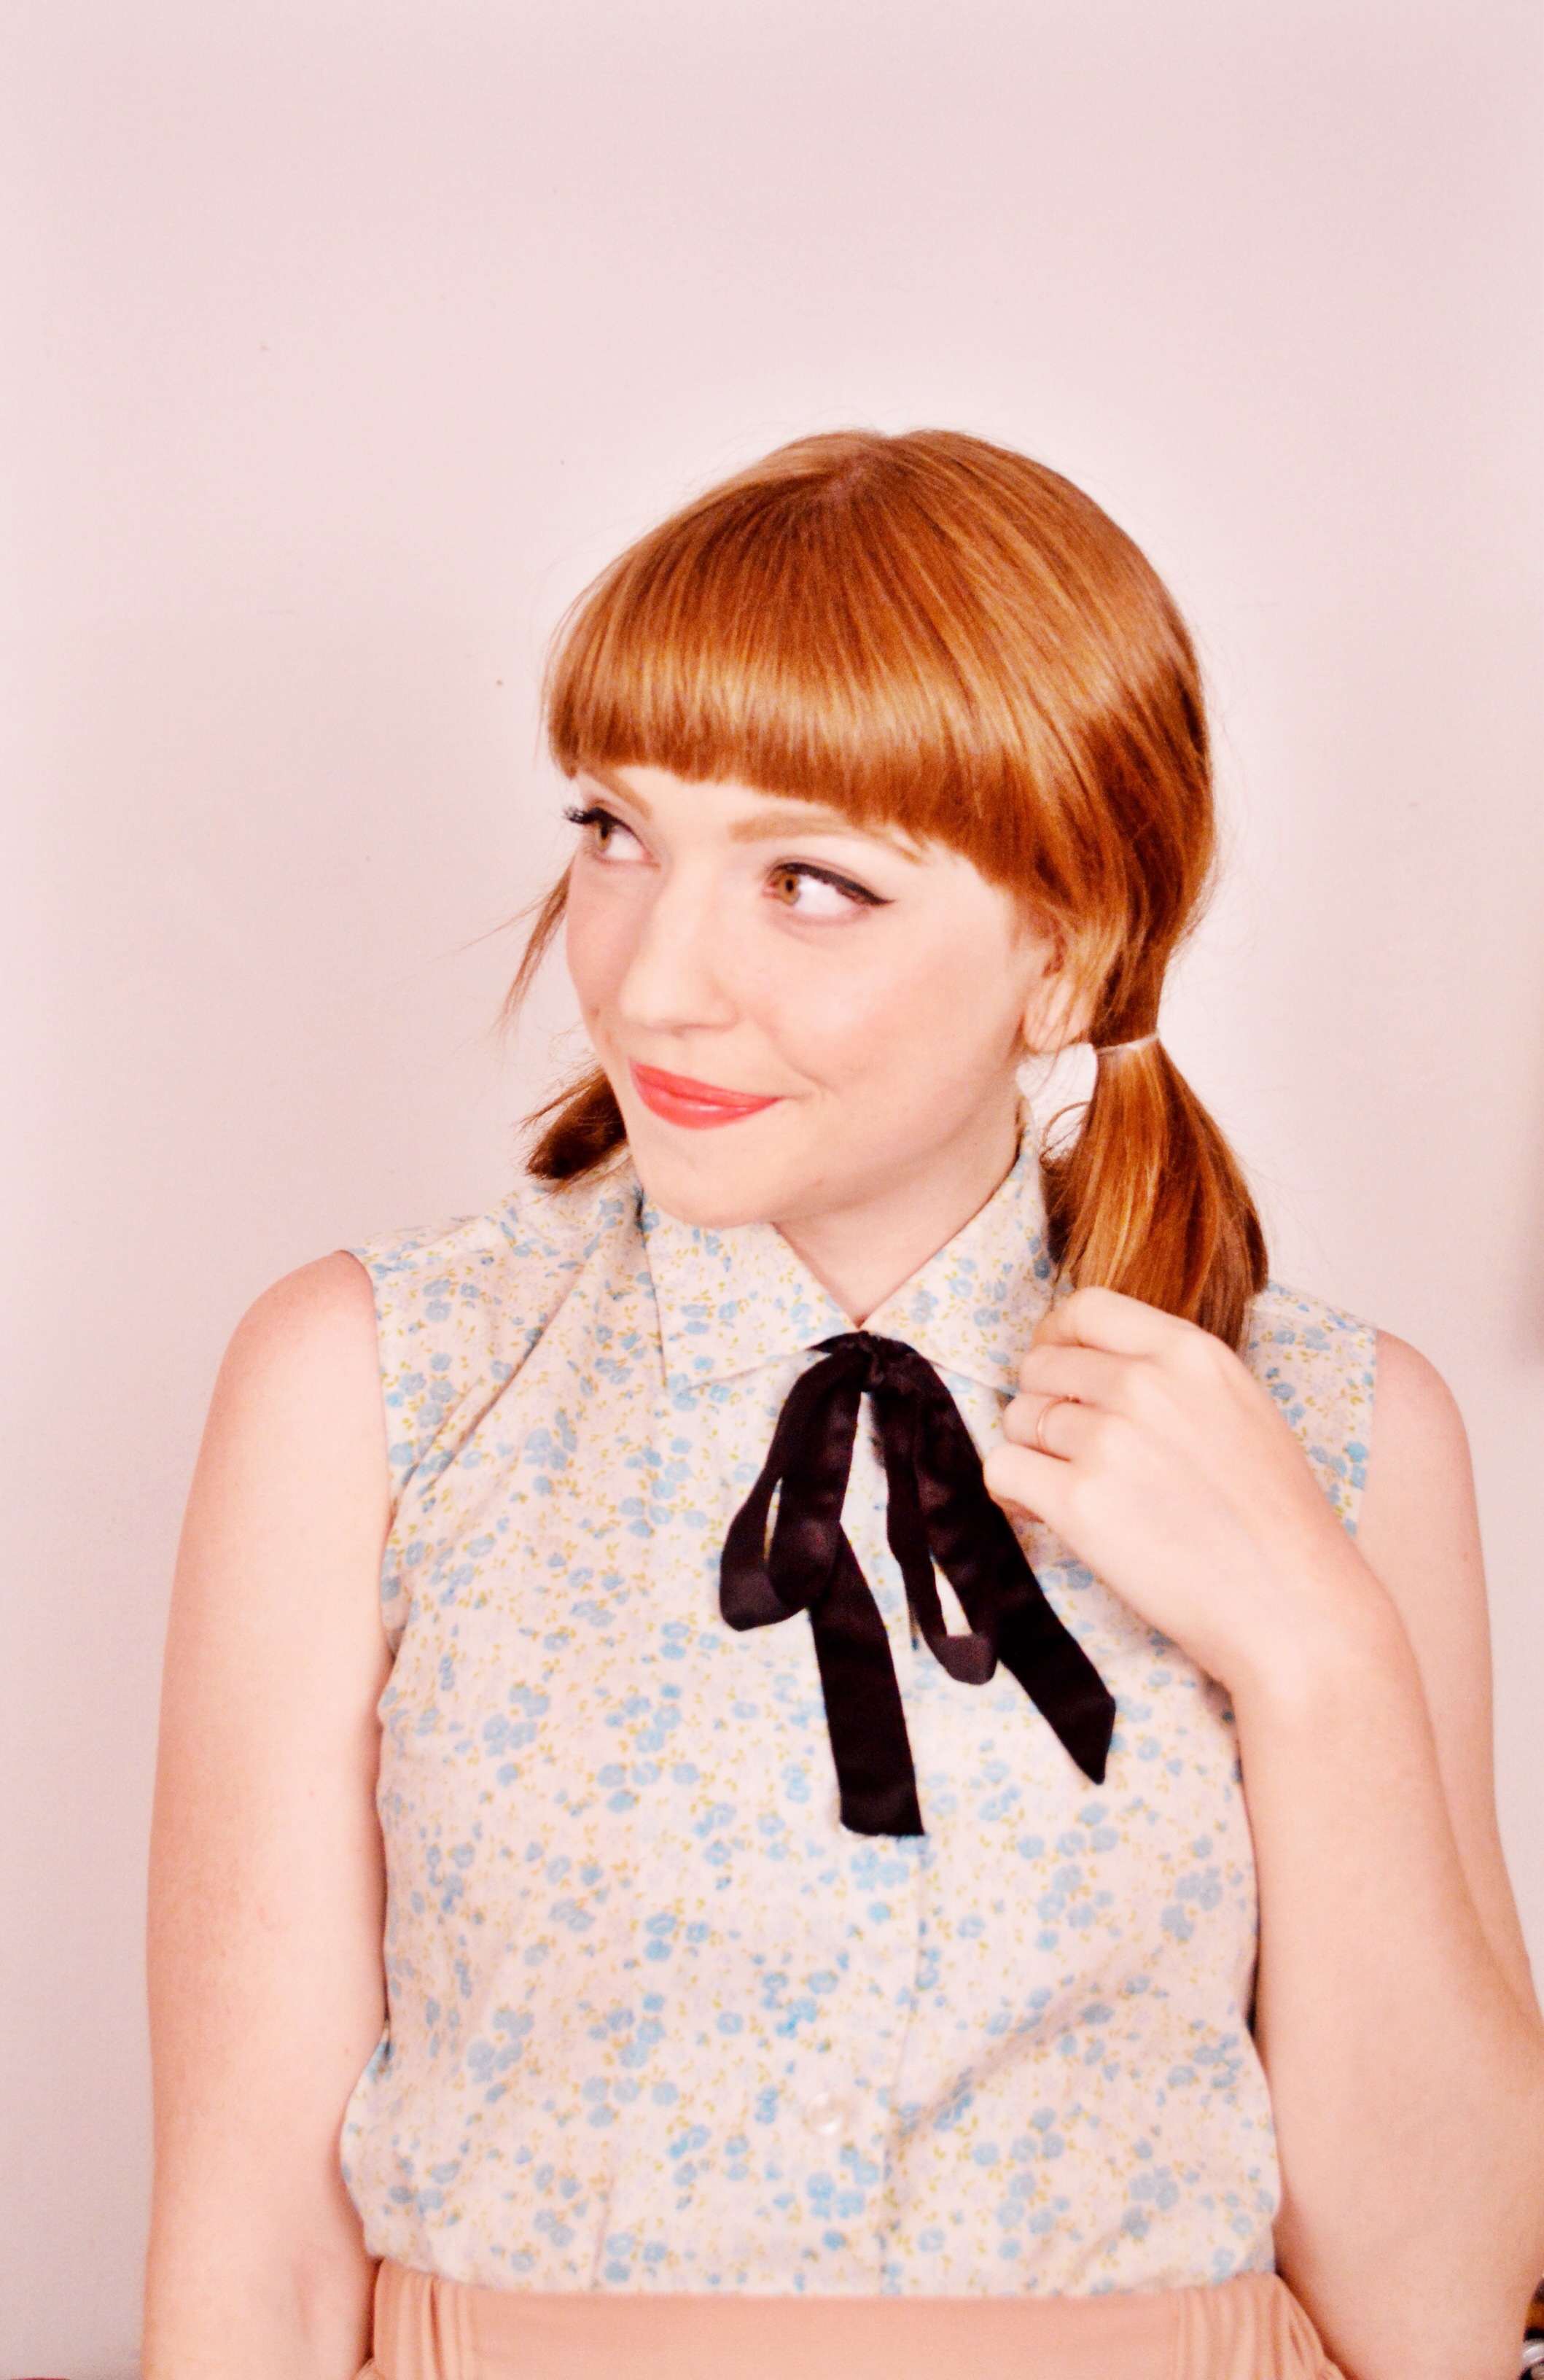 Pigtails: not incredibly creative, but pigtails are great for the days when your hair is a bit unruly and you need to get it off your neck and face right quick. Pigtails don’t have to be for little gals anymore, friends.
 Low messy bun: I personally really love low messy buns. There are always those stray hairs that come loose from your bun when you have short hair, but because we are going for a messy look, it’s okay because it’s intentional…right?!
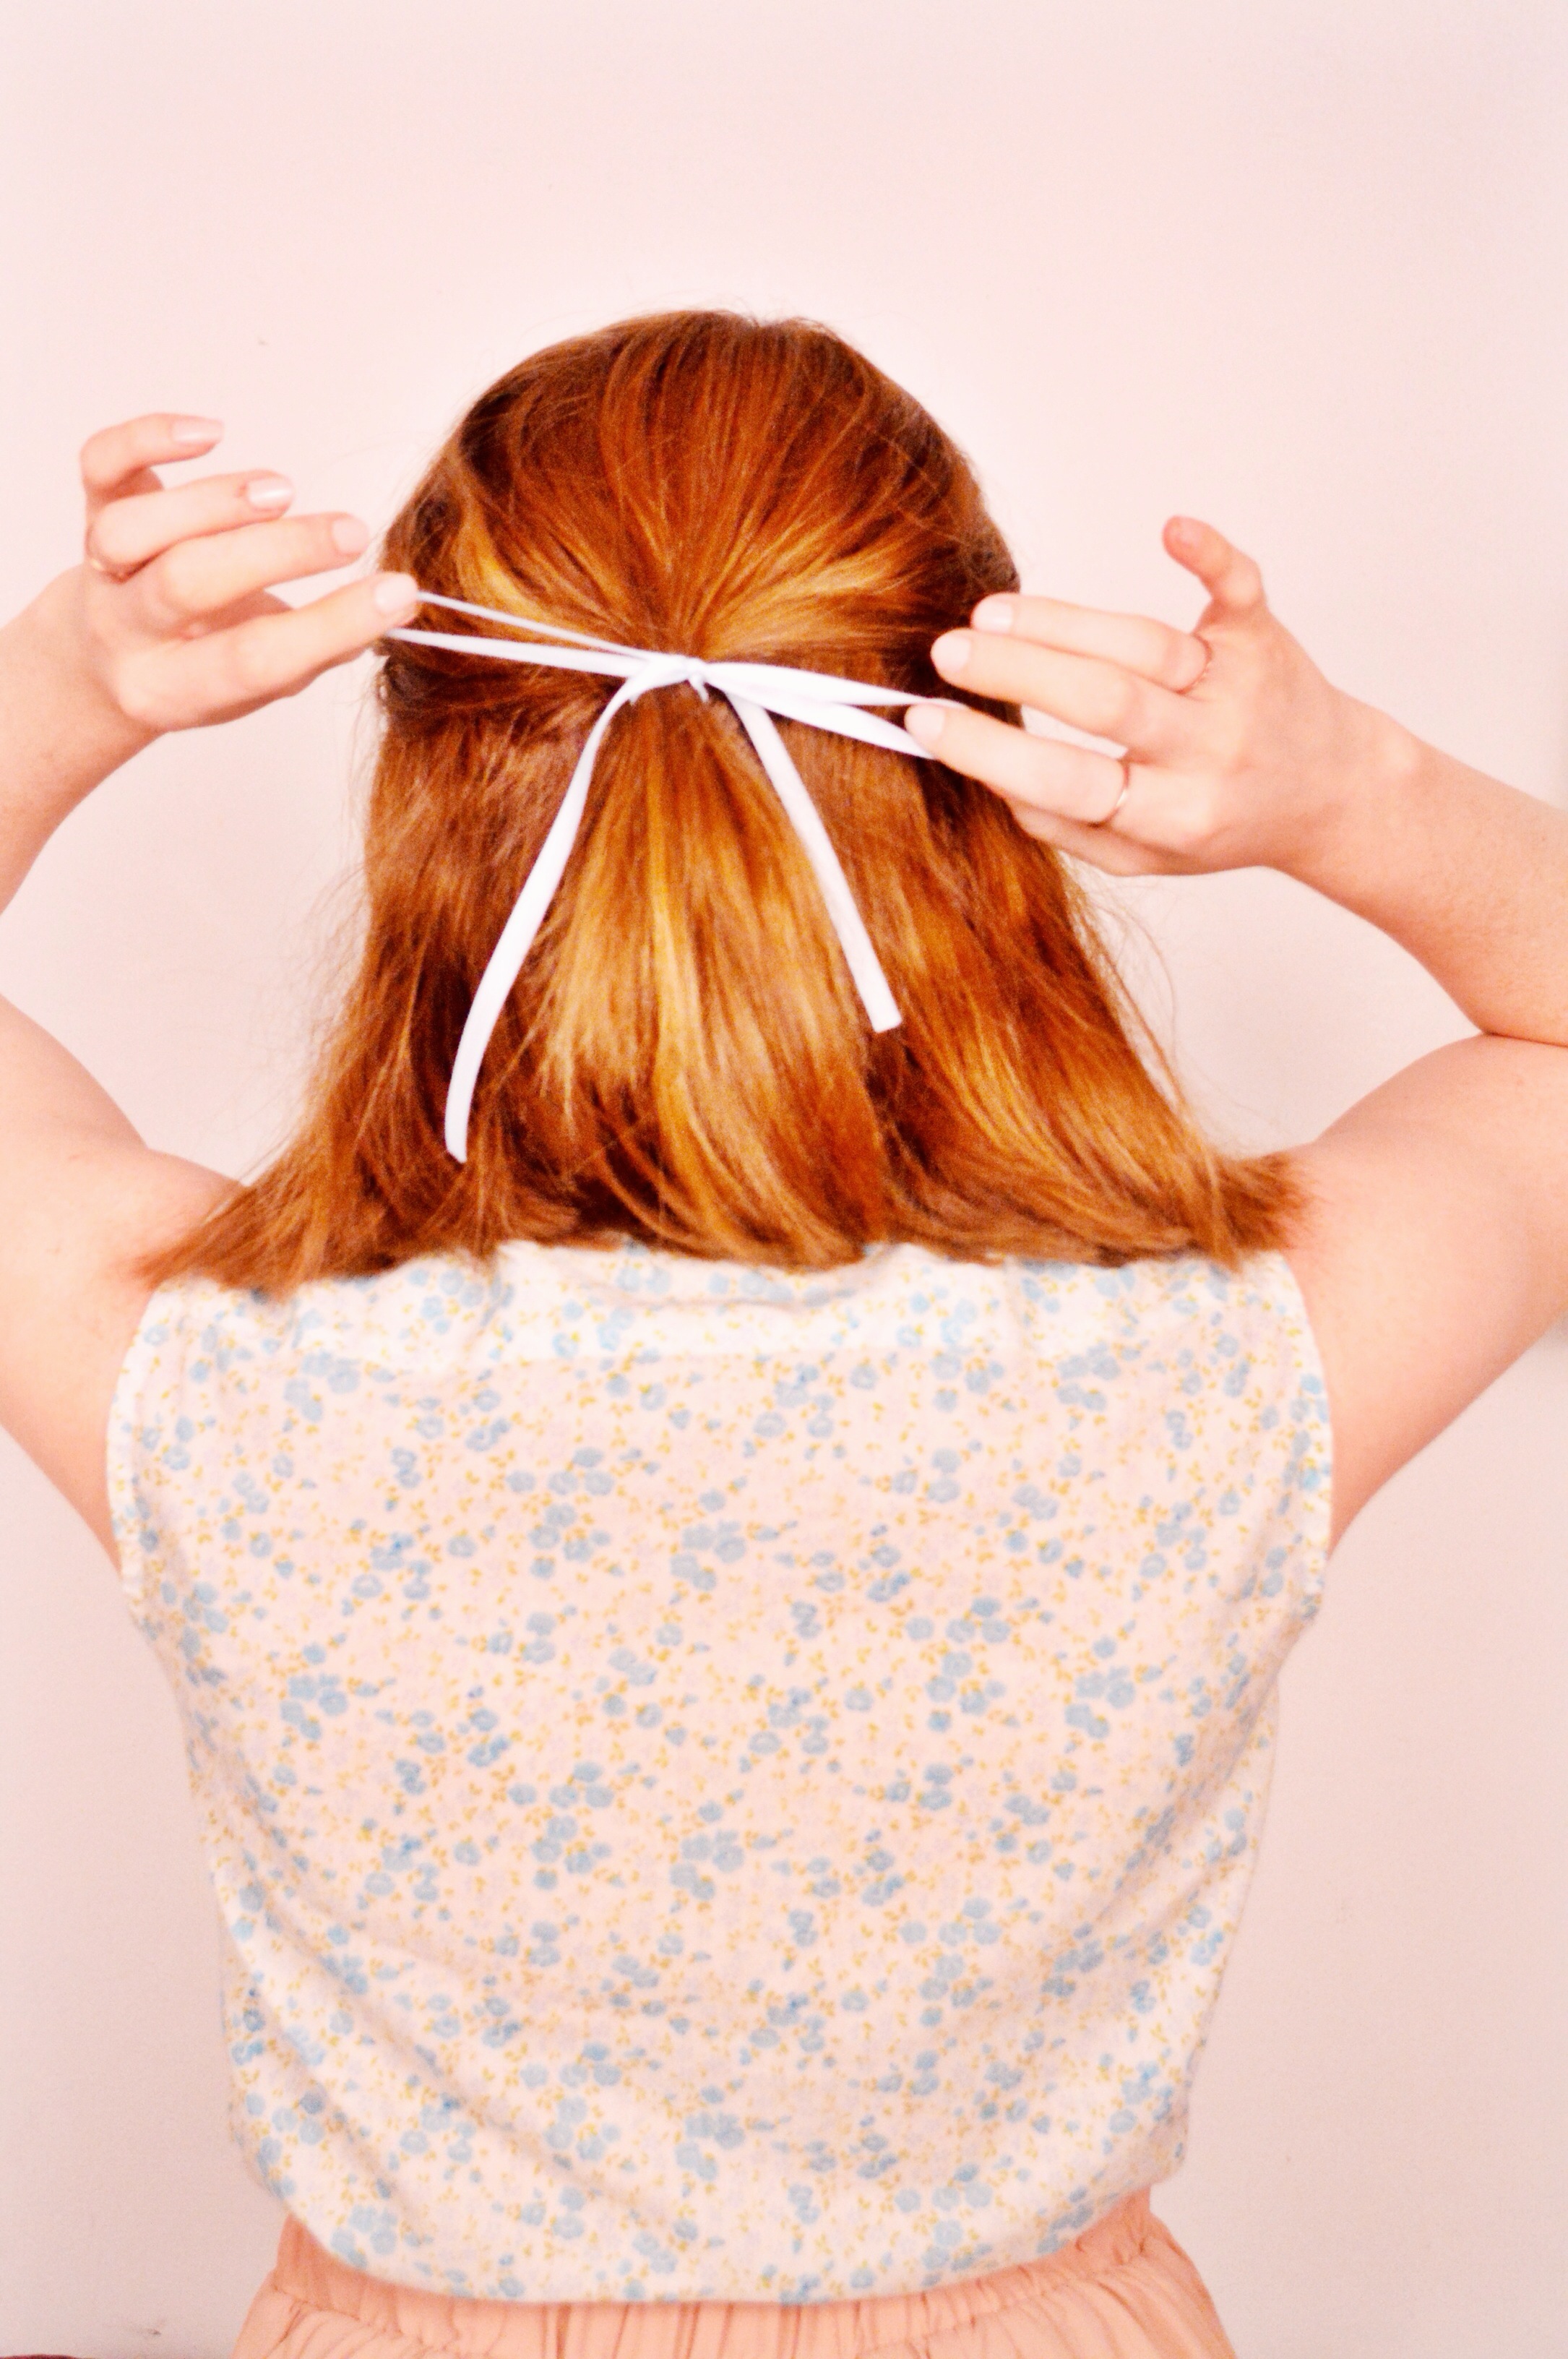 Half up with a bow: a rather obvious choice for this length of hair is half up, but by adding a ribbon tied into a bow, it creates a very sweet and subtle look to an otherwise generic hairstyle.
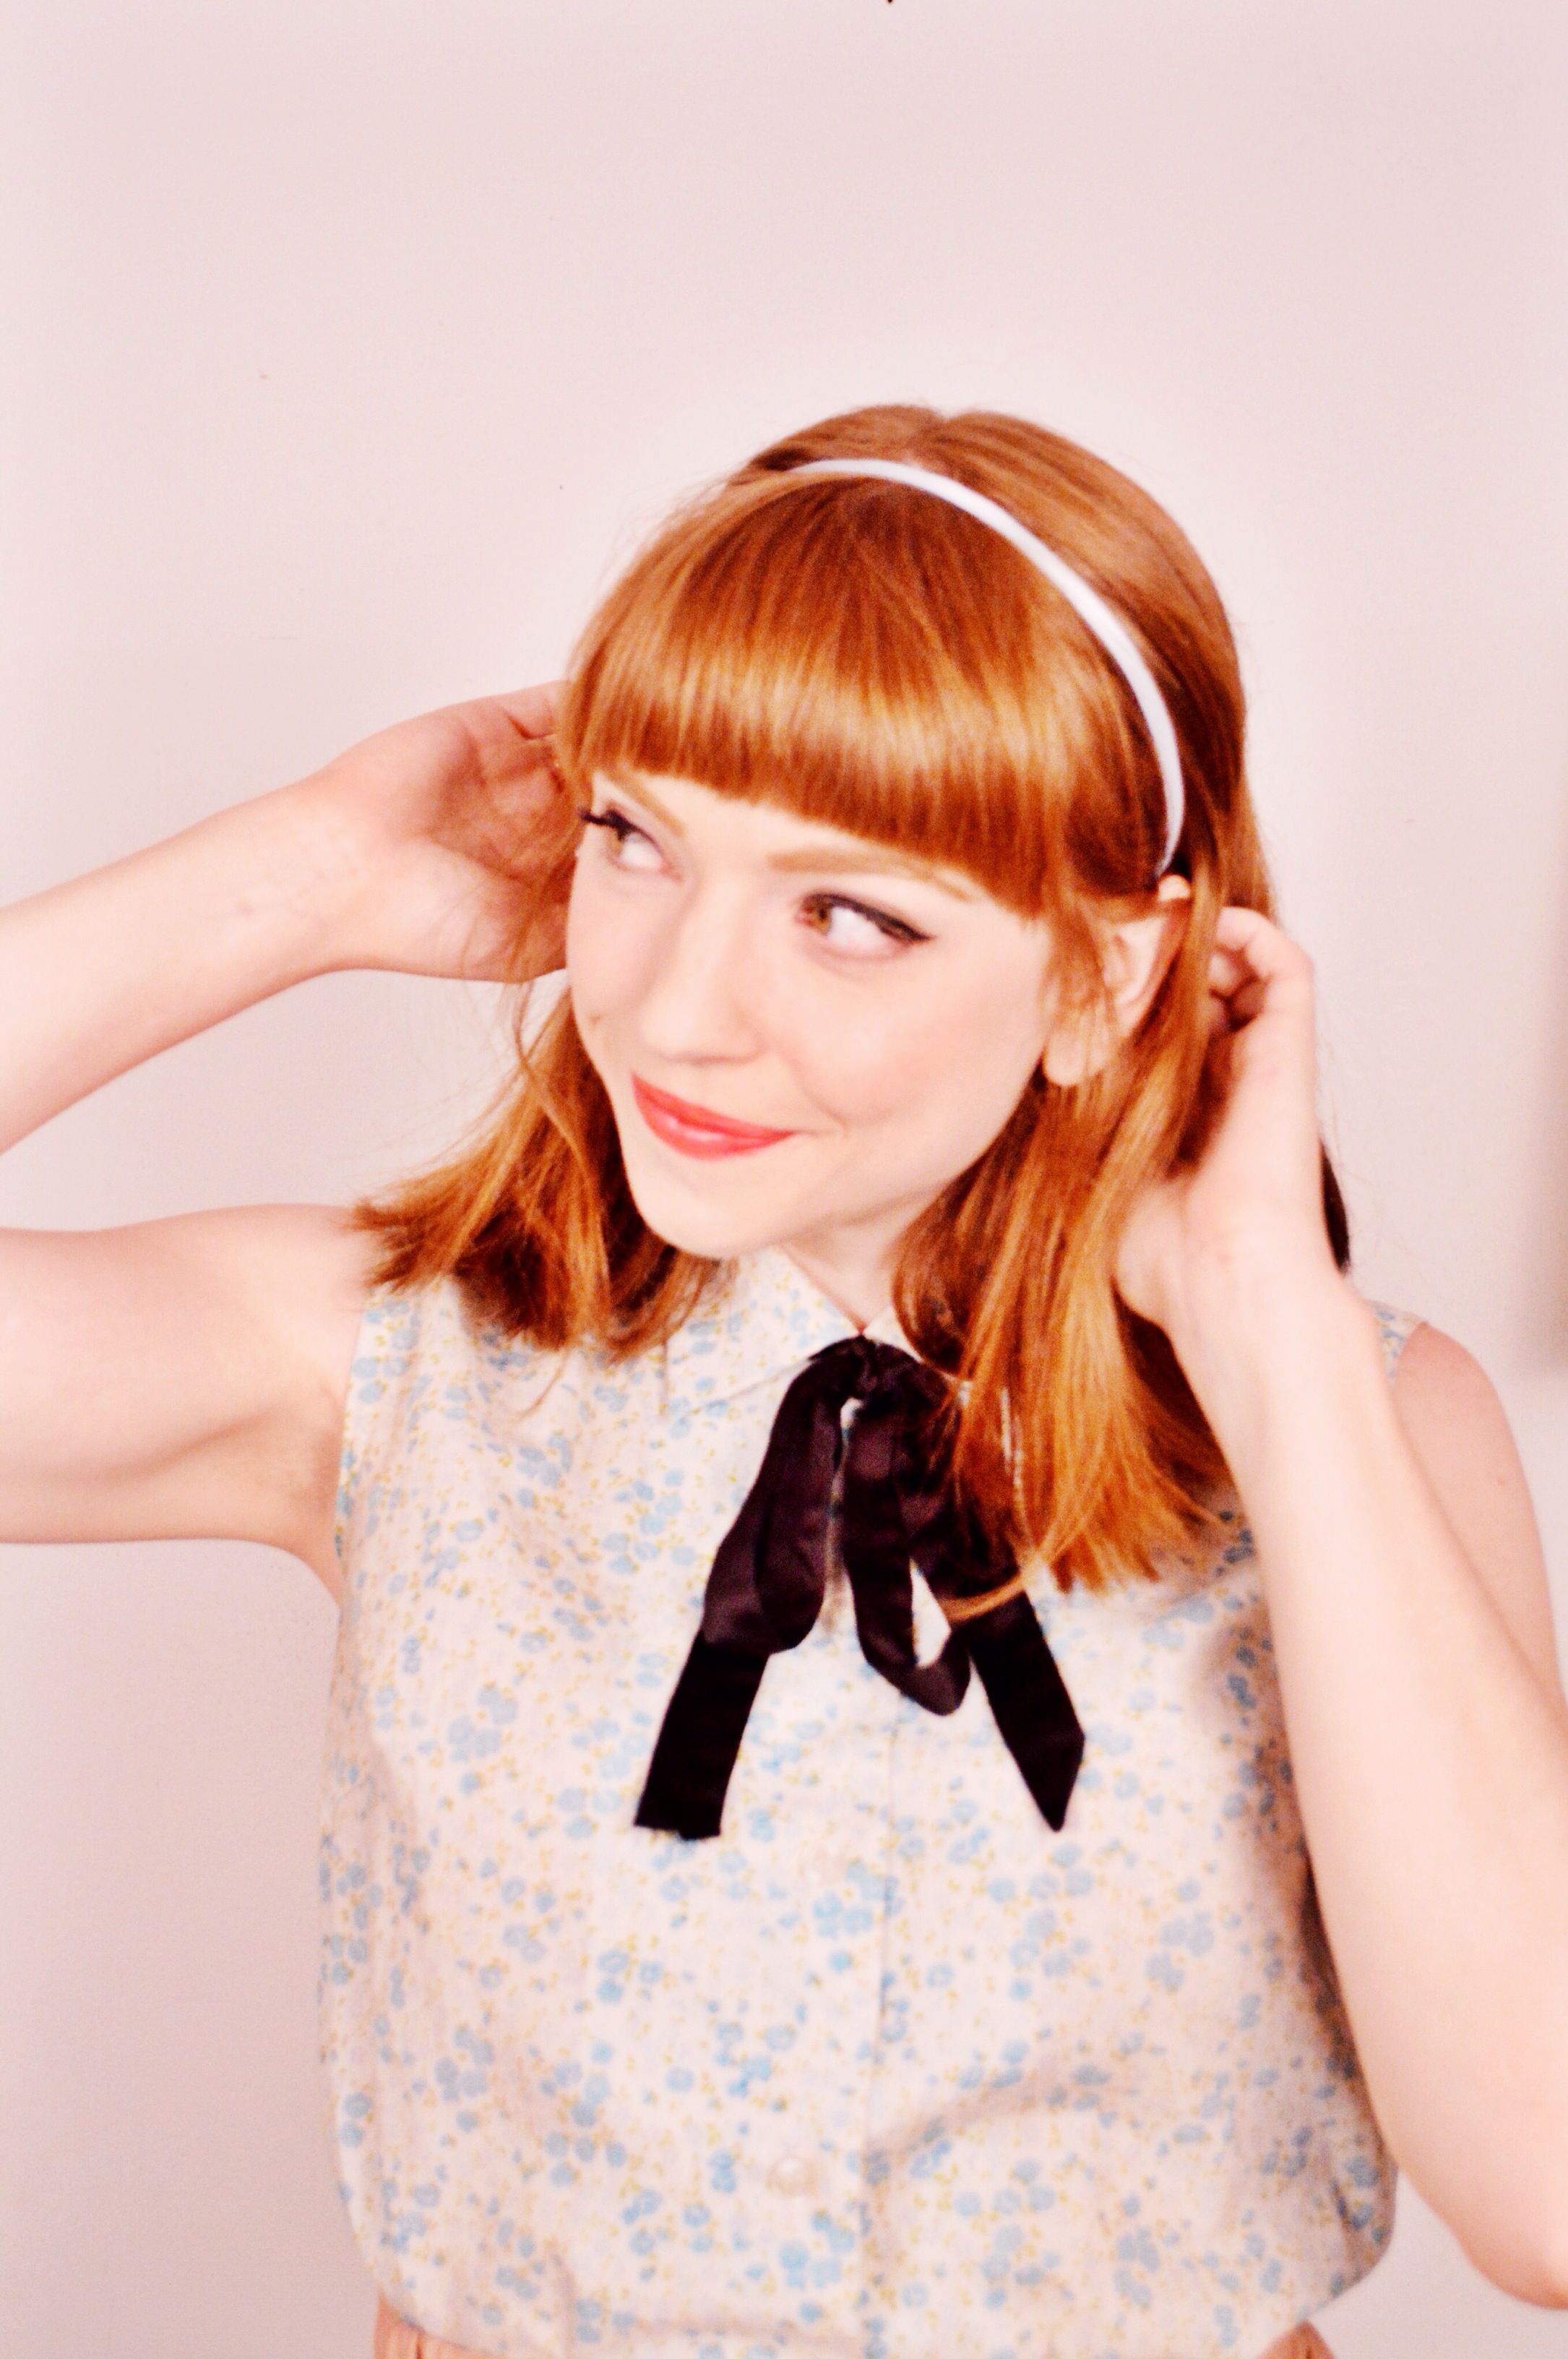 Headband: I love short hair with a thick or thin headband. It feels very Blair Waldorf (who is forever and always my style icon). A simple headband can bring your plain hairs from blah to huzzah (I kind of hate myself for that one).
Tag: hair tutorial
Beauty / Simple Low Ponytail With Some Twists
 Ponytails can be rather boring, can’t they? I honestly don’t wear my hair in one very often, mostly because I have great disdain for my ears (can one even have disdain for part of their body?!). But with my new desire to step out of my comfort zone, let my ears be free (sort of) and try new hairstyles, I decided to take a simple low ponytail and make it a little more interesting with some mini ponies and a bit of twisting (sounds so professional), to create a look that appears much fancier than it actually is. So let us learn how, shall we?
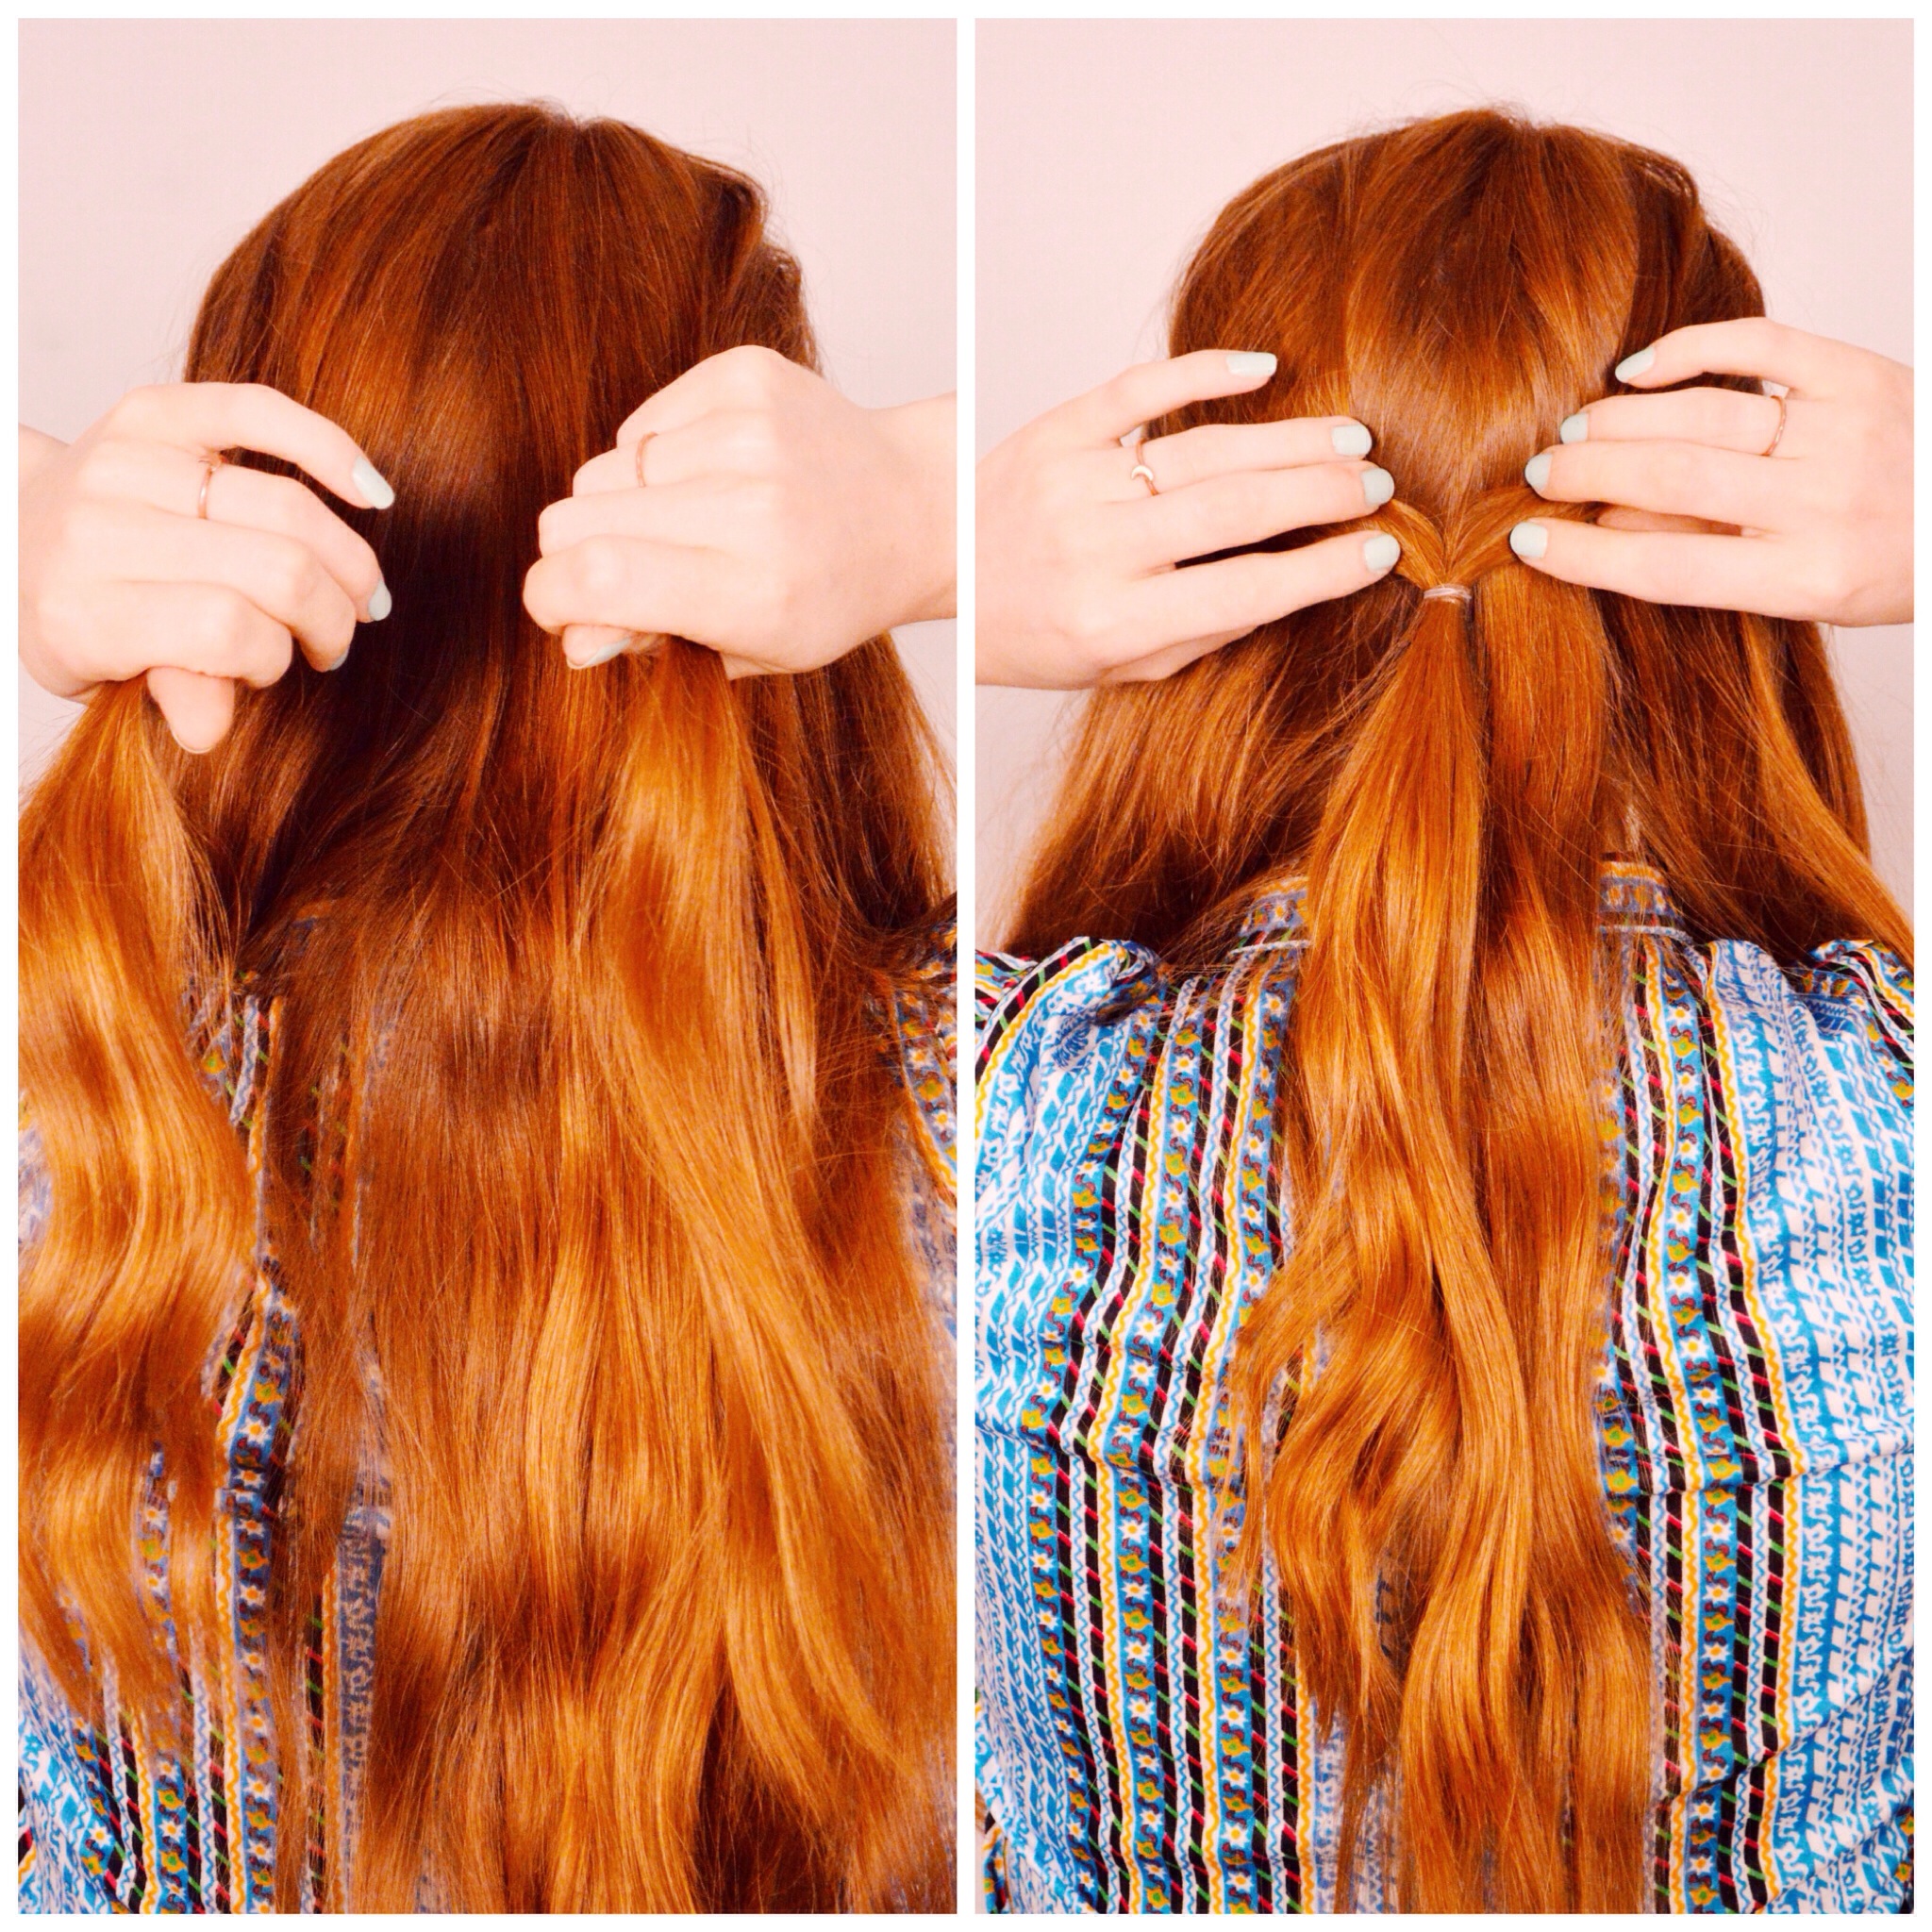 1. start by taking two sections of hair from either side of your head; much like the way you would do a half ponytail
2. tie your sections into a ponytail with a small clear elastic (or whatever you want, really)
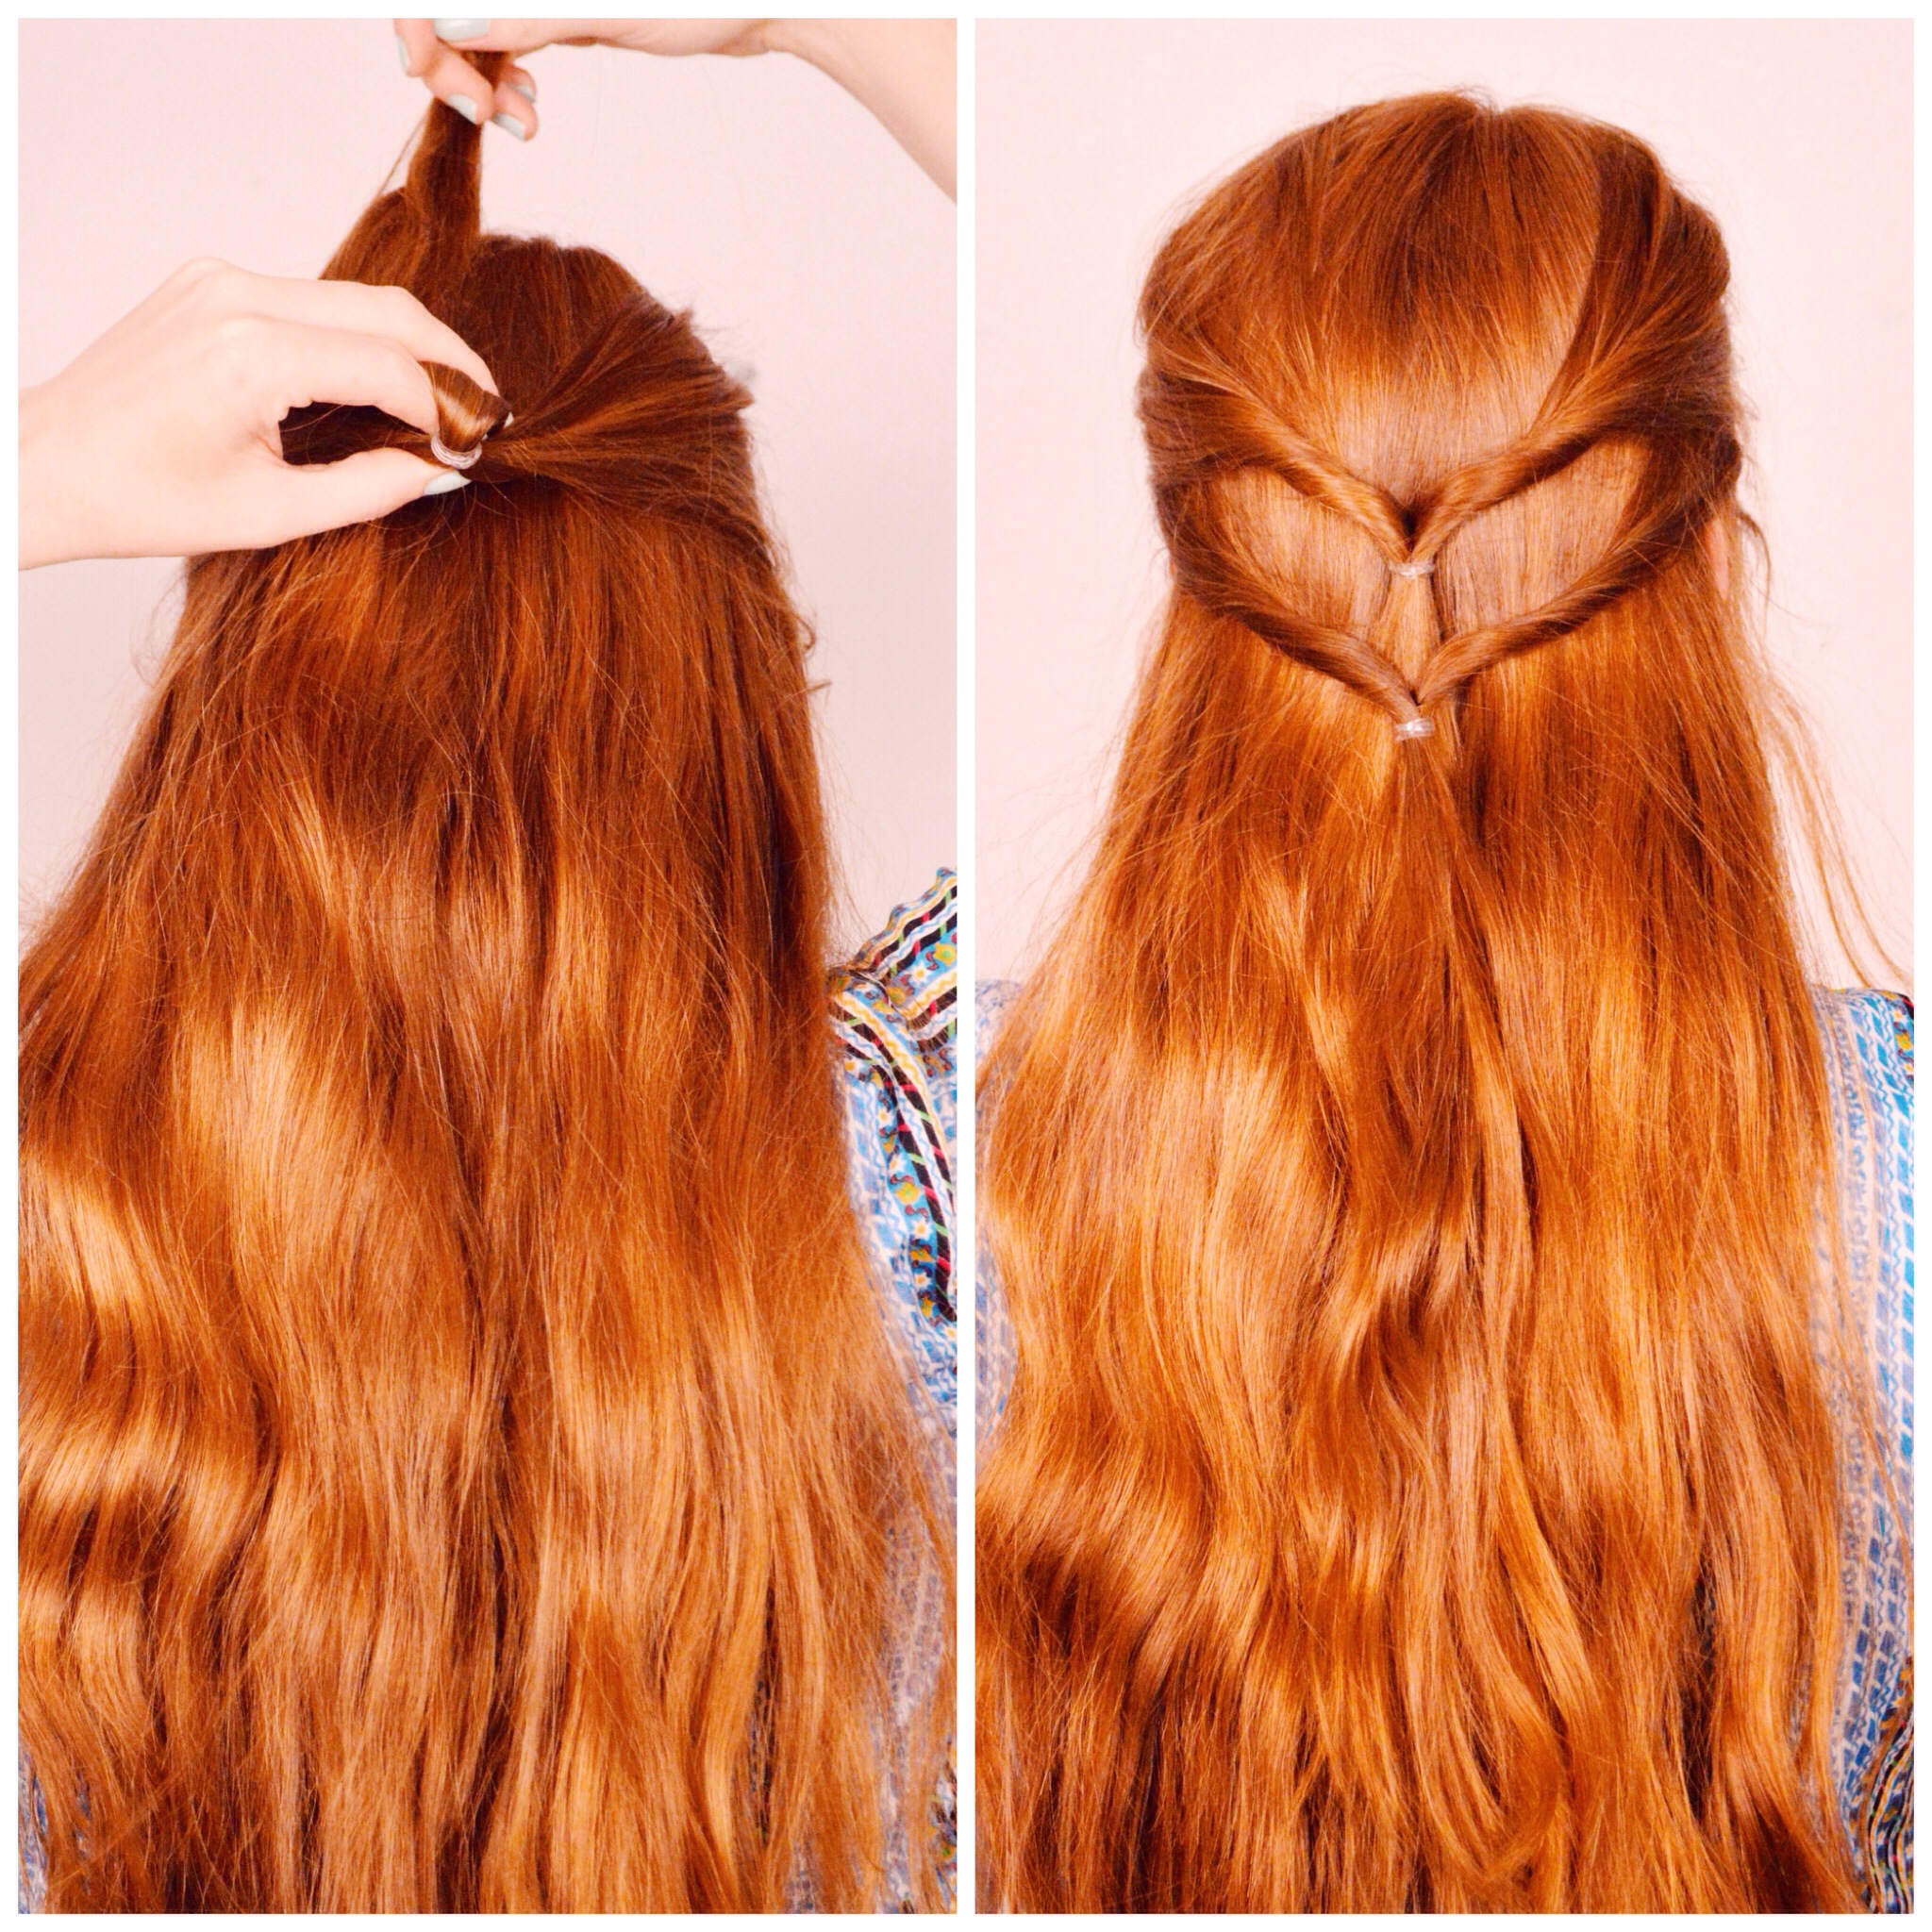 3. take the end of your ponytail and guide it over top and through where the two sections of hair meet, to create a fun lil’ twisted effect
4. continue the first 3 steps as many or as little times as you like, and the same with your sections, they can be as big or as little as you like; i did 3 twisties and I took fairly small sections, but honestly, I think this look would be quite striking if you used more hair for your twists
 5. tie the remaining loose hair into a ponytail
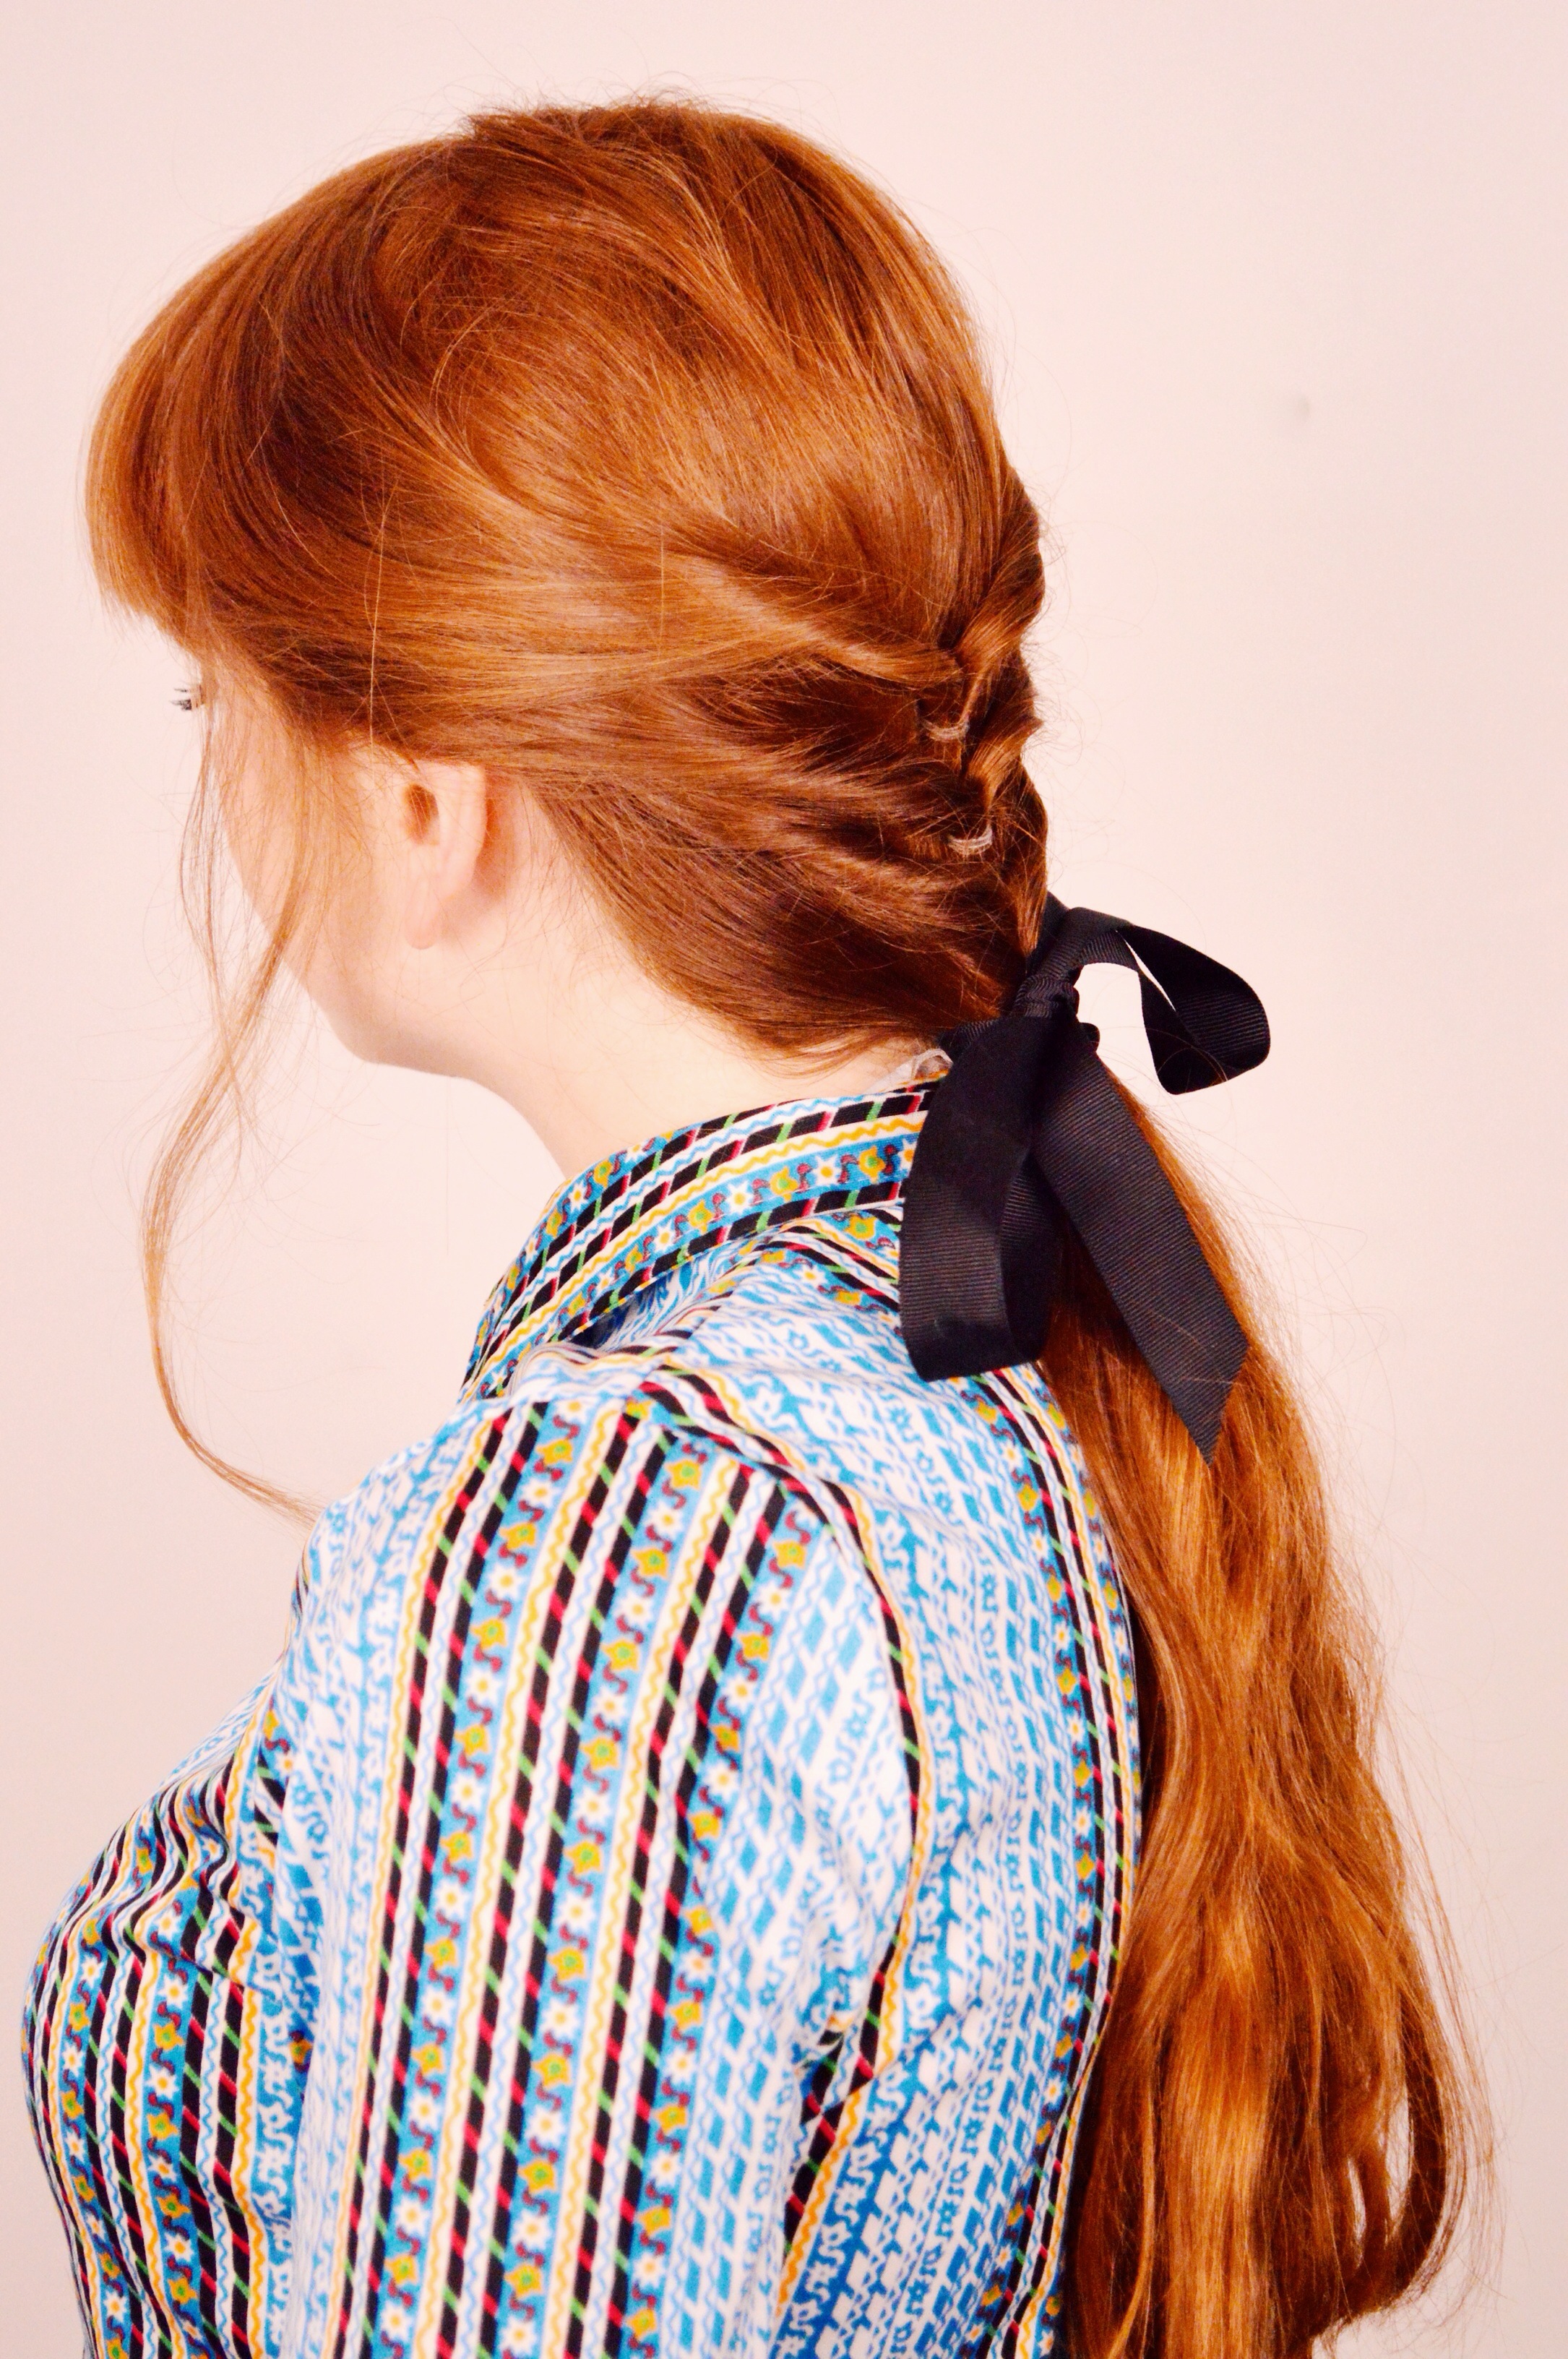
6. finish the look off with a cute bow (or whatever you have on hand)
 That’s it! Told you it was easy peasy! Let me know if you give this hairstyle a try.
*you can view more of my tutorials and other beauty related things here.
Beauty / Simple Side Braid With A Twist (literally)
 The simple side braid is a good friend of mine. I sleep with one in pretty often, which helps to keep my hair wavy baby throughout the day, but when it comes to wearing a side braid during the day, the back bit of hair, near the nape of my neck, has a tendency to kind of droop, which has a way of annoying me thoroughly. So, I came up with a way to have that back bit of hair stay off my neck and add some interest to a very simple hairstyle, and all it takes is a twist (pun very intended).
 1. using both hands, roll the hair closest to the nape of your neck towards your head, starting from behind one ear, until you reach the other side of your head
2. hanging on to that twist – which will act as 1/3 of your braid – start parting the remaining hair into 2 even sections, just the way you do with a regular braid
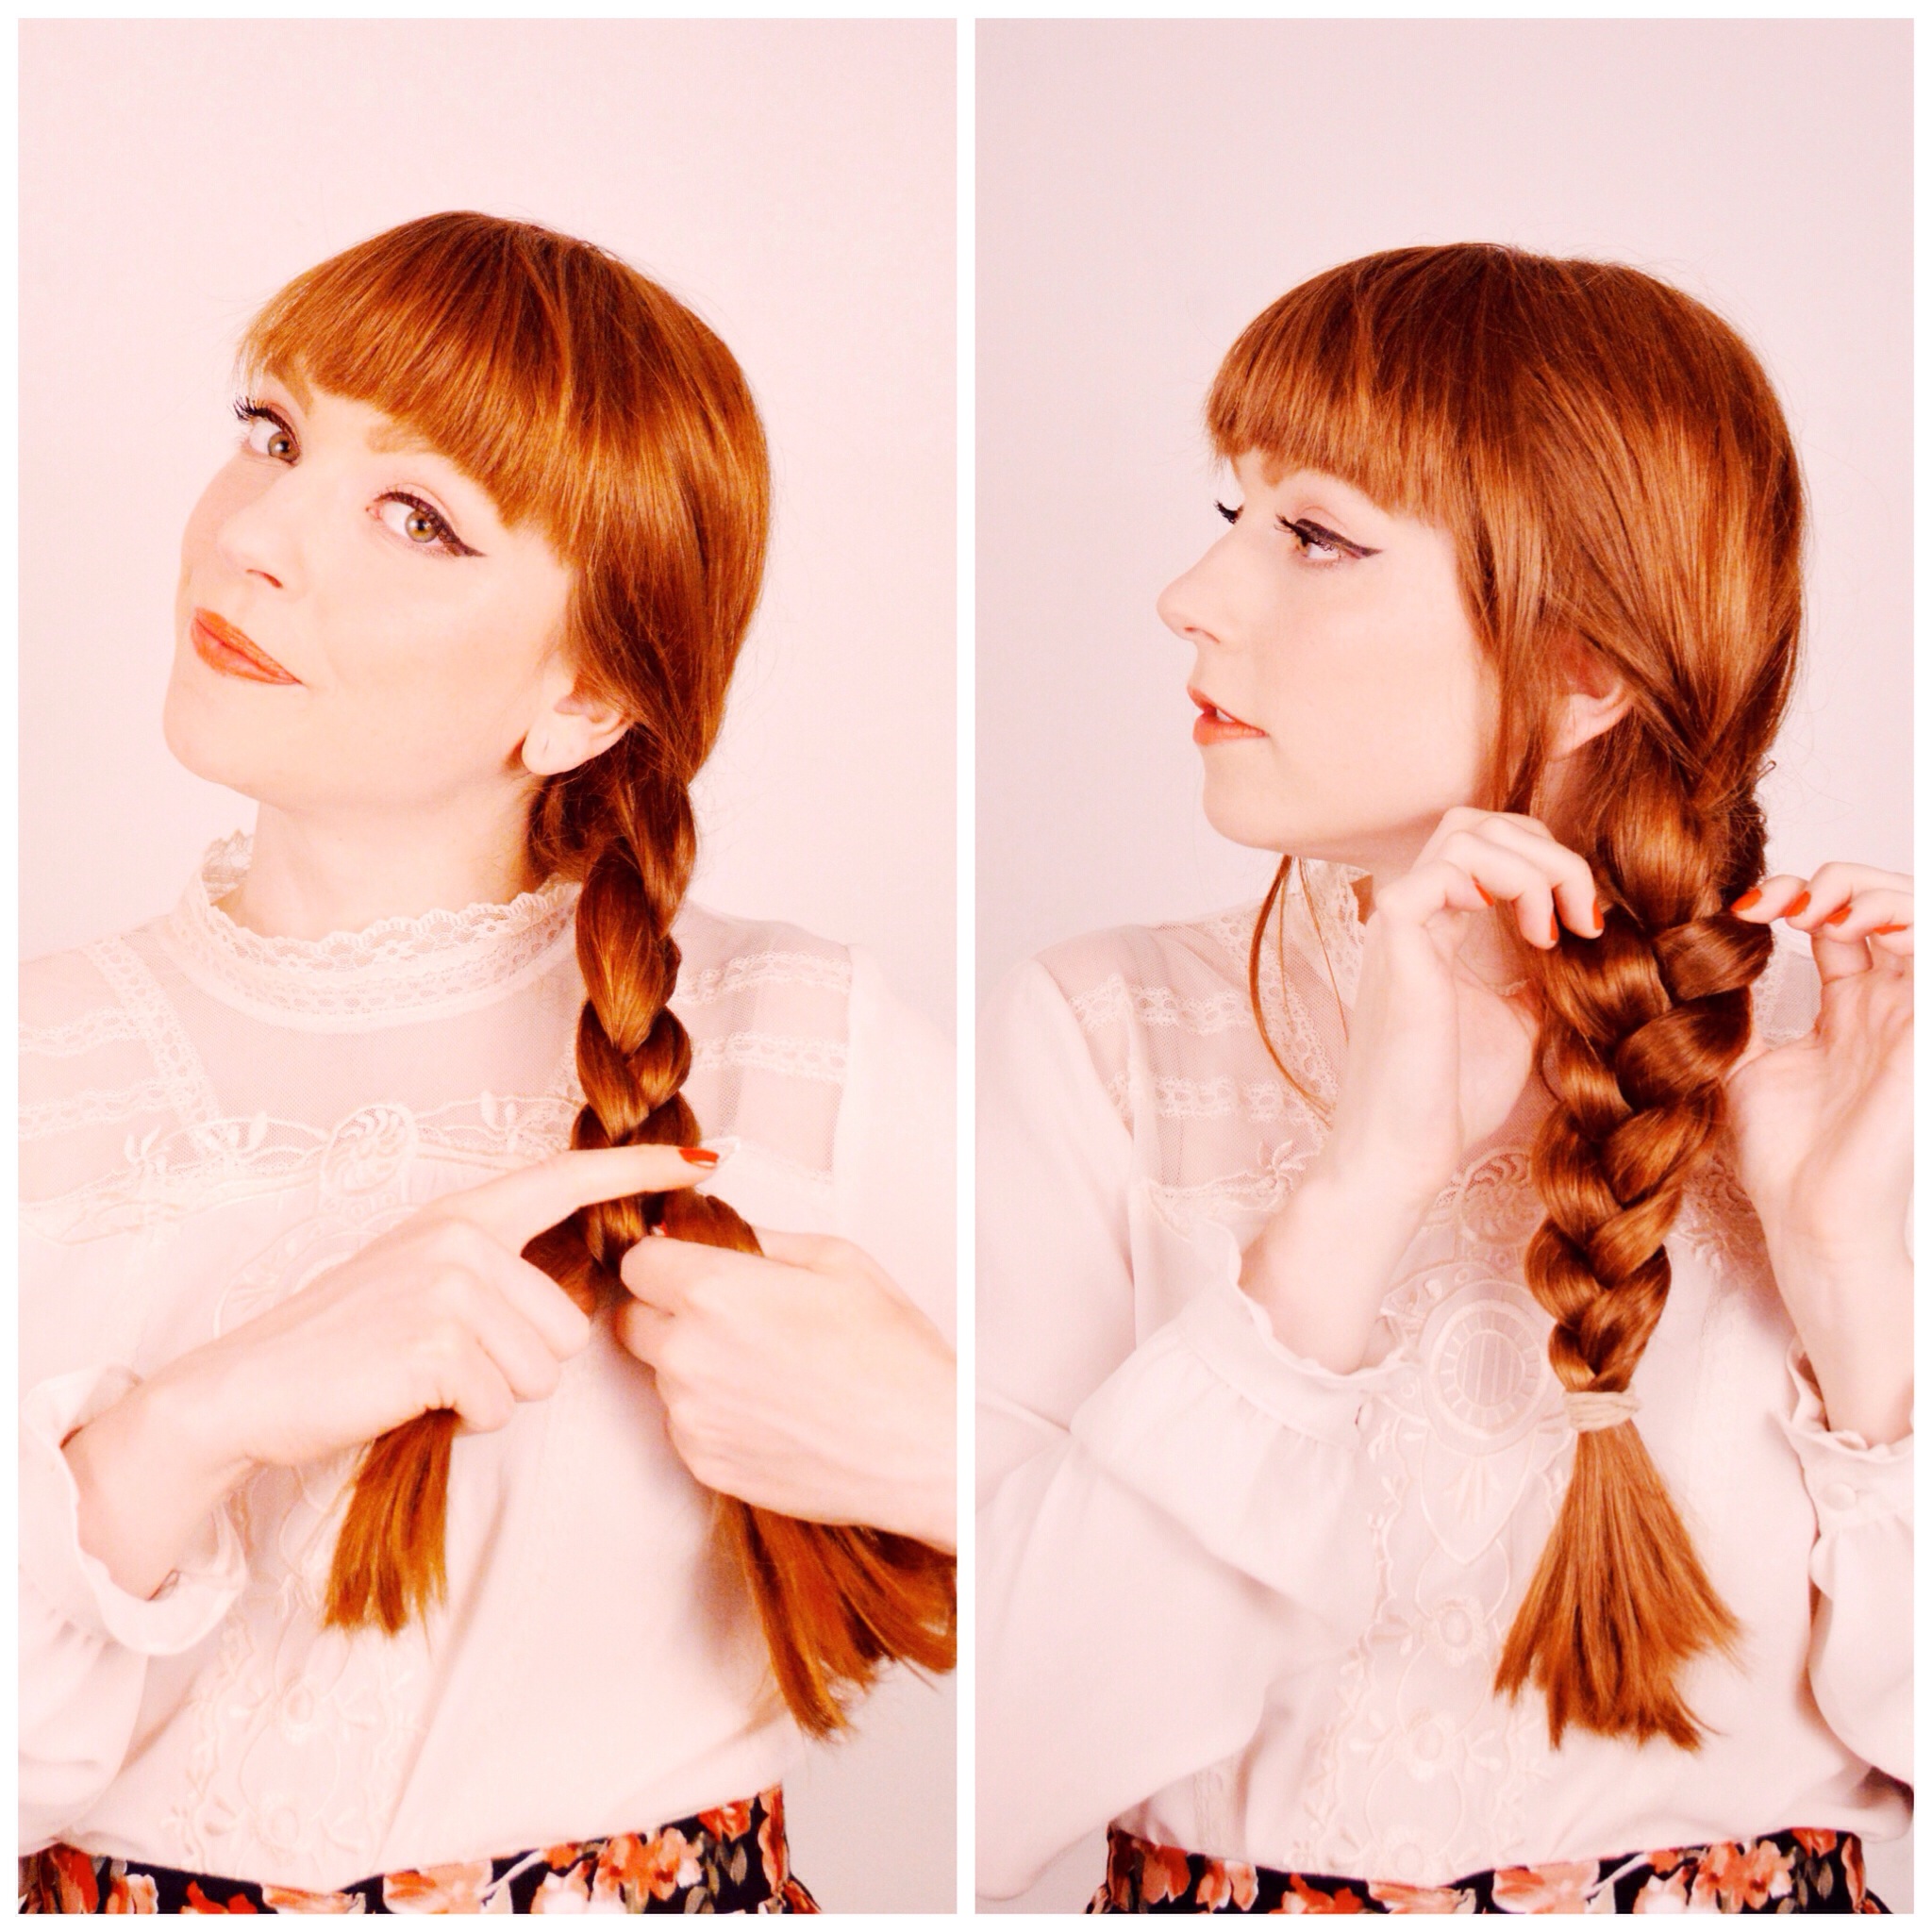 3. braid! easy peasy!
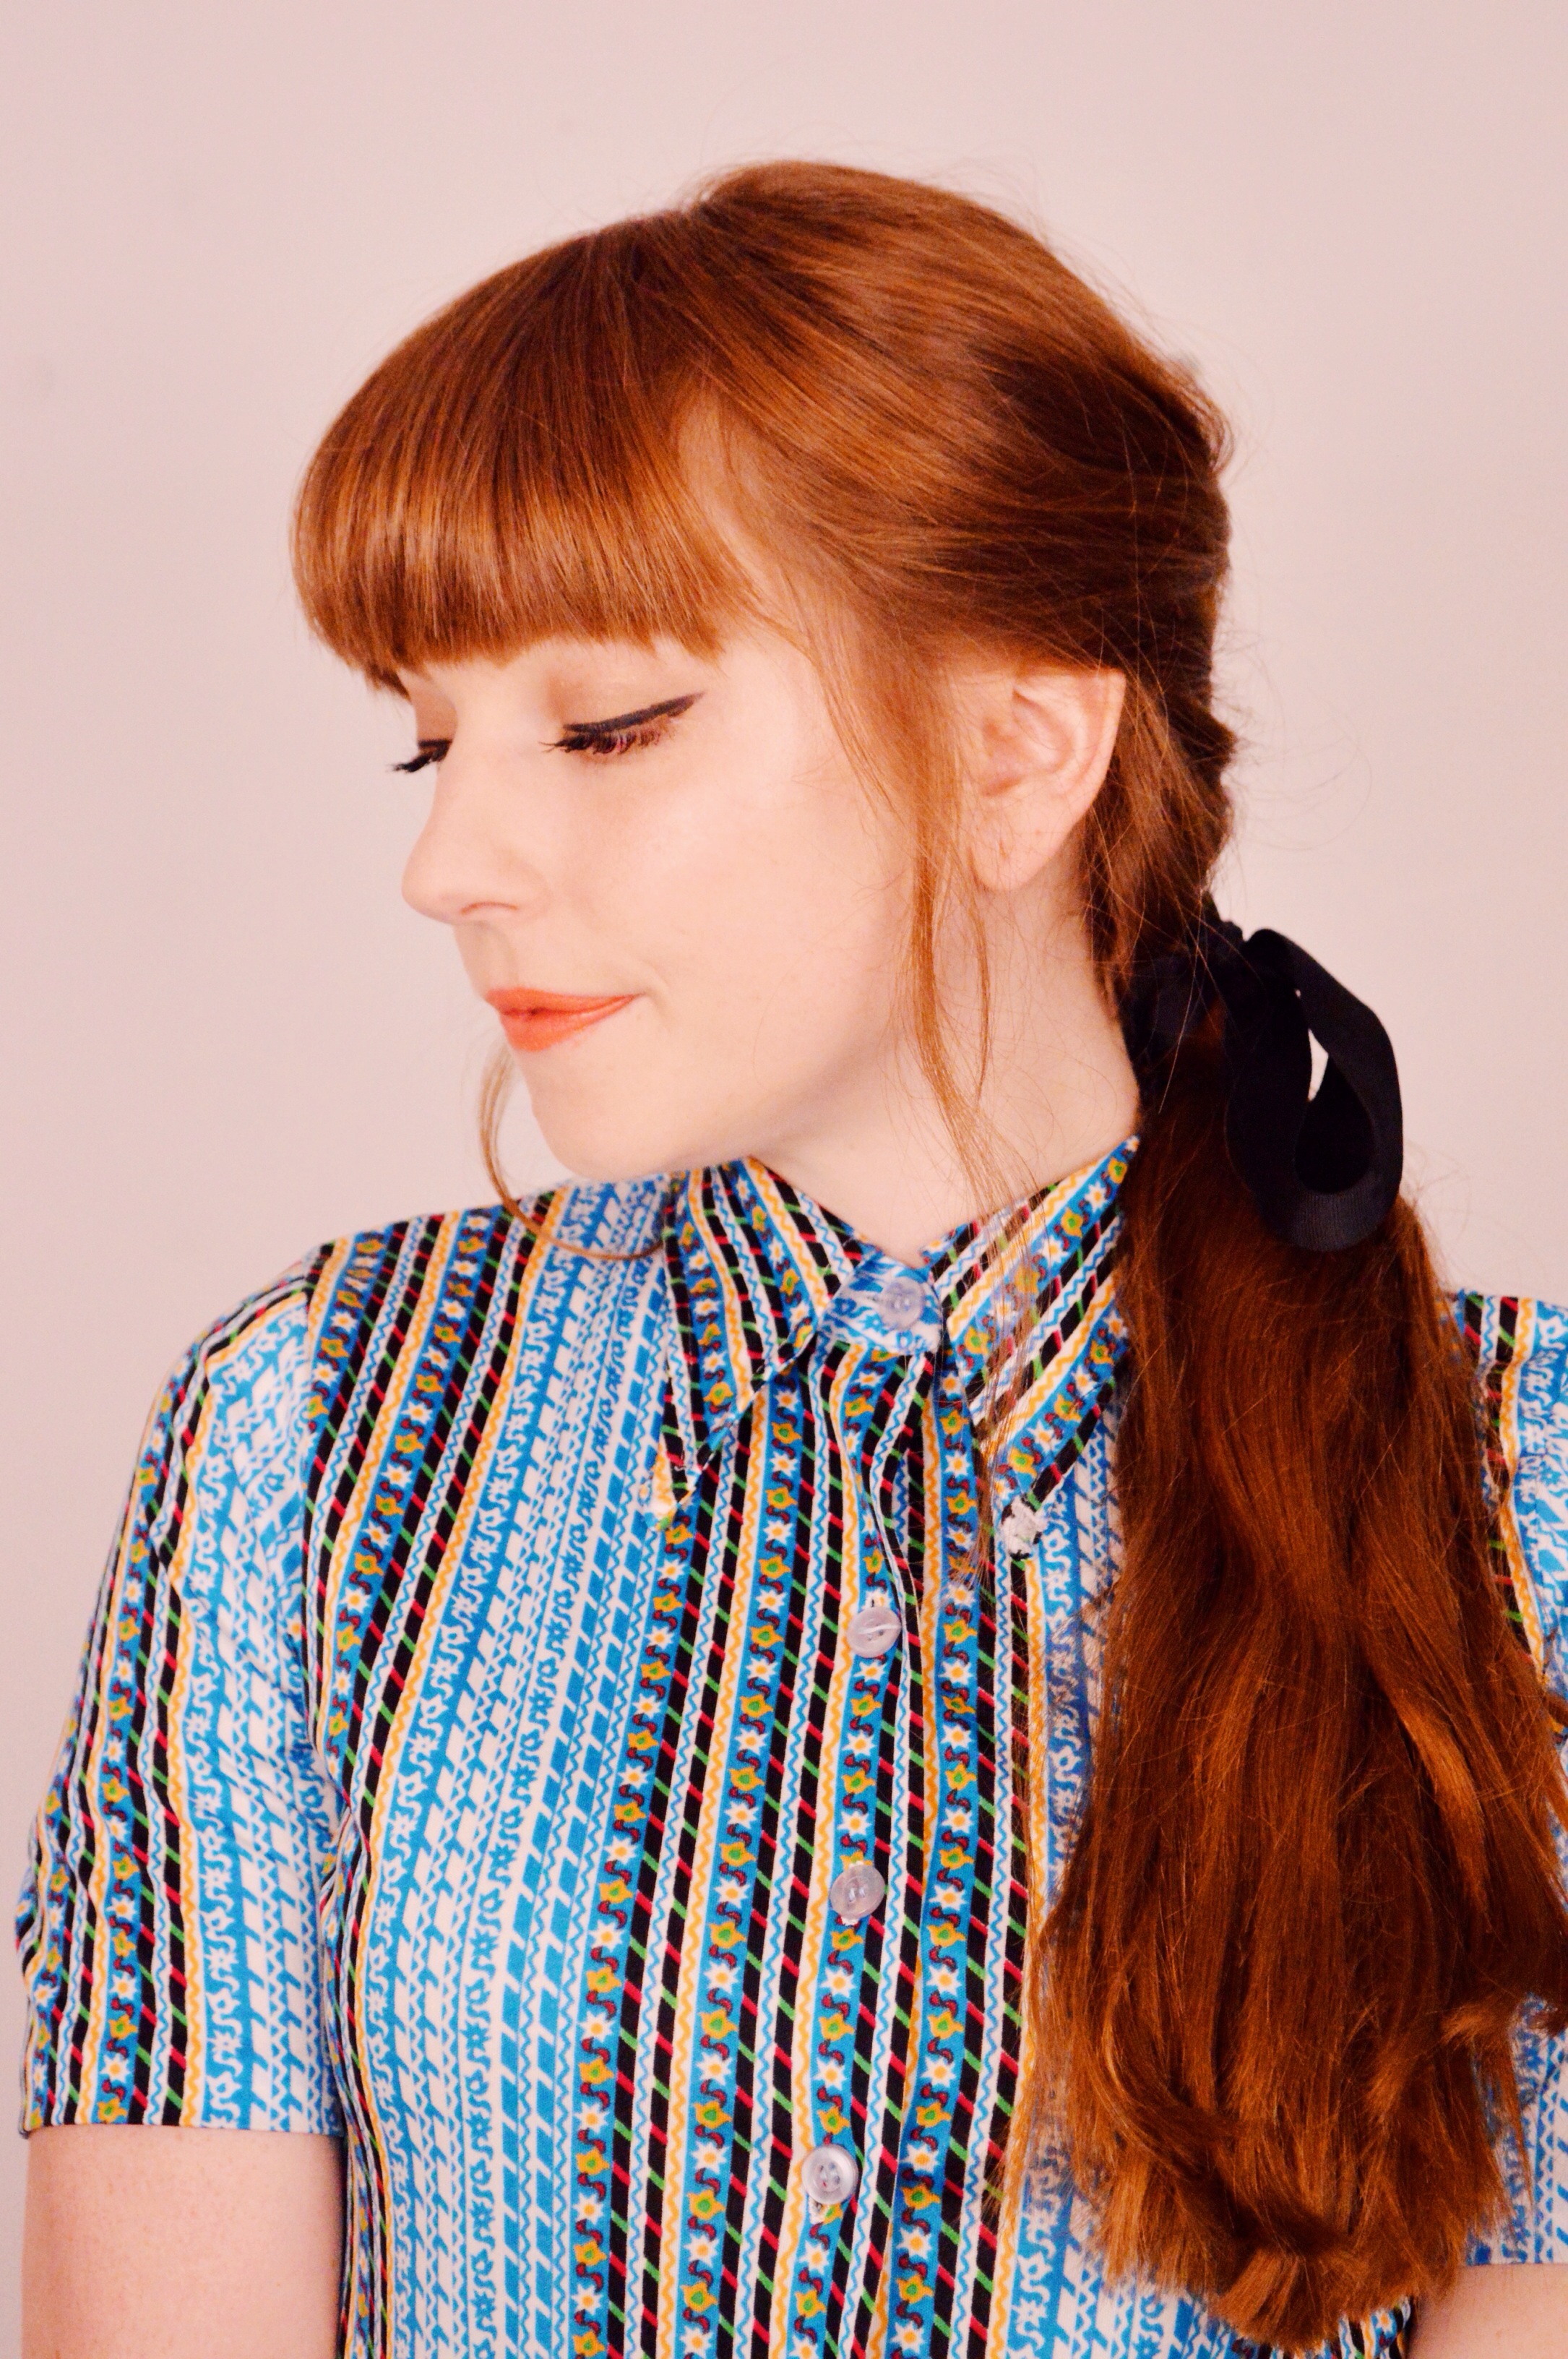
4. pull out any hairs you would like to have framing your face and loosen the braid a bit by pulling it apart. I also curled the hair framing my face to add a romantic vibe to the look; if your roll is feeling a little loose, add some bobby pins and hairspray – that should do the trick!
 Easy as that! It should take you no more than a minute (unless you do some curling like me) and it adds a little extra something to a very simple, basic hairstyle. Below I will also show you 3 different ways you can add some interest to this look with hair accessories.
ACCESSORIZE THAT BRAID!
 CUTE HAIR CLIPS: add some cute hairclips, like these sunglasses (that kind of look like goggles) to add a playful, yet subtle quality to your look.
 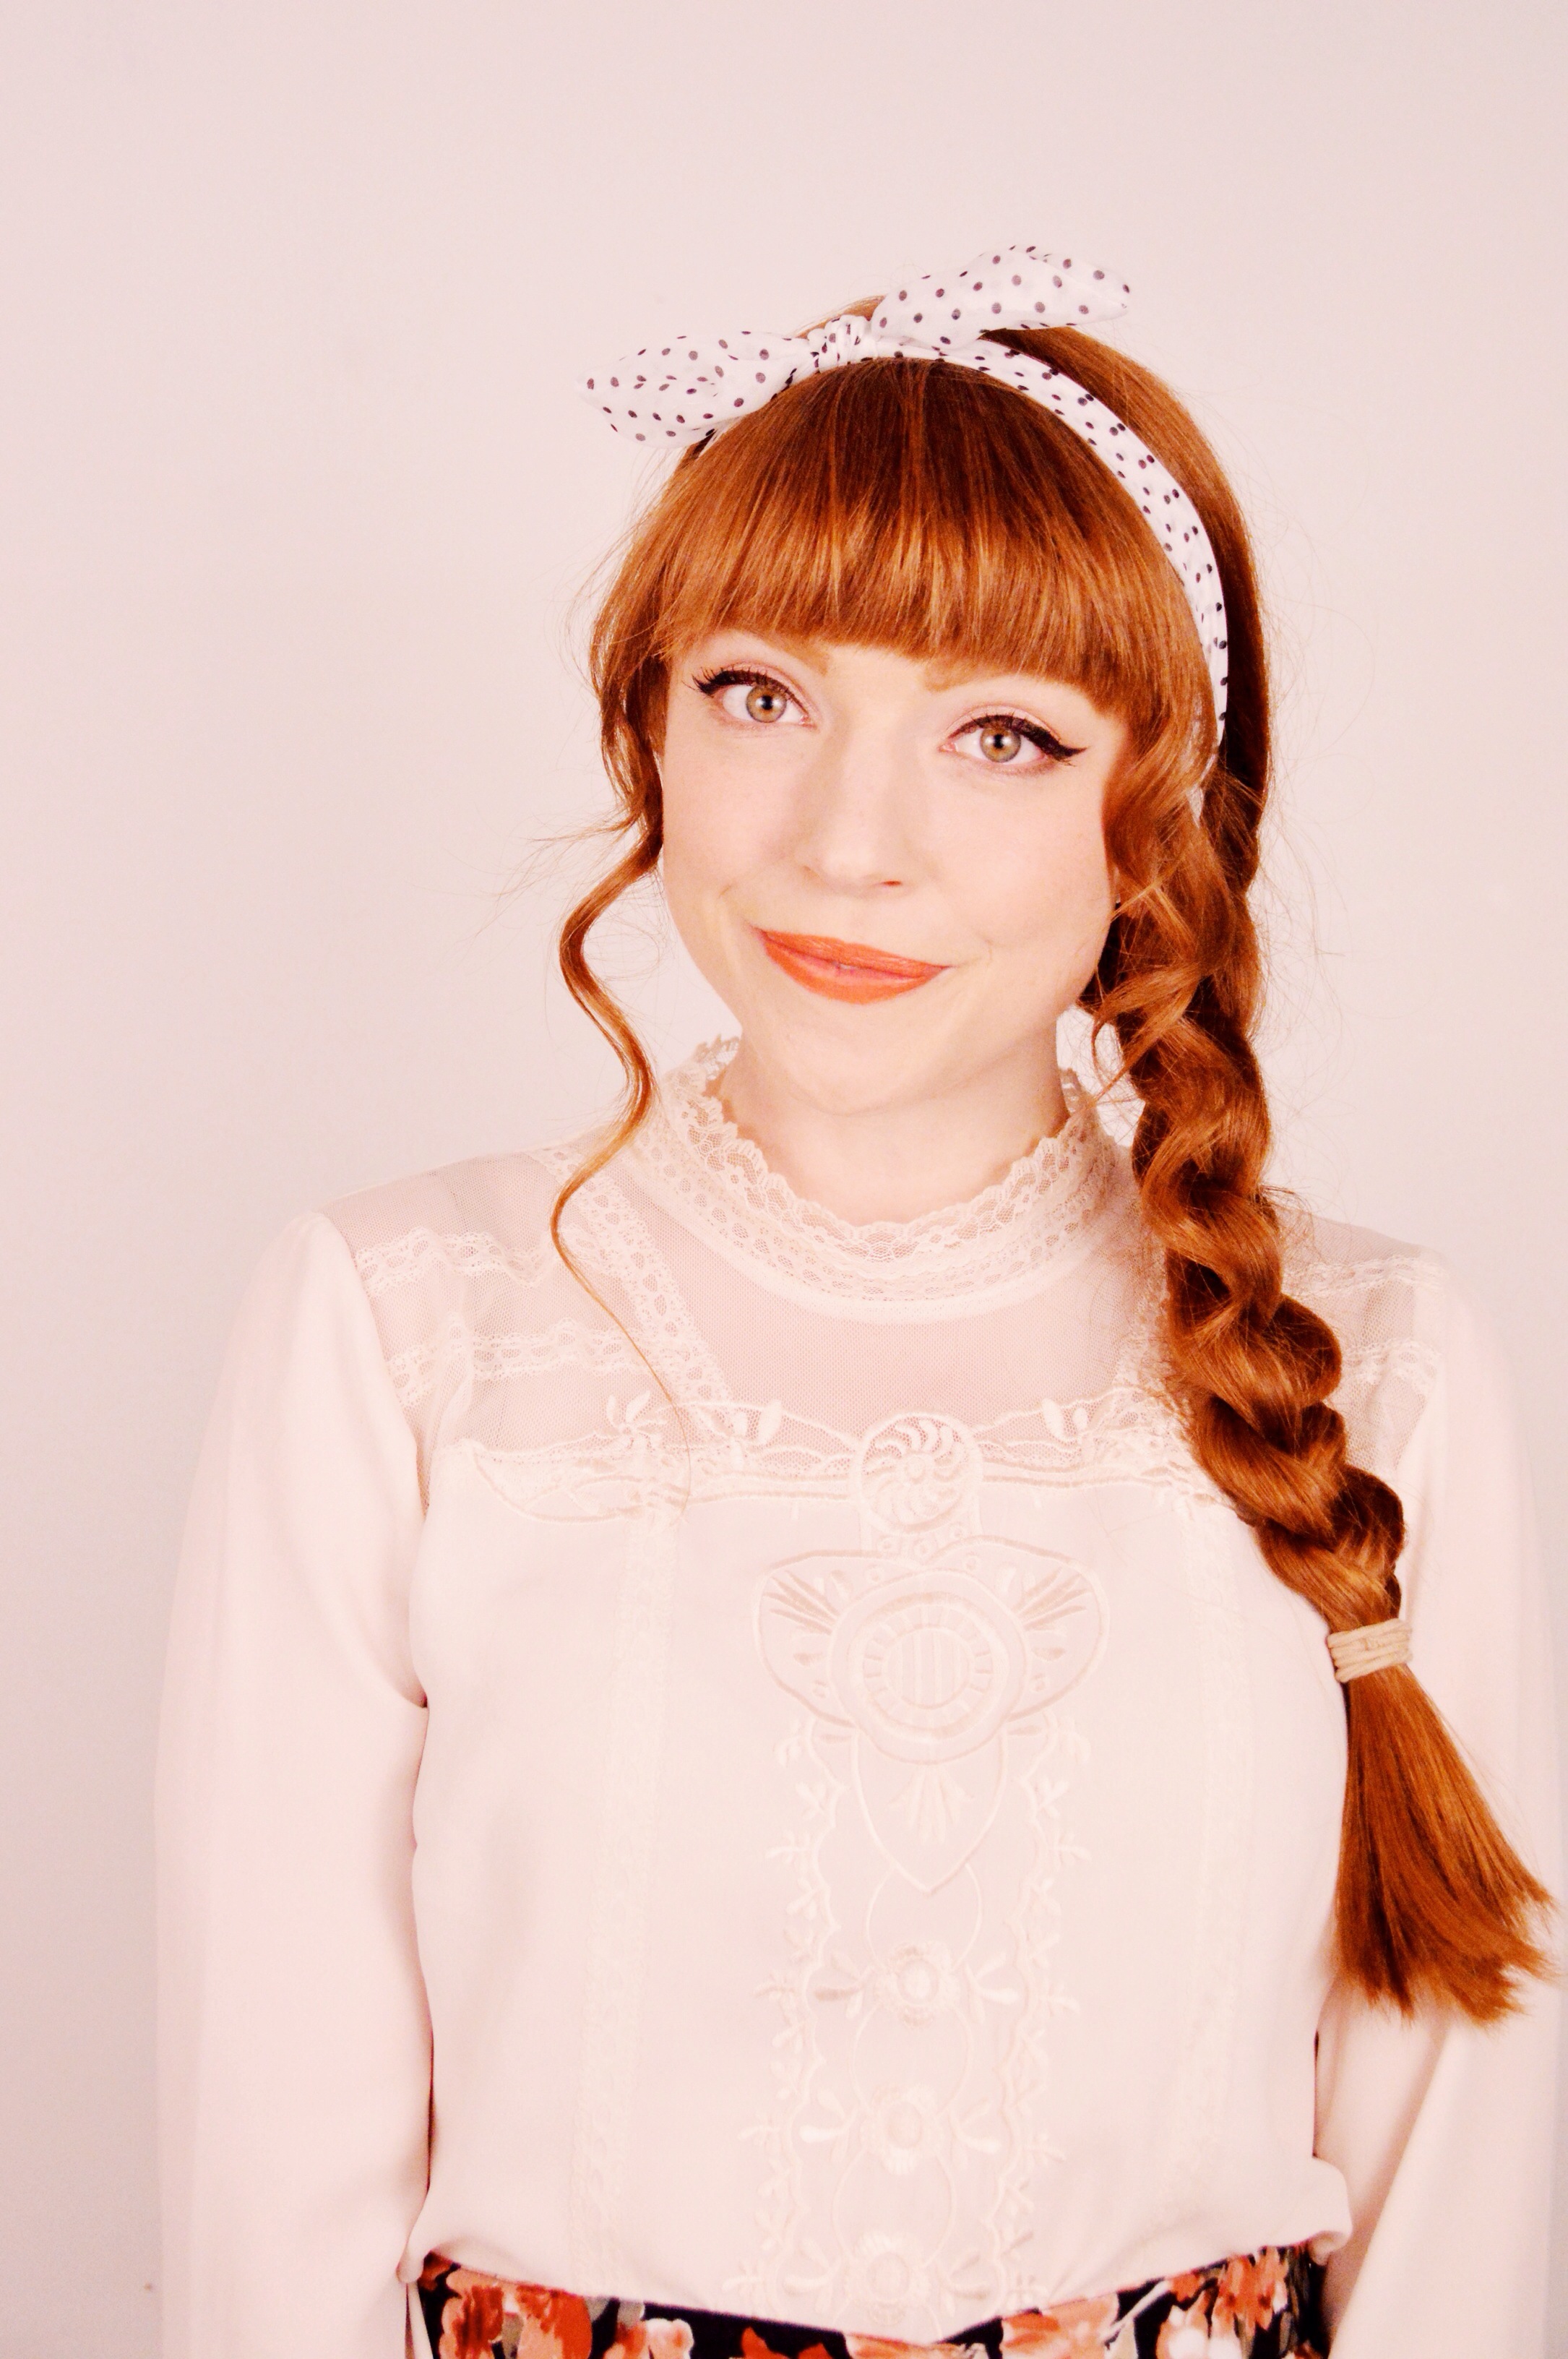 HEAD SCARF: add a headscarf (or in this case it’s a head band acting as a scarf) to add a little colour or pattern to your sweet little noggin.
 BOW: want to cover up that dreaded elastic? wrap a ribbon around it; both cute and functional
*like what you see? i’ve got more beauty posts for you here
Beauty / Two Quick Romantic Up-dos

 I’ve always found up-dos to be a weird thing, mostly because they remind me of horrible 90s proms or something. But up-dos can actually be really pretty if done right, and most importantly, quick and easy. So I thought I’d share with you two styles – the first one is a nod to an Edwardian hairstyle and the second is a retro one I have seen a lot around the internet lately (Zoe, Colleen, Rebecca), so I thought I’d give it a go with my own twist.
Edwardian Inspired Up-do
 -start by putting your hair into a loose bun/top knot atop your head with an elastic.
-flatten your bun out a bit and start pinning it into place; feel free to pull out pieces in the bun to get the look you desire.
-after your bun is secured in place, start adding volume to the rest of the hair by pulling it out from the bun and pin any unruly pieces in their desired place; we want to achieve a more voluminous, messy and lifted look.
-add some flowers or cute hair accessories wherever you like to finish off the look
Retro Rolled Up-do
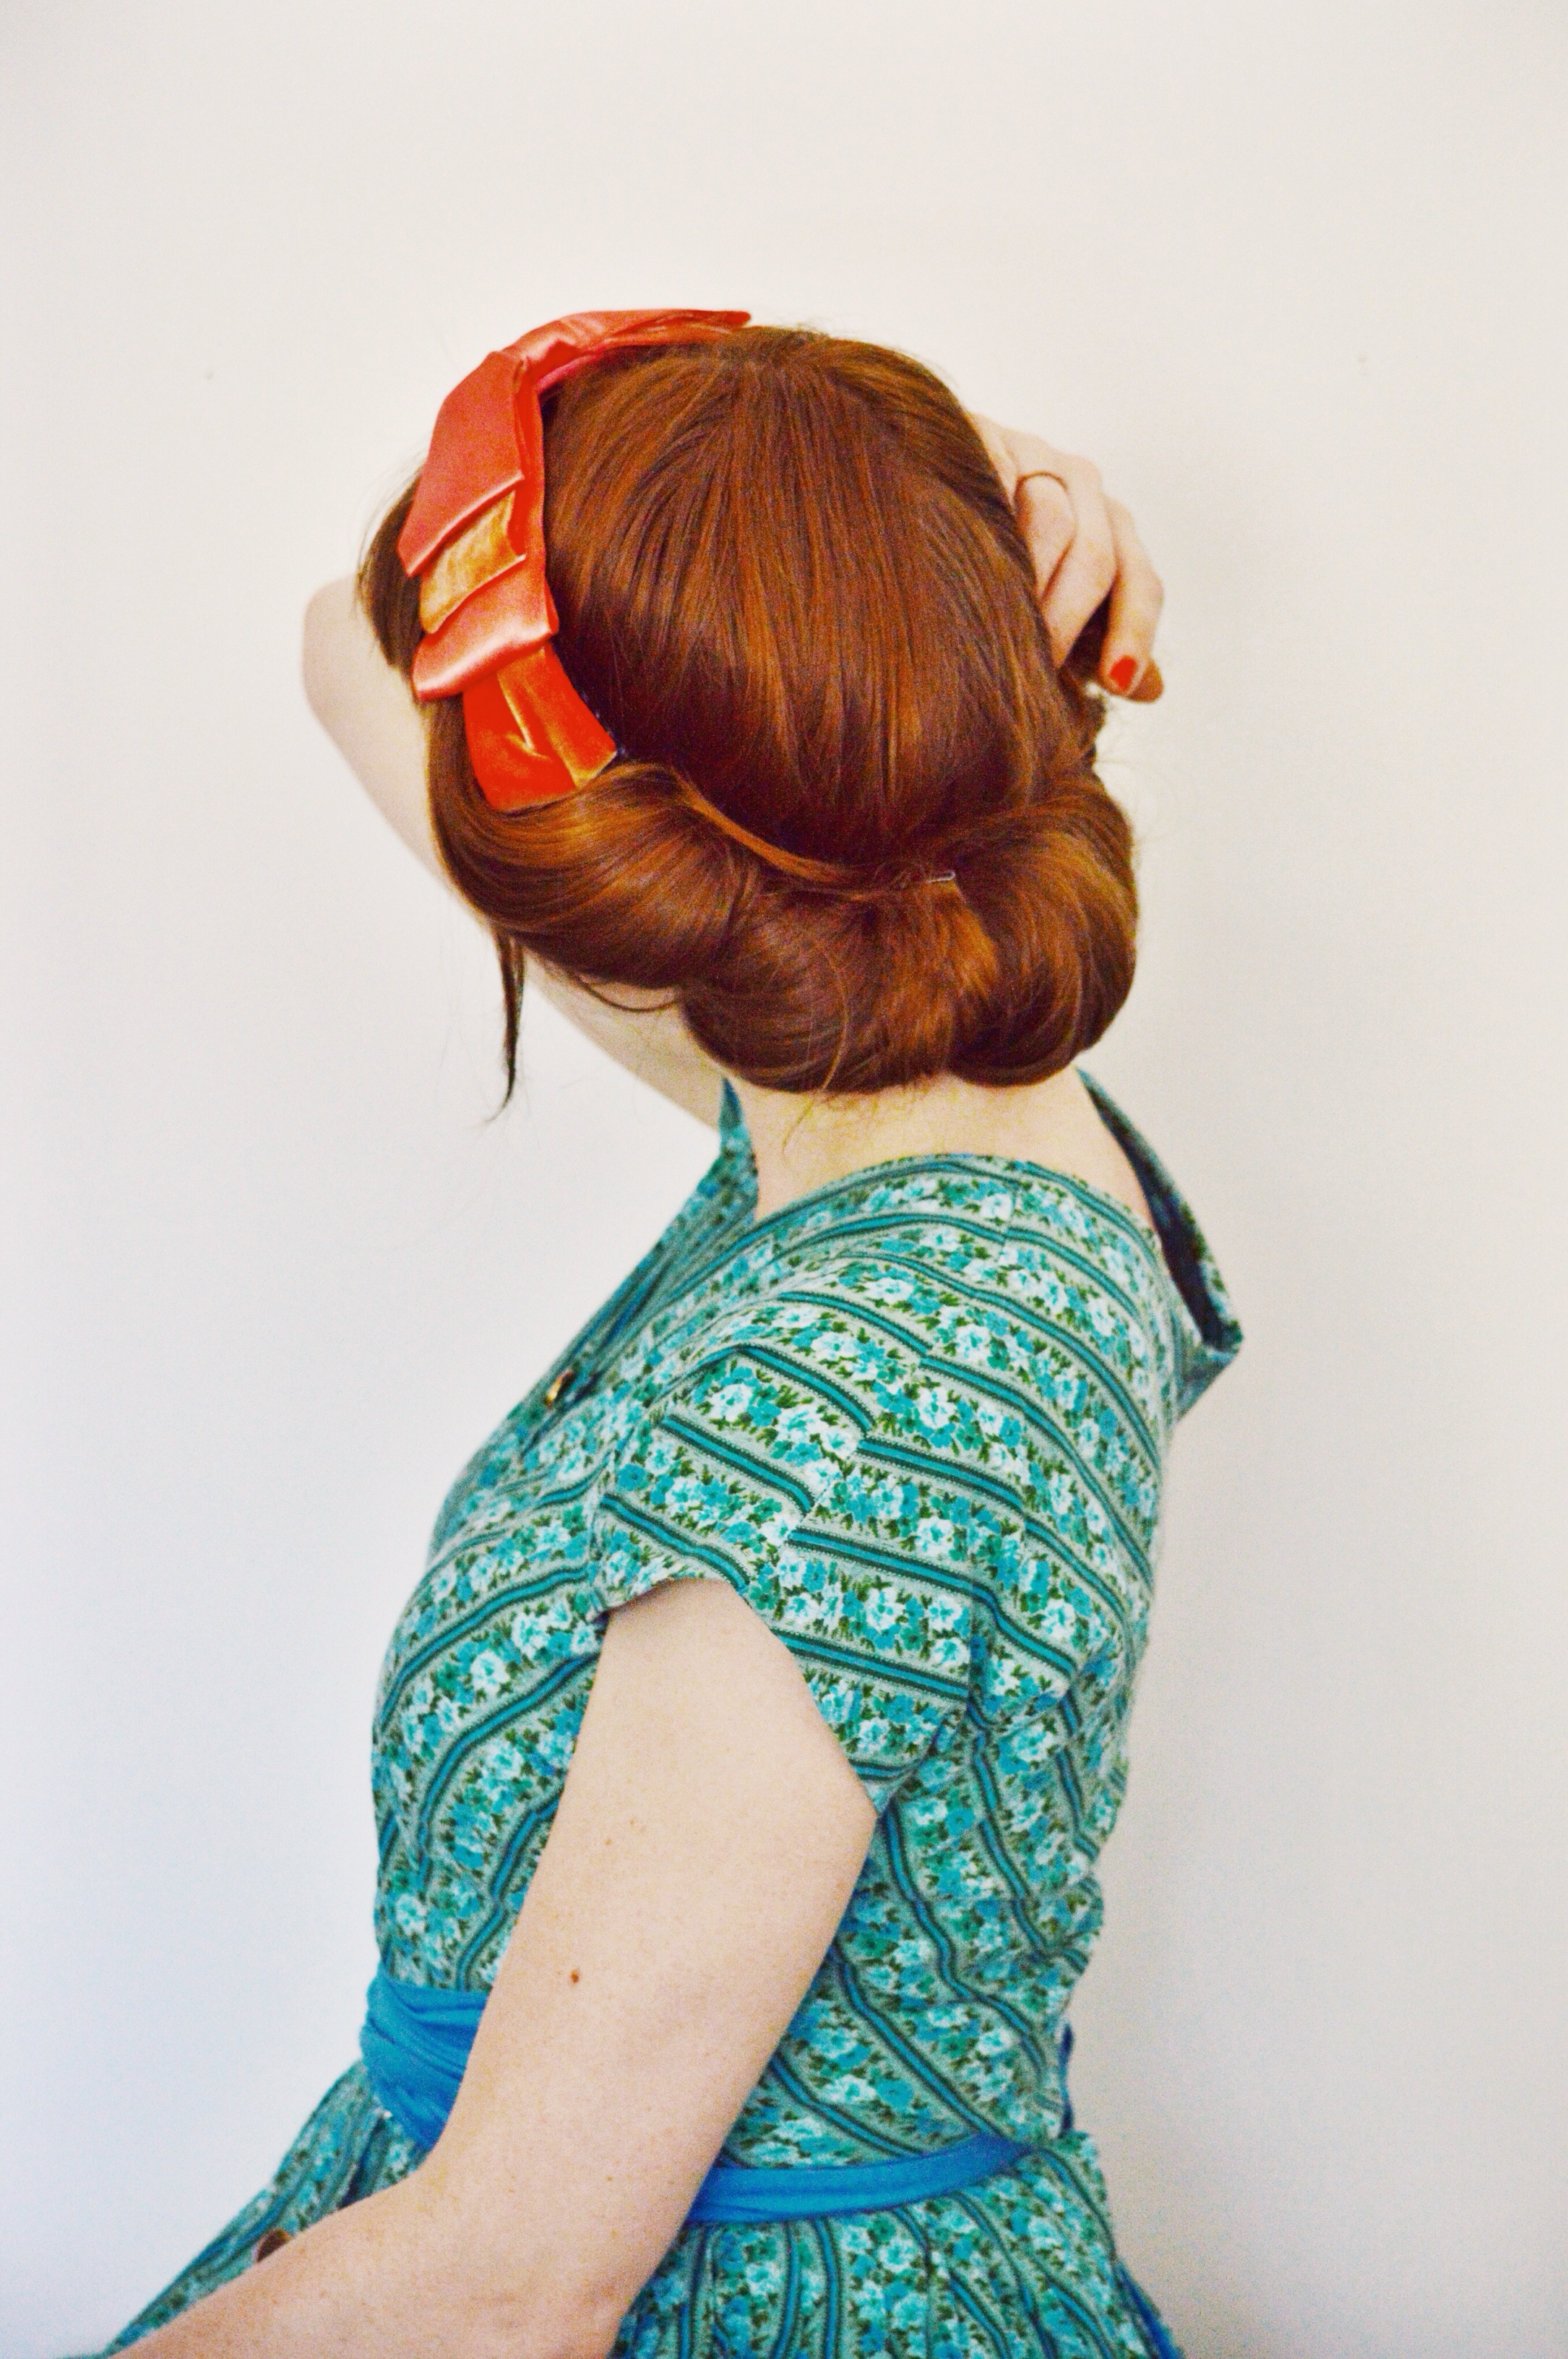 -start by placing your elastic headband on top of your hair
-from there take a small section of hair close to your ear and roll it over top of the elastic
-continue this process using hair from both sides until you have covered the hairband
-if your hair is being annoying like mine was, then feel free to use bobby pins to secure any stray hairs in place
-if you have a nice headband from the get-go, then you are all done, but if you are like me and had a boring black one, feel free to add something on top to make it more exciting. I used a vintage headband to cover the one underneath
Dress: vintage
Headband: vintage via Victory Mills
Beauty / Braided Headband
 Today I’m going to show you how to create a headband for your beautiful hairs with your very own hair. Crazy! This style is pretty fun and versatile as you can make the braids as thin or as thick as you like. I went with thin braids this time around, but I assure you that thick ones are quite striking. So! Here we go!

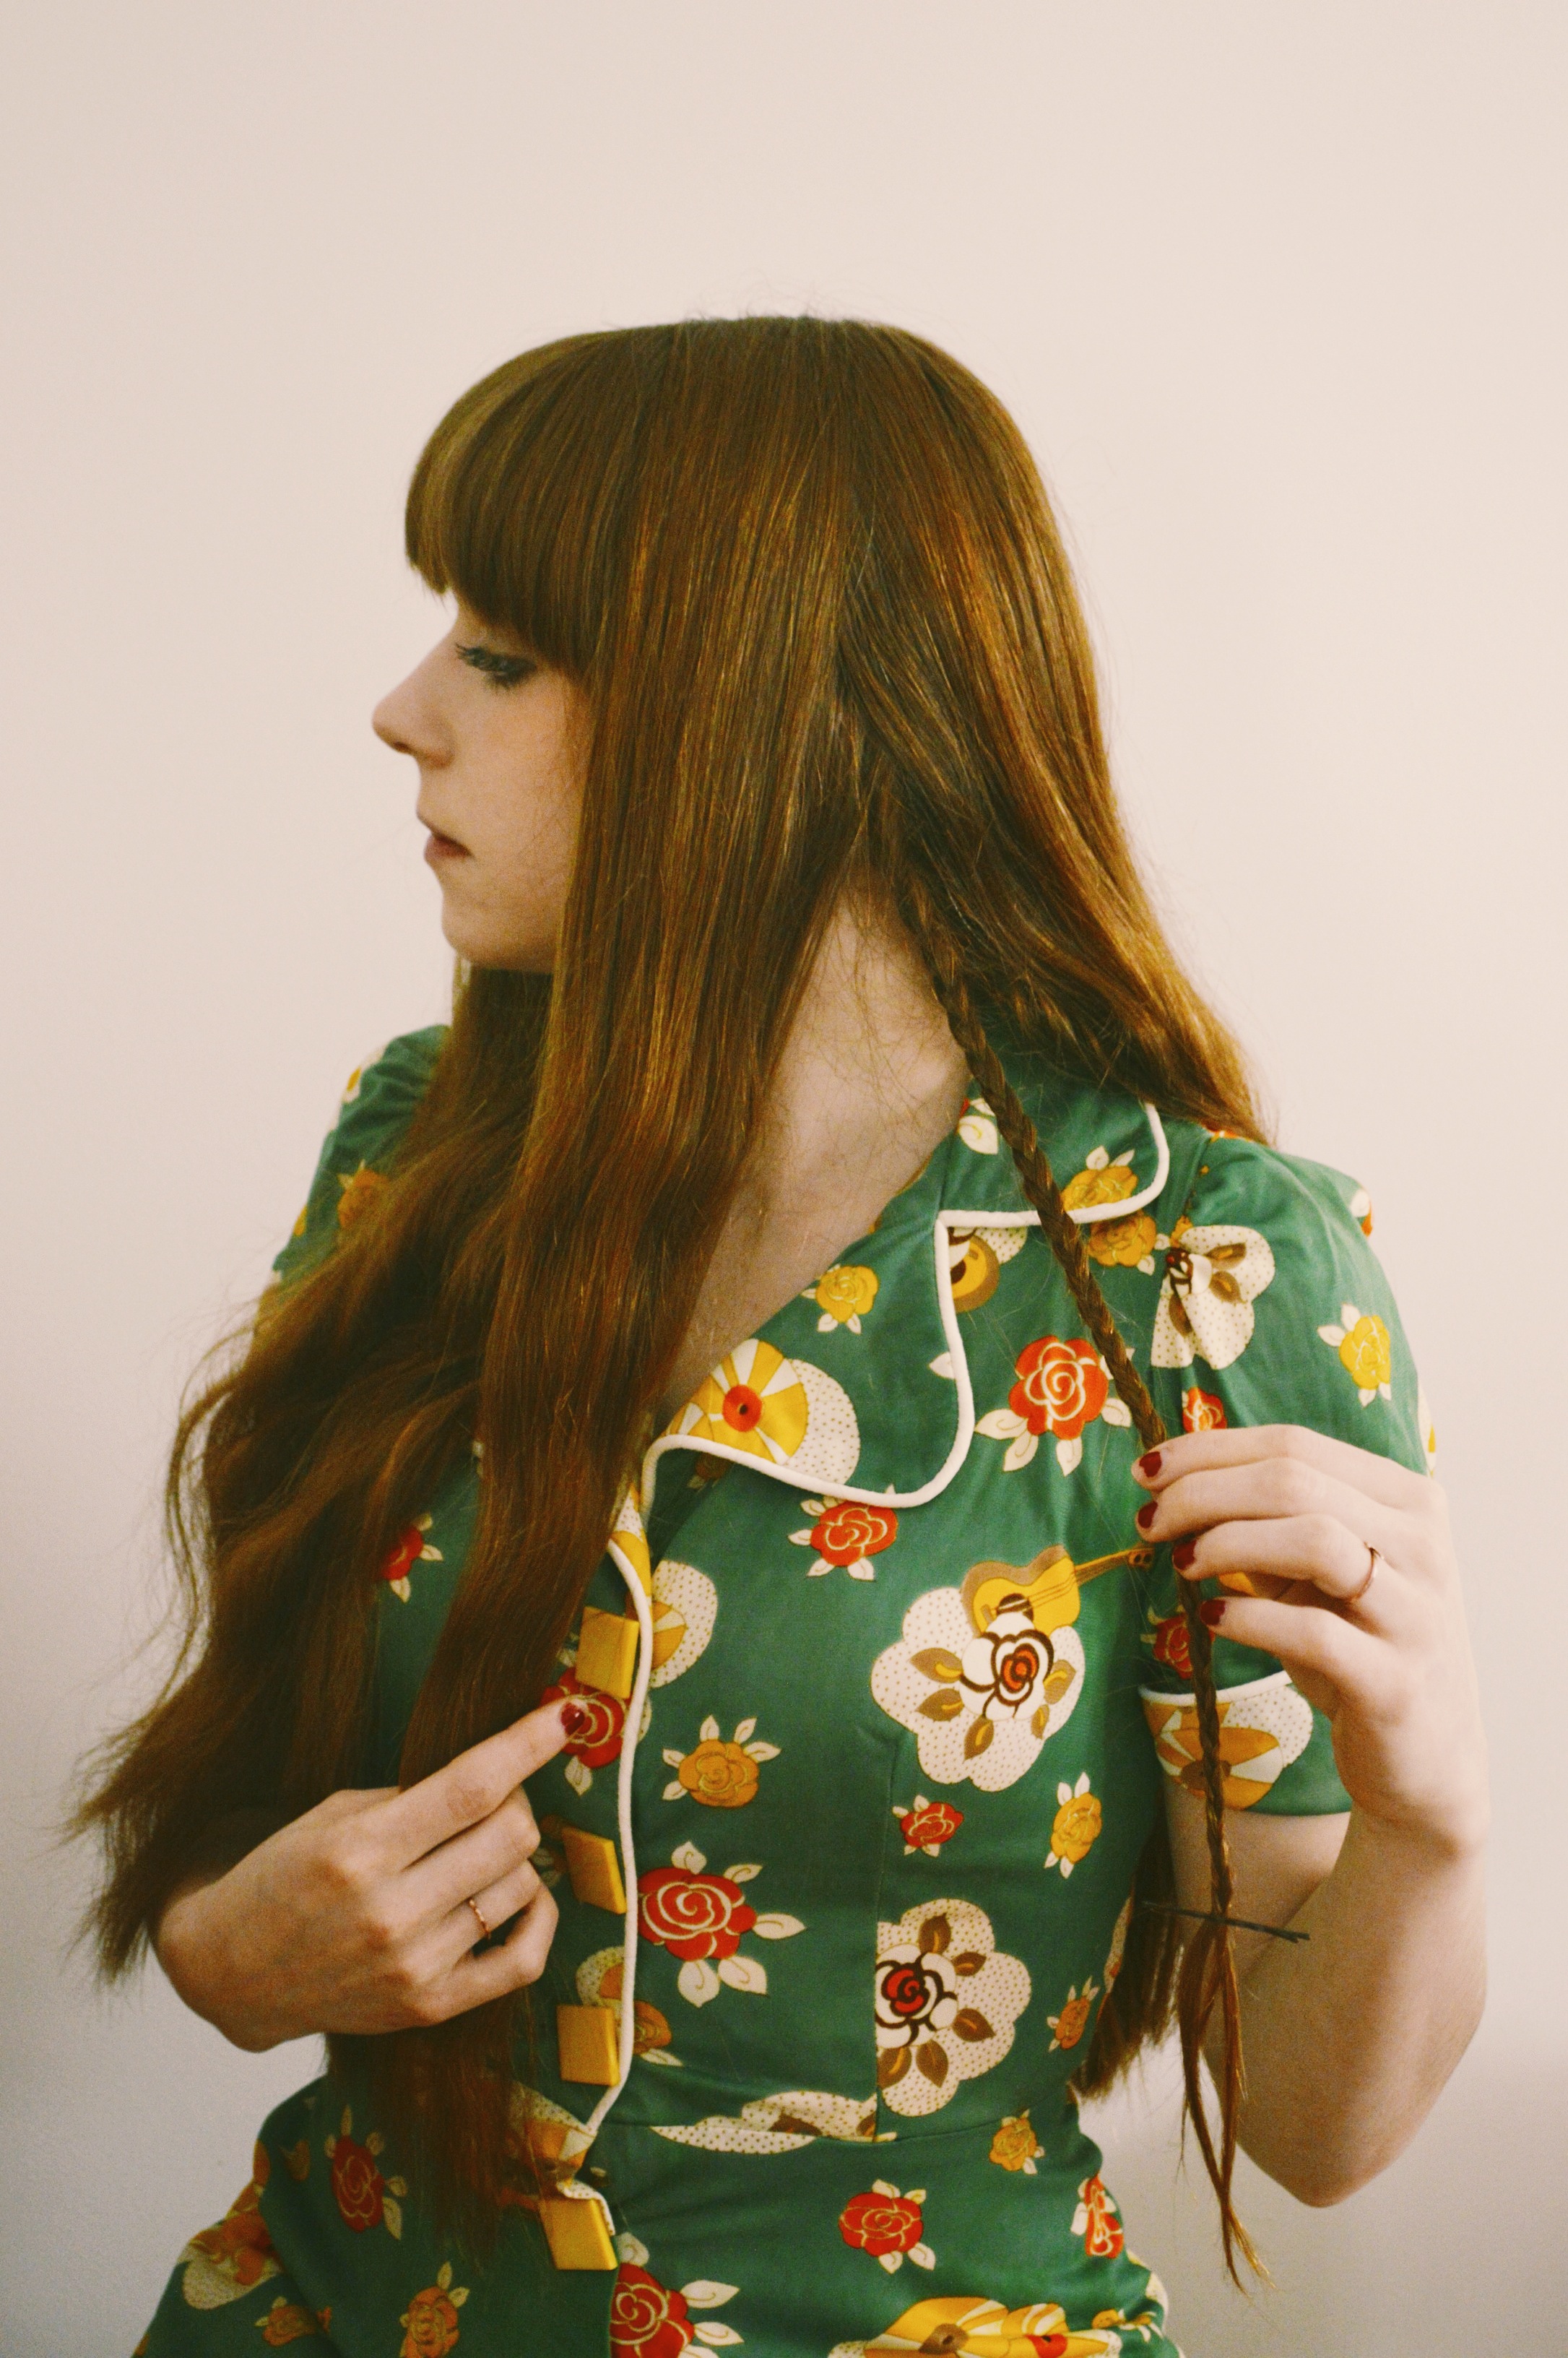 STEP ONE: Start by parting your hair near your ear and simply pull out (not literally) the desired amount of hair you would like to braid – the hair you use for your braid should be quite close to your ear, sort of like when you wear a headband and it sits right behind your ear, that’s where your braid should be coming from. Now you can braid those hairs! Once your braid is finished no hair elastics are required, just get a bobby pin to hold the braid in place while you start working on the other side.
 How many times can I say braid in one paragraph?!
 Now you should have a braid on each side, which I have decided to turn into… this? I also look like a fish. And I’m rhyming. What’s wrong with me?!
 STEP TWO: Now you are going to make your headband! Take your desired braid and guide it over to the other side of your head, and then fasten the end of your braid with bobby pins behind your ear, right where the other braid starts. One down! Now do the same to the other side.
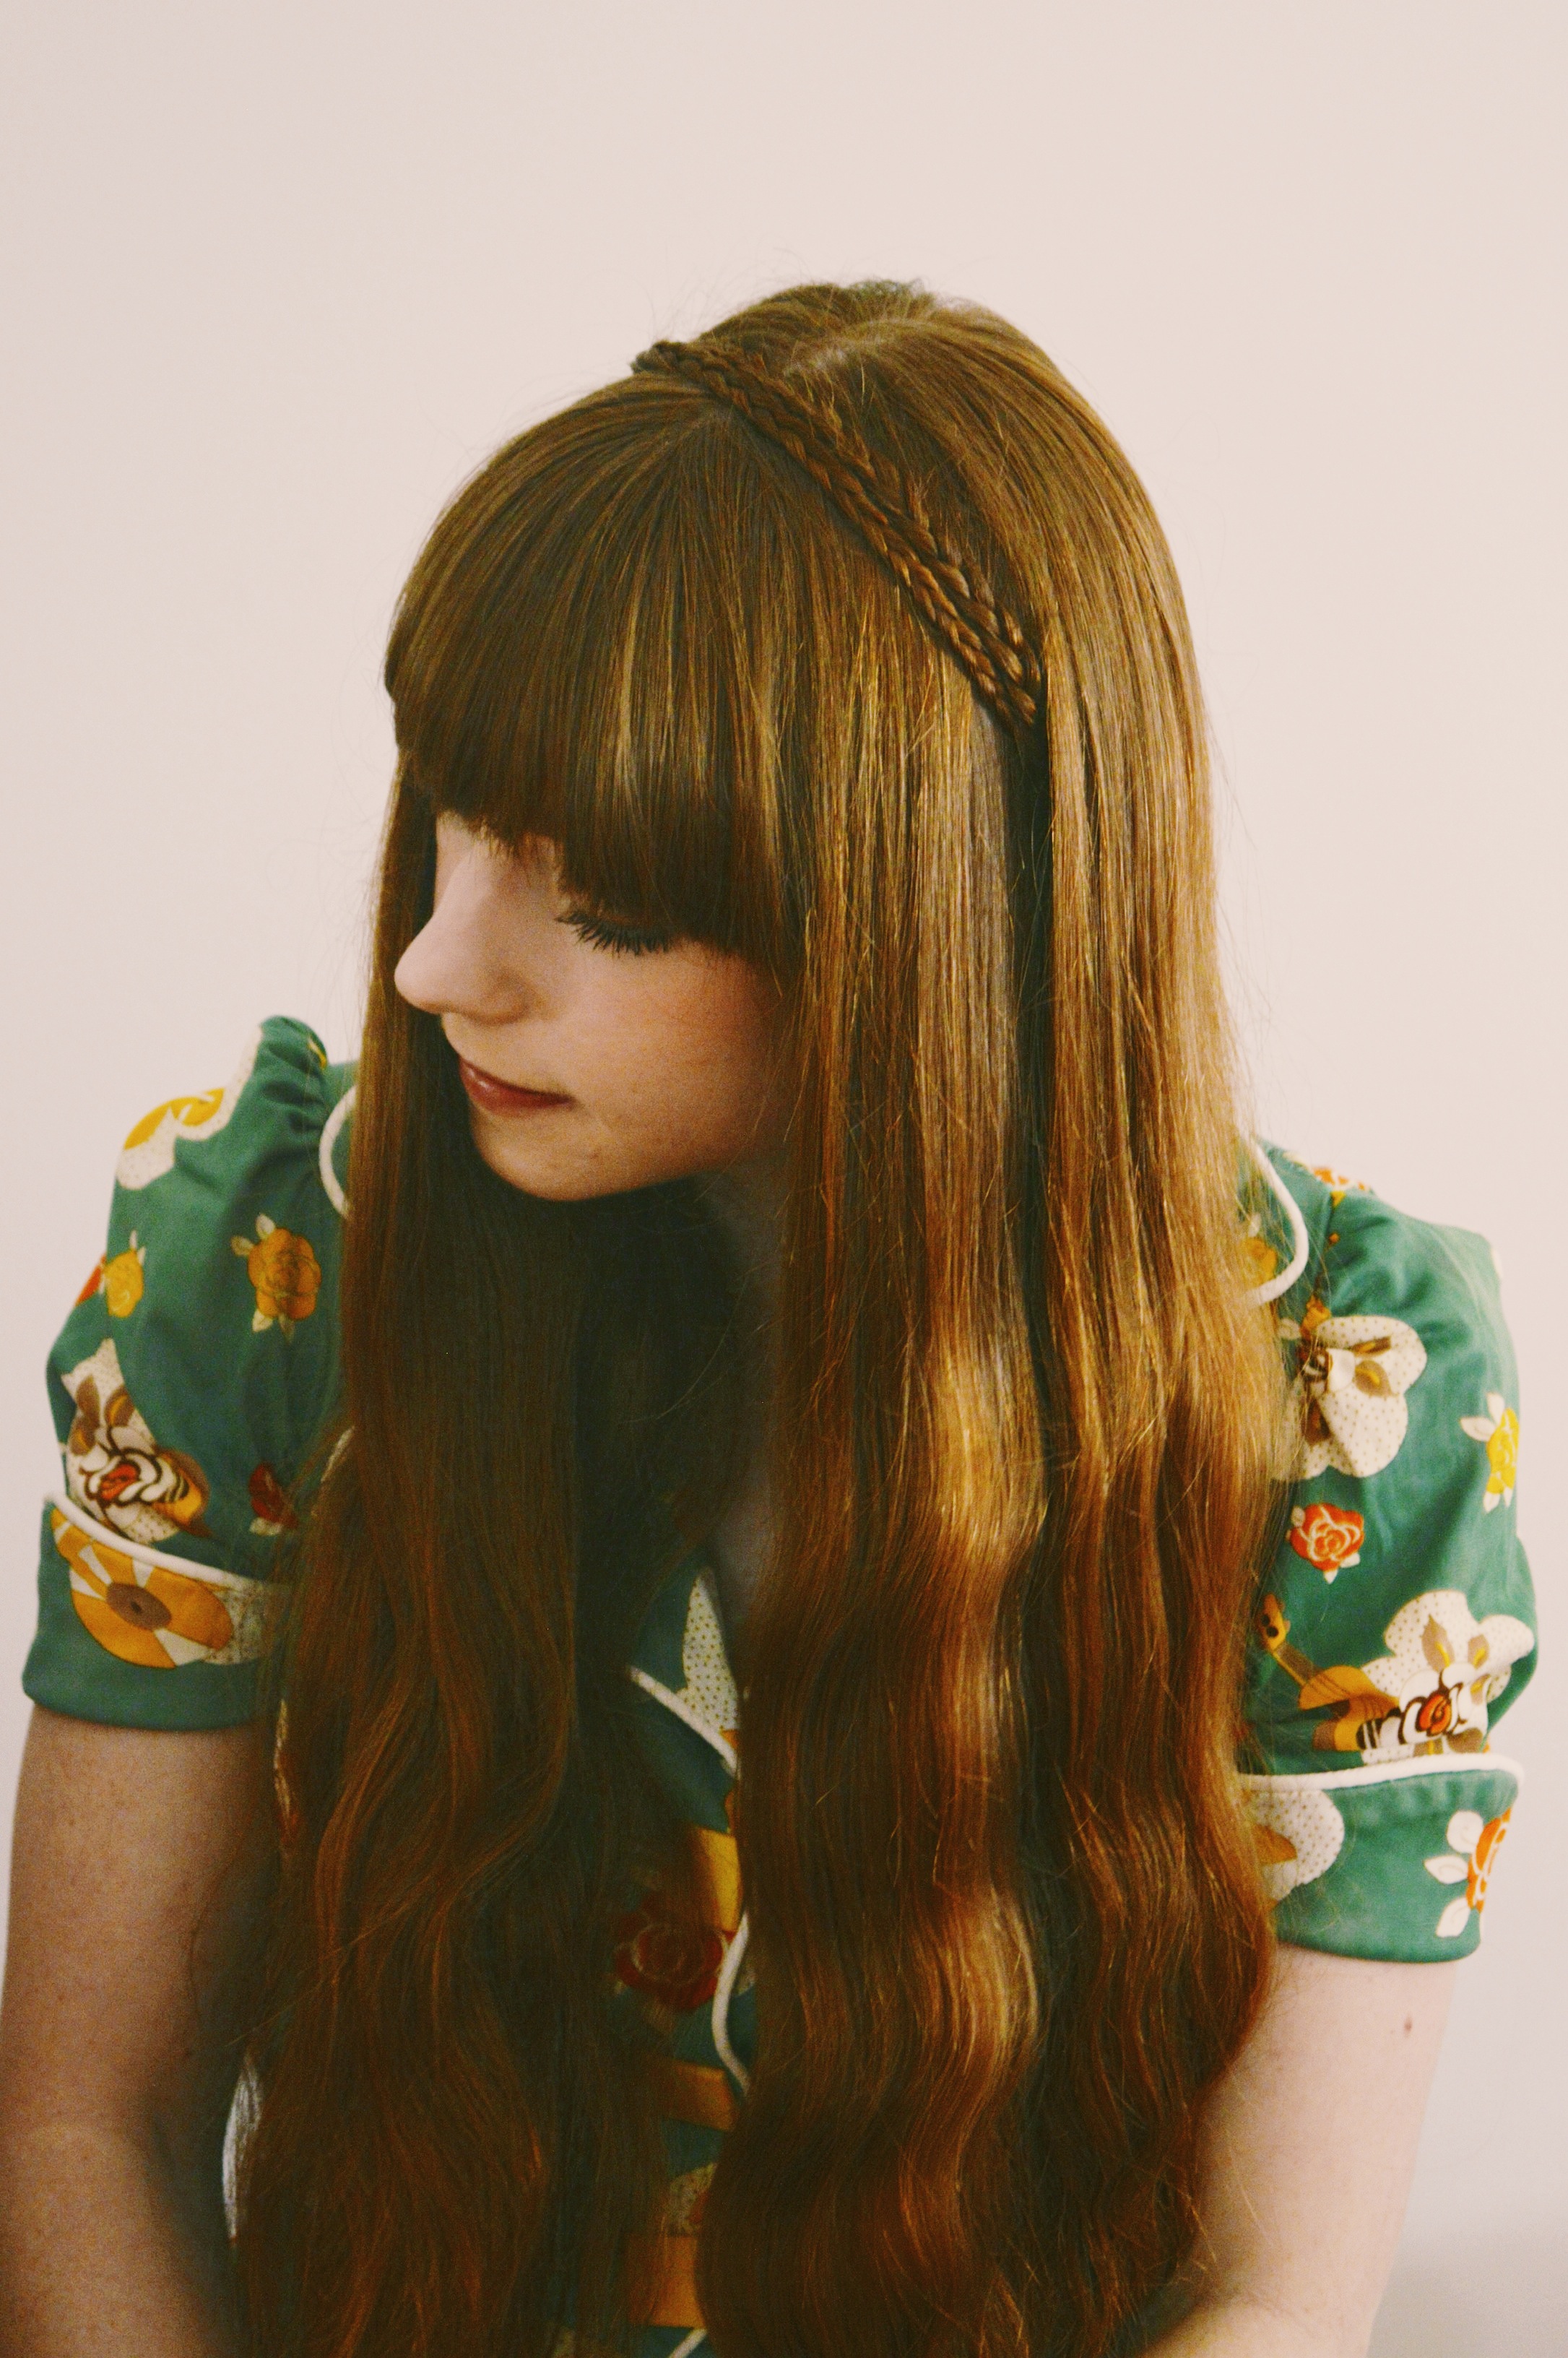 STEP THREE: Once you are done, your braided headband should look something like this. I like to fiddle a bit with the hair that I place over the braids so that it hides the bobby pins holding everything in place, and just for general pulled togetherness.
 And that’s it! Another easy one, cause ya’ll know I like simple (most of the time). Let me know if you guys try this one out. And as always, if you have any hairstyles (or any other beauty fun) you’d like me to share, let me know.
