 A couple weeks ago (and some, months ago) I picked up some new skincare and makeup products, and I thought I would share a wee haul with you because that’s fun, isn’t it?! I always like seeing what other bloggers and vloggers have picked up, so I figured maybe you would too.
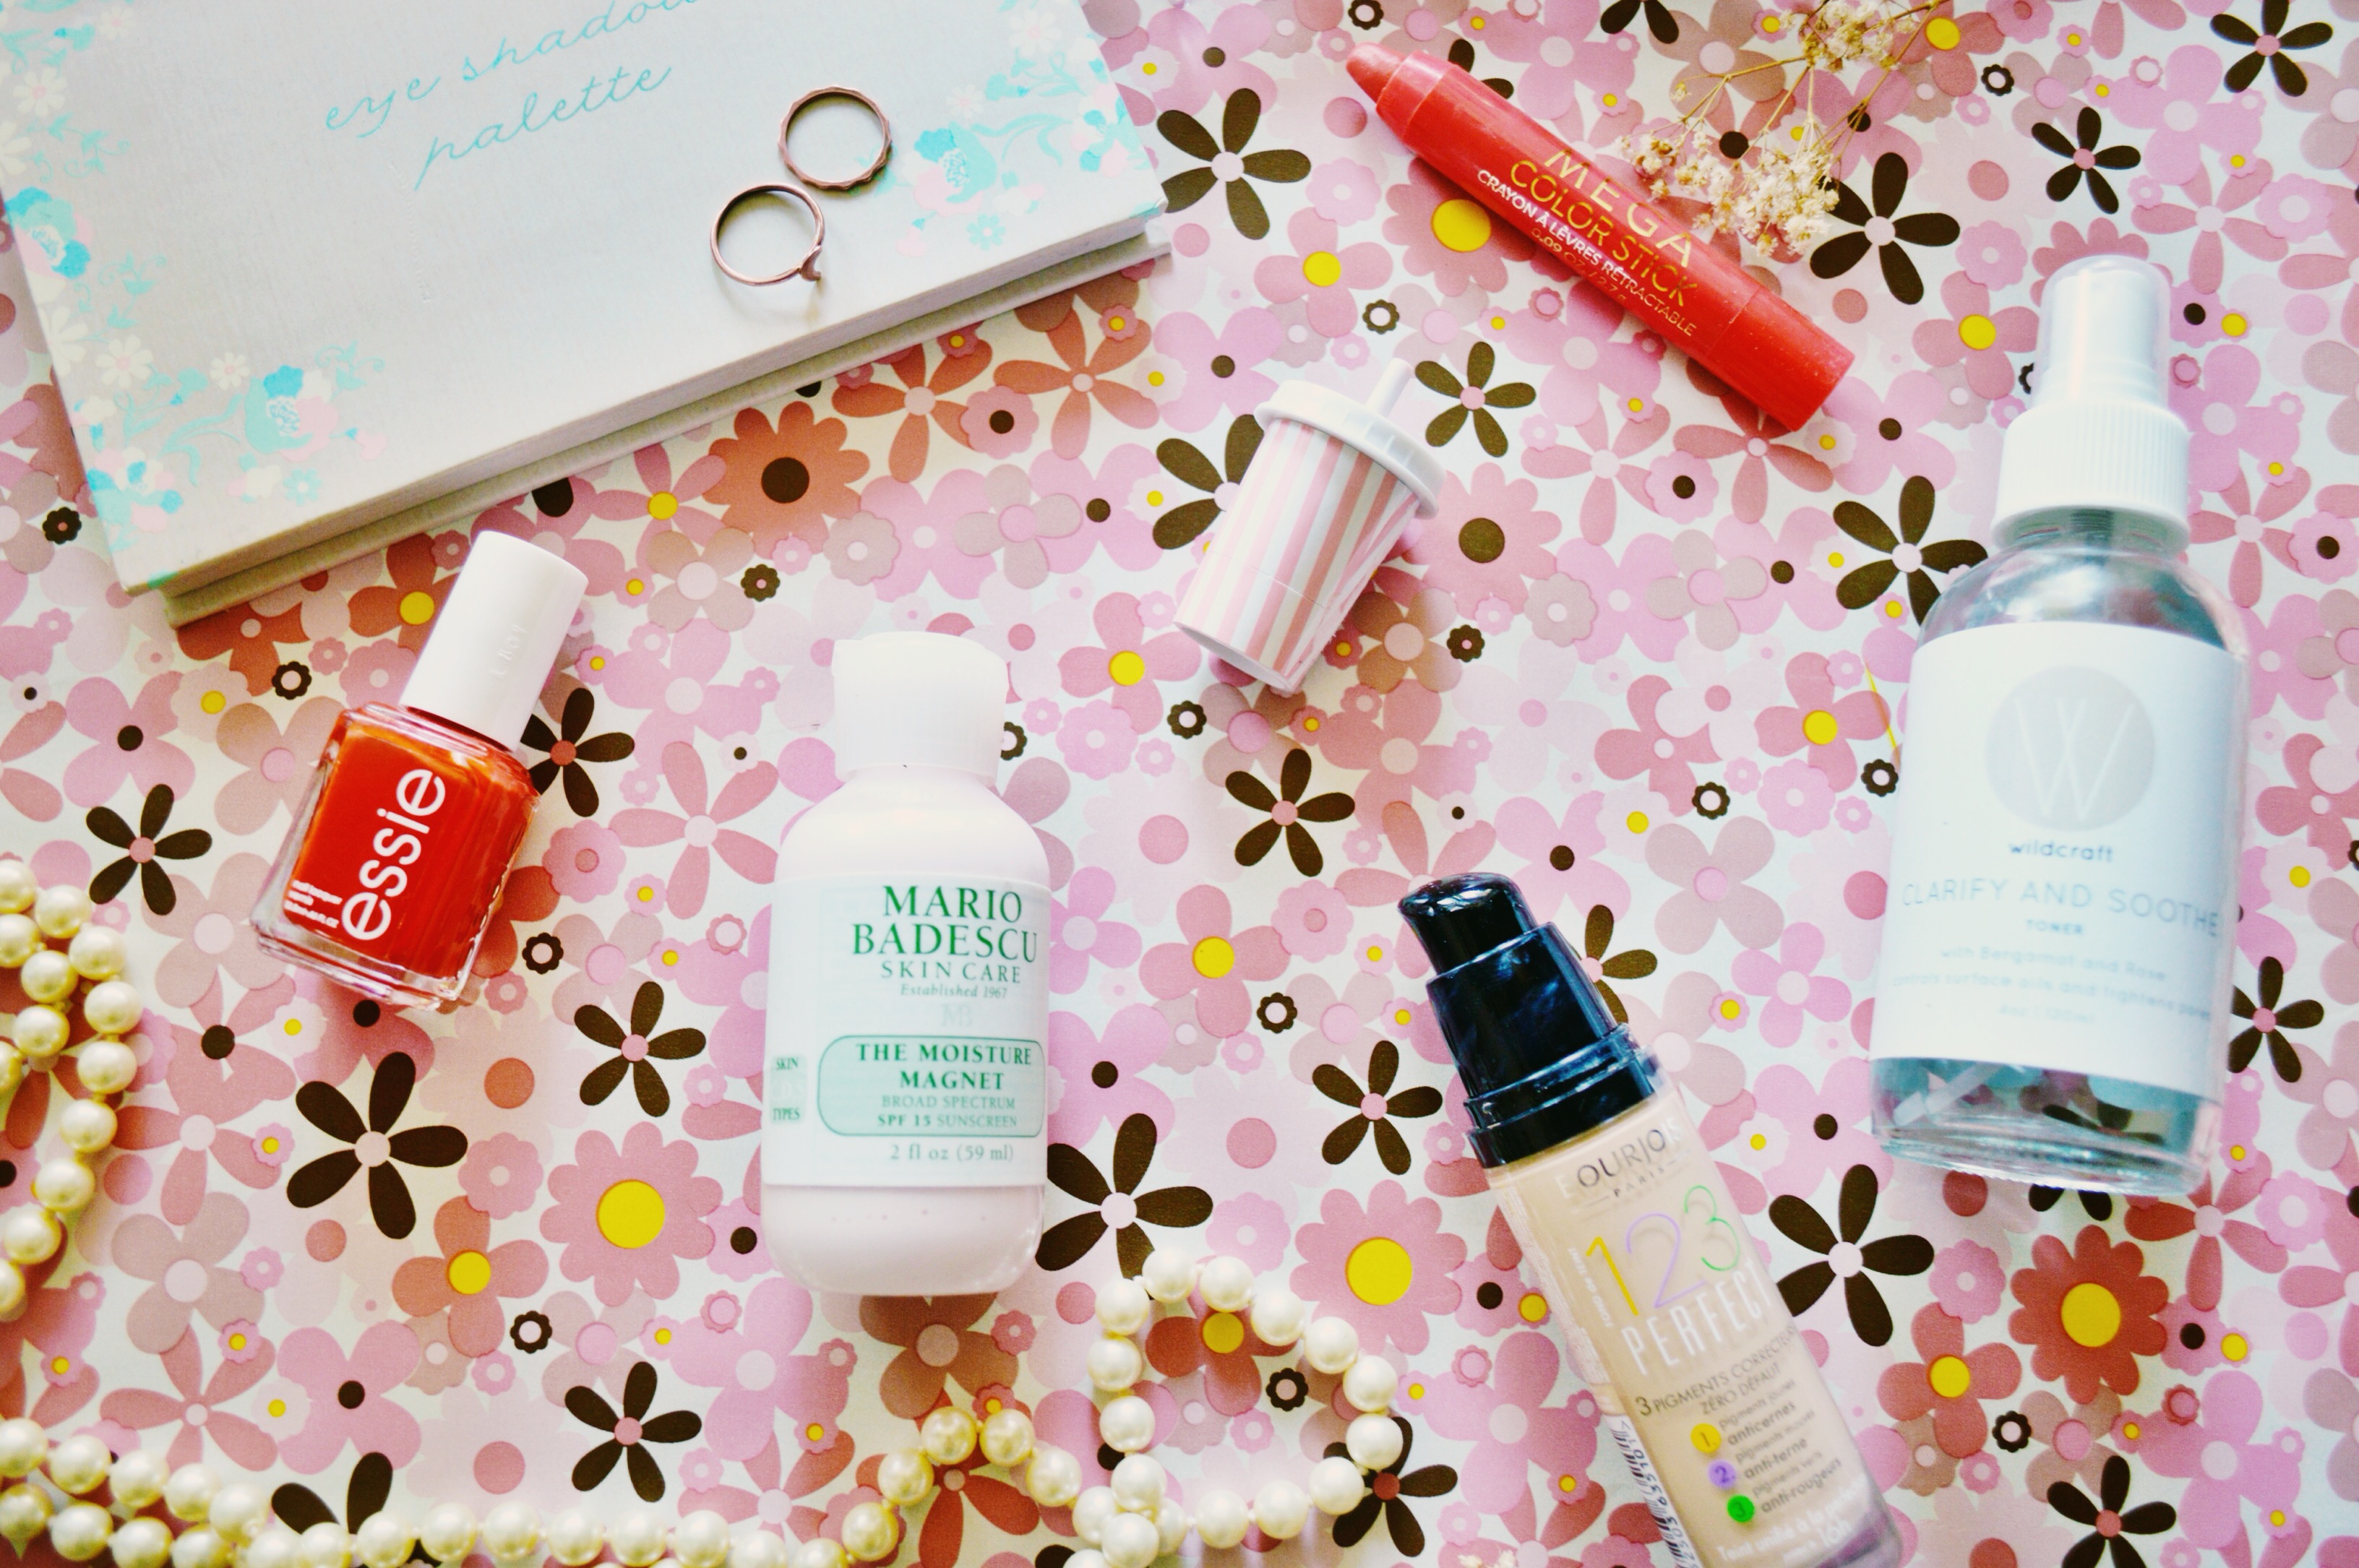
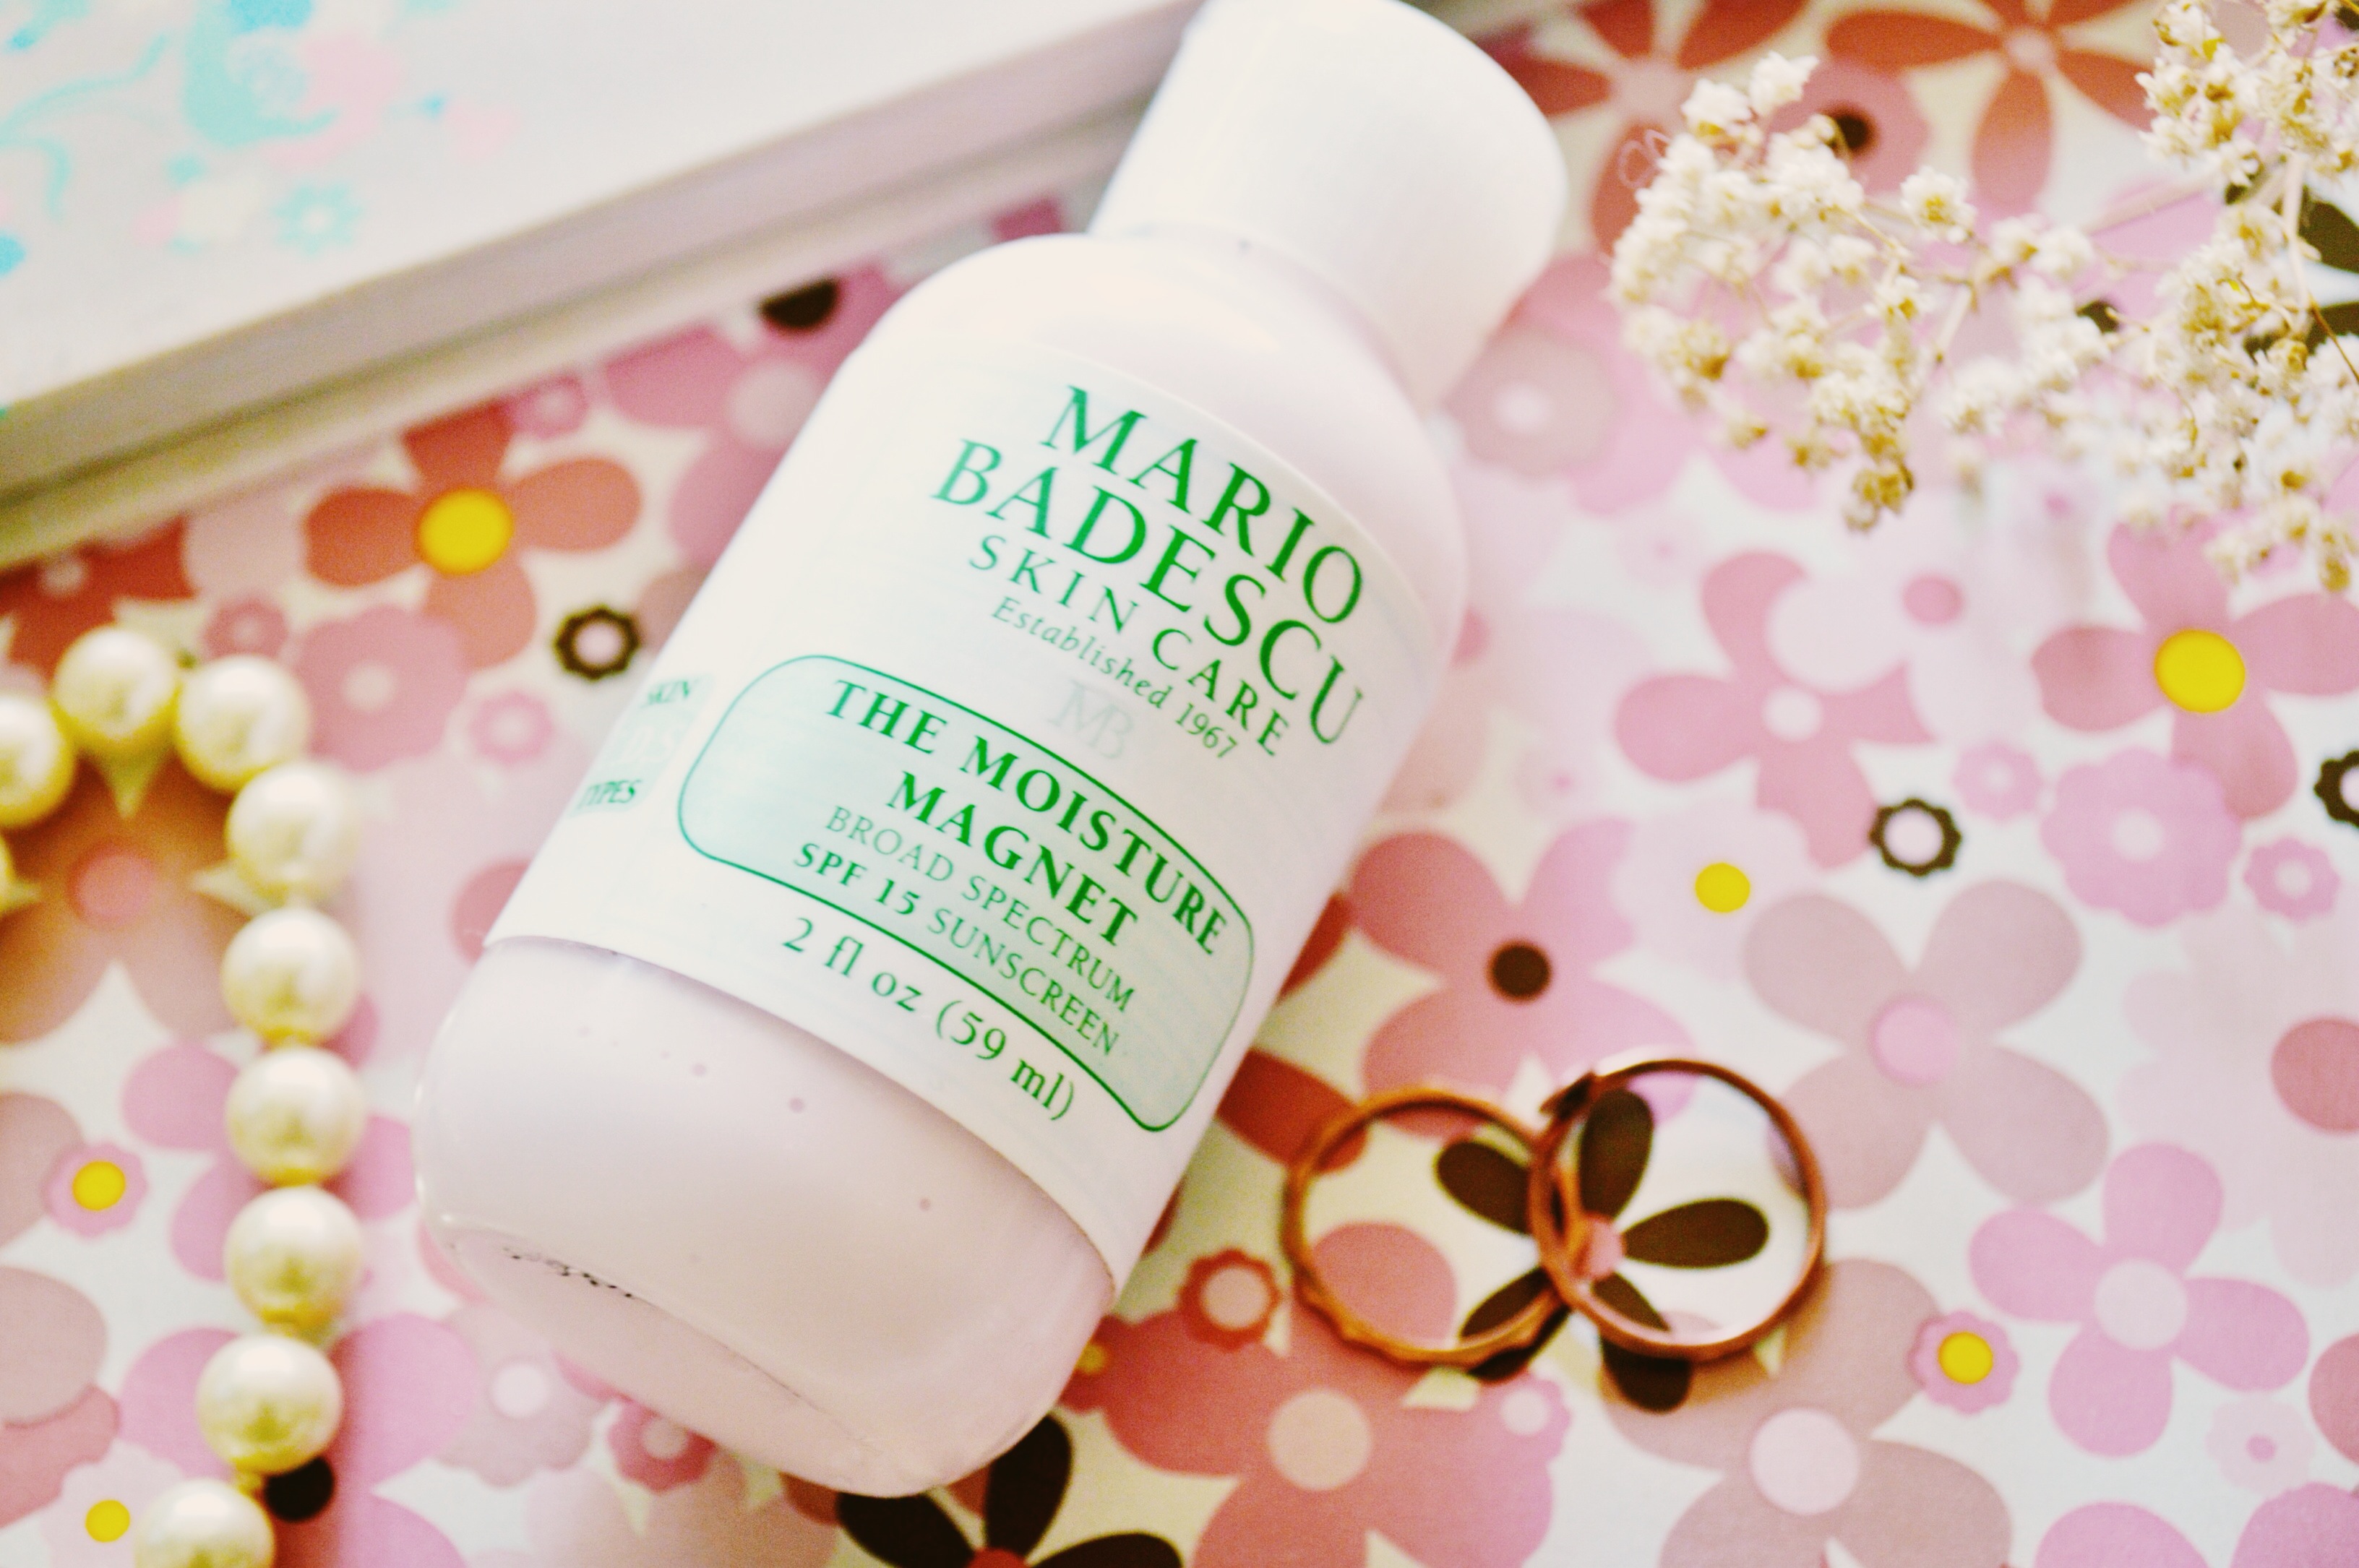
 Mario Badescu The Moisture Magnet – this moisturizer is really mean’t for mature skin, which I don’t have, but what drew me to it was the SPF 15 sunscreen and vitamin E oil included. Being a ginger, my skin is very susceptible to sunburns, and I often forget to put any sunscreen on my face before applying makeup, however, I always apply moisturizer before makeup, so it’s the perfect product to use on days when I know I will be out in the sun for a long while. I wouldn’t recommend using this product everyday. I find the consistency to be somewhat thick and greasy, although I have found I just apply a bit less than I would with a normal moisturizer and it works just fine. It’s also a great base for my foundation.
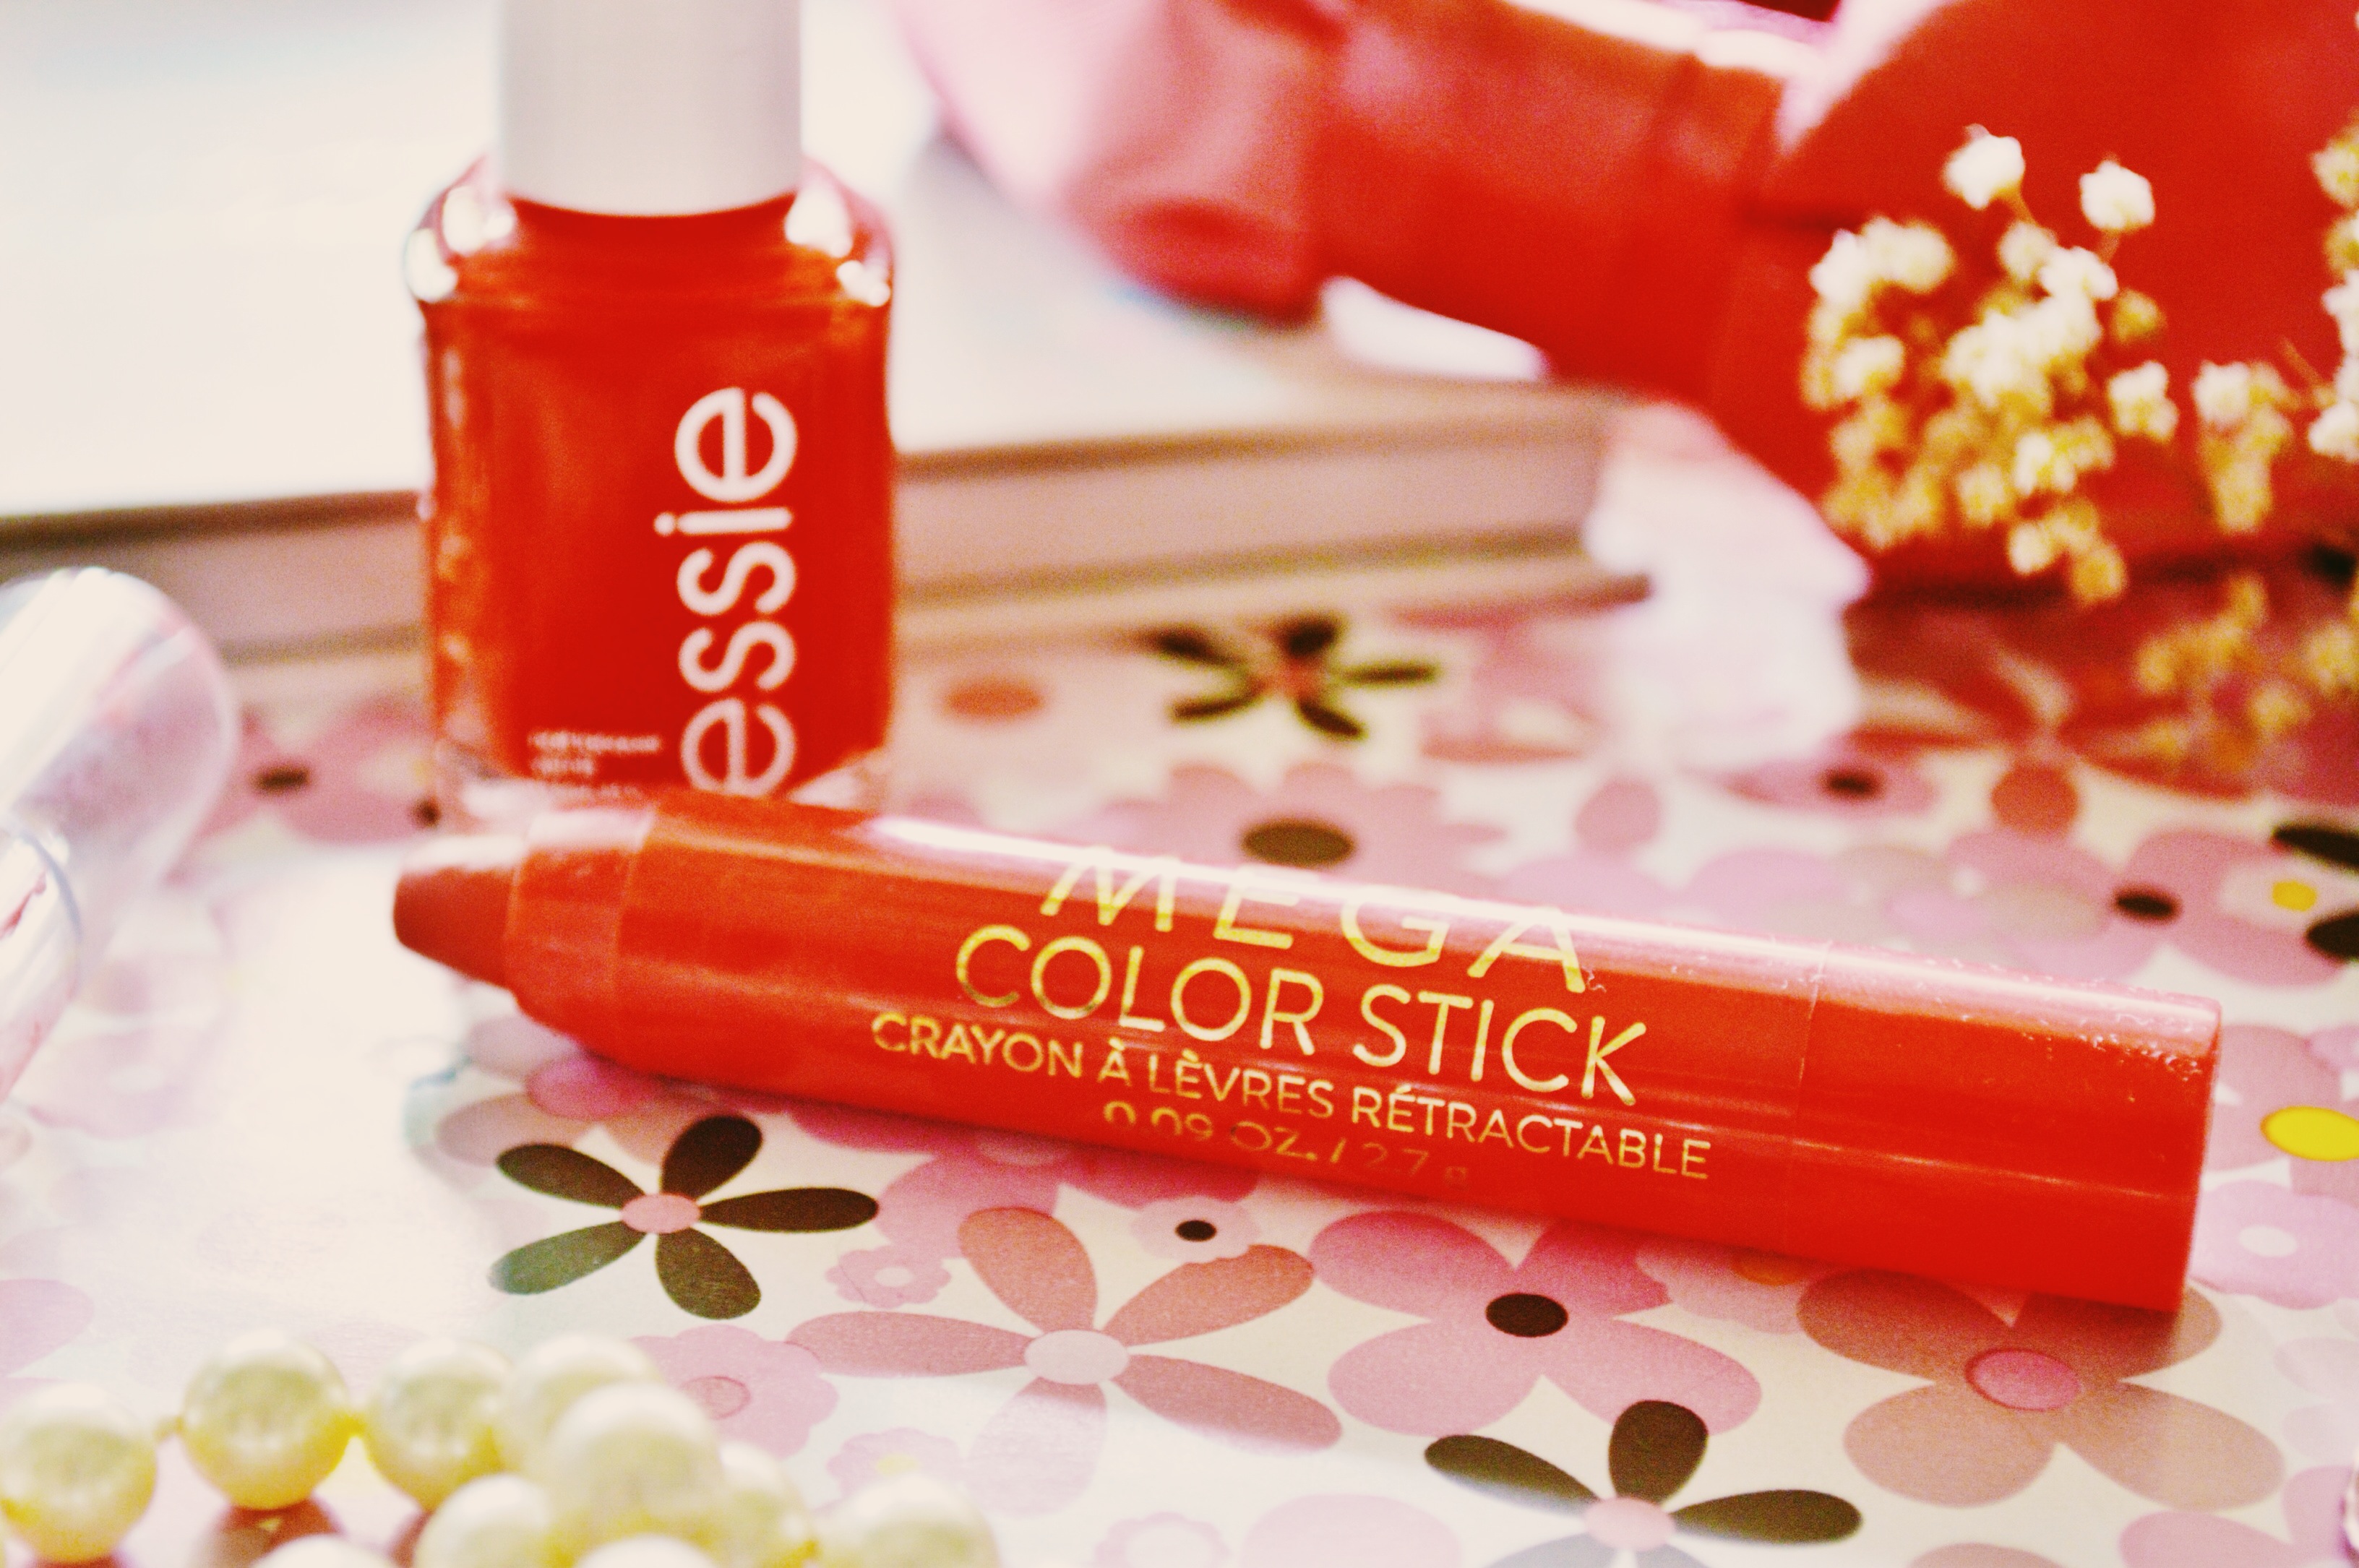
 F21 Mega Color Stick – I’ve always been intrigued by lip crayons, so I finally decided to pick one up when I was browsing F21. The shade I picked is Tigerlily which is a lovely coral shade, perfect for the Summer. I think I will always prefer a true lipstick, but I like this crayon because it’s easy and quick to apply. With lipstick I always apply a liner first and then fill in my lips, so it takes longer, but with this crayon it acts as a liner all on it’s own. I can get the desired shape for my lips in seconds and be good to go. This stick is long wearing, but I do find it gets a little cakey if you apply more coats throughout the day. I might not repurchase it after I’m done with it, but I would definitely look into a similar product from another brand. I will also note that after the second day of purchasing this, the lip product snapped off. I was able to shove it back in and can still use it, but sort of shitty quality…however it’s F21, I don’t necessarily think of them as quality queens.
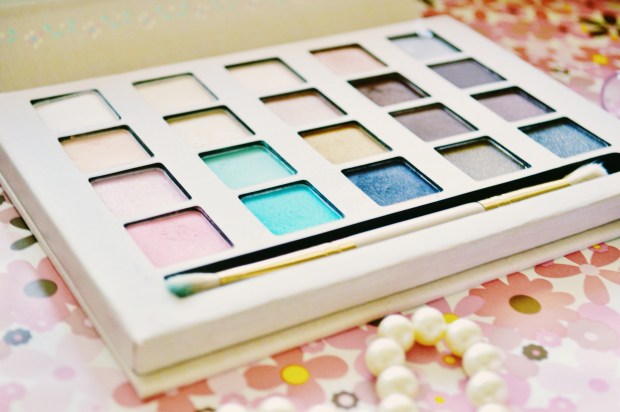 F21 Multi-Hue Shadow Palette – What drew me to this shadow palette was mostly the packaging, and then of course the shades. I’m not entirely impressed with it…again, F21. Unless I use an eye primer before applying my shadow, it doesn’t really go on well. The colors look incredibly pigmented, but when applied they don’t really come out that way. Also, the brush that is included is absolutely terrible, so if you do purchase this palette, make sure to have proper brushes. I don’t necessarily dislike this product, like I mentioned, if I use a primer it works pretty well, but I feel as though I could have picked up a few eye shadows from say, the drug store at around the same price, and been much happier with them.
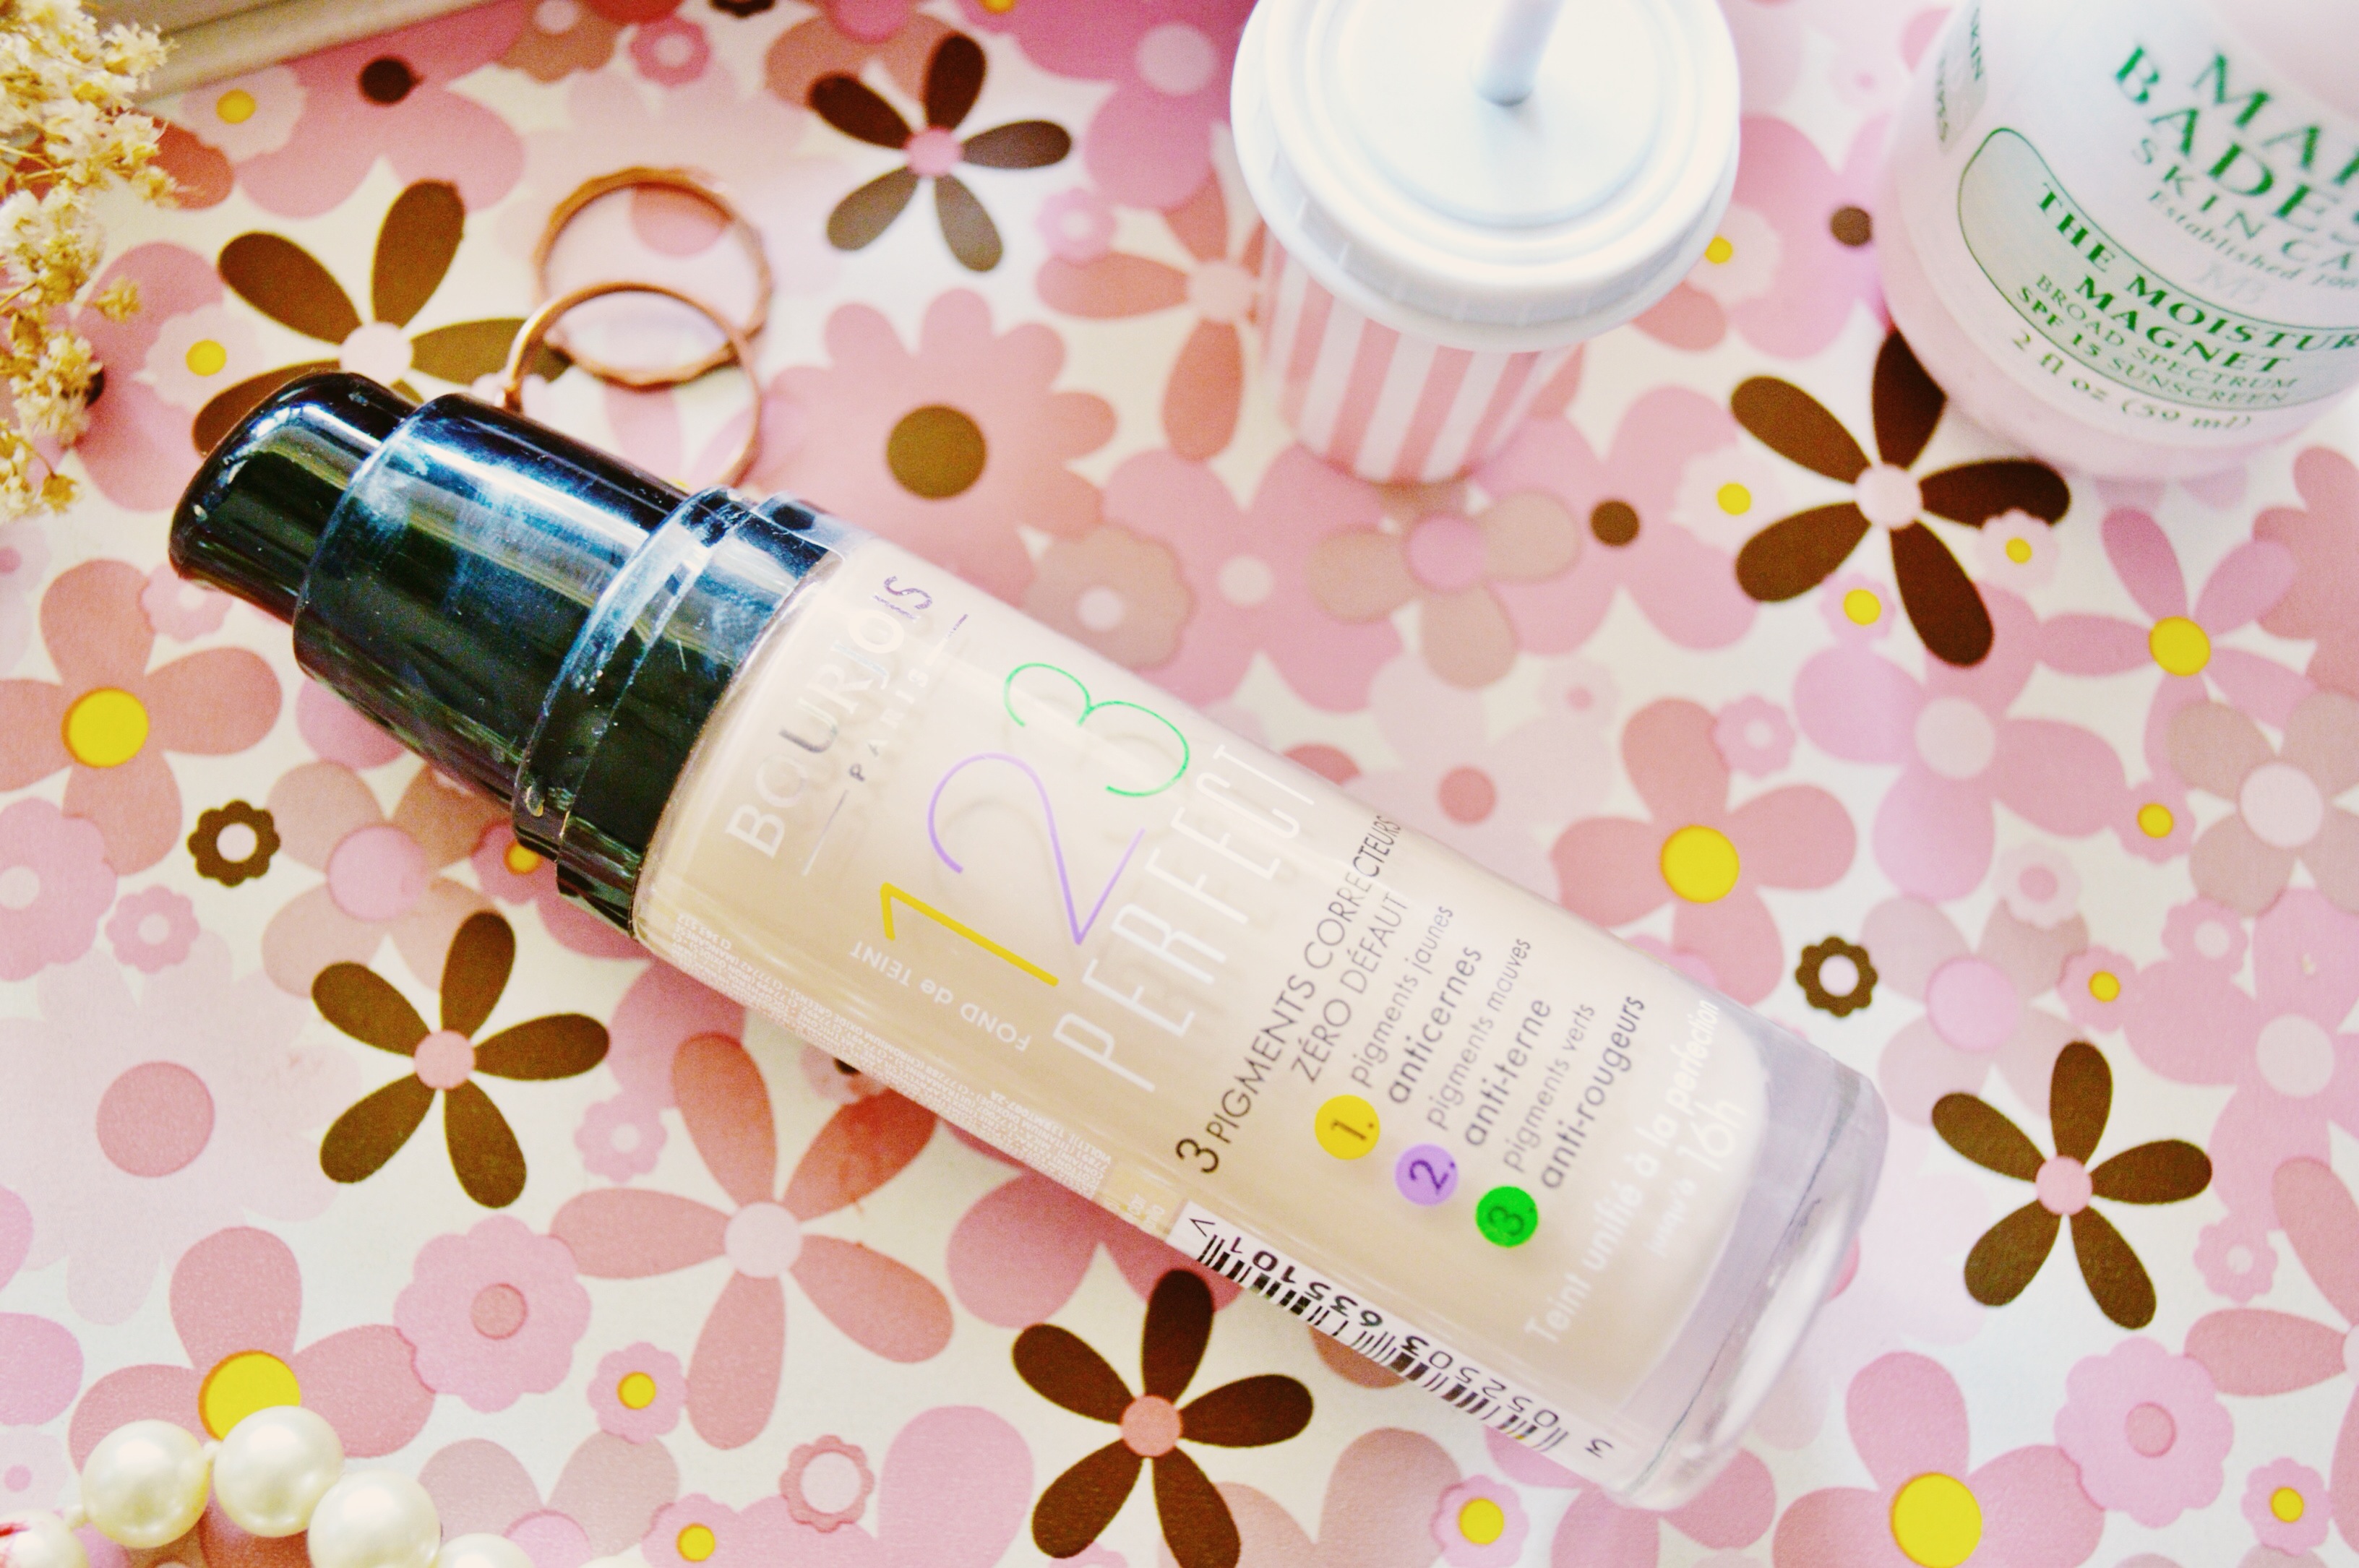
 Bourjois 123 Perfect Foundation – For a long while I had just been using a BB cream instead of foundation, but because I was feeling crazy and wanting to try something new, I picked up this foundation. This product claims to have 3 correcting pigments – yellow pigments that conceal dark circles, mauve pigments to correct dullness and green pigments to help with redness. Redness is really my main issue, but all the other pigment corrections seem like they couldn’t hurt. This product feels a little bit drying and goes on matte, in my opinion – much different than a BB cream. However, the coverage is excellent and goes on great with a base of moisturizer. It doesn’t take too long to buffer into the skin which I like. I’m not sure if I would repurchase, I’ve been wanting to try NARS sheer glow foundation, so that will probably be my next purchase, but I would recommend this product.
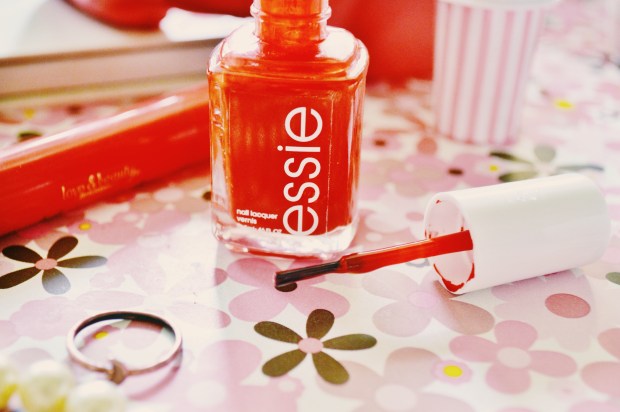 Essie Meet Me at Sunset – I am an essie addict. I just love the product! When it comes to nail polish, I’m really just a red nail gal through and through. I do use other muted shades sometimes, like light grey, blush or mint green, but when I want something bold, it’s always red. So, you can imagine I have many different shades of red polishes by essie. My favourite shades of red are always with orange undertones. I really don’t like reds with pink undertones for some reason. So when I found this shade that had a very distinct orange tone, almost more so than red, I knew I had to have it. If you have not ever used an essie polish, I highly suggest it. The shades are always excellently pigmented so you don’t need a ton of coats (I always apply two), and it’s quick drying even though it doesn’t really claim to be. The only thing I have an issue with is it chips pretty quickly, sometimes even the following day. But, that could be fixed with a simple top coat.
 Wildcraft Bergamot Rose Toner – This spray toner is one of the most refreshing and lovely toners I have ever used (and it’s made in Toronto! woo!) I had never used a spray toner before, and I really enjoy it. It’s a nice product that you could bring in your purse to spray on after a workout (or in my case, dance rehearsal). I use this toner every morning after I have washed my face and before I apply my moisturizer. If you’re looking for a toner, I would highly suggest this, and the price is honestly a steal. I bought the 120ml bottle (full size) at only $20 over a month ago and I’m not even close to half way through it. Would recommend, 100%!
 F21 Strawberry Milkshare Lip Balm (sold out, but here is another cute one) – There is not much to say about this lipbalm. It’s a tiny milkshake, which is adorable and the only reason I bought it. I’m not a huge lipbalm fan, unless it is a soothing lipbalm (like a chapstick), then I don’t really care for it. I don’t really see the point in lipbalm unless it has healing properties. I mean, nice smelling things are cool, but they have no pigment really…so what’s the point? Anyways, this lipbalm is cute, so I didn’t hold my lipbalm disdain against it.
*dont forget about my GoFundMe campaign to help raise money for my dog Gus’ back surgery. Please read if you have the time, and if you are able to donate, I would truly appreciate it.

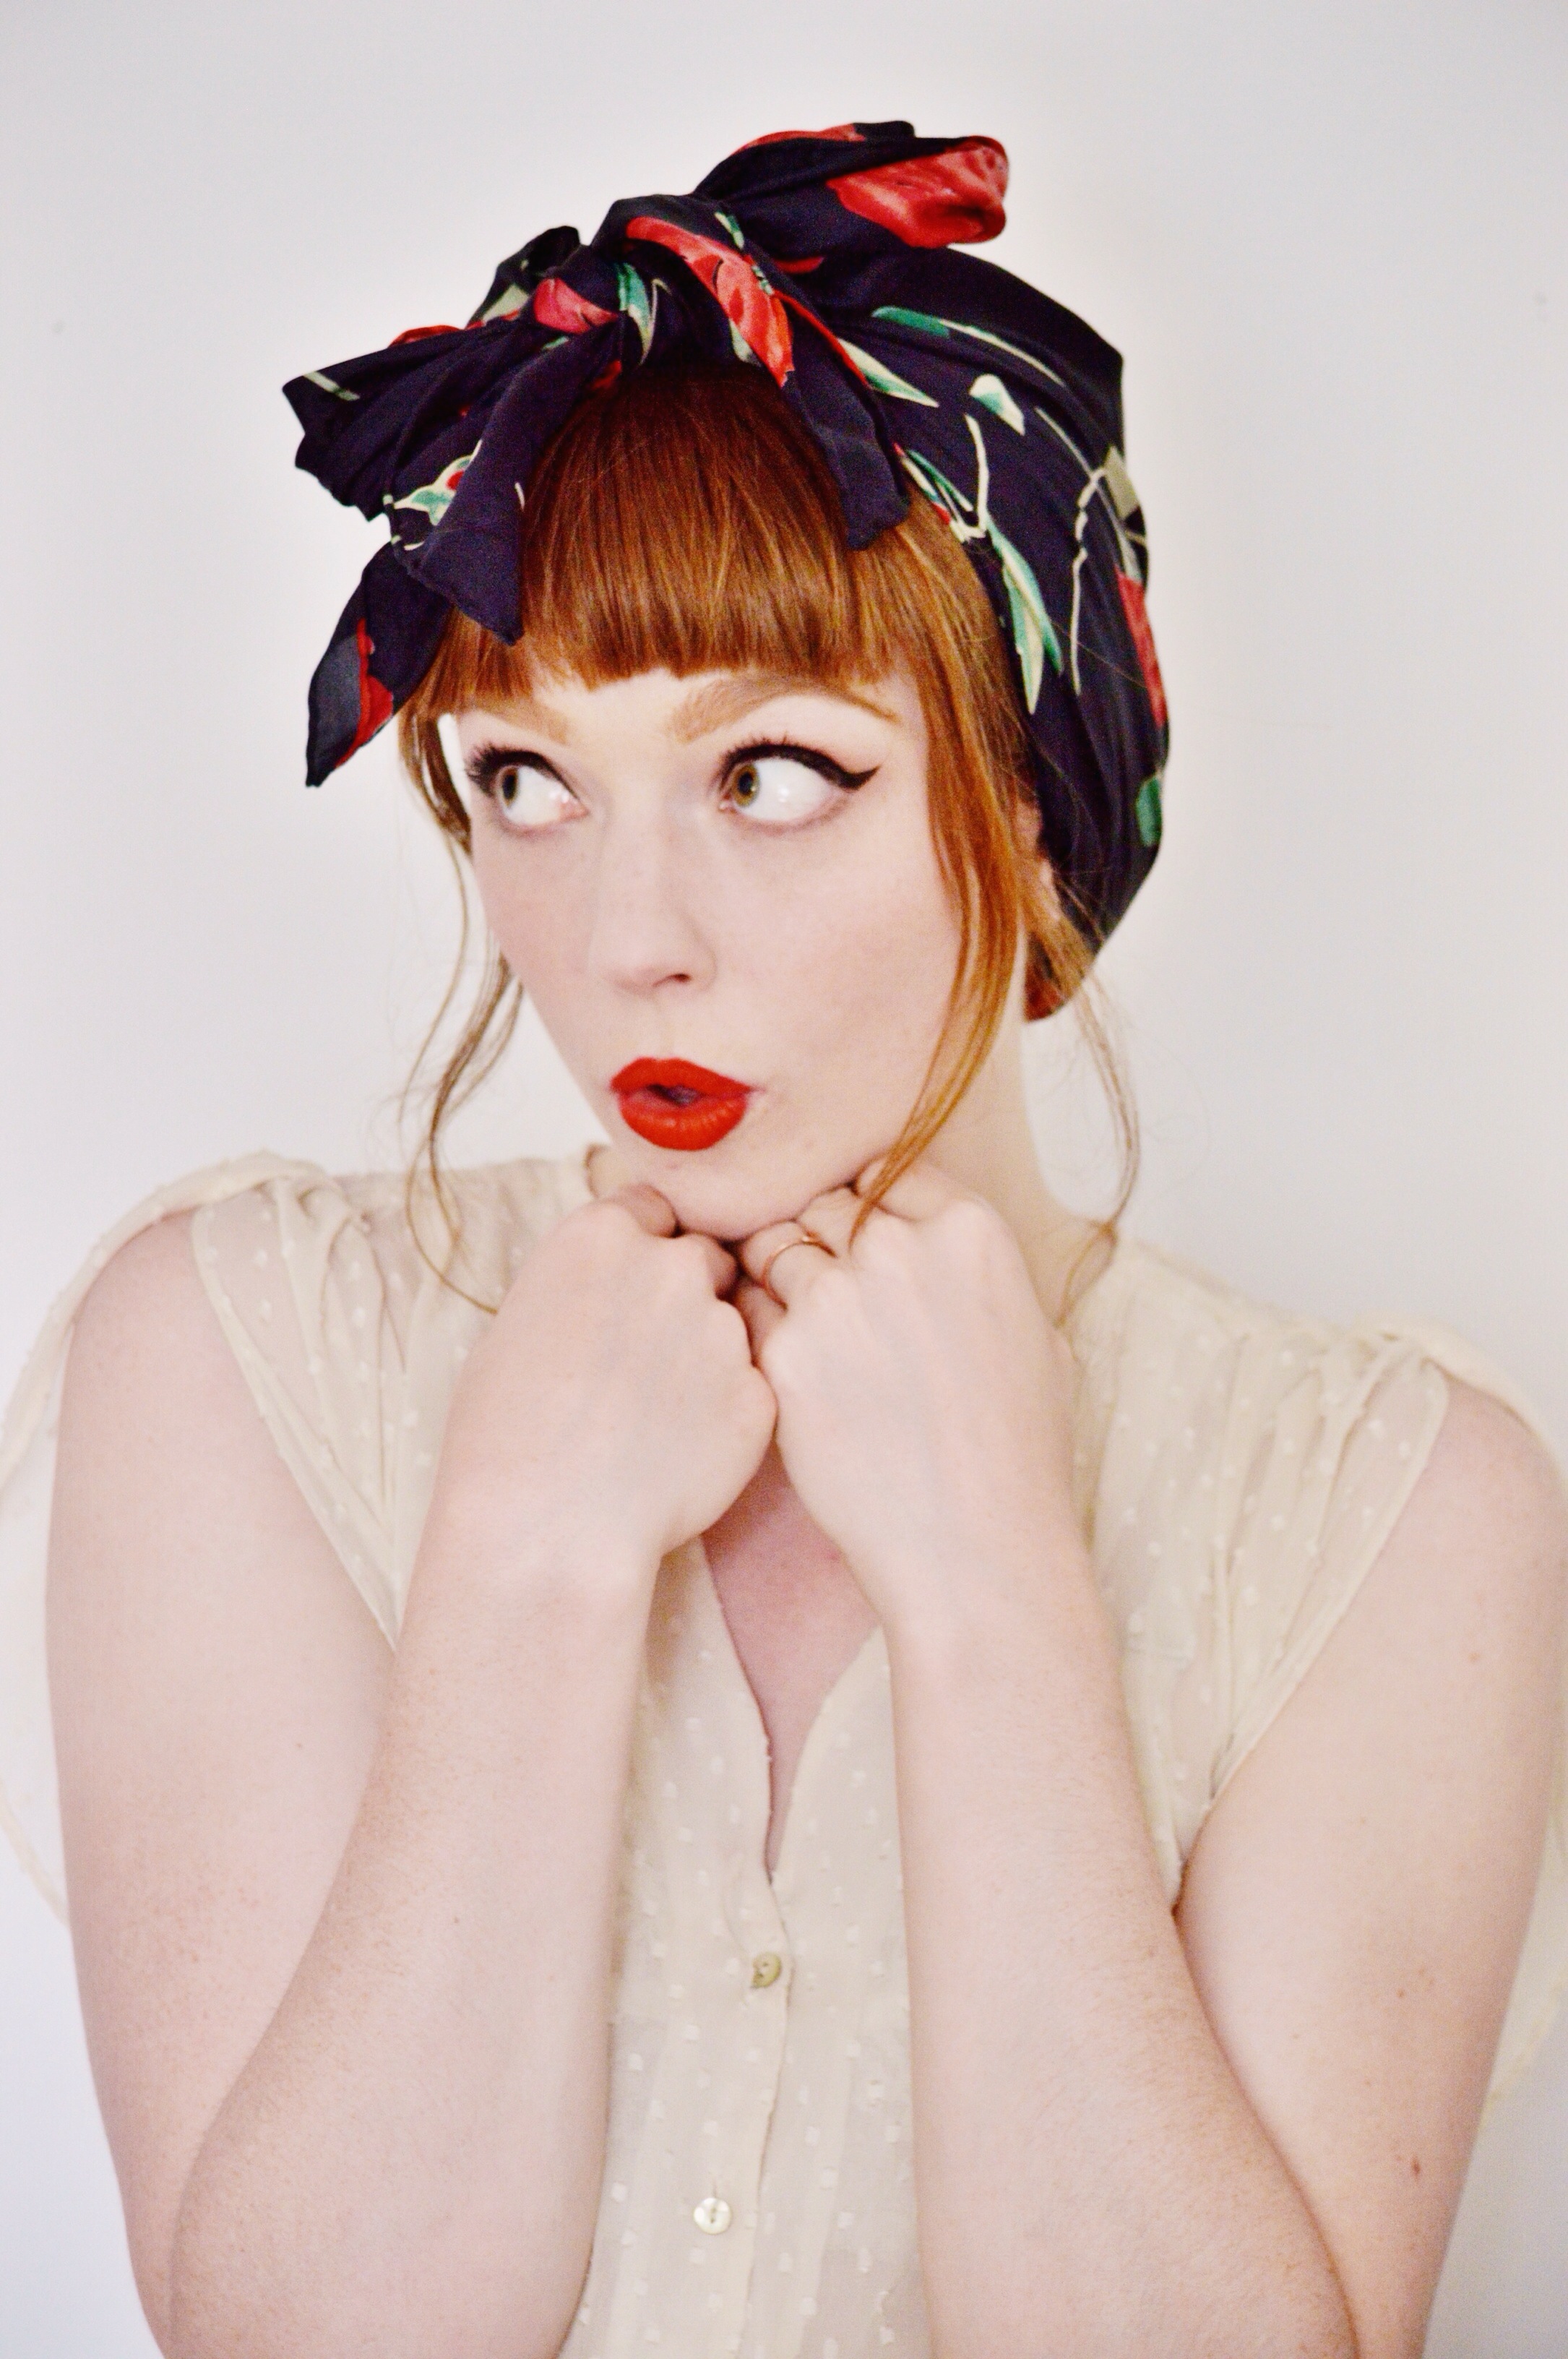
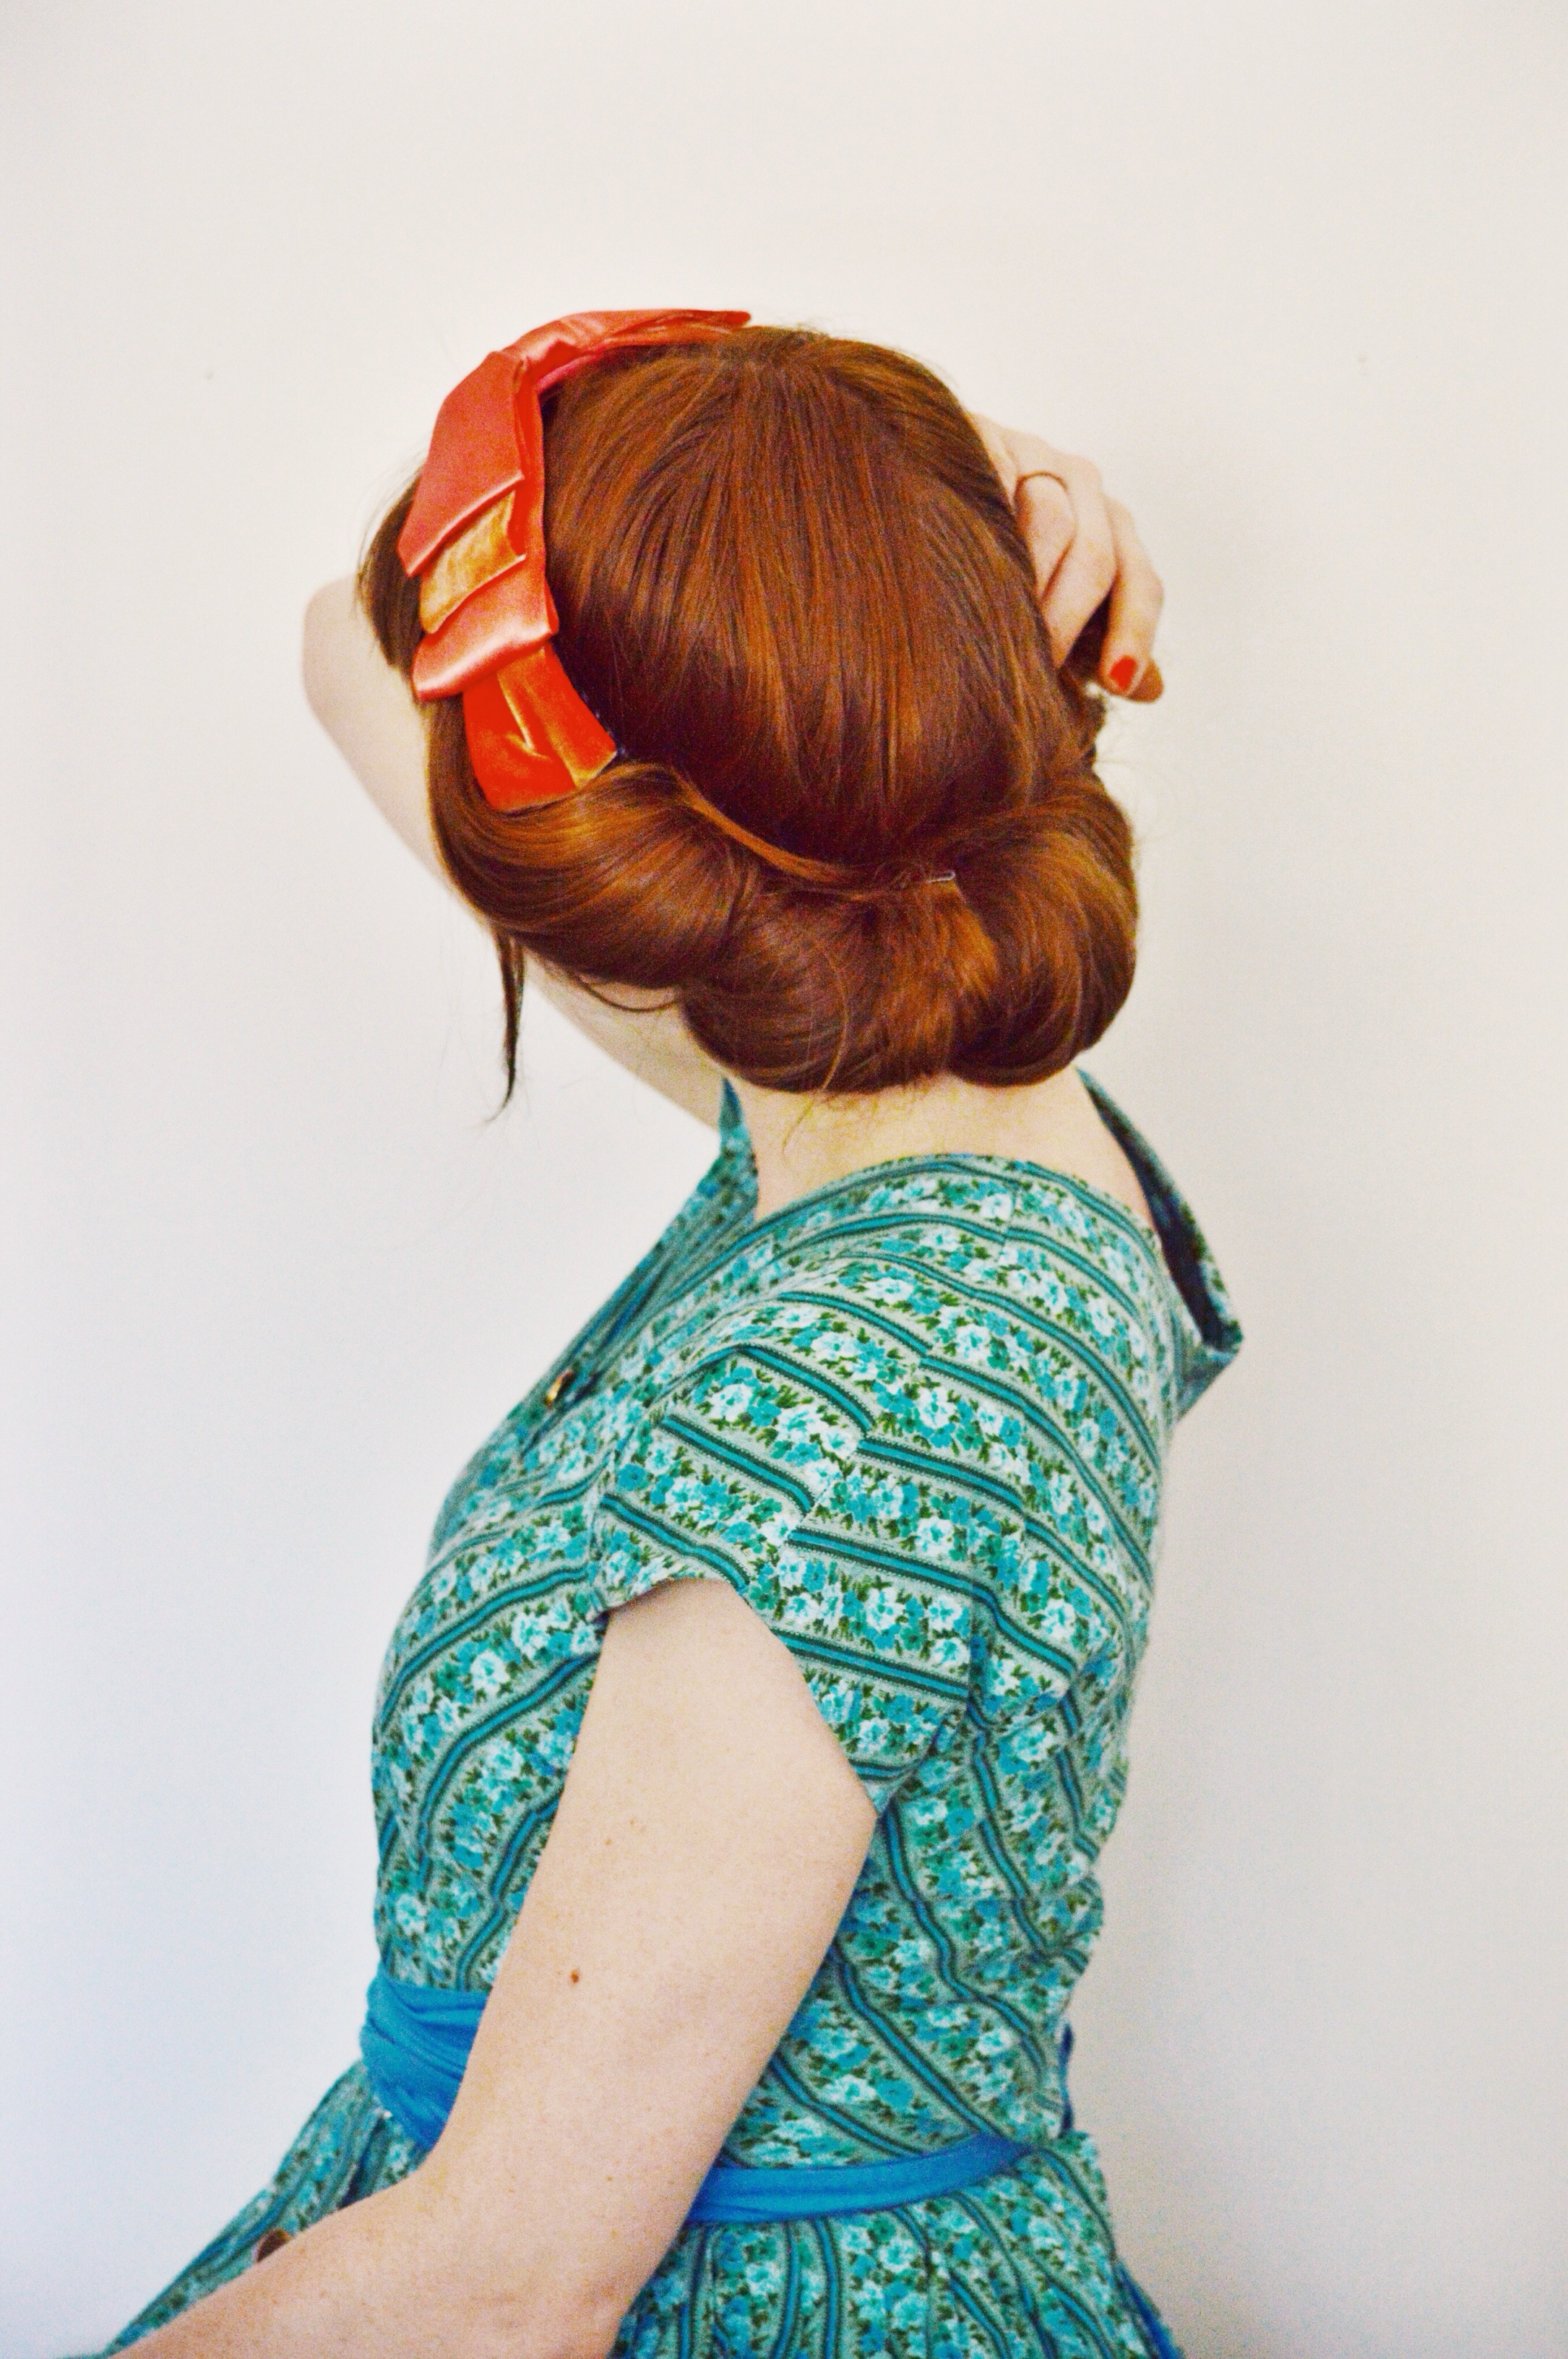
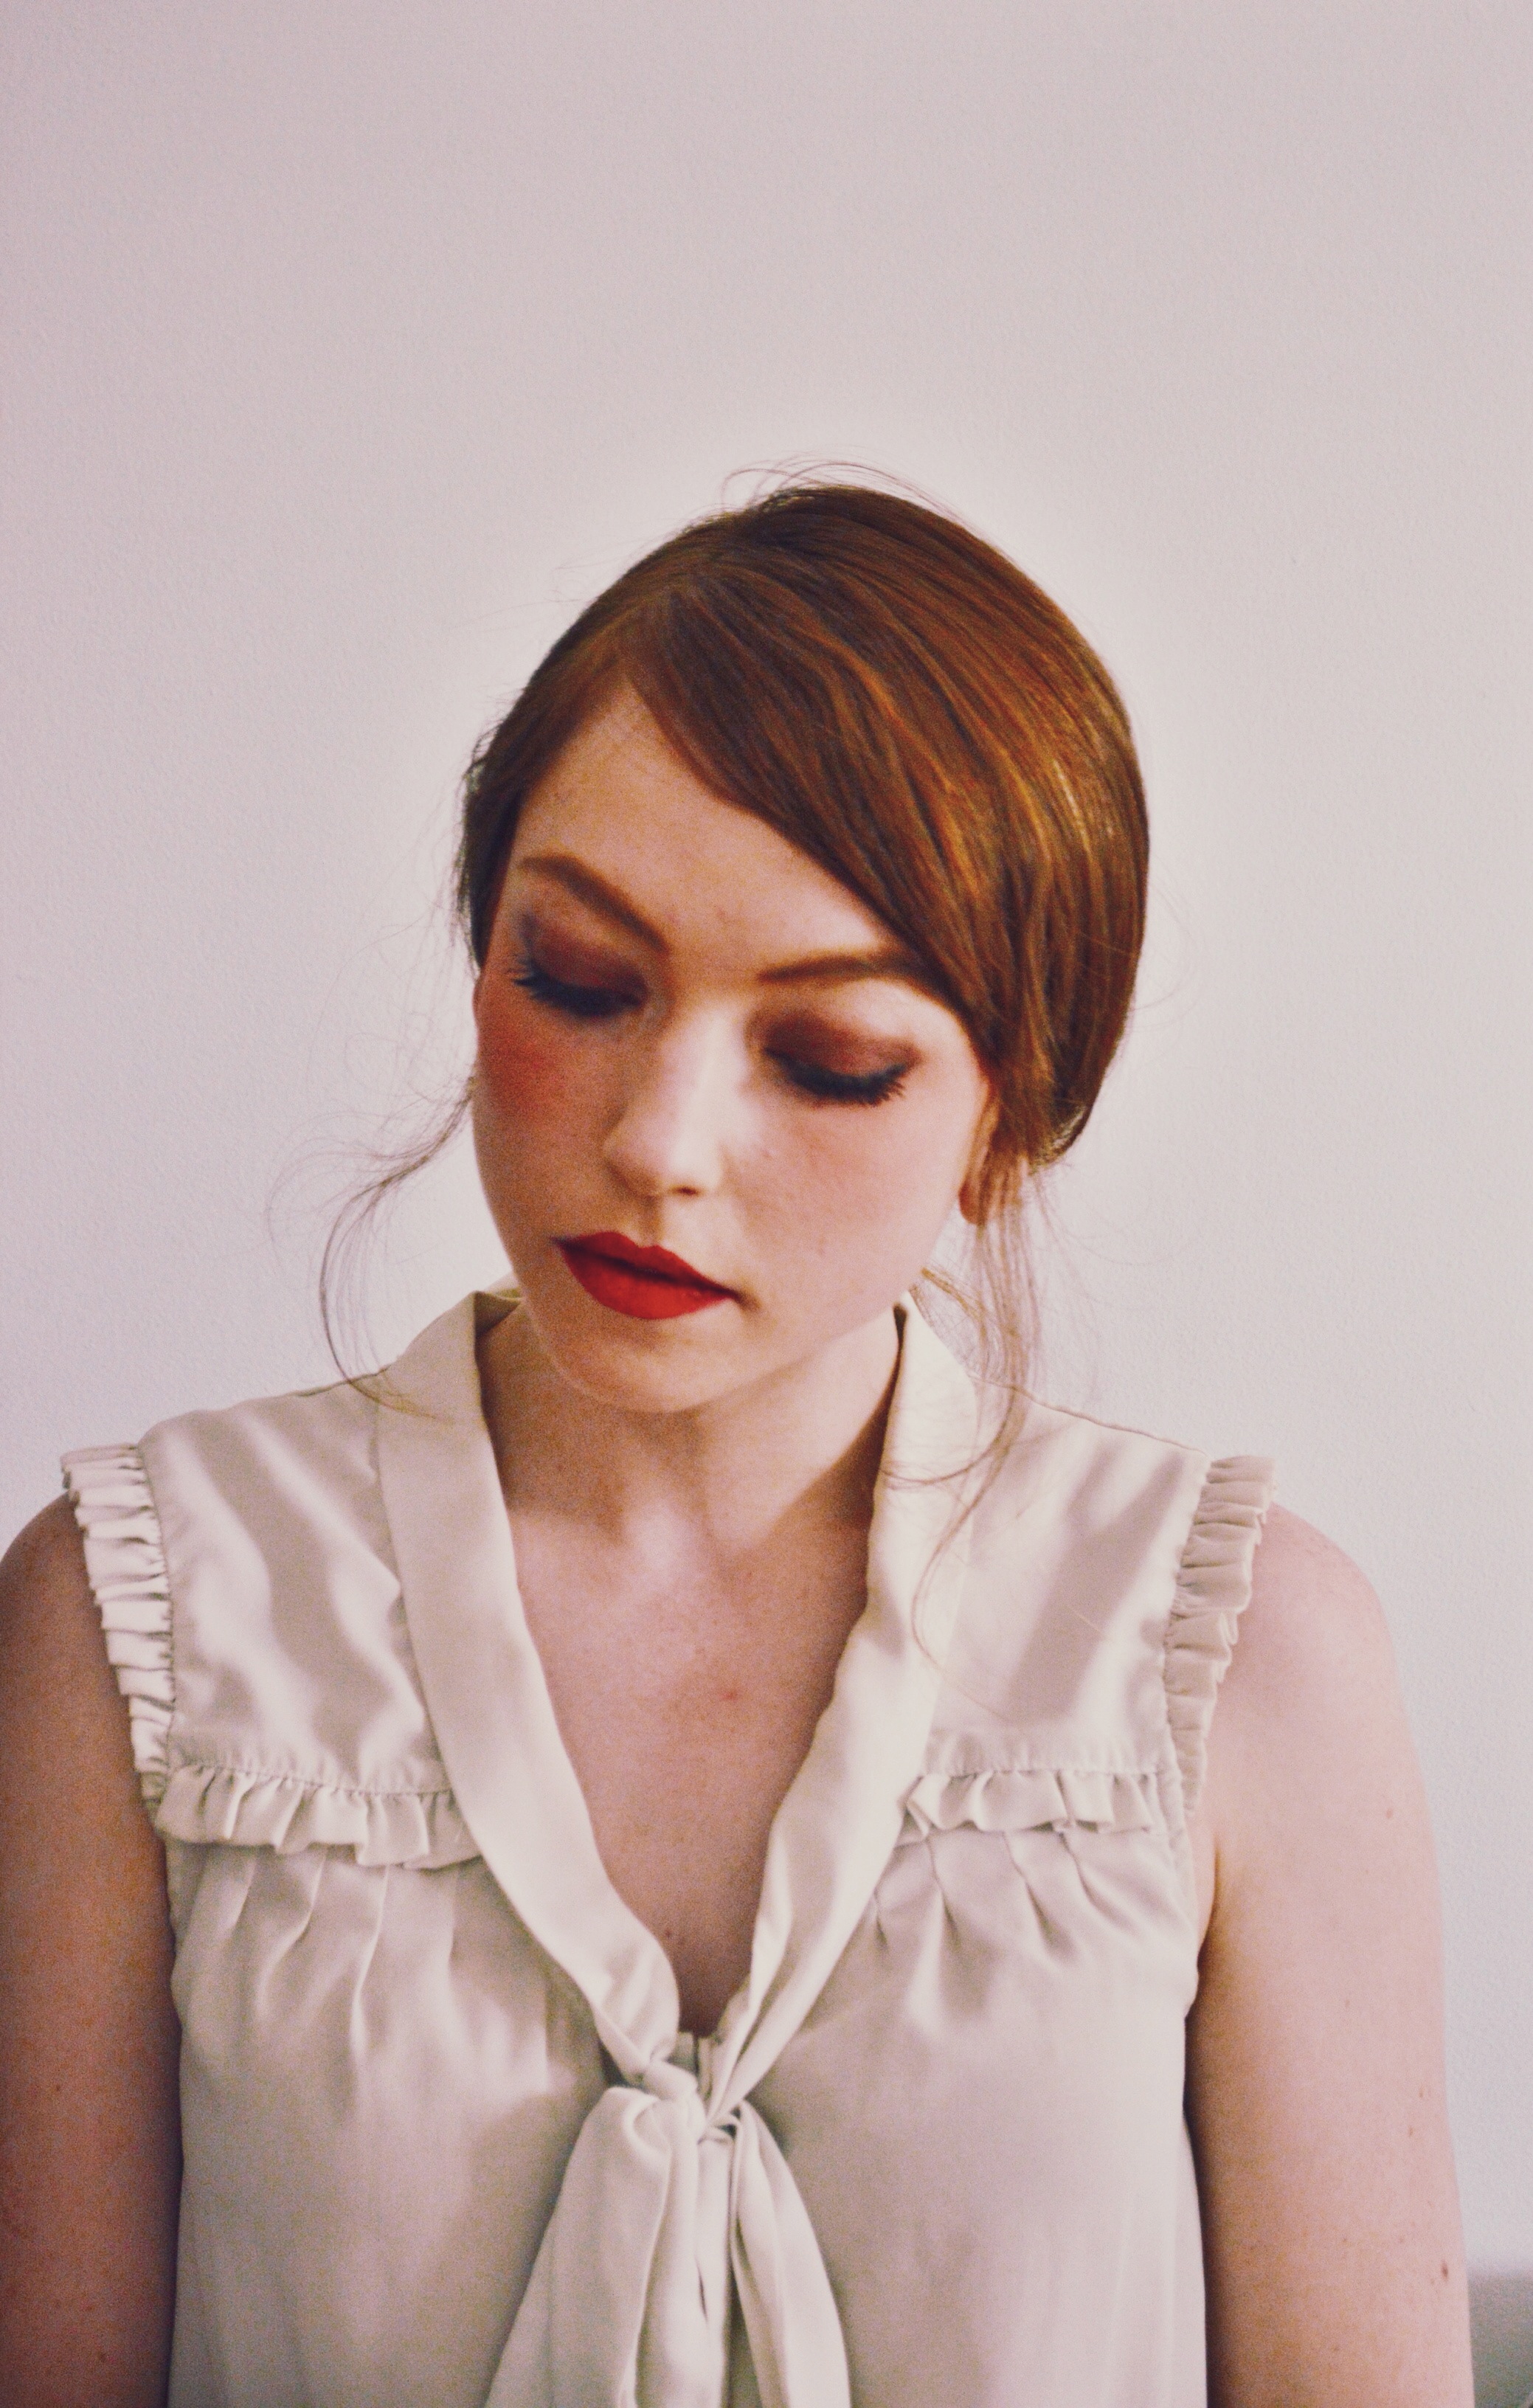
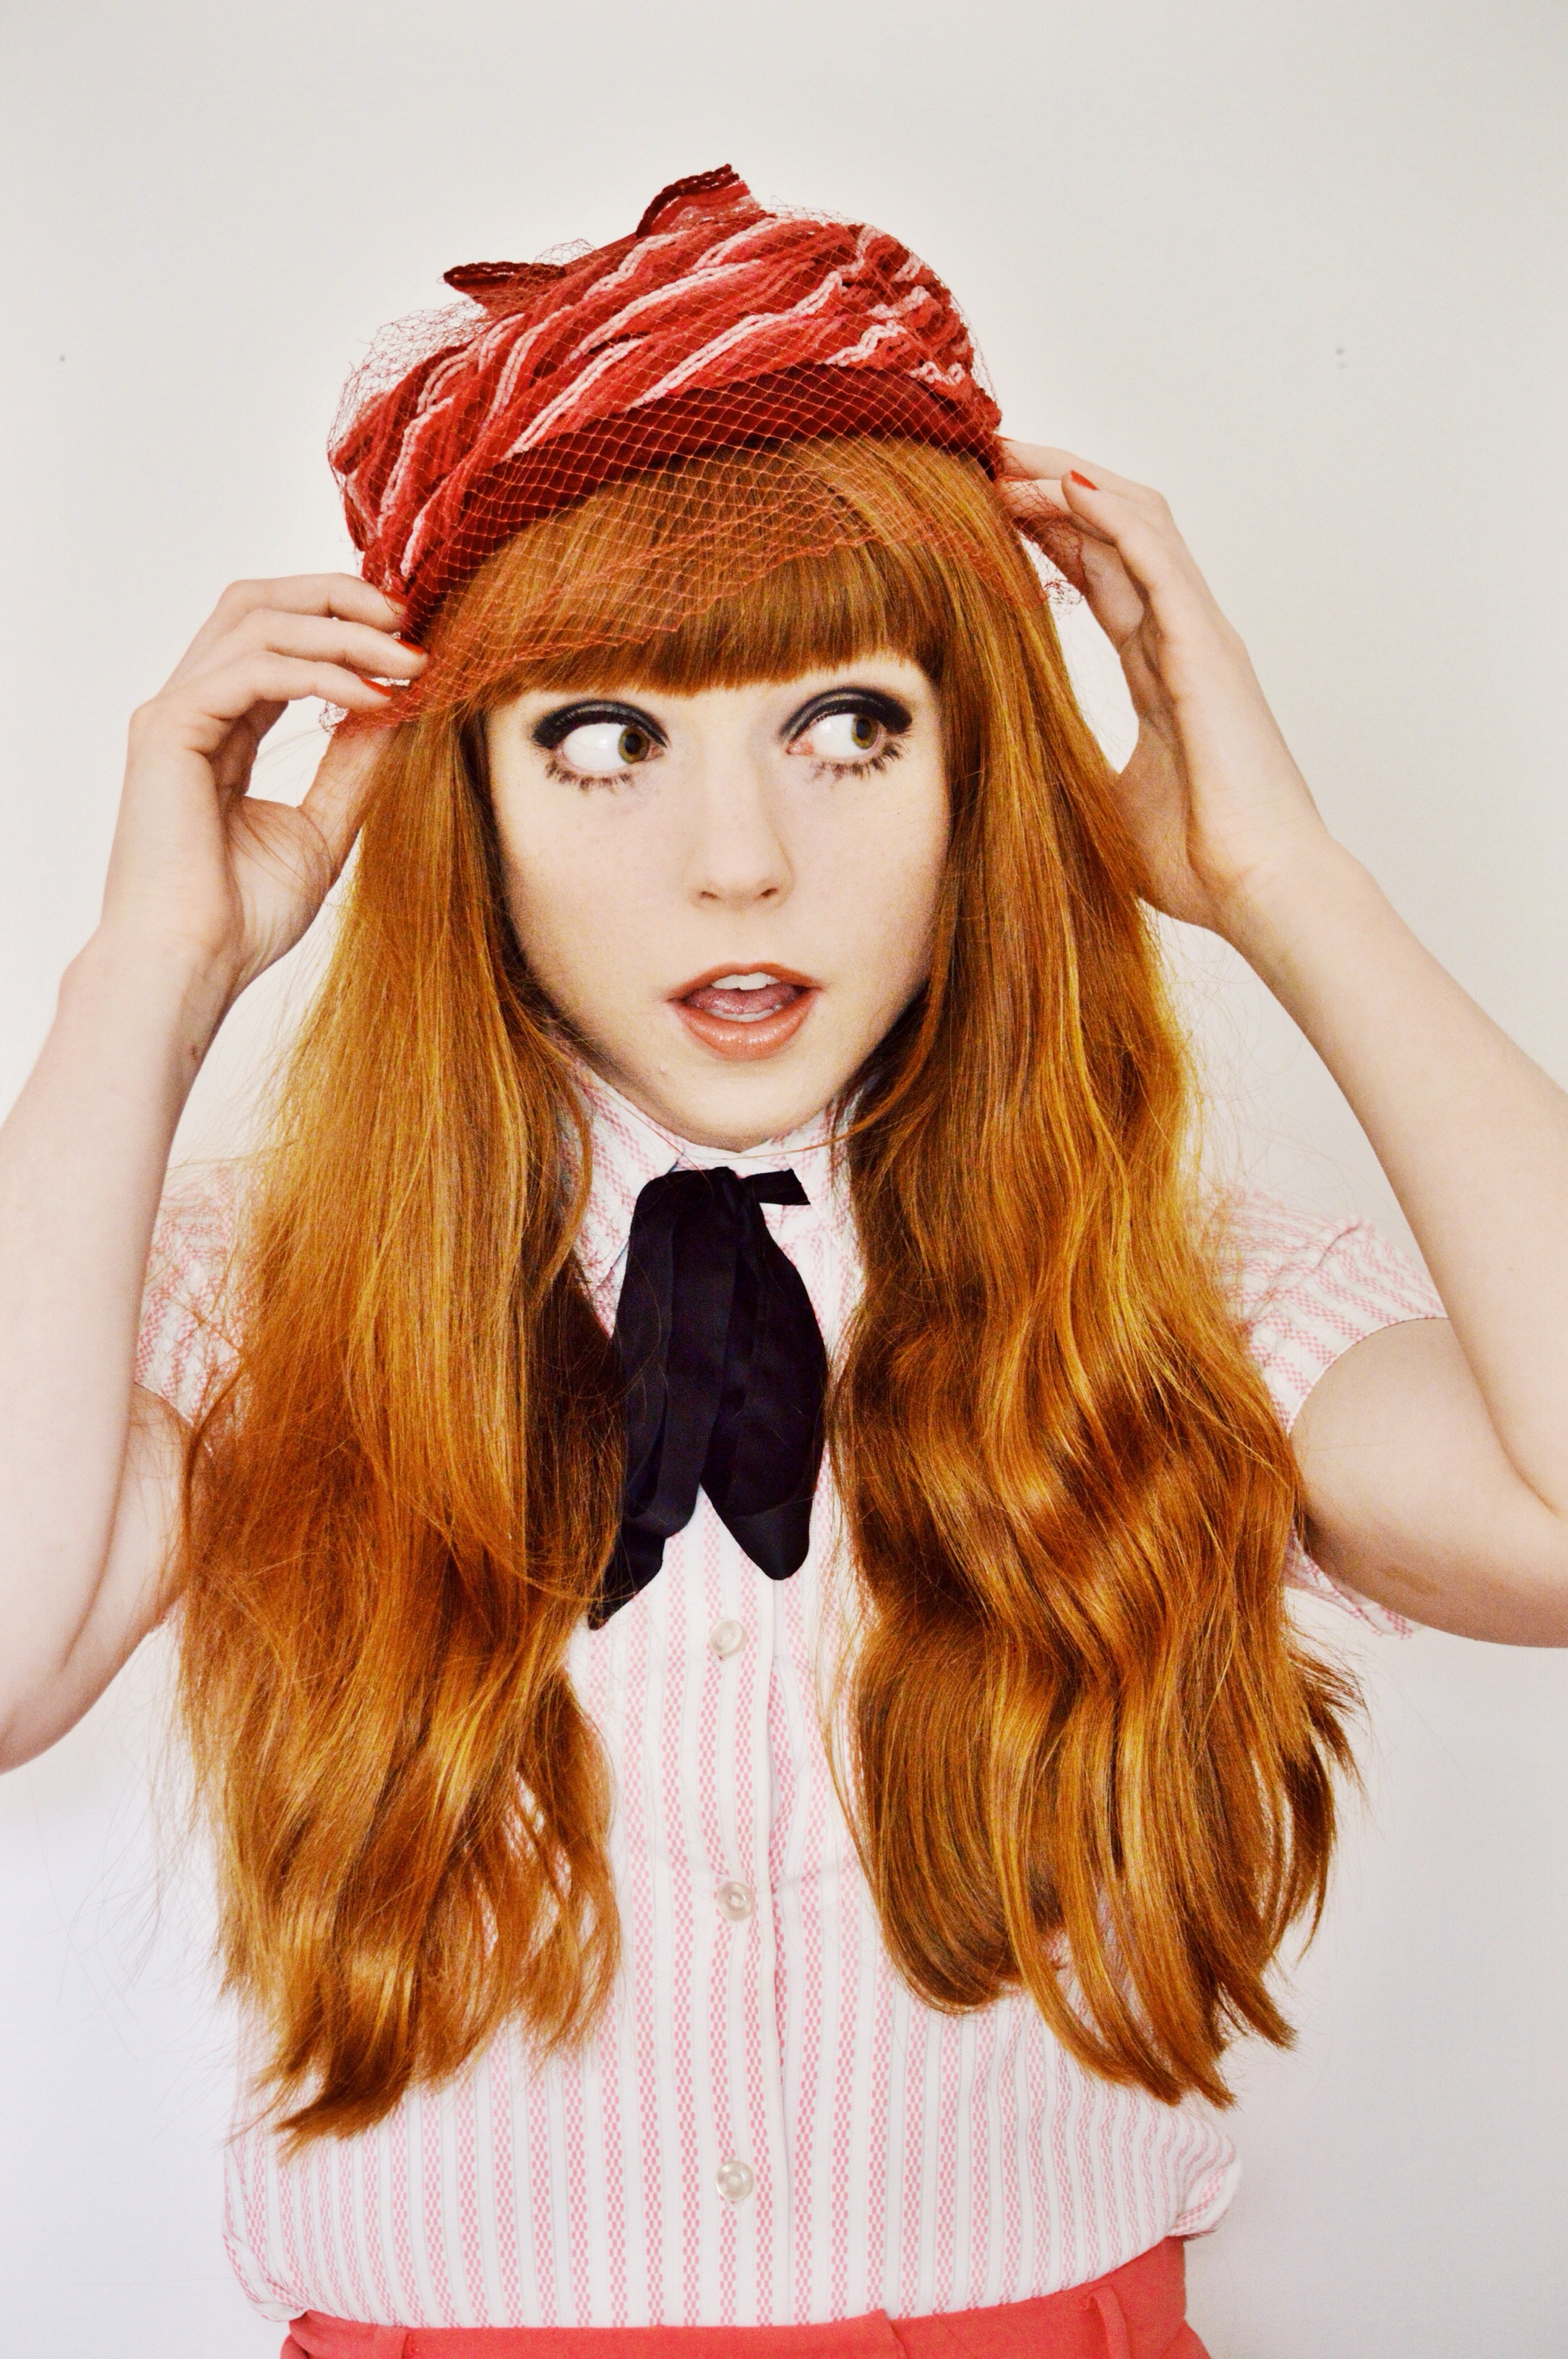 It was only a matter of time before I decided to share a 60s makeup look. It’s honestly a bit more eye makeup than what I’m used to wearing, but it really reminds me of the makeup I used to do back in my goth days. I don’t know what it is about this very Twiggy-esque look, but it makes you want to pull all kinds of silly facial expressions…mostly surprised and sad ones. Maybe it’s the drawn on lower lashes that make the eyes so expressive, which makes the rest of your face want to follow suit… anyway, I dare you to try this look and not make a silly face, it’s impossible.
 Shirt & hat: vintage; Shorts: F21 (similar, similar); Bow tie: handmade
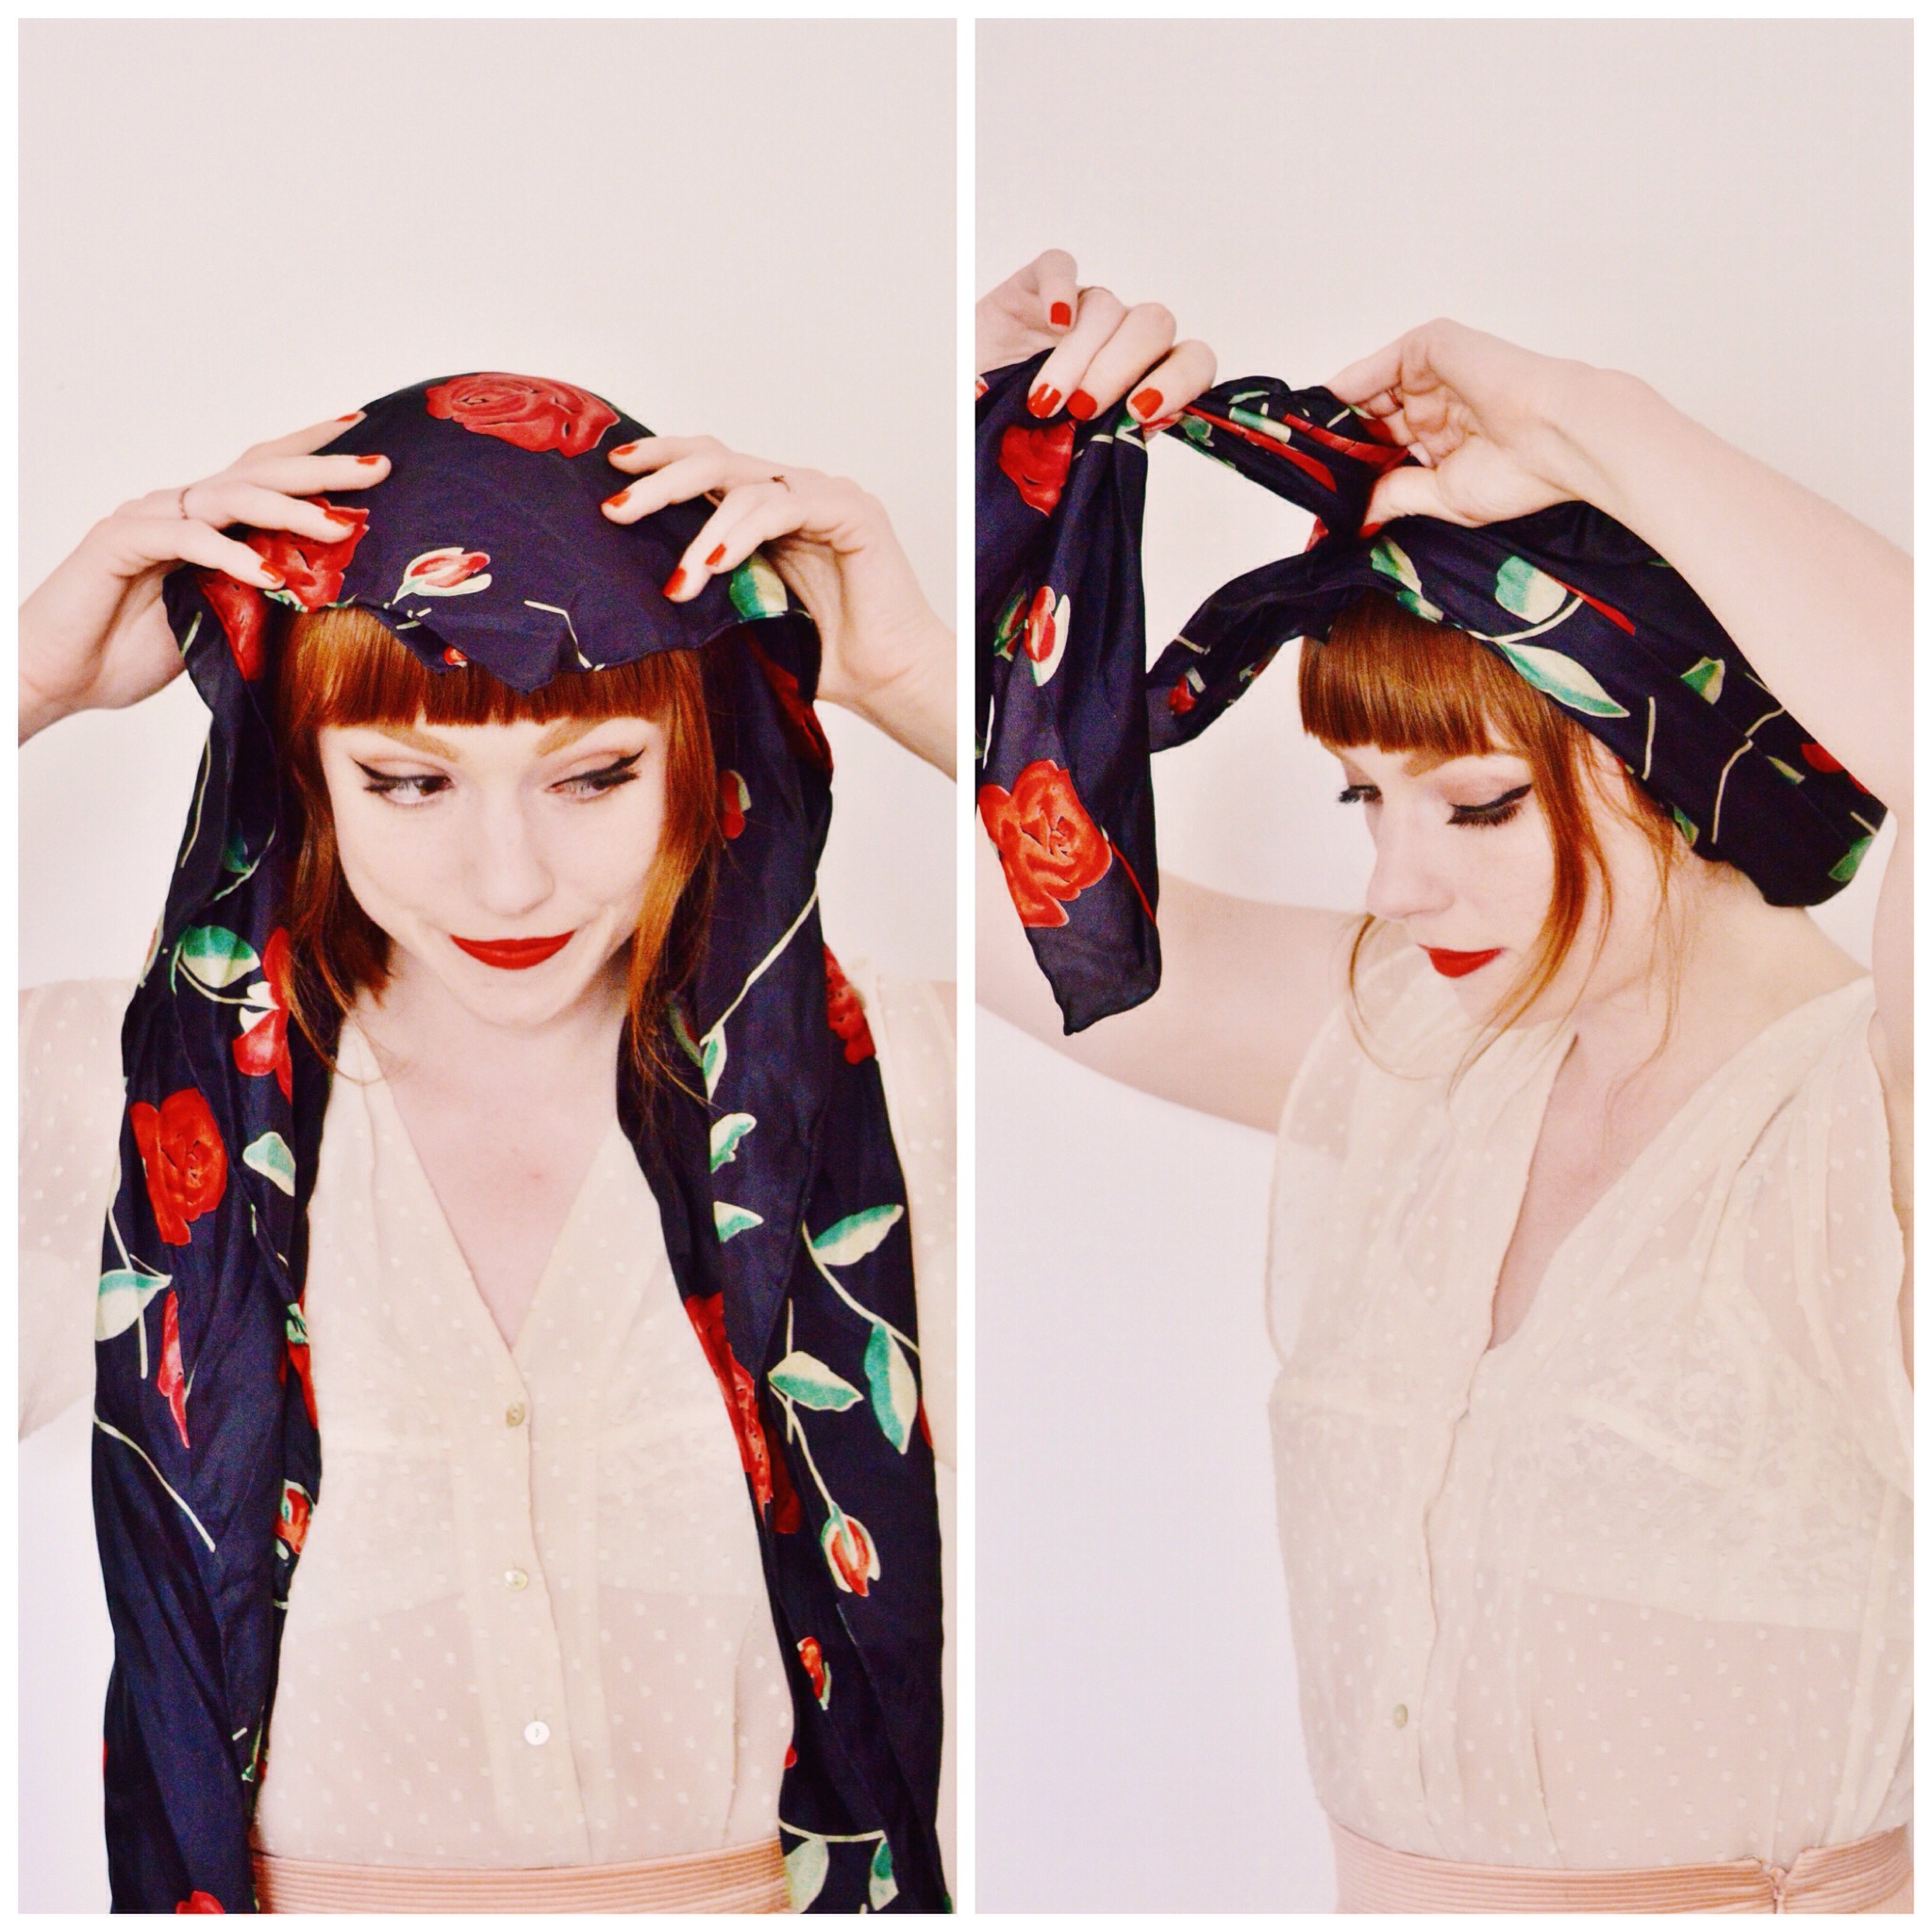
 GET THE LOOK


