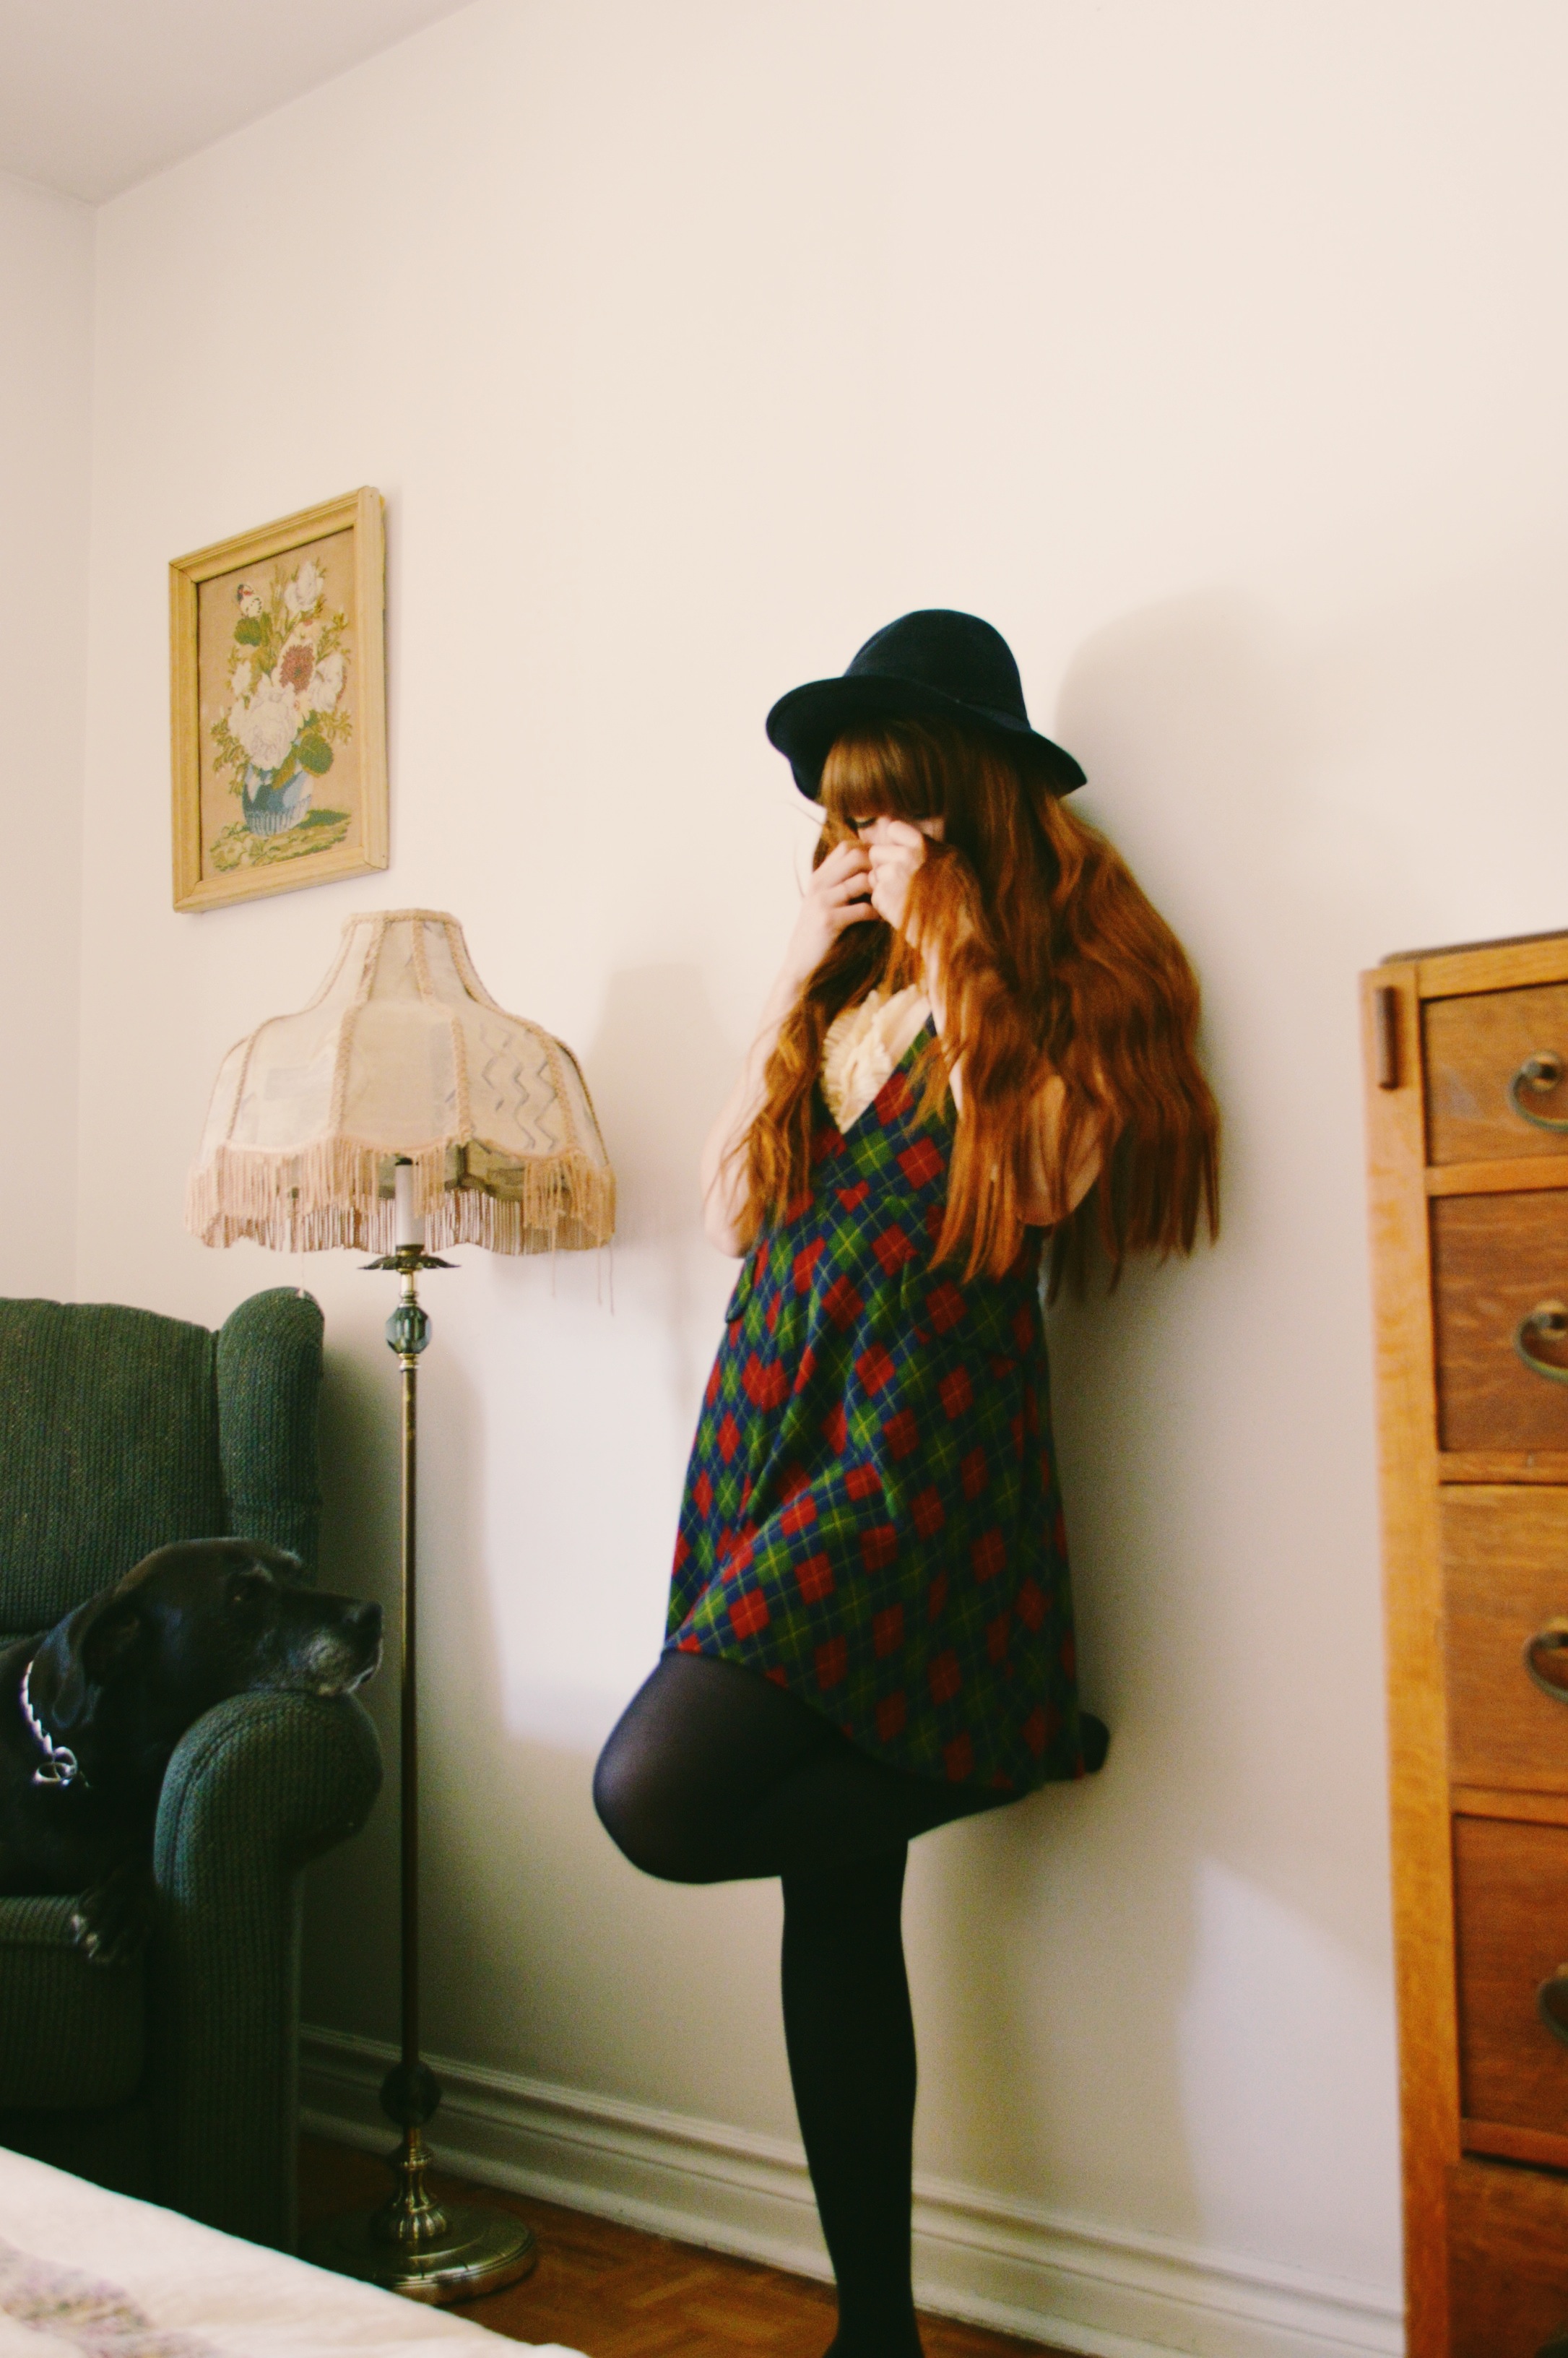
Today I’m going to share how I style my bangs/fringe, each and every day. I’m sure the way I style my fringe is not uncommon, but I do see a lot of people using a straightener to style a straight-across fringe, which I used to do ages ago and that works pretty well, but what I do now I find is longer lasting and gives the right amount of volume, in my opinion. Also, I’m in desperate need of a bang trim, so my fringe is a bit wonky, I apologize for that.

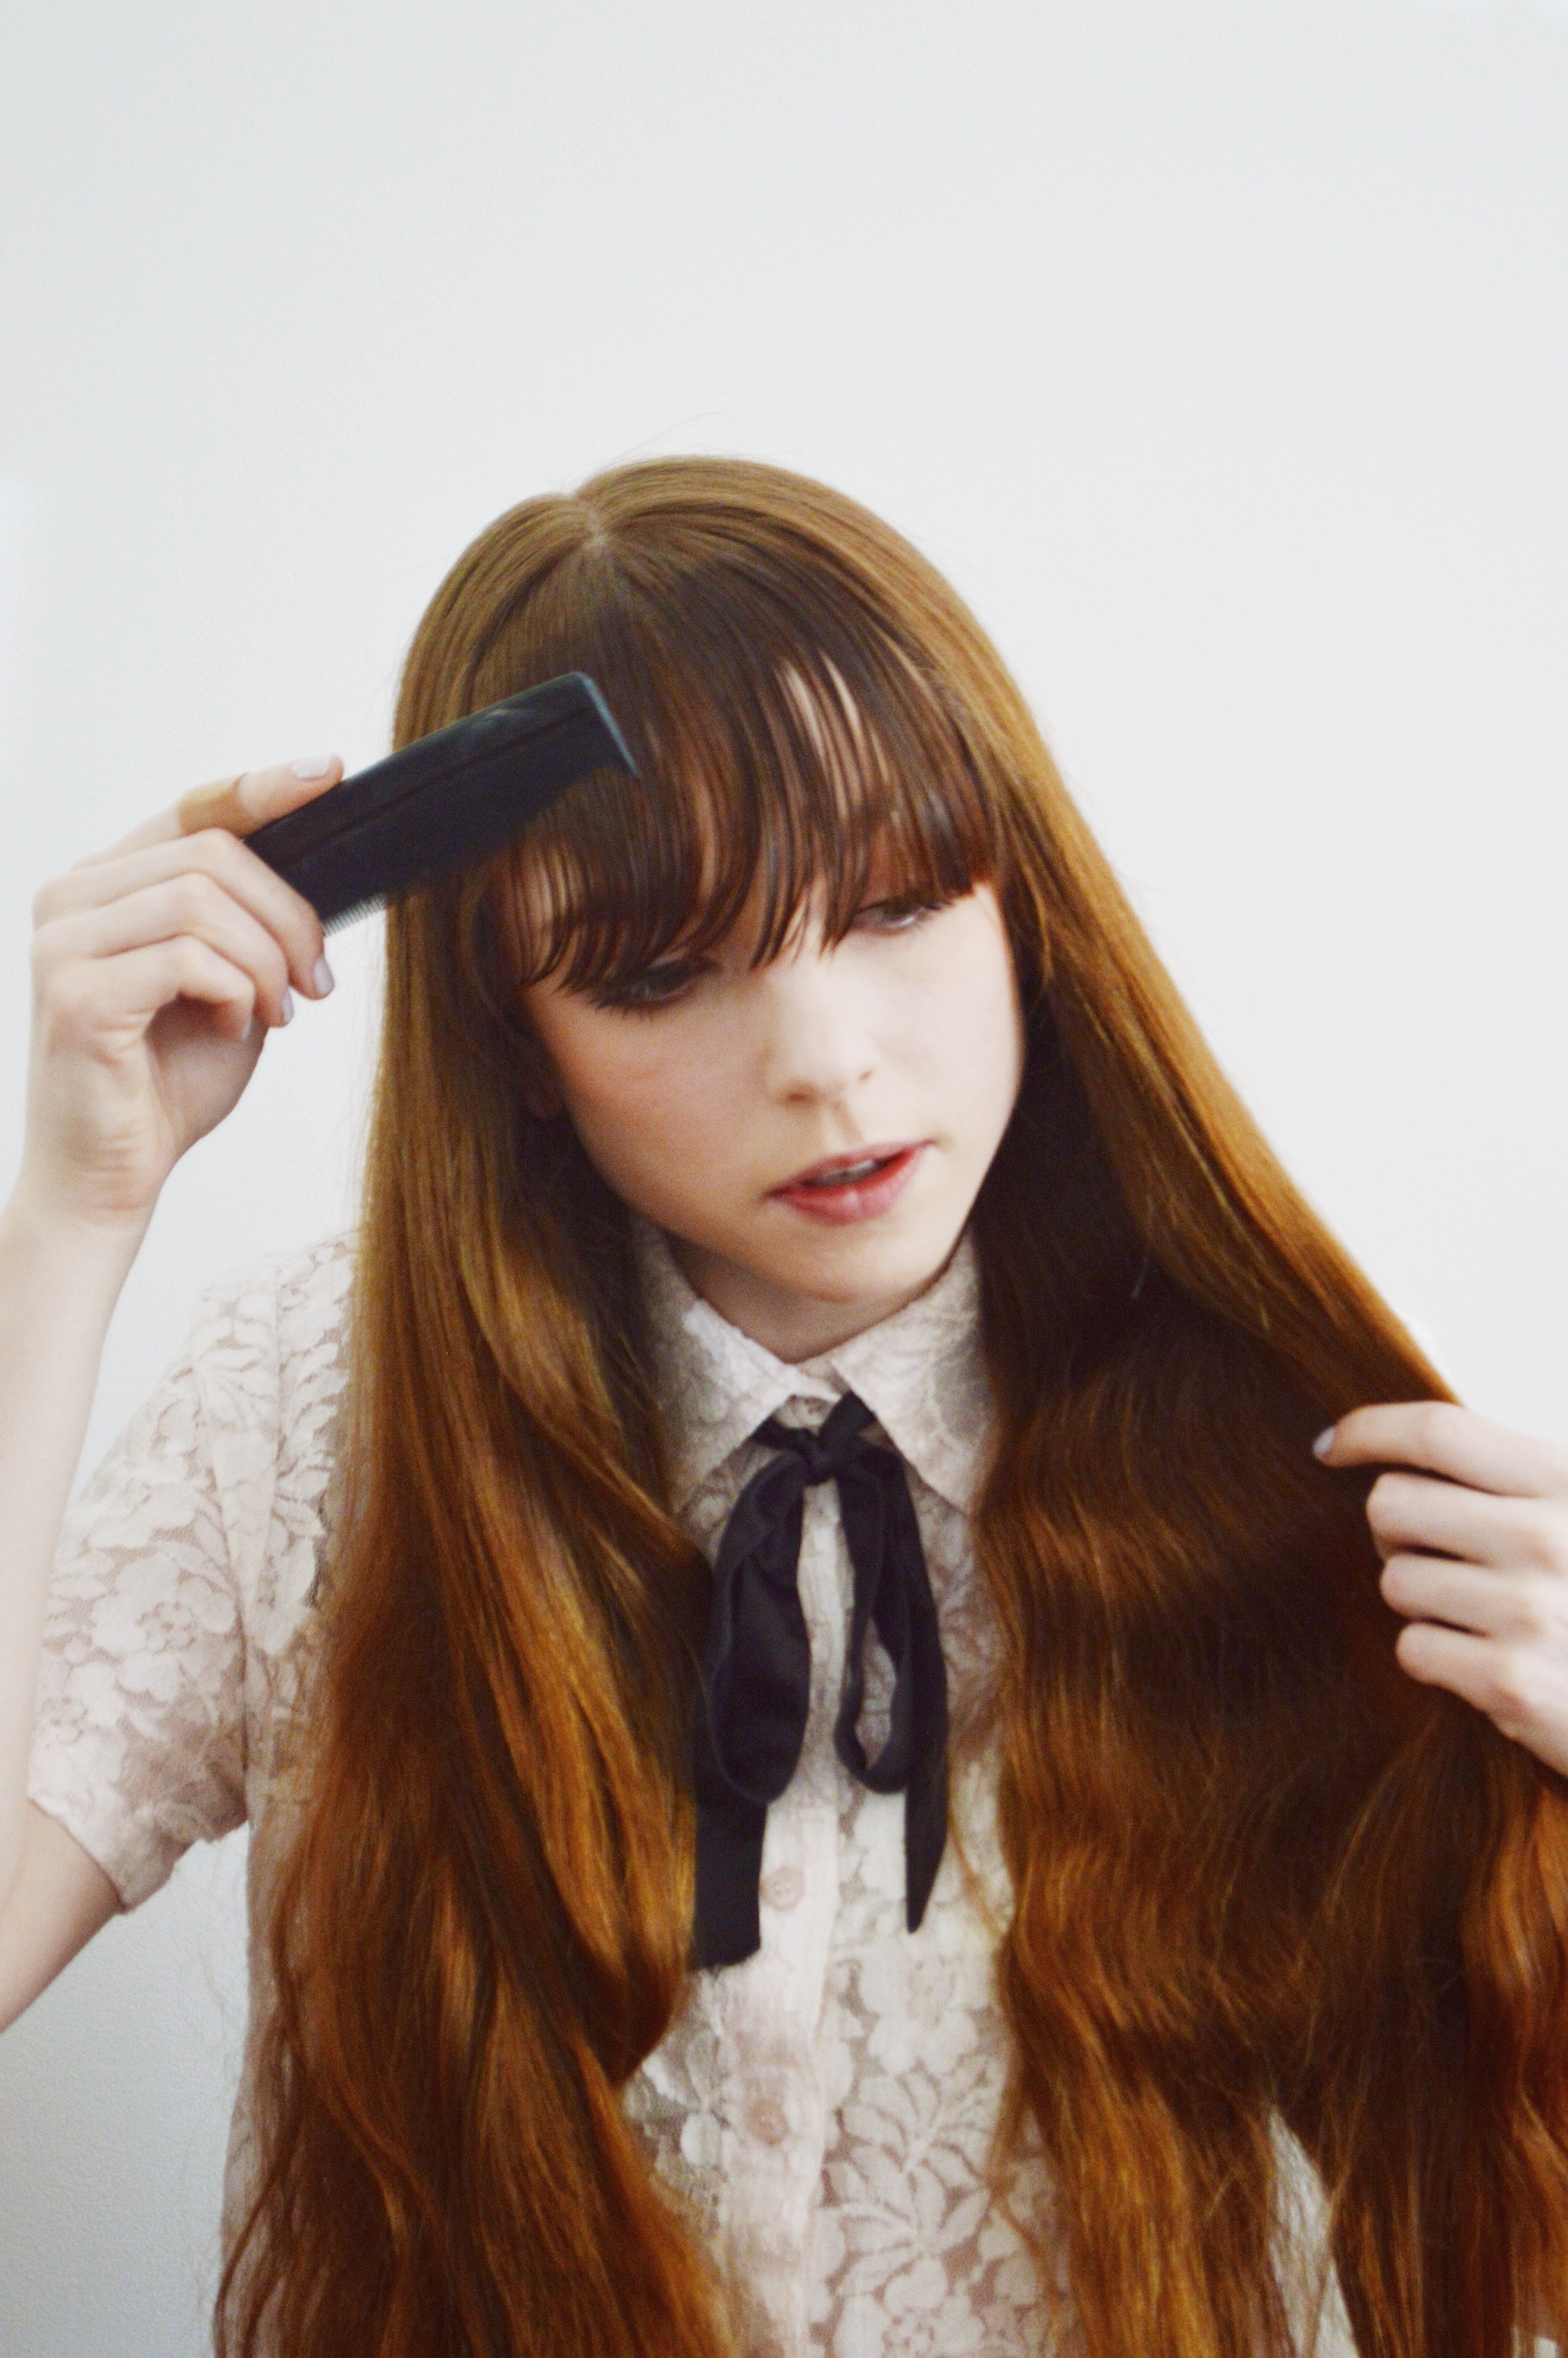
 STEP ONE: To style my fringe, it is an absolute must that my fringe is wet. But since I normally wash my hair in the evening, I wake up with totally dry hair. What to do?! Well, I just run my comb under water and then comb through my fringe, getting all parts of it wet, not to a super sopping wet degree, but just enough that it is malleable and will agree with my blow dryer.
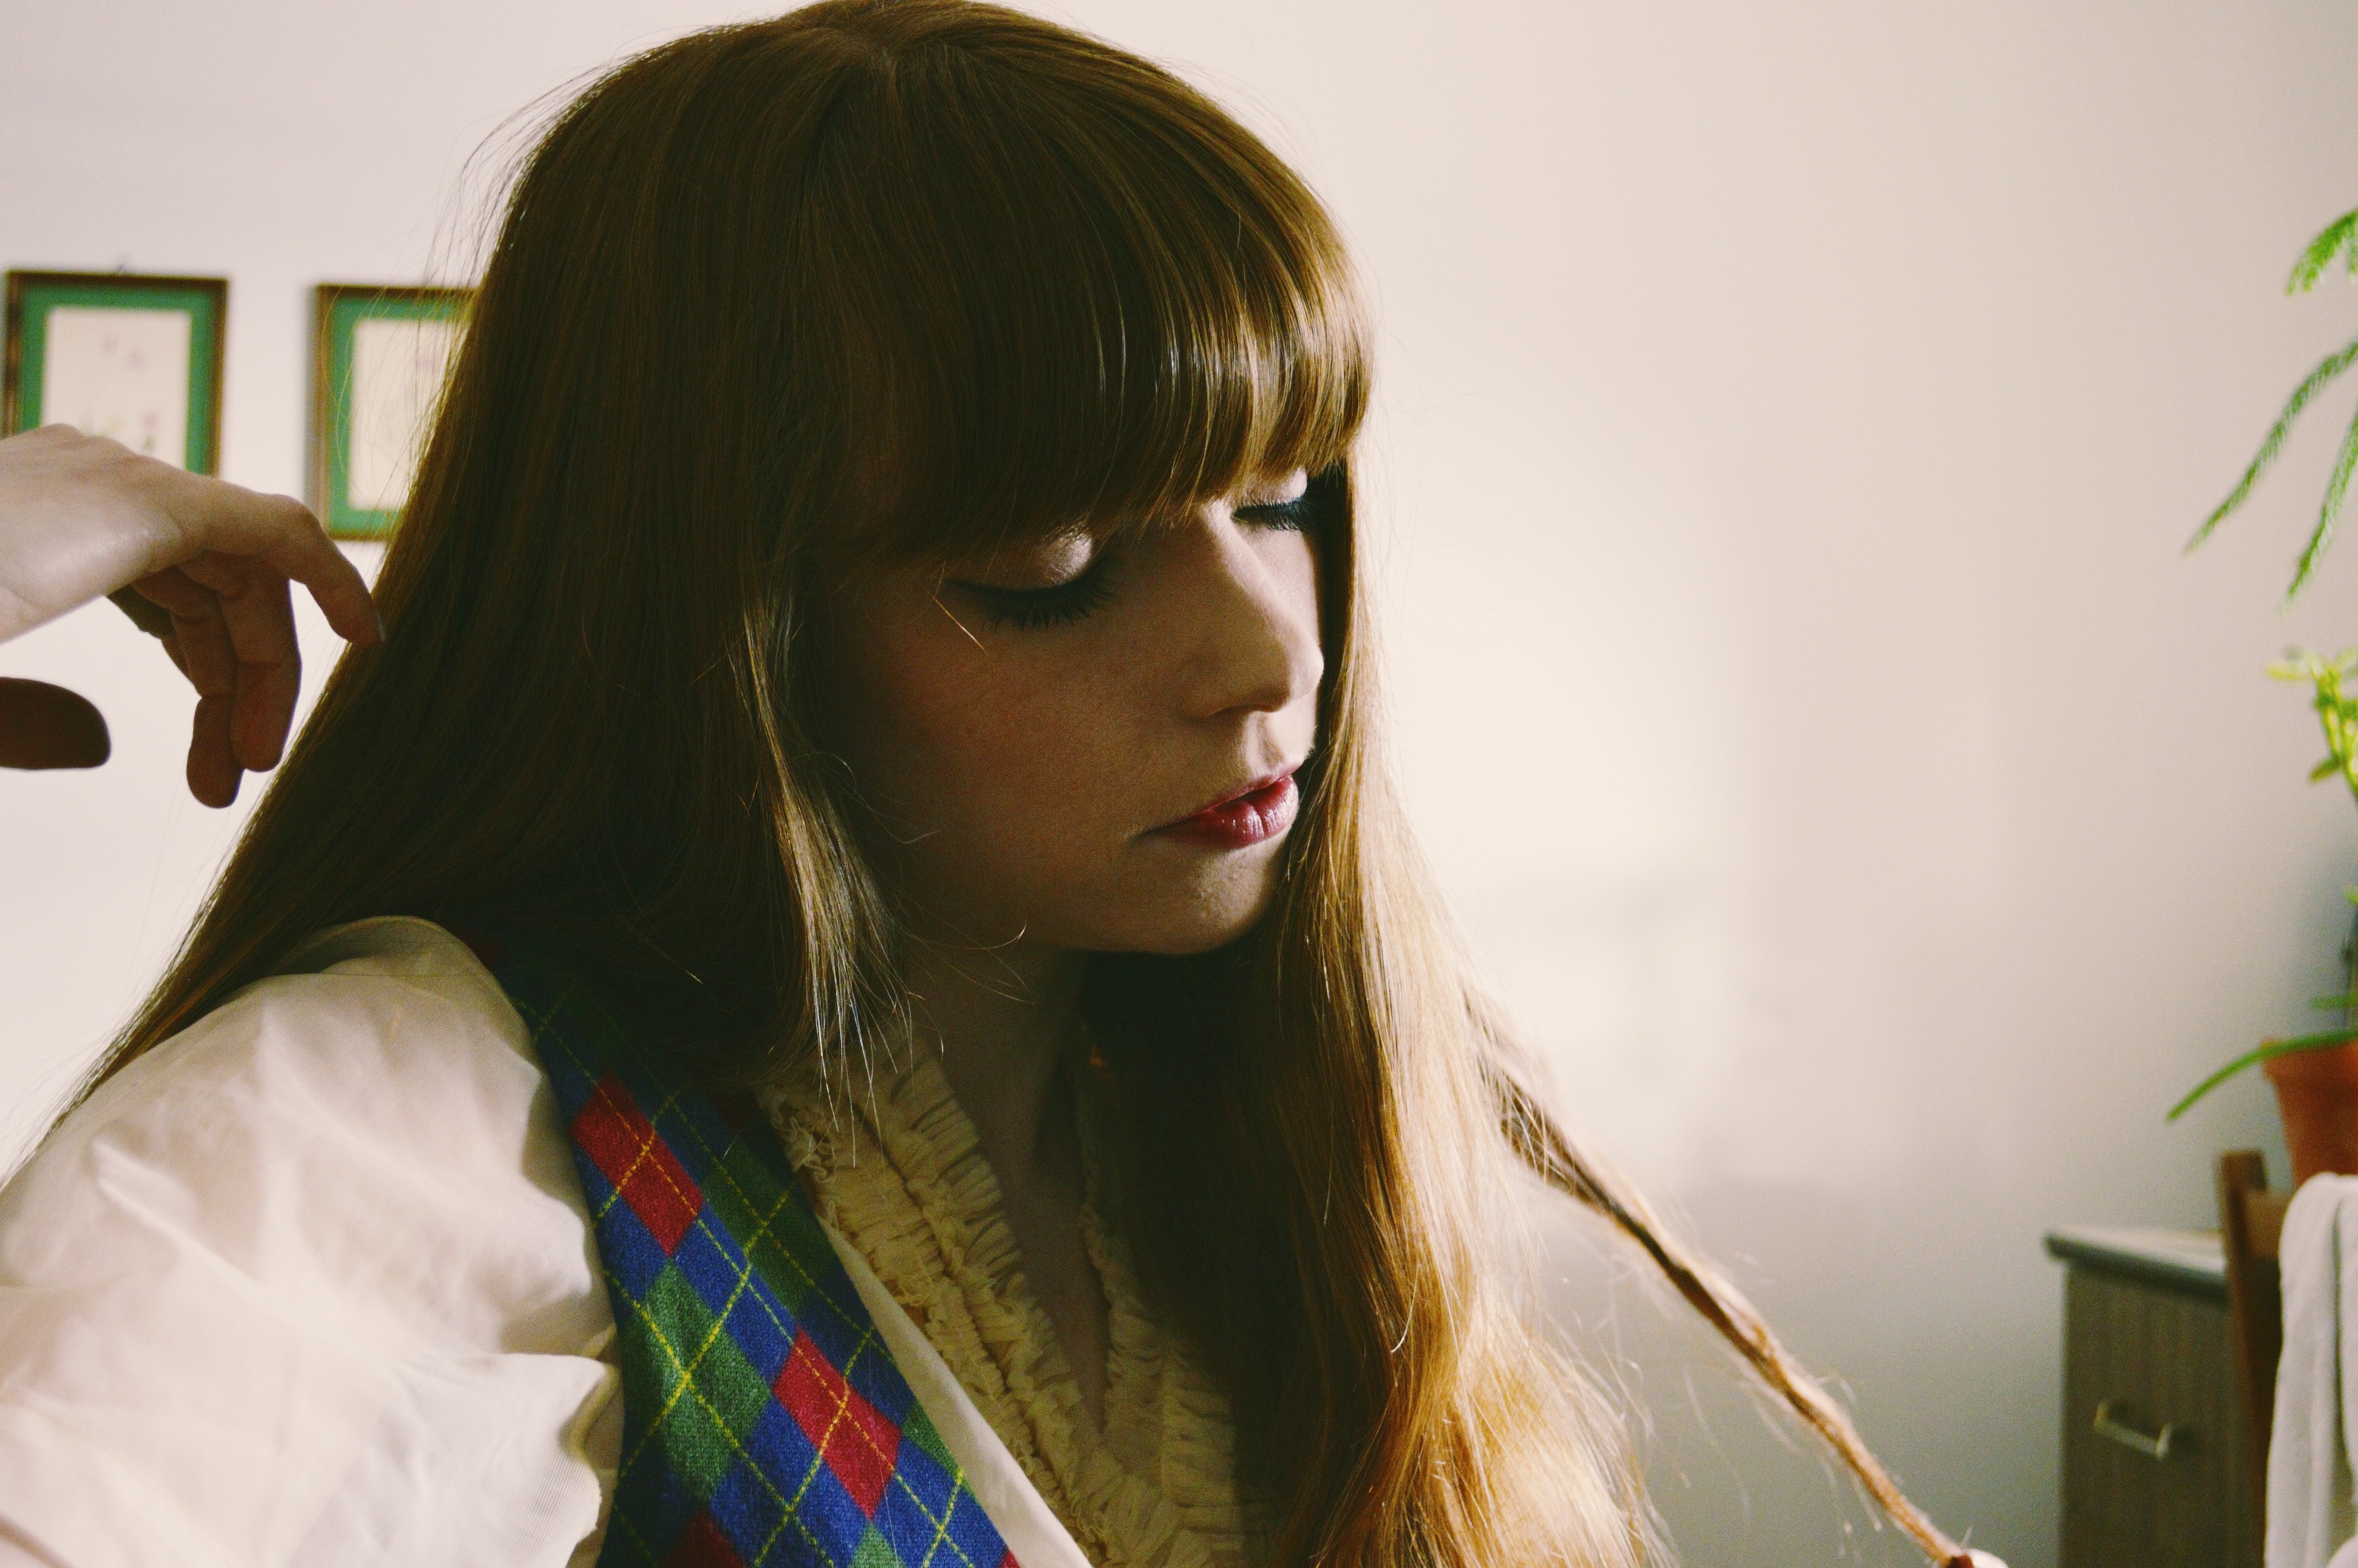
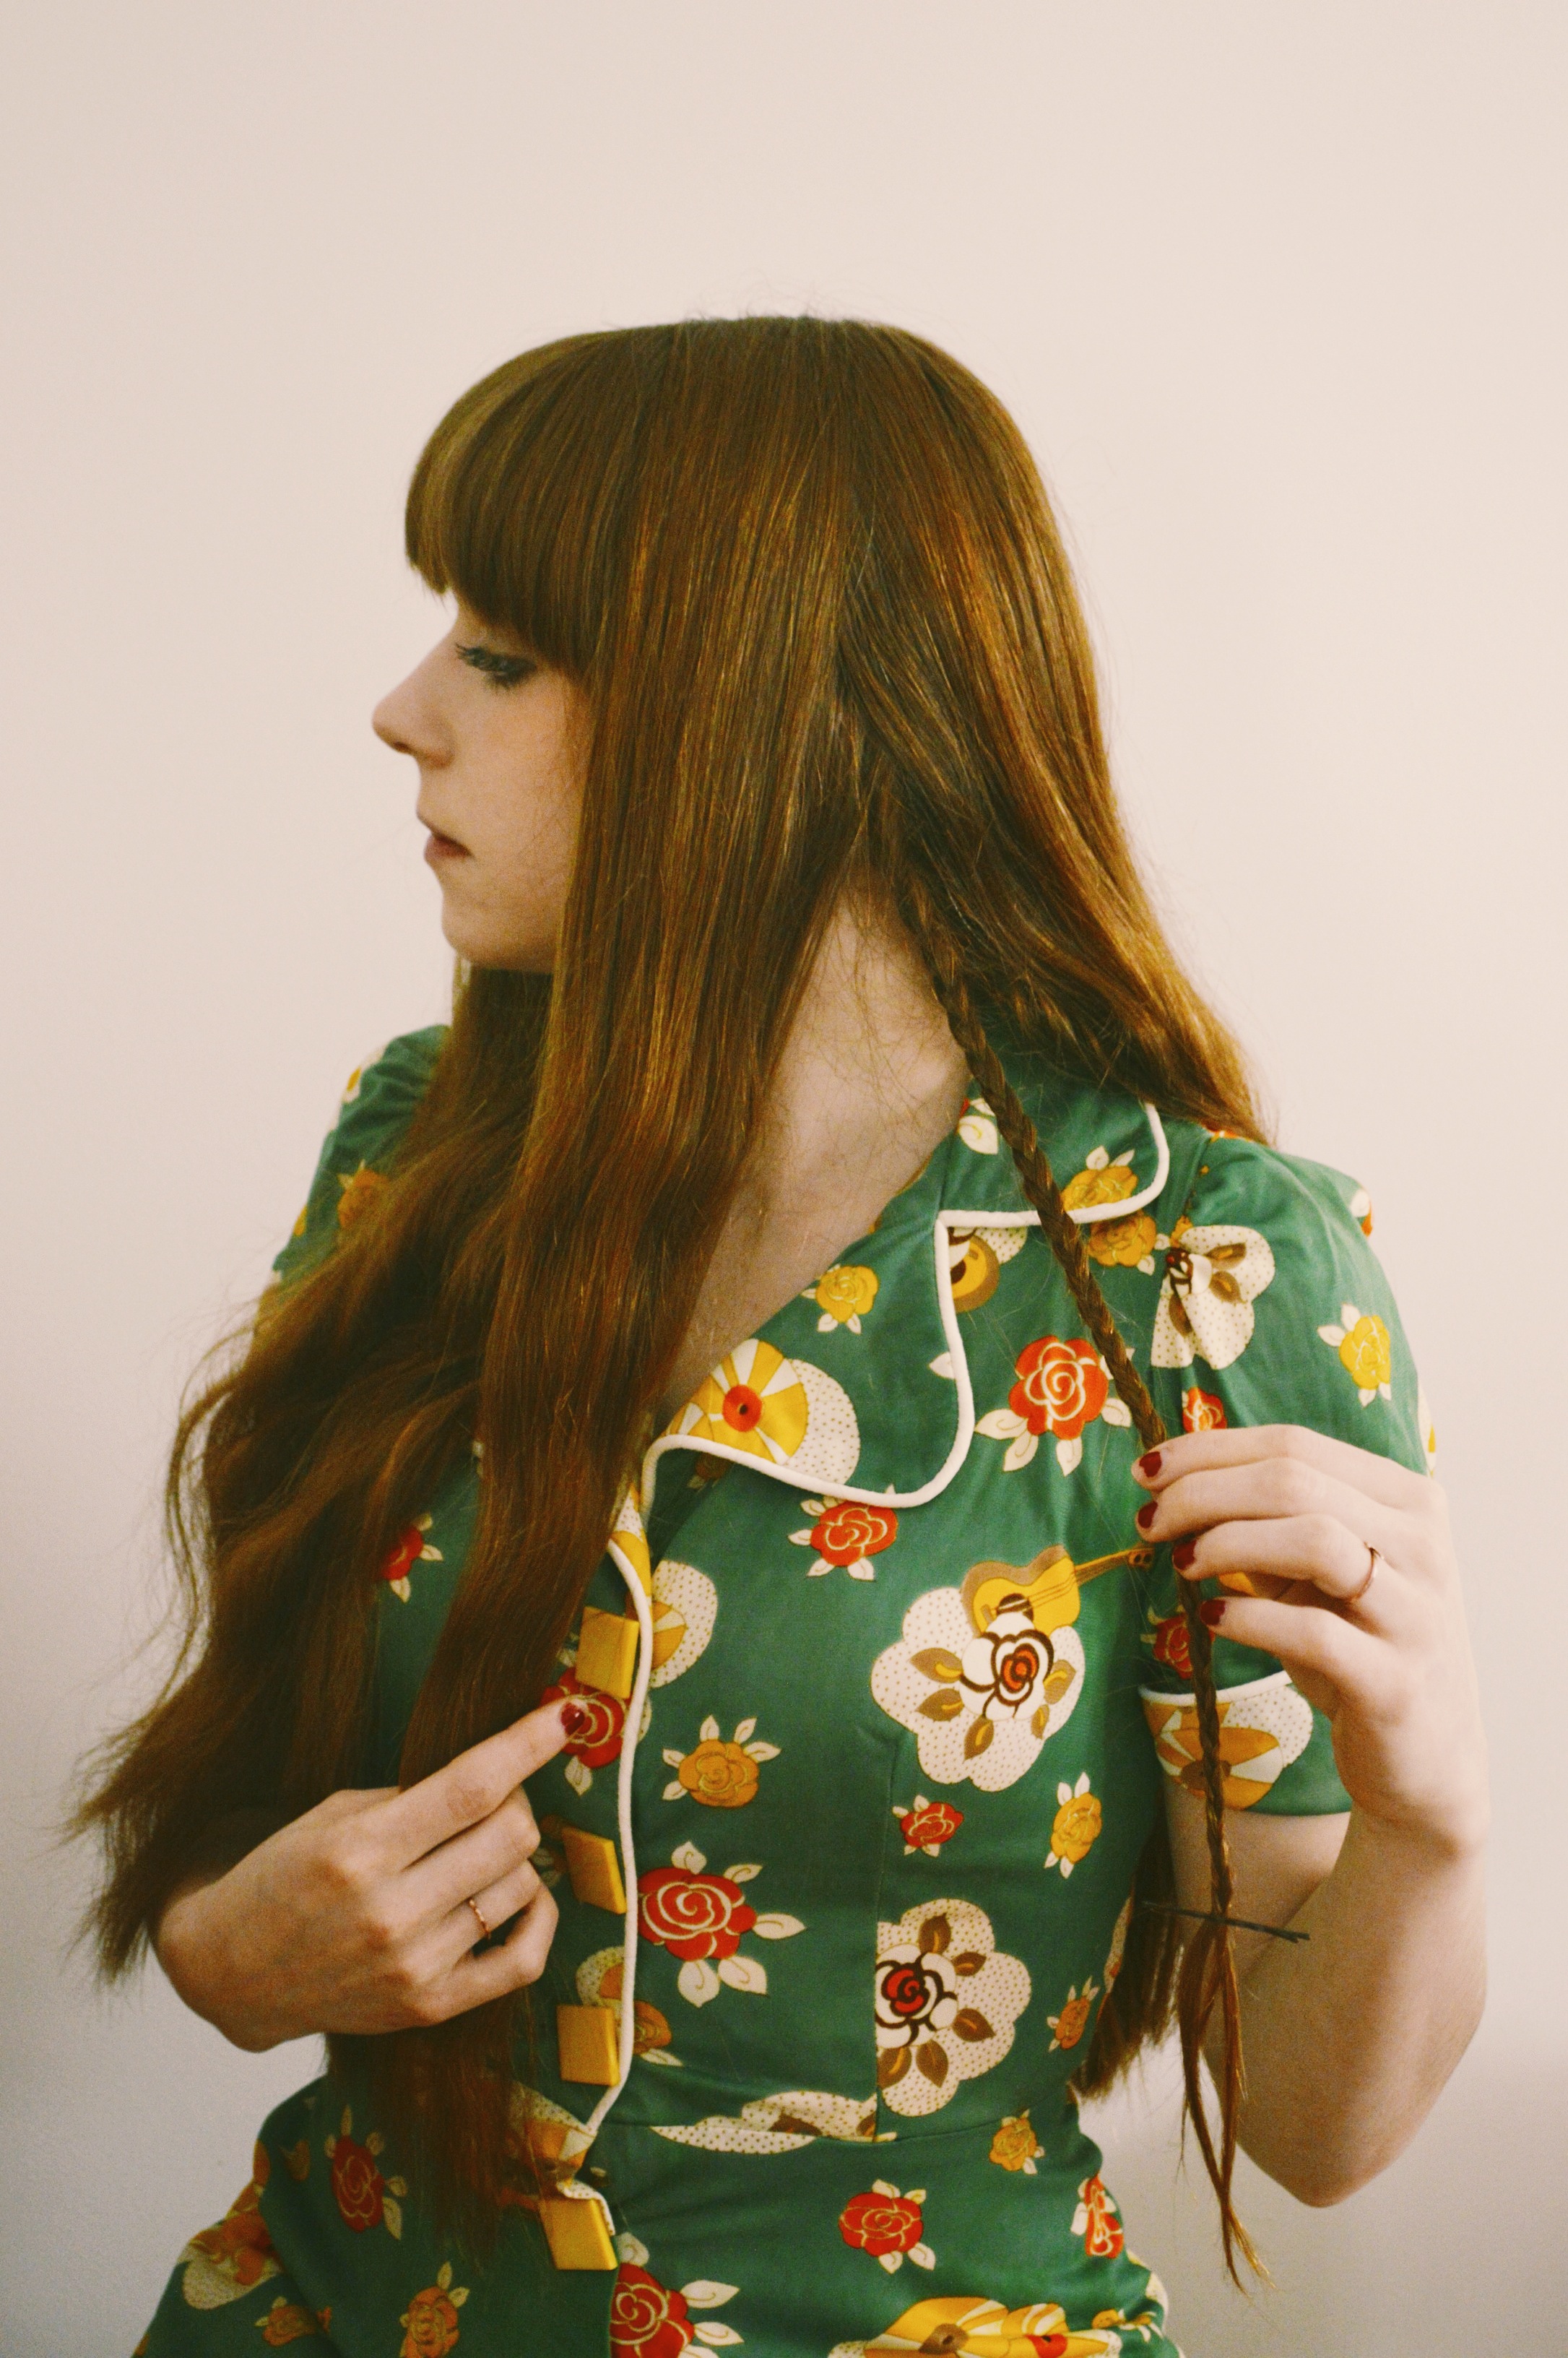
 STEP TWO: Now the styling part! I split my fringe in 3 sections (left, centre and right) and using my round brush and blow dryer I place one section over the brush and dry that section by holding the brush near my hairline and then pulling out (that’s what she said) away from my face. The round brush will create a lovely lifted, round shape to the bangs, that is both bouncy and clean looking. Then I continue on to the rest of my sections, until all is even and dry. Since my fringe often has a mind of it’s own, I usually guide the outer sections in the correct direction so that my fringe covers all of my forehead. To give the whole look an extra lift, I’ll take little sections of hair from the top of my fringe and do the above process again. Side note: you may be thinking, why the heck are you not holding the handle part of your round brush? And the answer is, I’m not sure? It feels more comfortable for some reason.
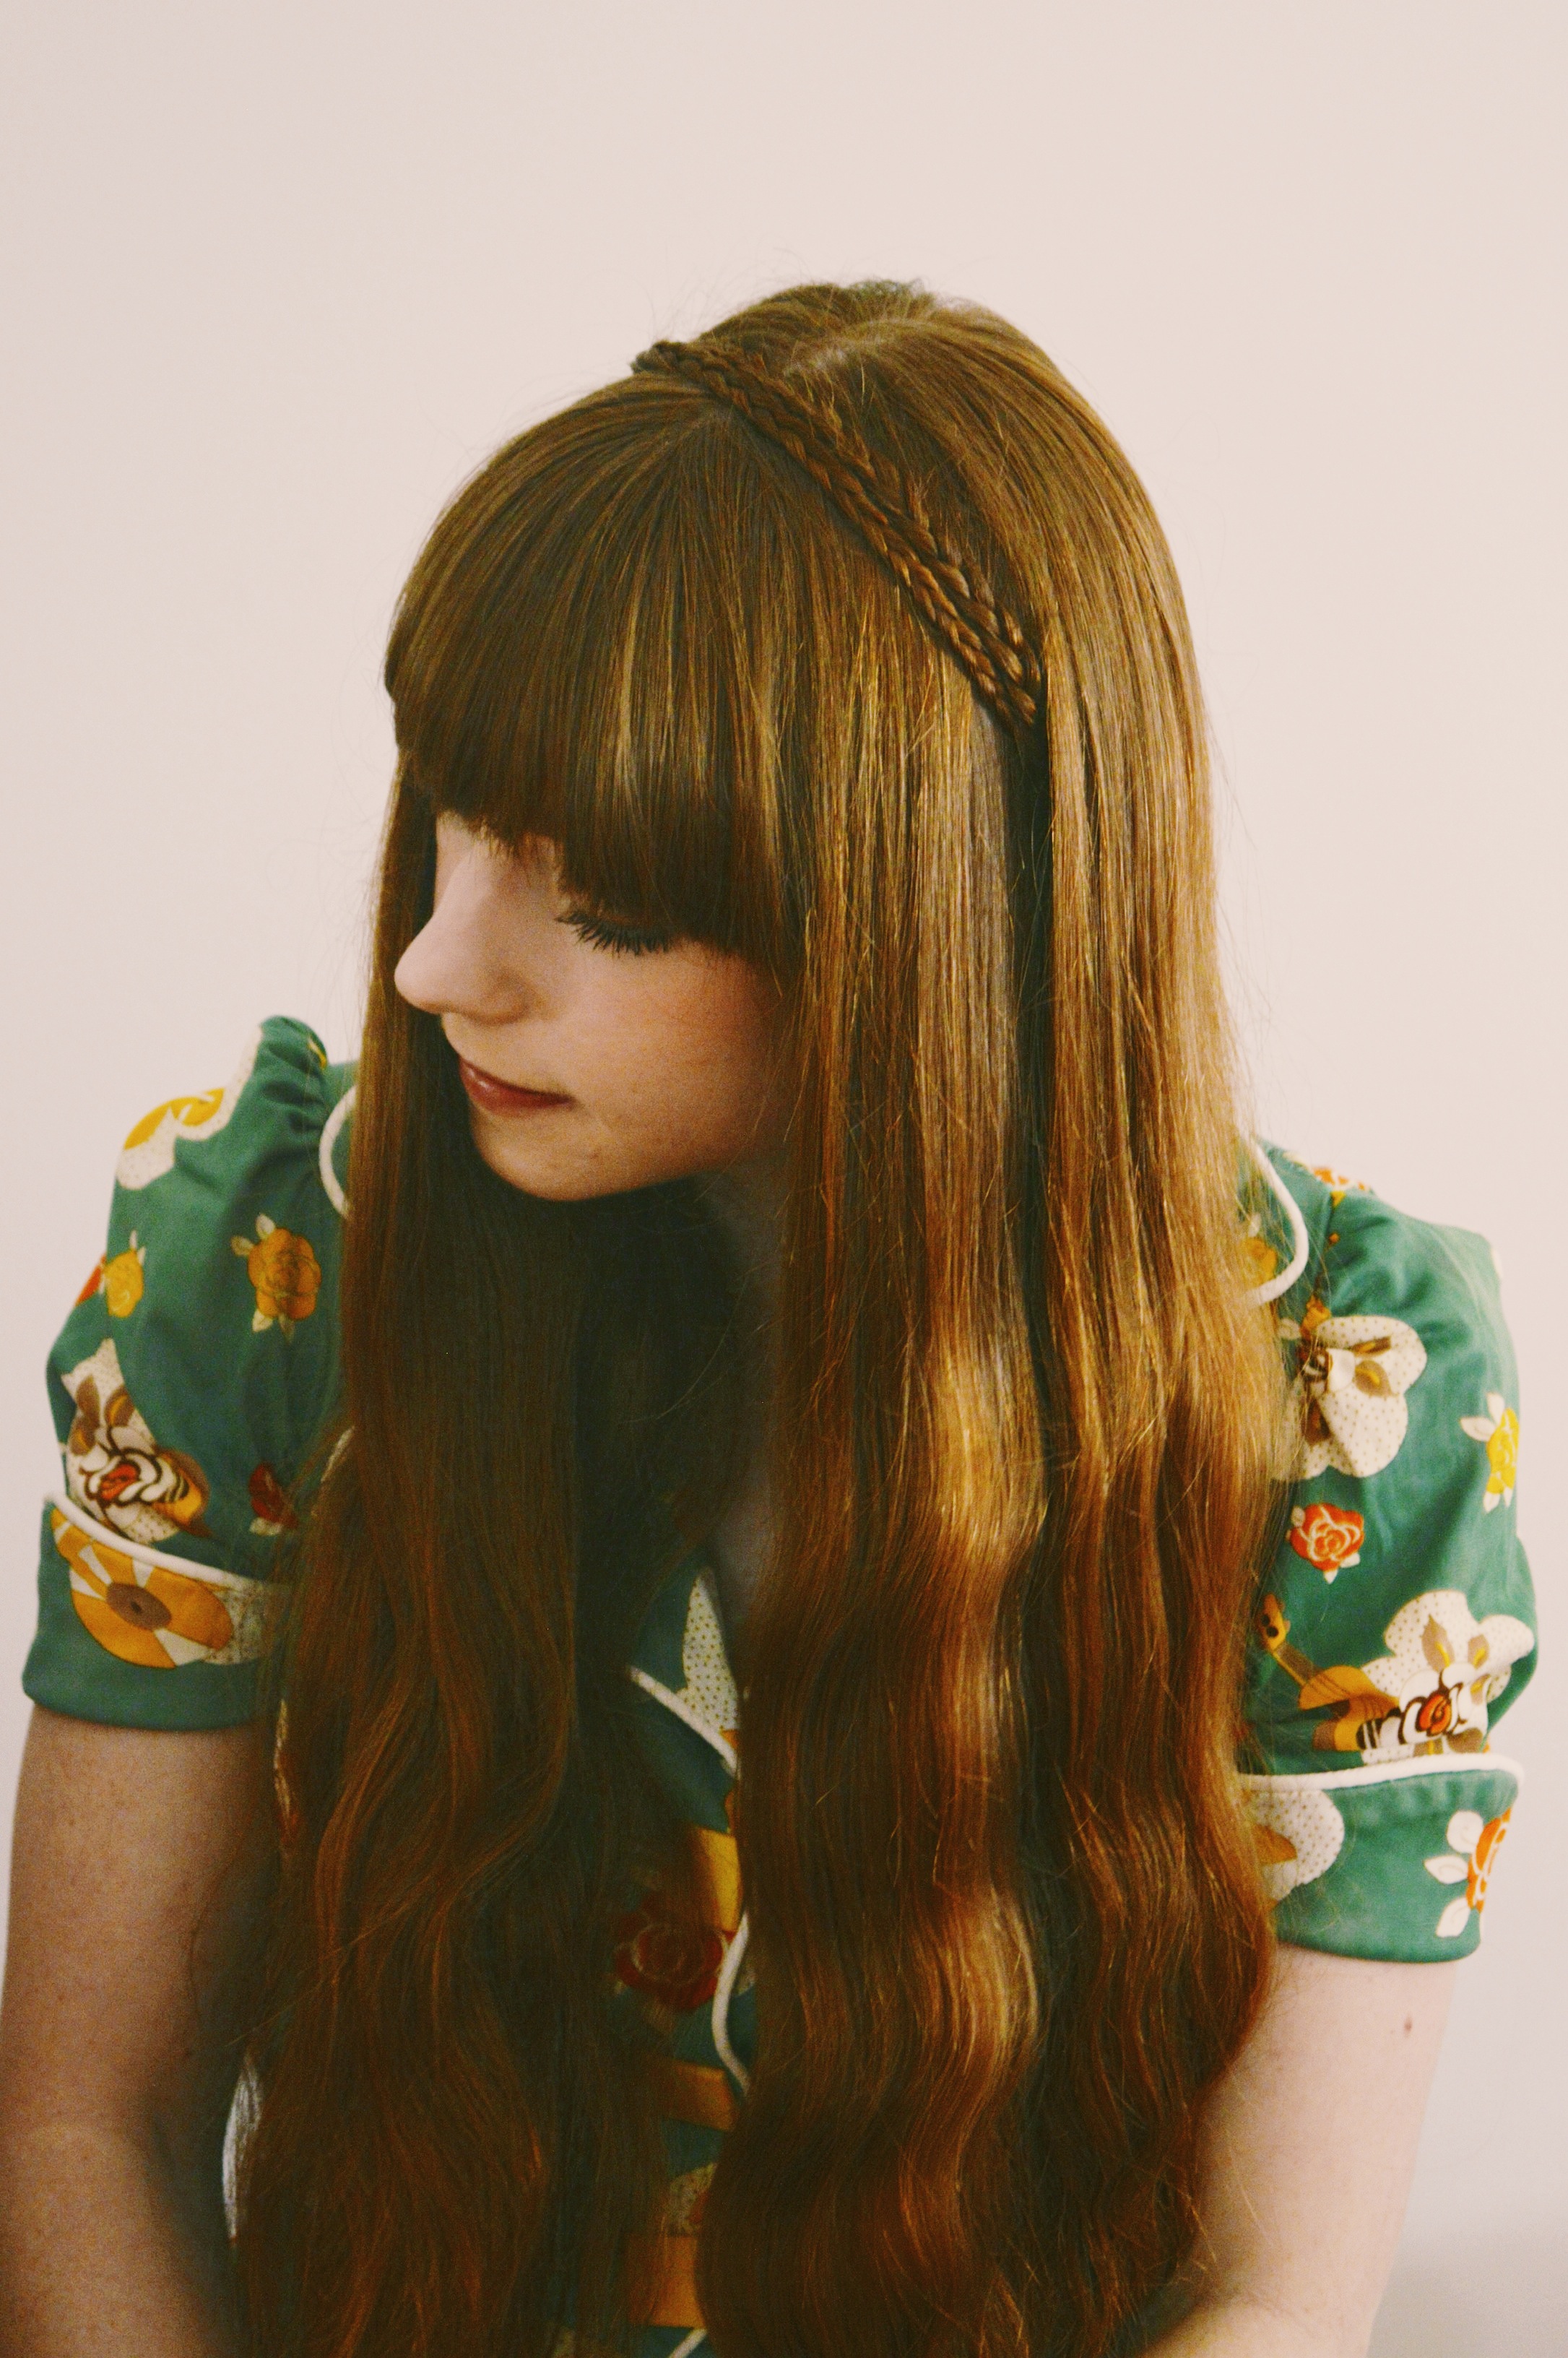
 And that’s it! Every so often I give my fringe a little spritz of hairspray after I’m done, but not always. I find this way of styling a straight-across fringe is great for holding on it’s own, with little or no product.

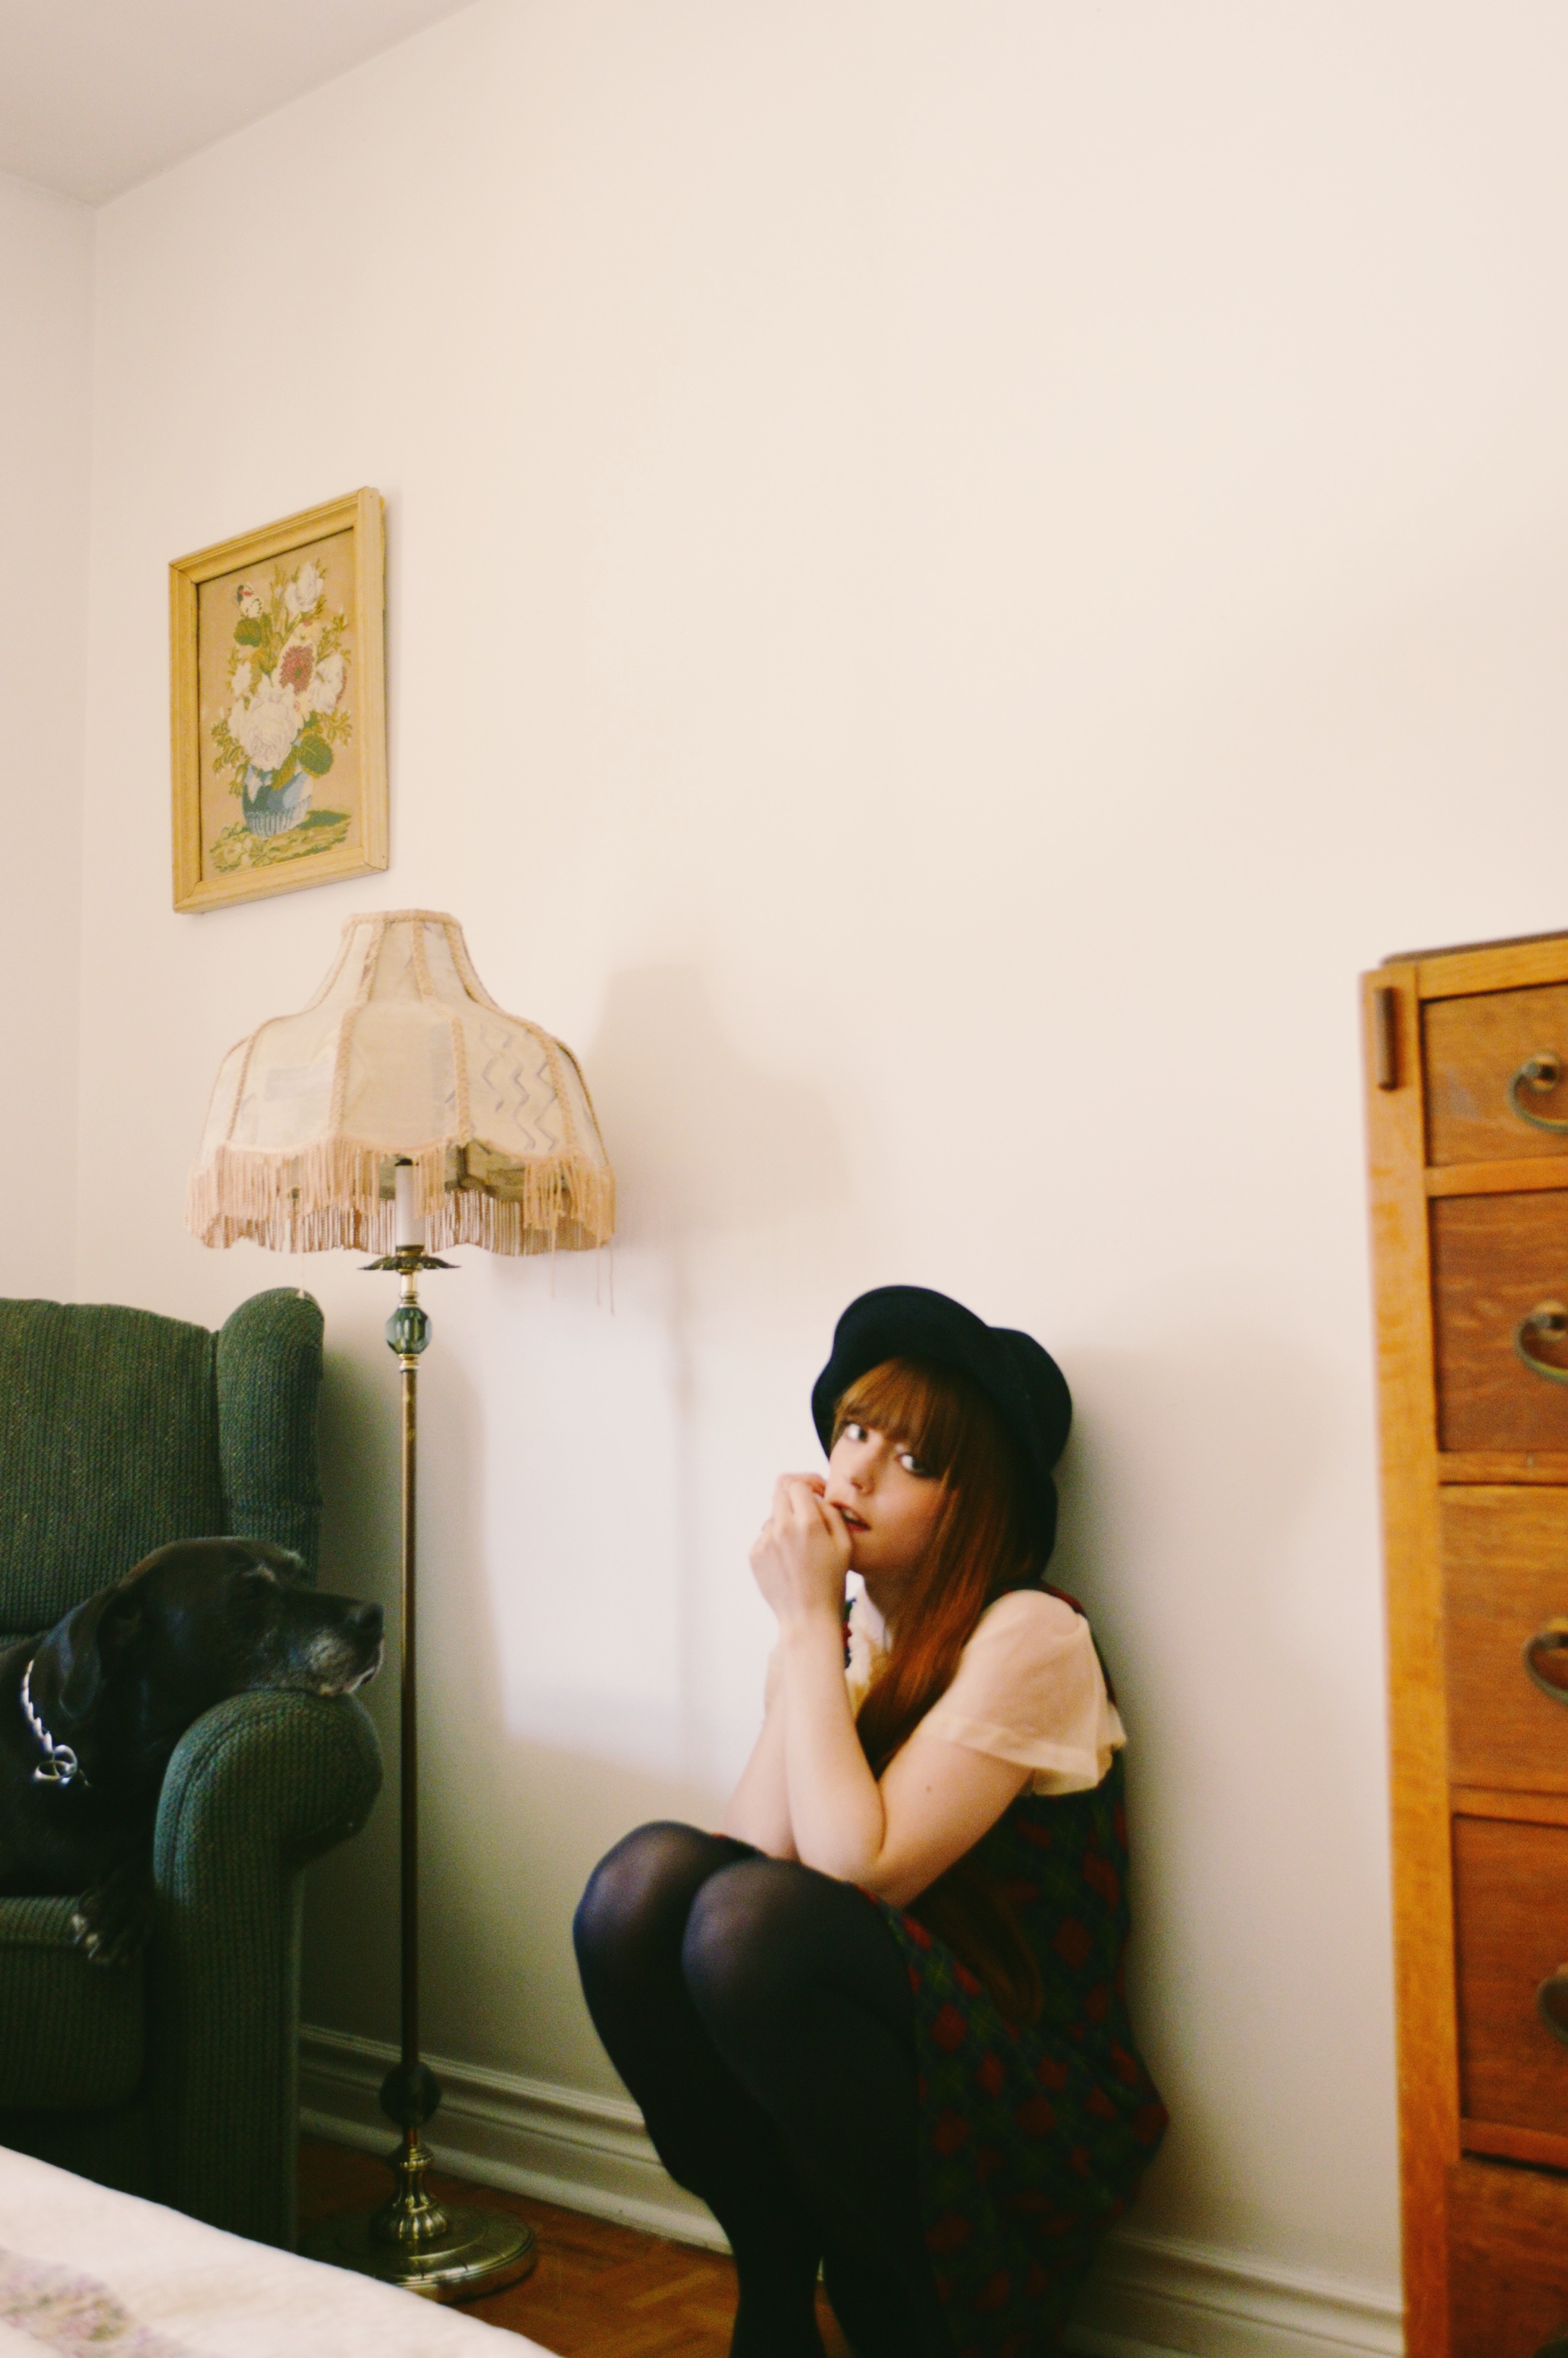
 Last Friday I made my way to Montreal, and I’ll be here until this coming Friday, spending time with my best friend Kristen and other MTL pals. The reason for my trip wasn’t totally for leisure, however. I have a couple dance shows this week in this lovely city, so I decided to make it an extended trip, ensuring I’d be able to have some fun with my best pal who I hadn’t seen in months, before I get busy this week with rehearsals and performances.
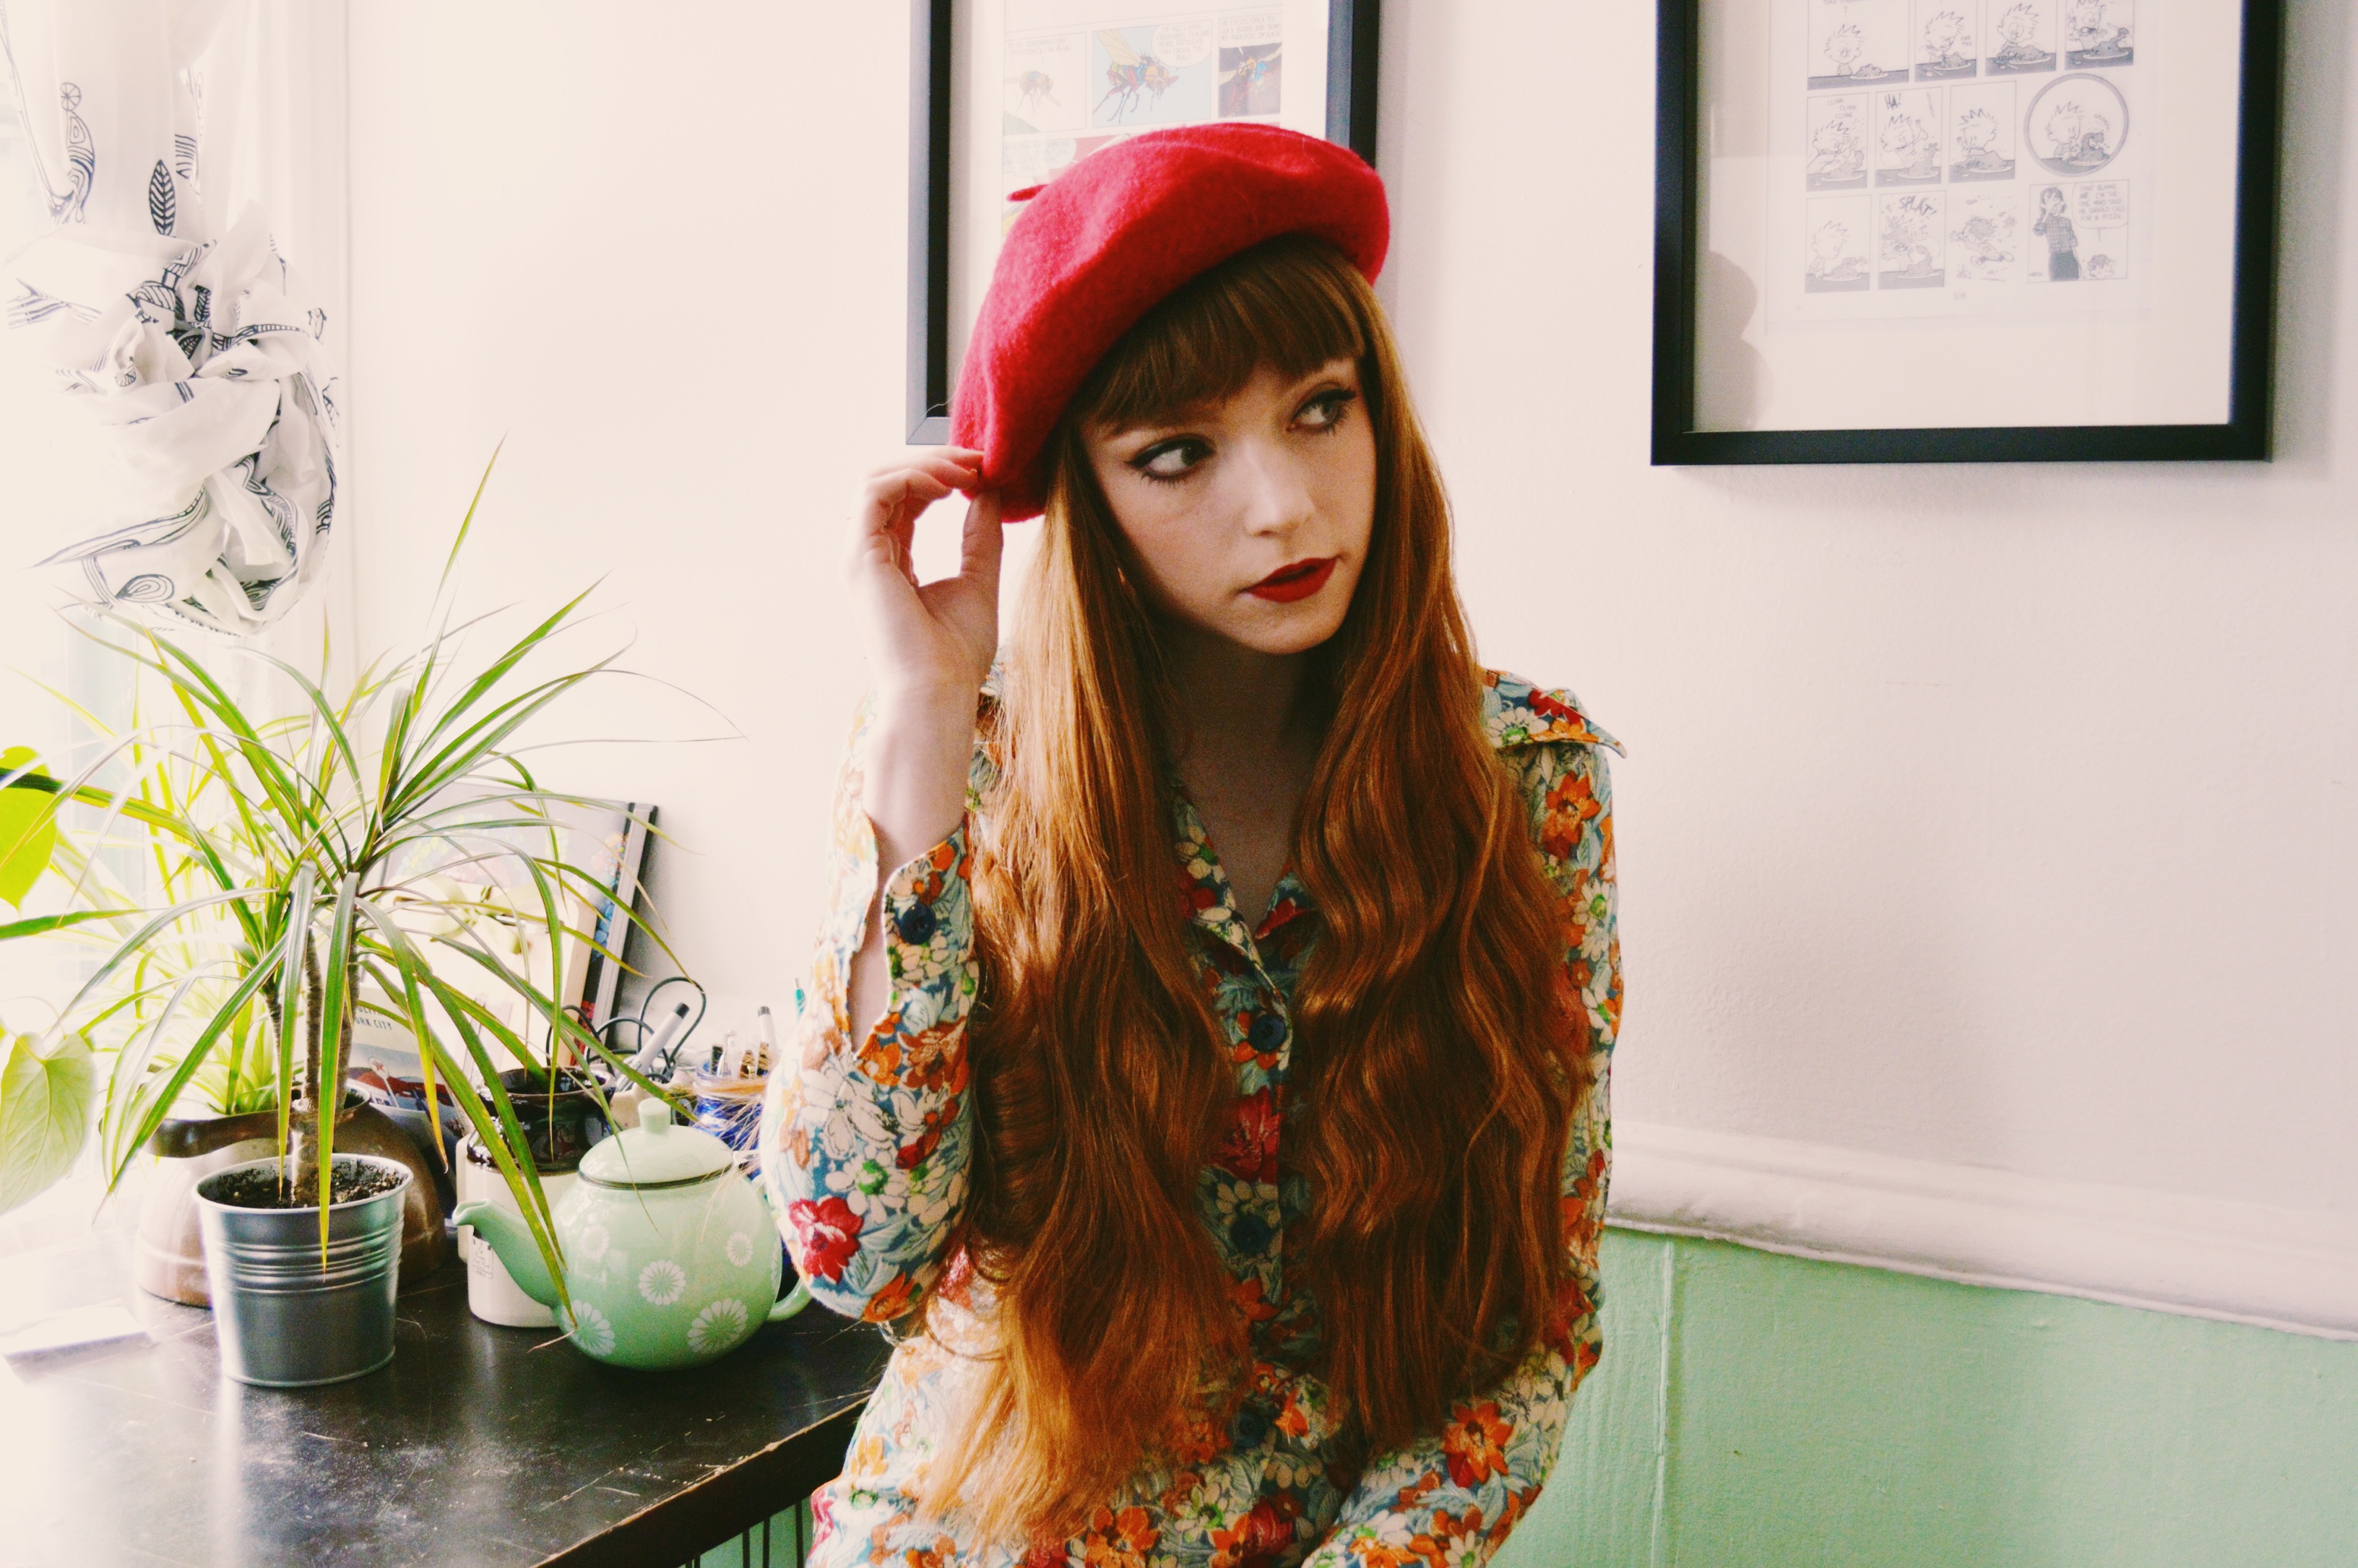

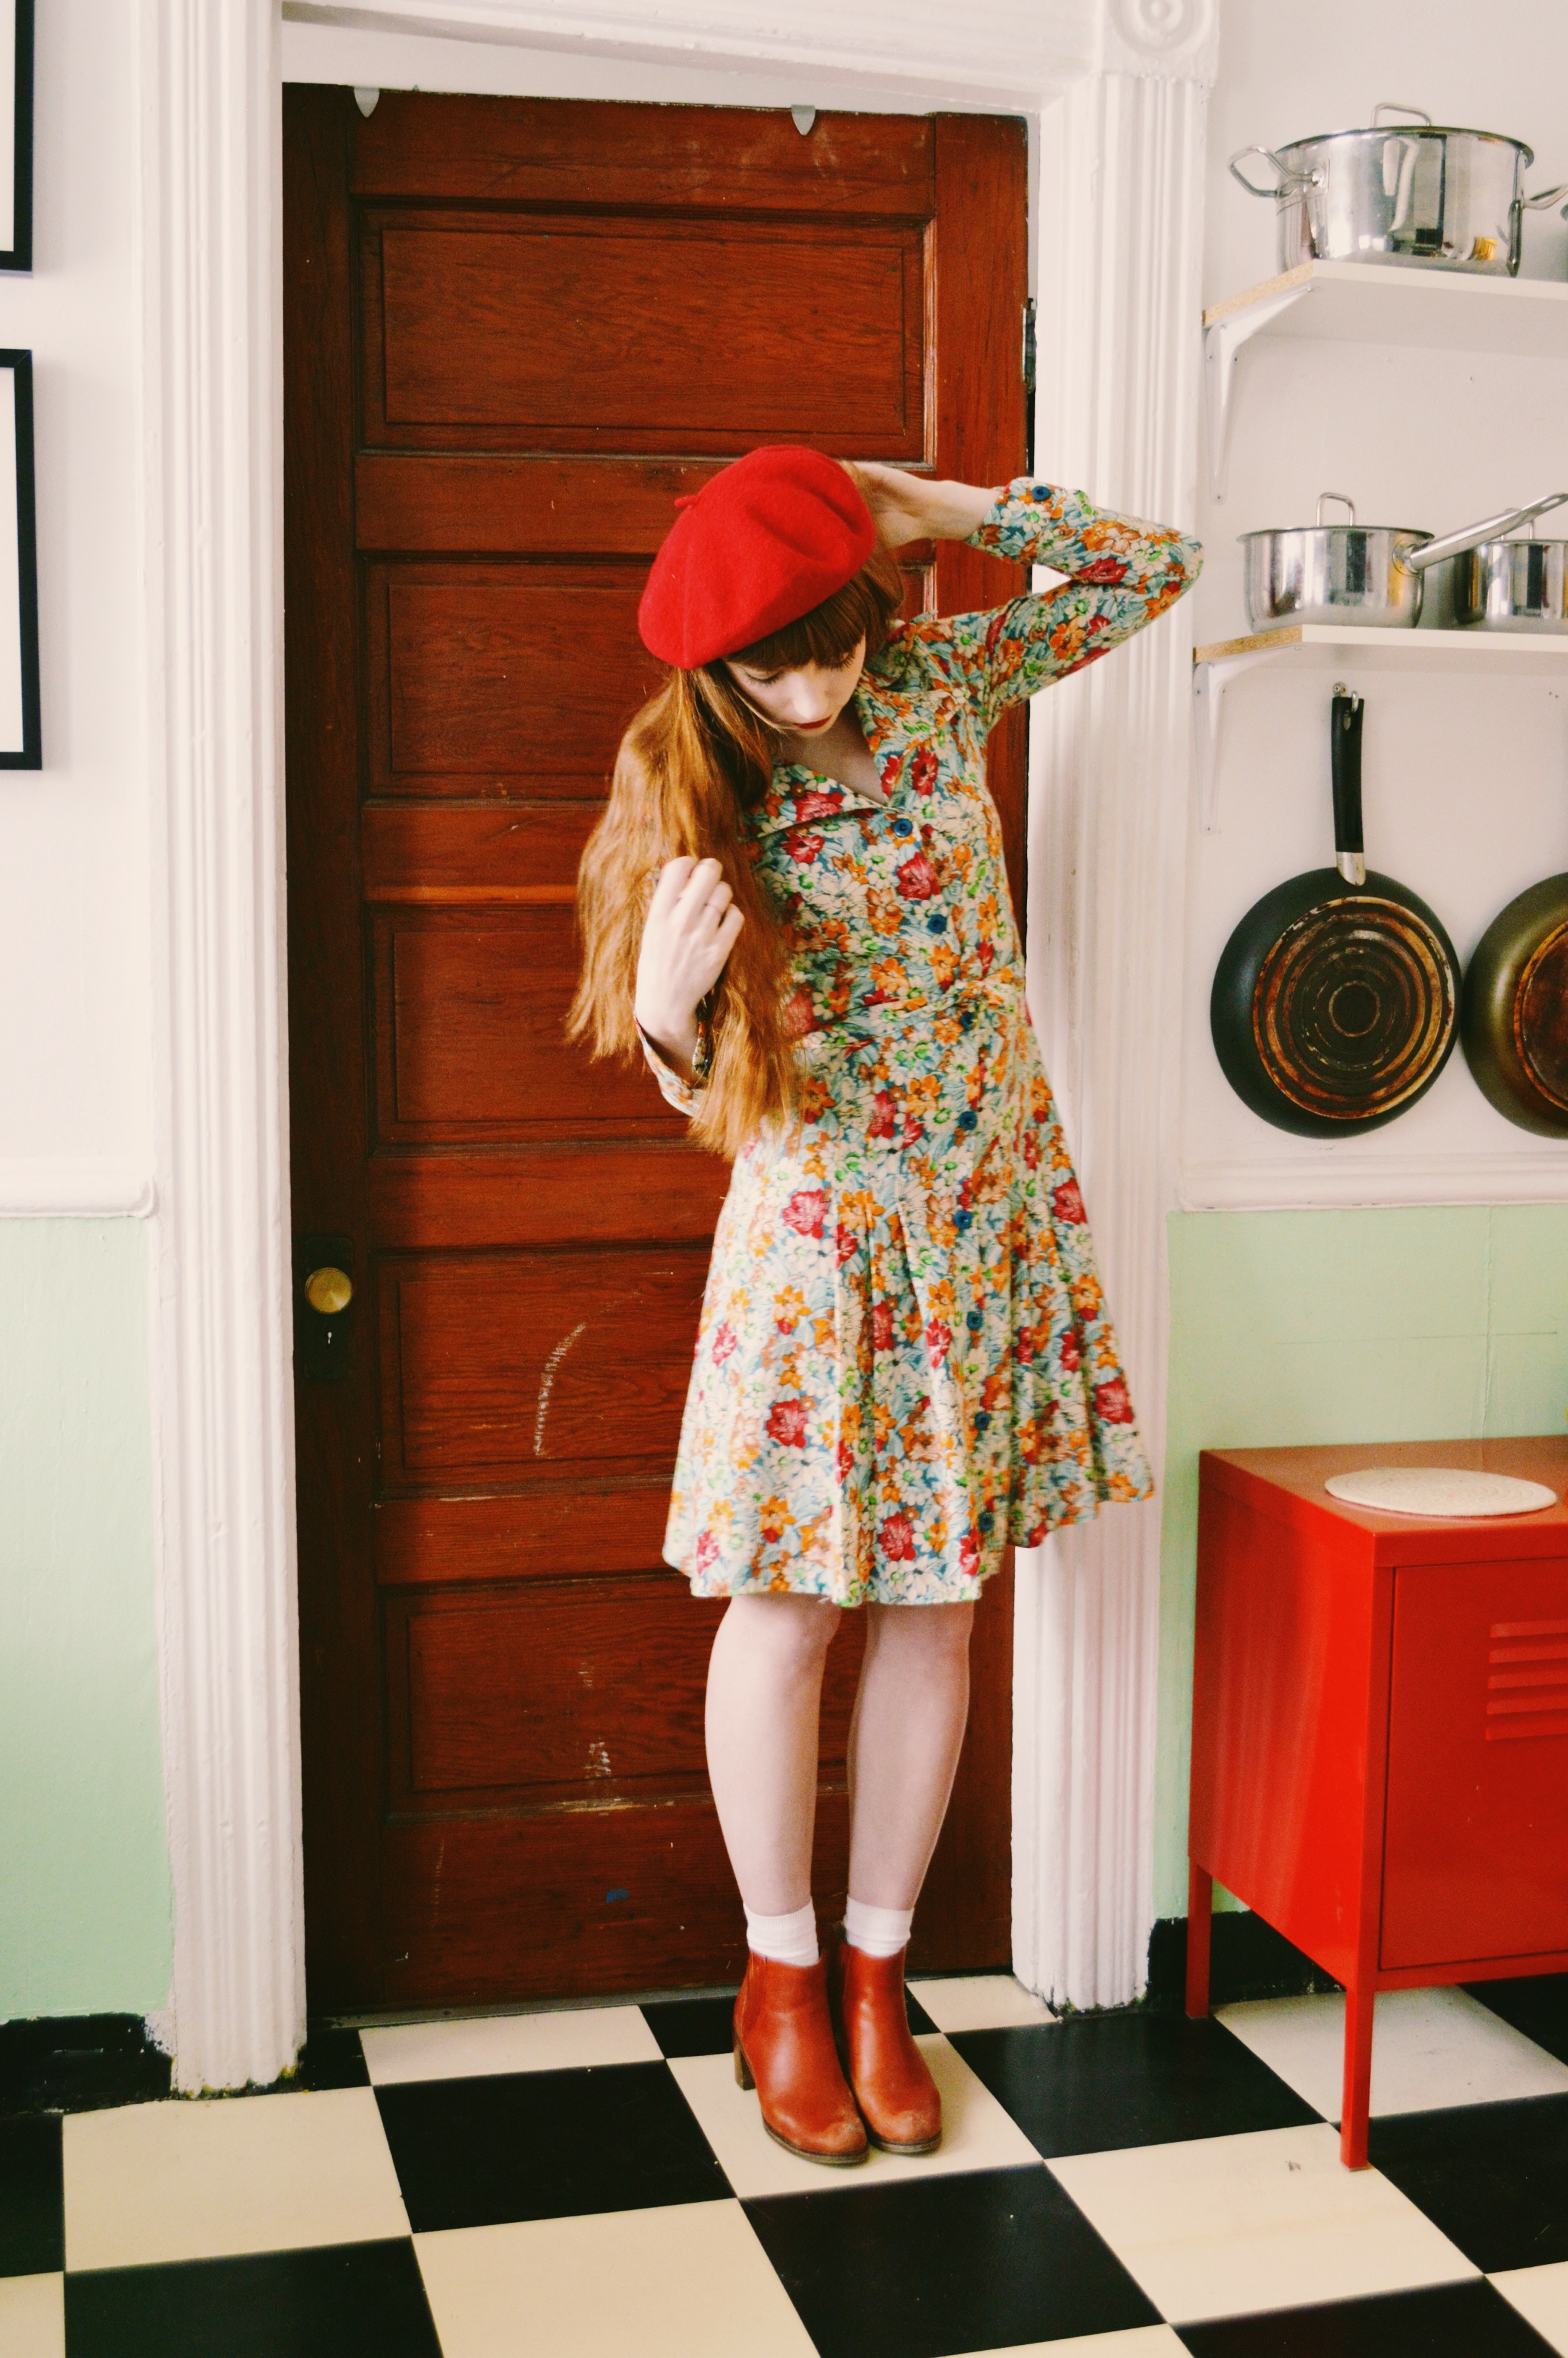

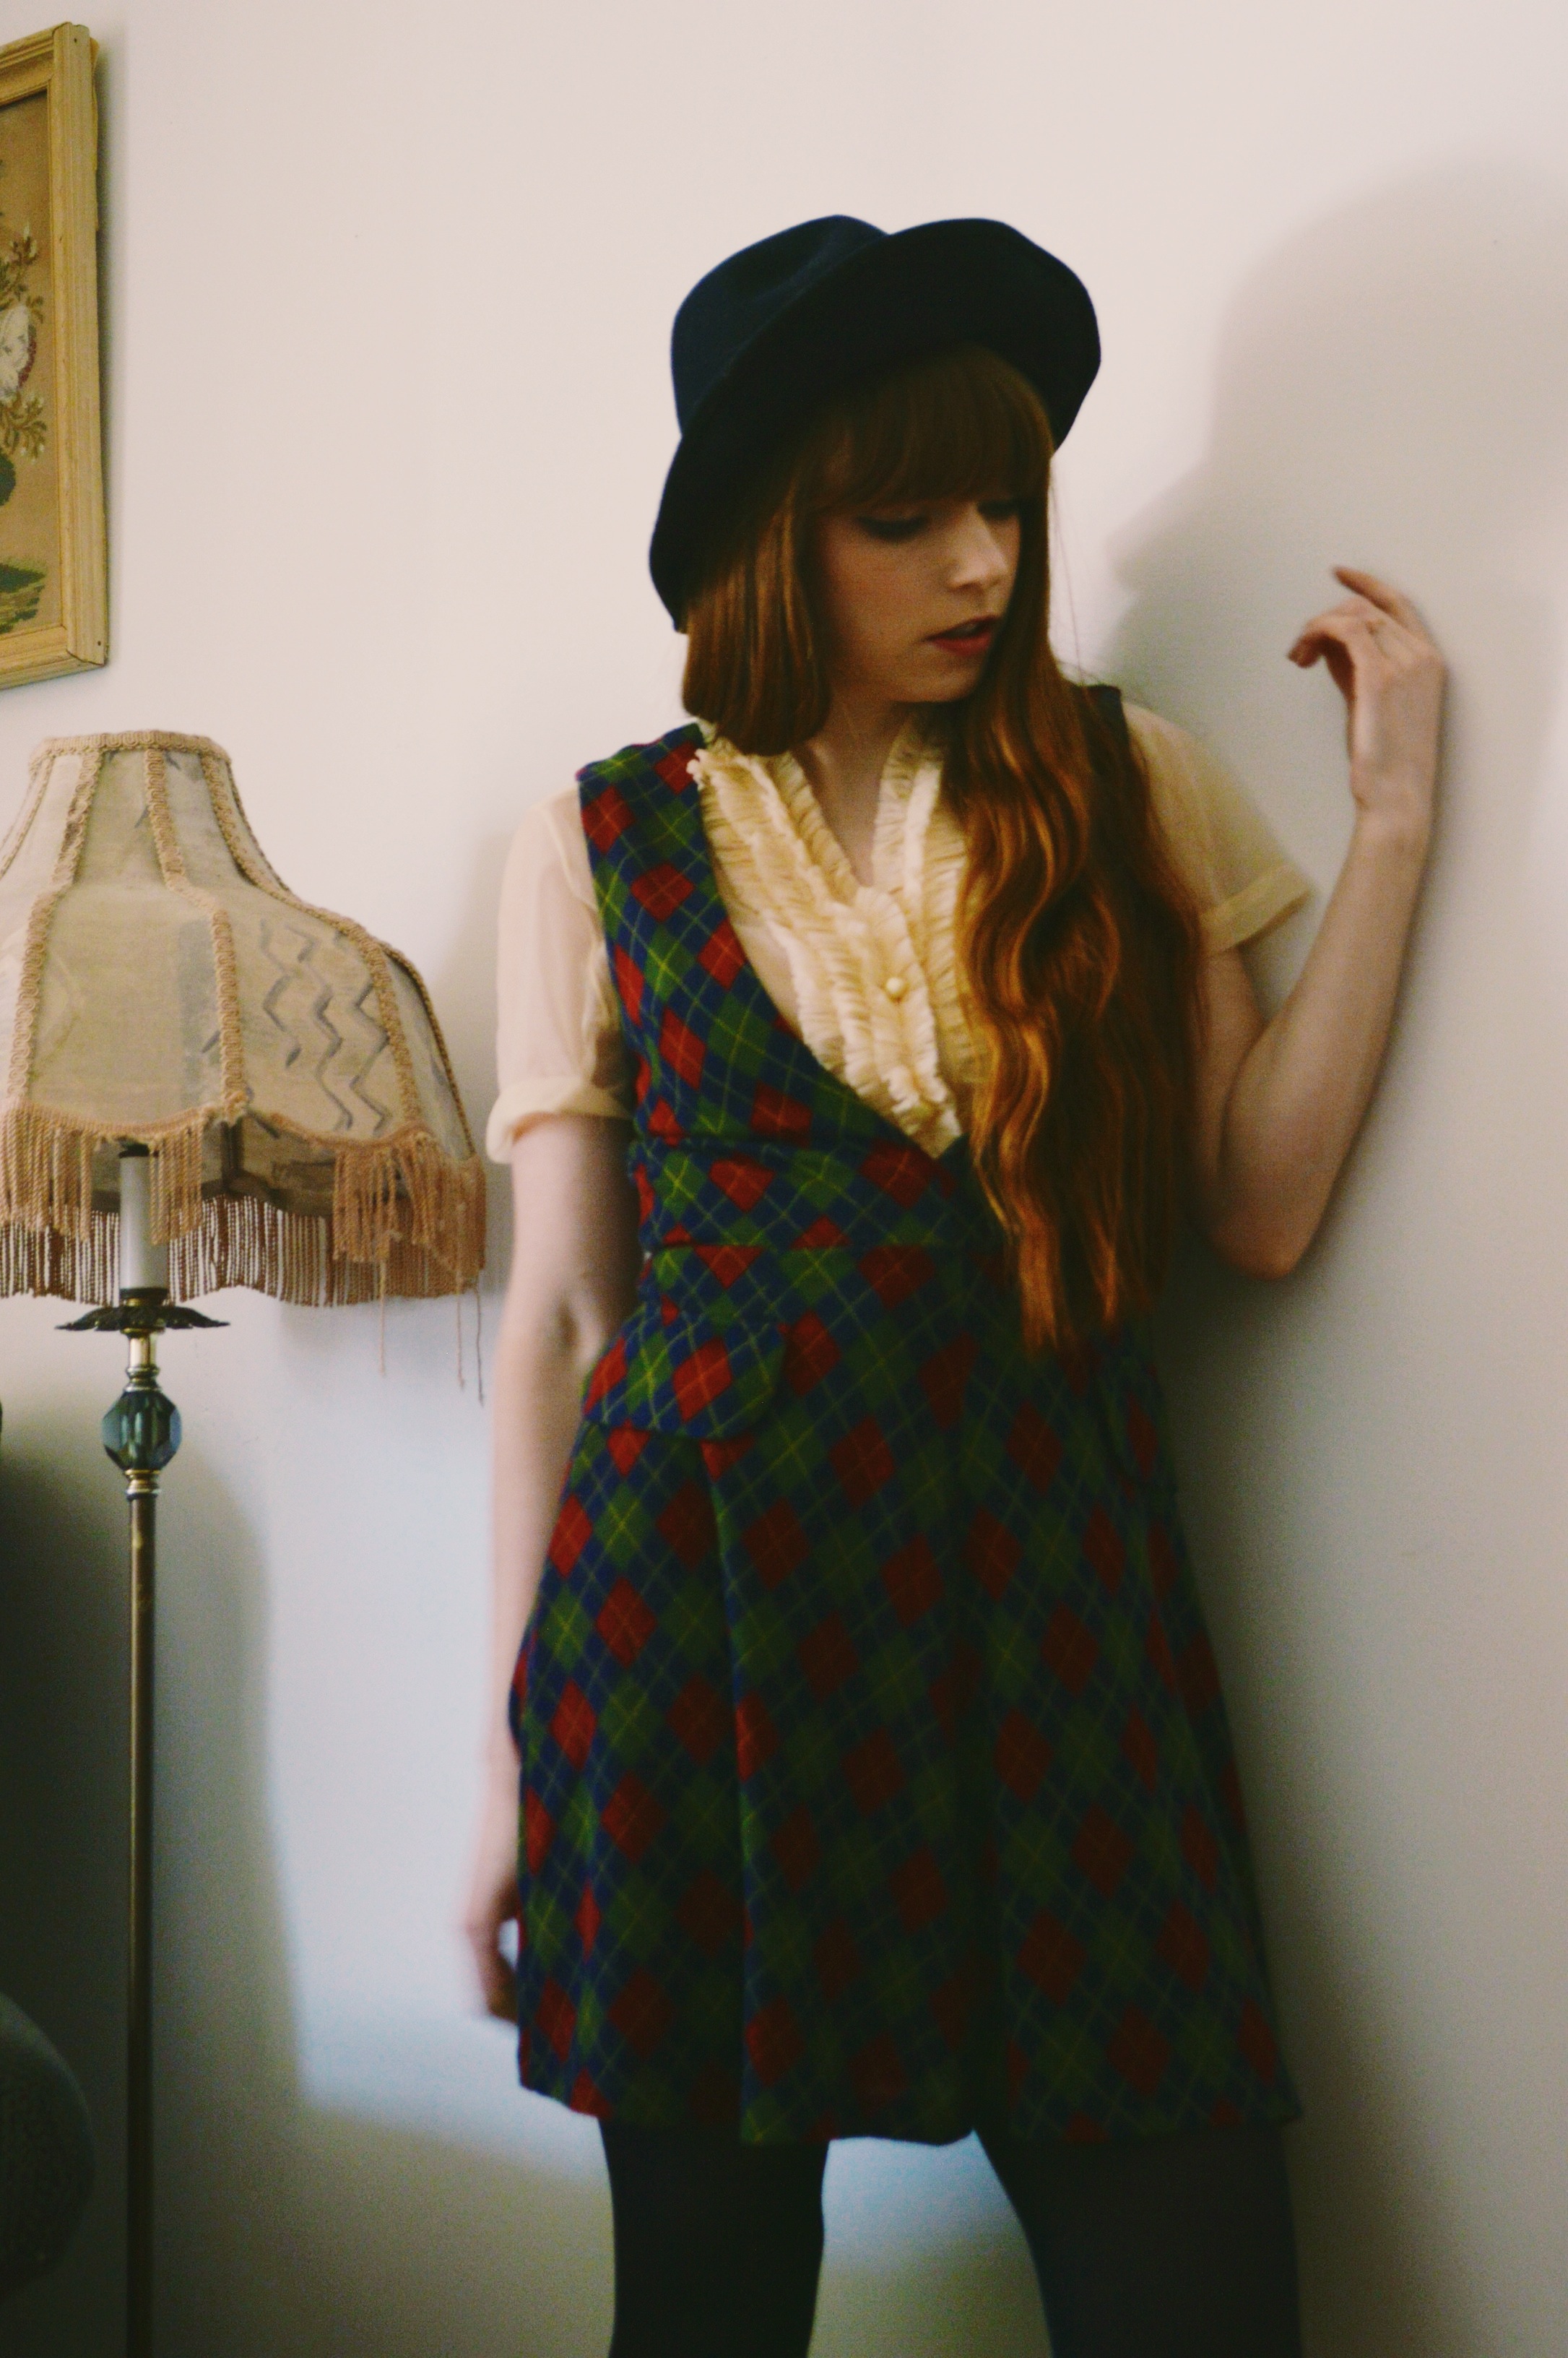
 Dress: vintage via Empire Exchange