
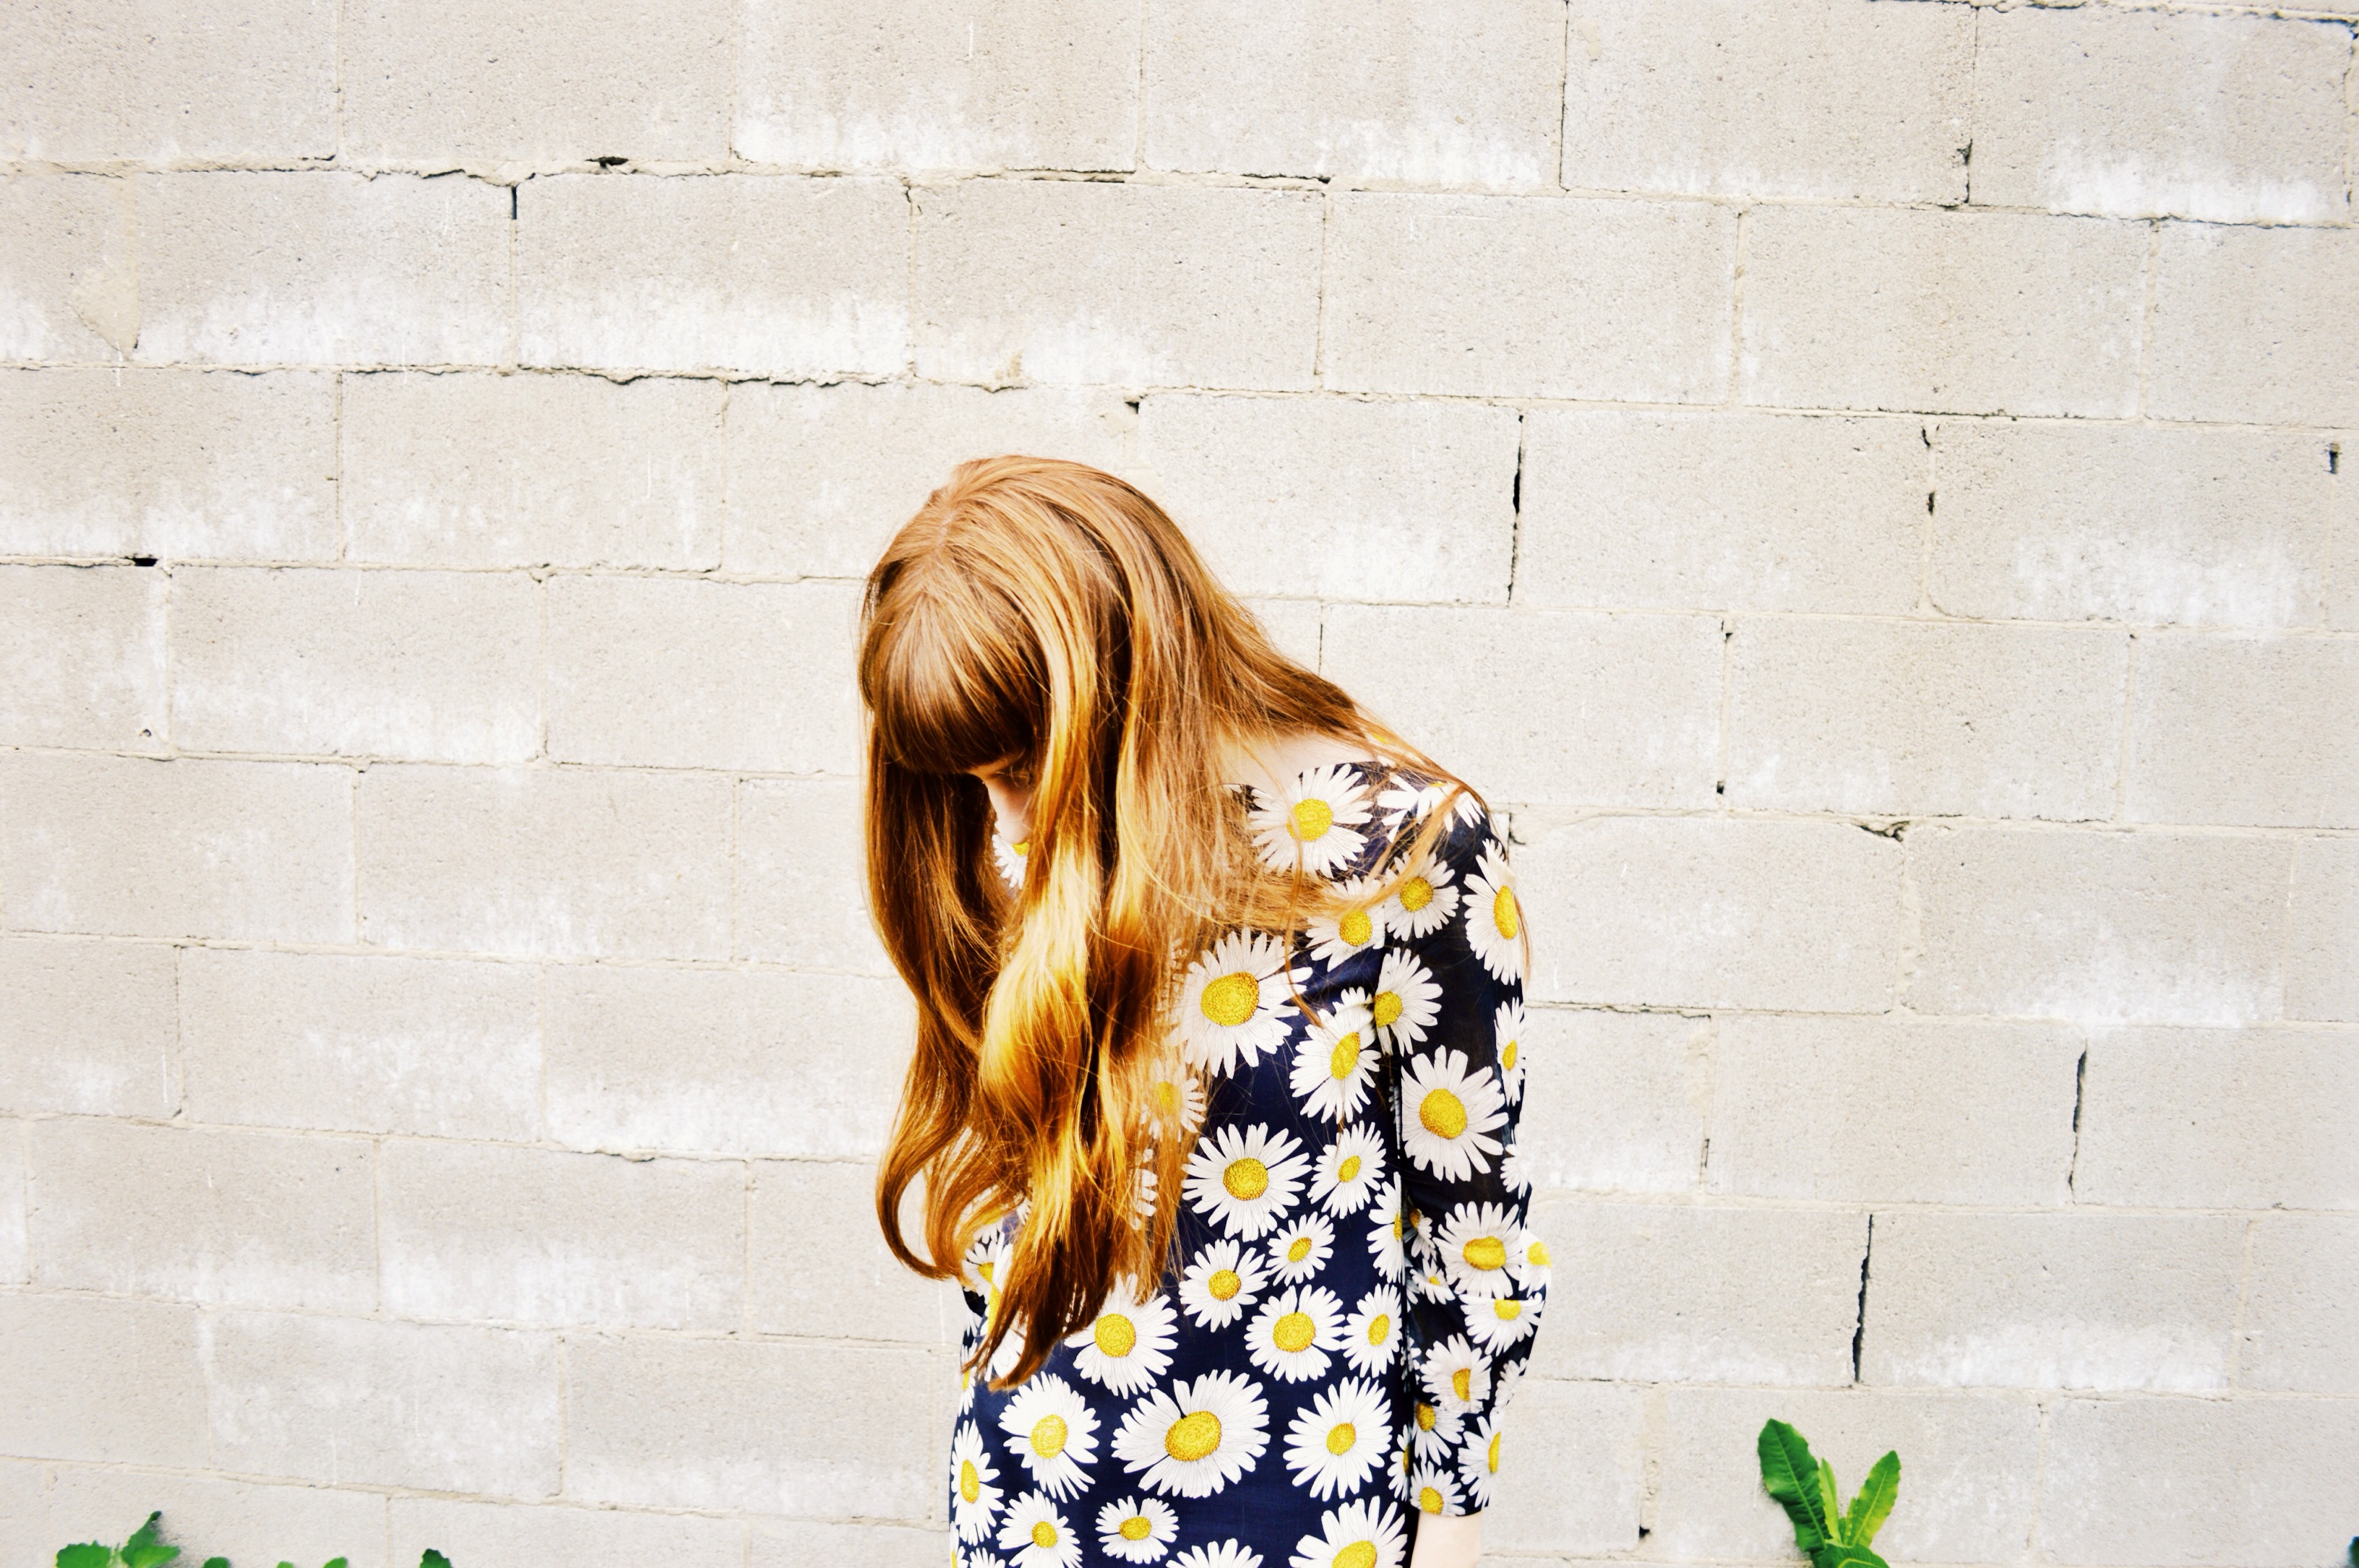
 You know those people who change their hair whenever they are going through a life
 crisis transition? Well I’m one of those people, kind of. I’m also one of those people who likes treating myself to something new, whether that’s material or otherwise cheese danish, when I am feeling a bit blue. The last few months have felt exhausting in so many ways, and while there have been many positives, I started to grow tired of the same old, and so I resolved to cut some inches off these locks, at some point, just to change something, in some way. There is just not much you can do about some things in life, but hair, well there is always something you can do. Now, you’re probably thinking, okay Alex, it doesn’t look much different, and you would be right. But it’s shorter, a lot shorter, which is really a testament to how goddamn long my hair was before. In the 4 or so years I have been growing my hair I have cut it exactly one time, and that was a tiny trim. There is this weird thing that happens when you have long hair, especially long red hair. No one ever wants you to cut it. Your hair becomes a matter of everyone else’s opinion and it starts to feel like not your own, but also the very thing that defines you. Having long red hair can sometimes feel like my only discernible quality. Like, people would be horrified if I dyed my hair (which I have before, for years, and I don’t regret it), and people would also be confused if I cut my hair short. Knowing all these things, and having my life so public on the internet and having so many people comment on my appearance daily, it does actually affect your everyday, offline life. I have actually been a bit scared to cut my hair in any big way for fear of what people would think, which is absolutely silly, but it’s the honest truth. So instead of allowing myself to feel pressured by everyone else’s feelings about the very hair on my own head, I decided to go ahead and cut several inches off. The difference is actually not as noticeable as I wanted it to be, but who knows, maybe this is a slow step toward a much shorter look. I’ve always had this dream of styling my hair in perfect 50s pincurls, but with long hair, it’s nearly impossible. One of these days, guys. One of these days.


 If you live in Toronto and are looking for a great hair salon, I highly recommend The Proudest Pony. My stylist is Micaela and while this was my first time meeting her, I adored her instantly. The attention she paid to my hair and my wishes was on point and awesome.
Category: Beauty
Beauty / 1930s Makeup
 I’m fairly familiar with 60s makeup, but I have never really given styles from other eras a go, so when I found this image of a 1930s look, I thought it would be the perfect inspiration for this post. This look is made up of thin, somewhat rounded eyebrows – which I will admit was difficult and not as good as they could have been because my eyebrows are on the thick side – dark eyeshadow, plenty of eyeliner, blush galore and red lips with some dark shading. Overall, I really enjoyed this look and I’ll probably wear it more regularly now. I am however a bit disappointed with the lighting in these photos. I almost wanted to re-shoot these when I was editing them, but for once, I didn’t let my perfectionism get the better of me. It’s just unfortunate because the lighting washed out one side of my face, making the blush look less pronounced on the one side. Now more than ever I am wanting to get proper lights for when I shoot images like this. But, c’est la vie, for now. You get the idea and I hope I can inspire you to recreate this look yourself.
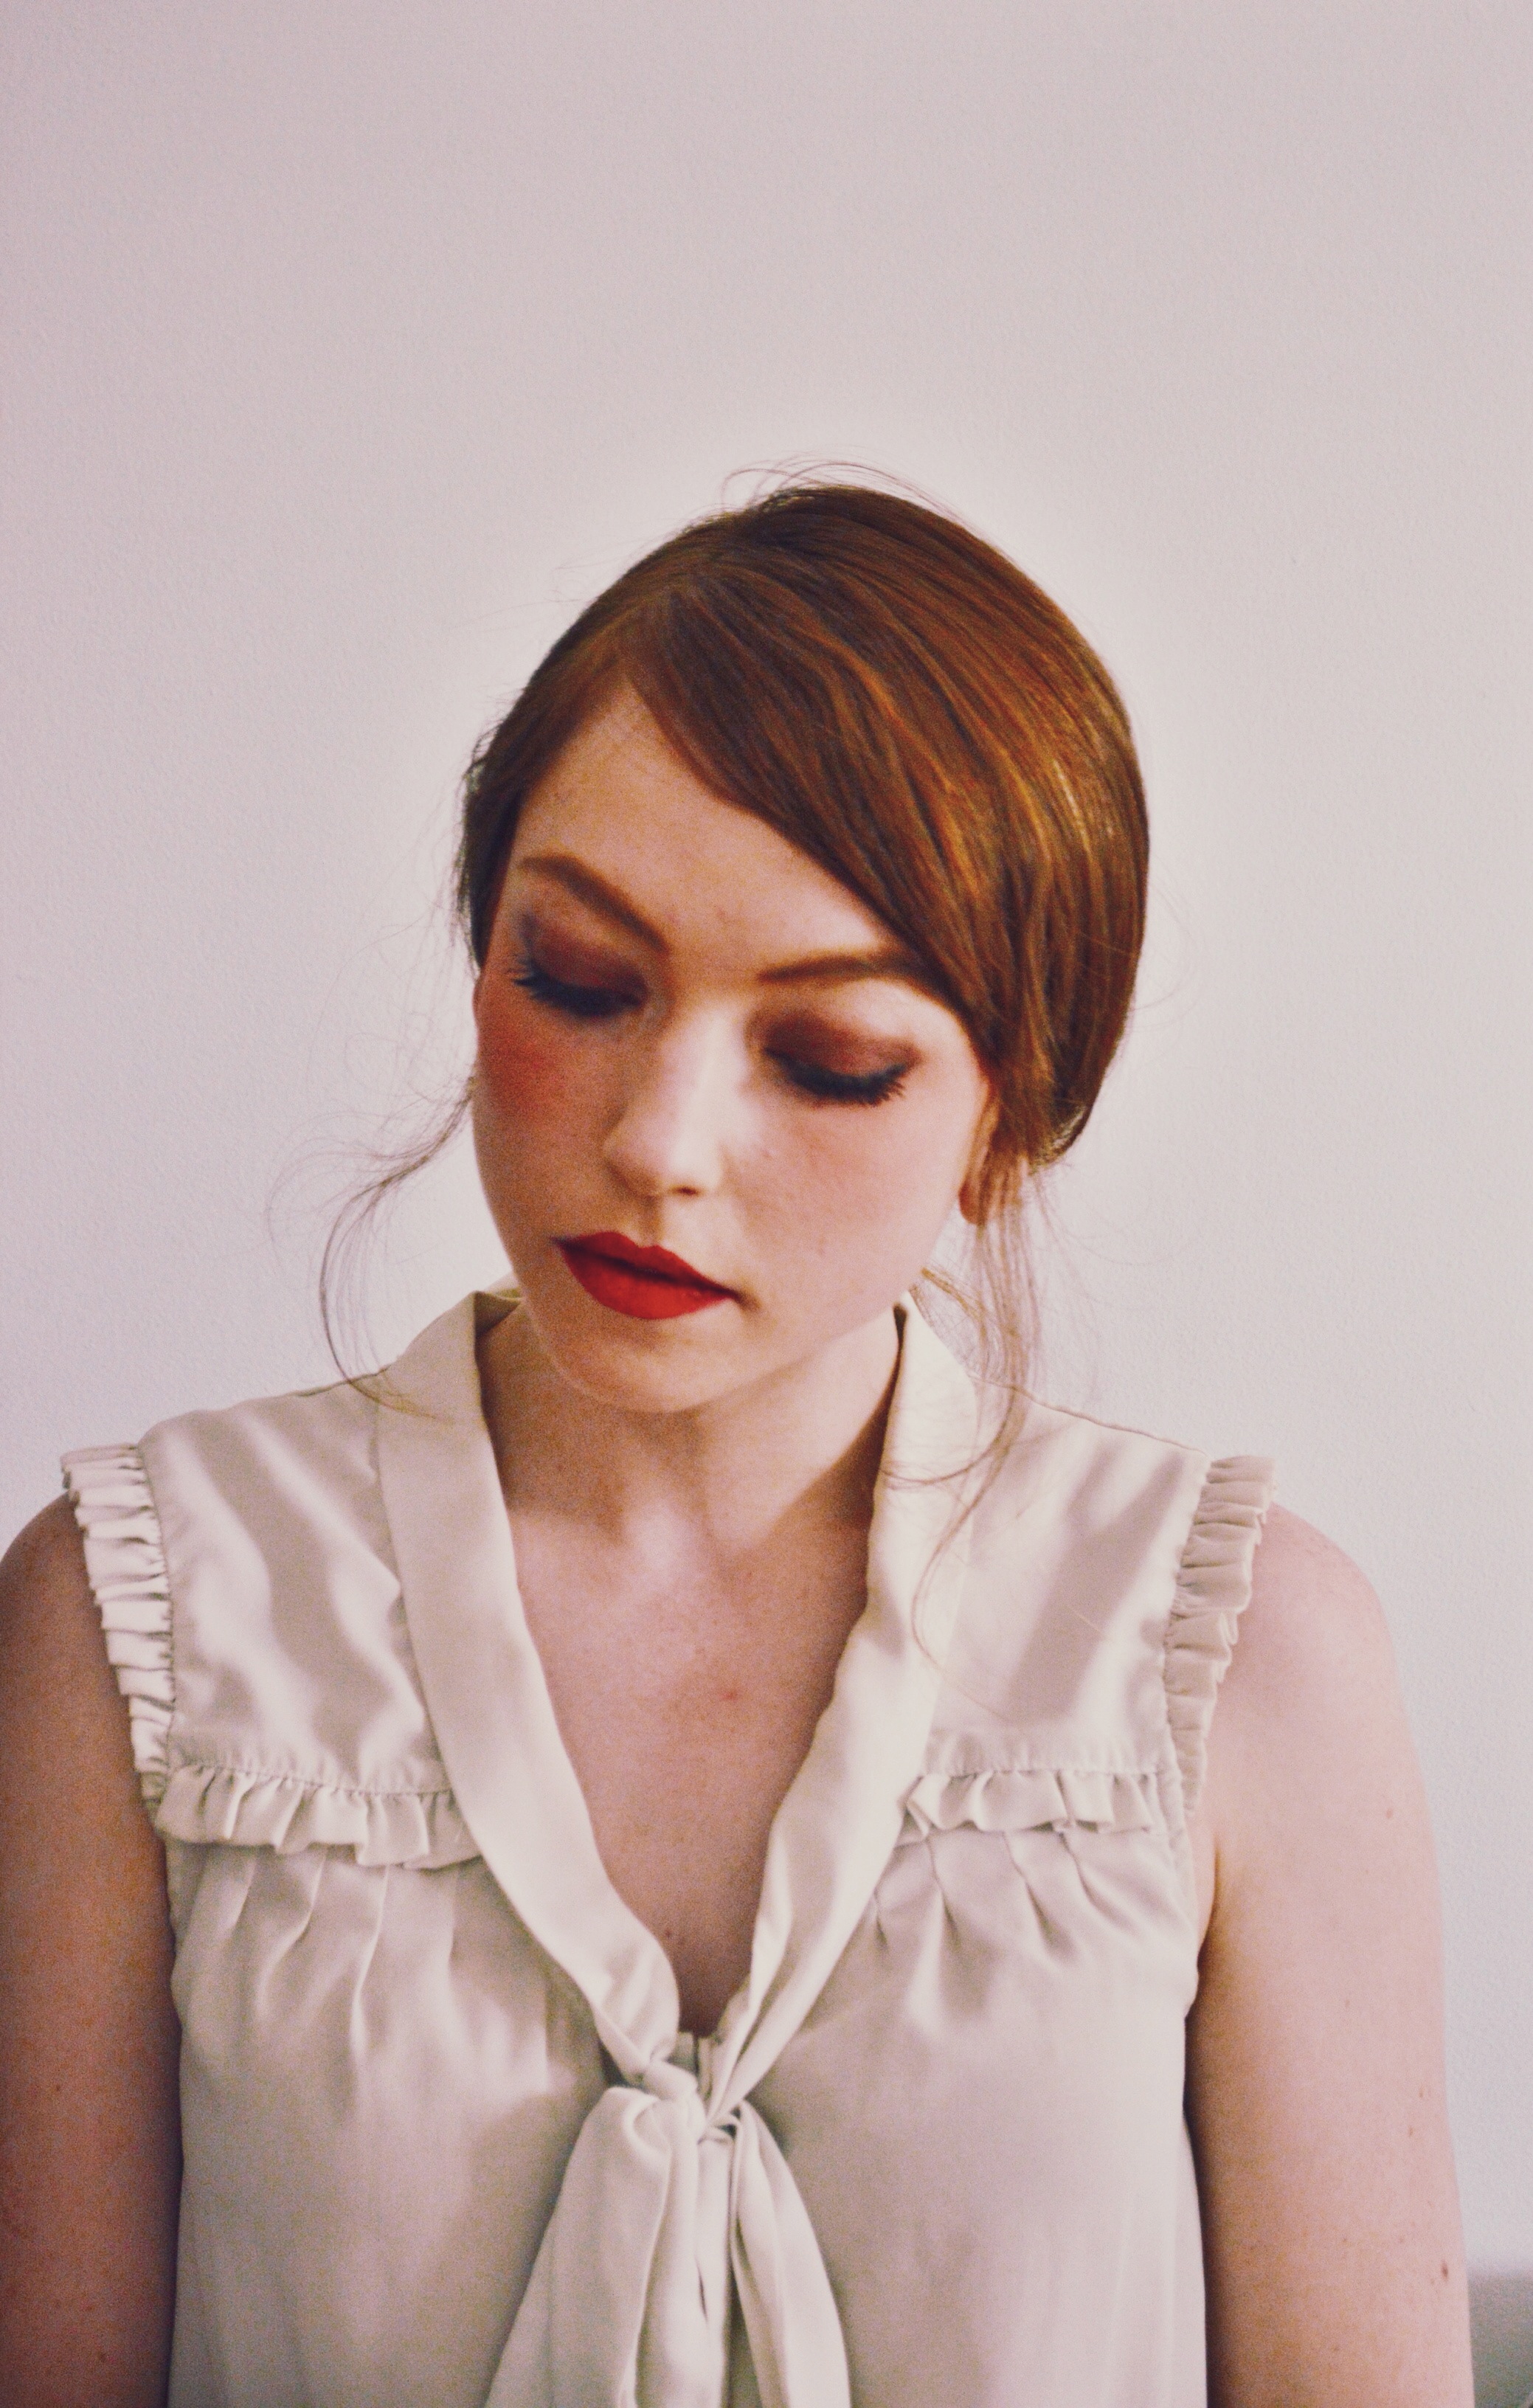


 GET THE LOOK
1. Start by applying your usual foundation, concelear and powder routine – I used Bourjois 123 Perfect foundation, Rimmel Wake Me Up concealer and MAC Studio Fix powder in NW15
2. Using an eyebrow pencil, followup the natural shape of your brow, giving them a thin, rounded shape (as best you can, for those who have thick brows) – I used Marcelle pencil in Blondine
3. Highlight under your brows with a light eyeshadow (ie, white, cream) and blend. Apply a grey or black shadow to the lid, blending throughout, giving a subtle smoky eye and make sure to apply some to your bottom lid – I used Revlon Illuminance Cream Shadow for a highlight under my brows and I mixed a brown and purple shadow for my lids
4. Apply black pencil eyeliner to your top and bottom waterlines, and then apply your mascara to only the top lashes – I used L’Oreal Telescopic Shocking Extensions Mascara
5. Add plenty of blush to your upper cheek bones, quite close to your under eyes. This is the most pronounced part of the look, so don’t be skimpy on that blush – I used Revlon blusher in Melon-Drama
6. For the lips, using your brightest red, outline your lips with a lip liner and then fill in with your red lipstick. Now, to achieve the dark look in the corners of the mouth, apply a tiny bit of black eyeliner pencil to the corners and blend it into your red lipstick with your finger – I used MAC So Chaud lipstick and liner
7. I did not use any bronzer for contouring, so instead I used a face highlighter down my nose, on my forehead and chin to lighten my face up a bit. – I used Revlon Photoready Skinlights face illuminator in 200 Pink Light
And that is it! Let me know if you recreate this look, and do let me know of any other makeup looks (hairstyles, whatever) you’d like me to try.
Beauty / Notre Dame Apothecary
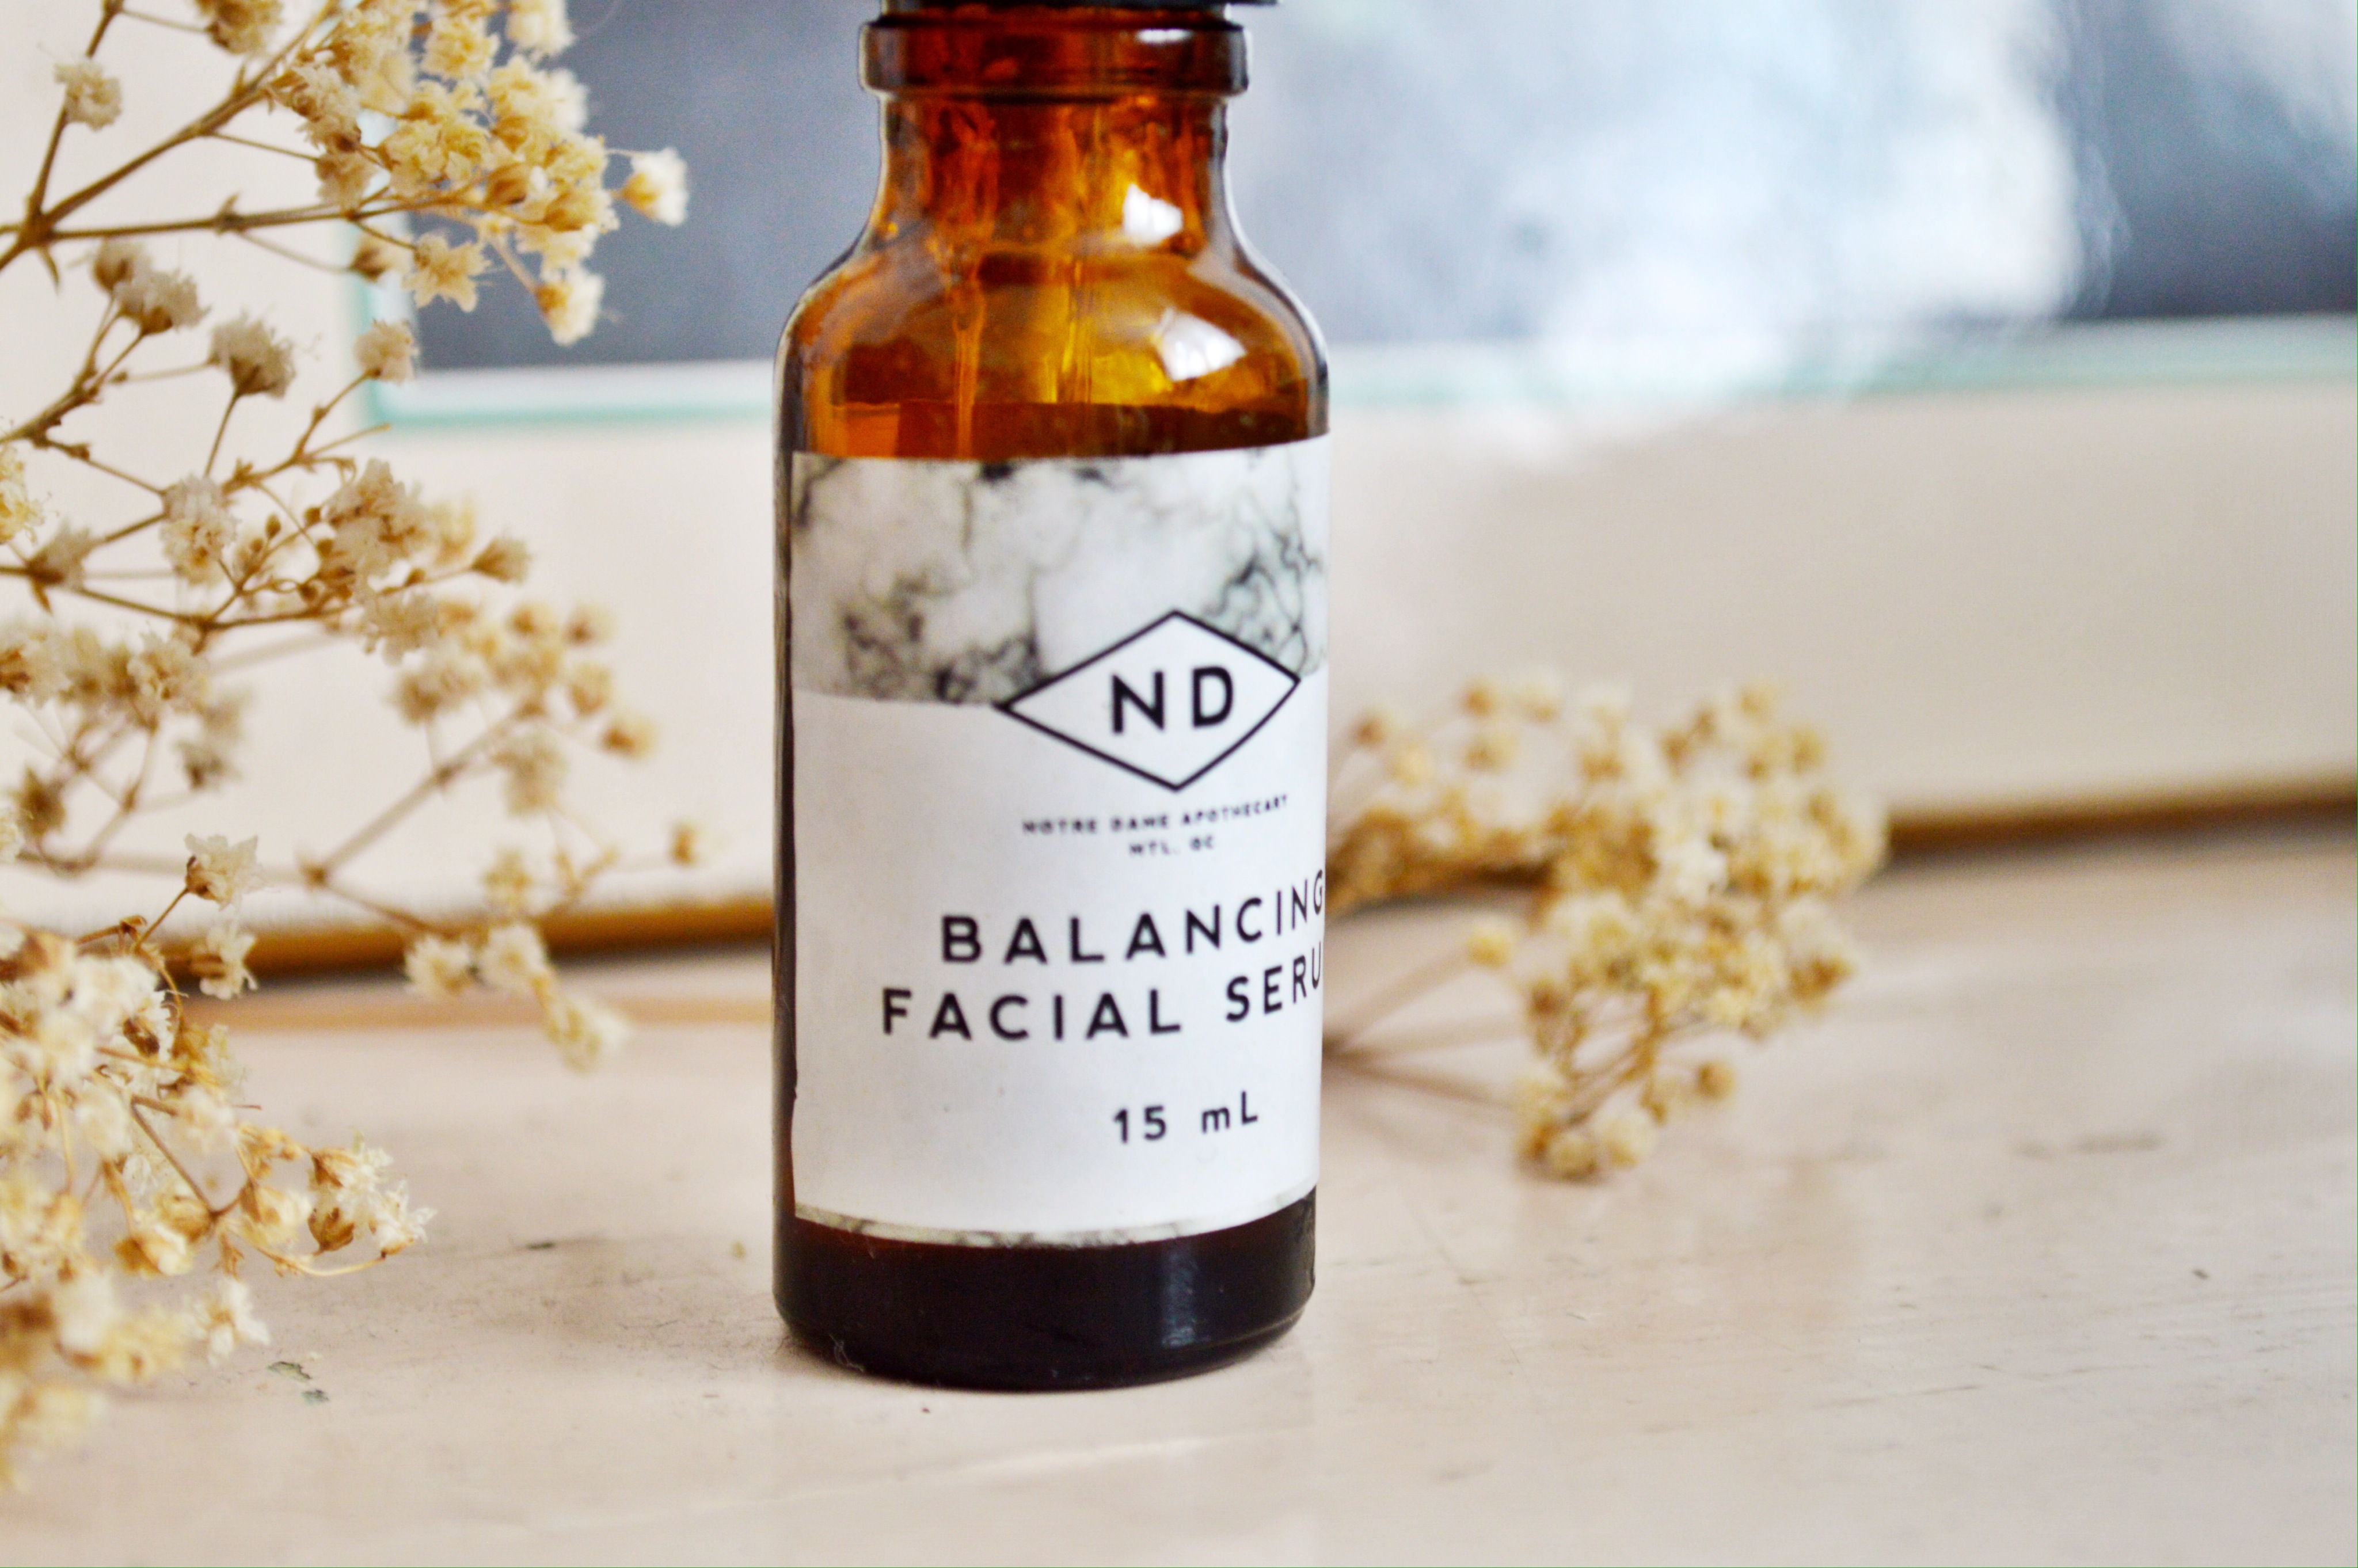
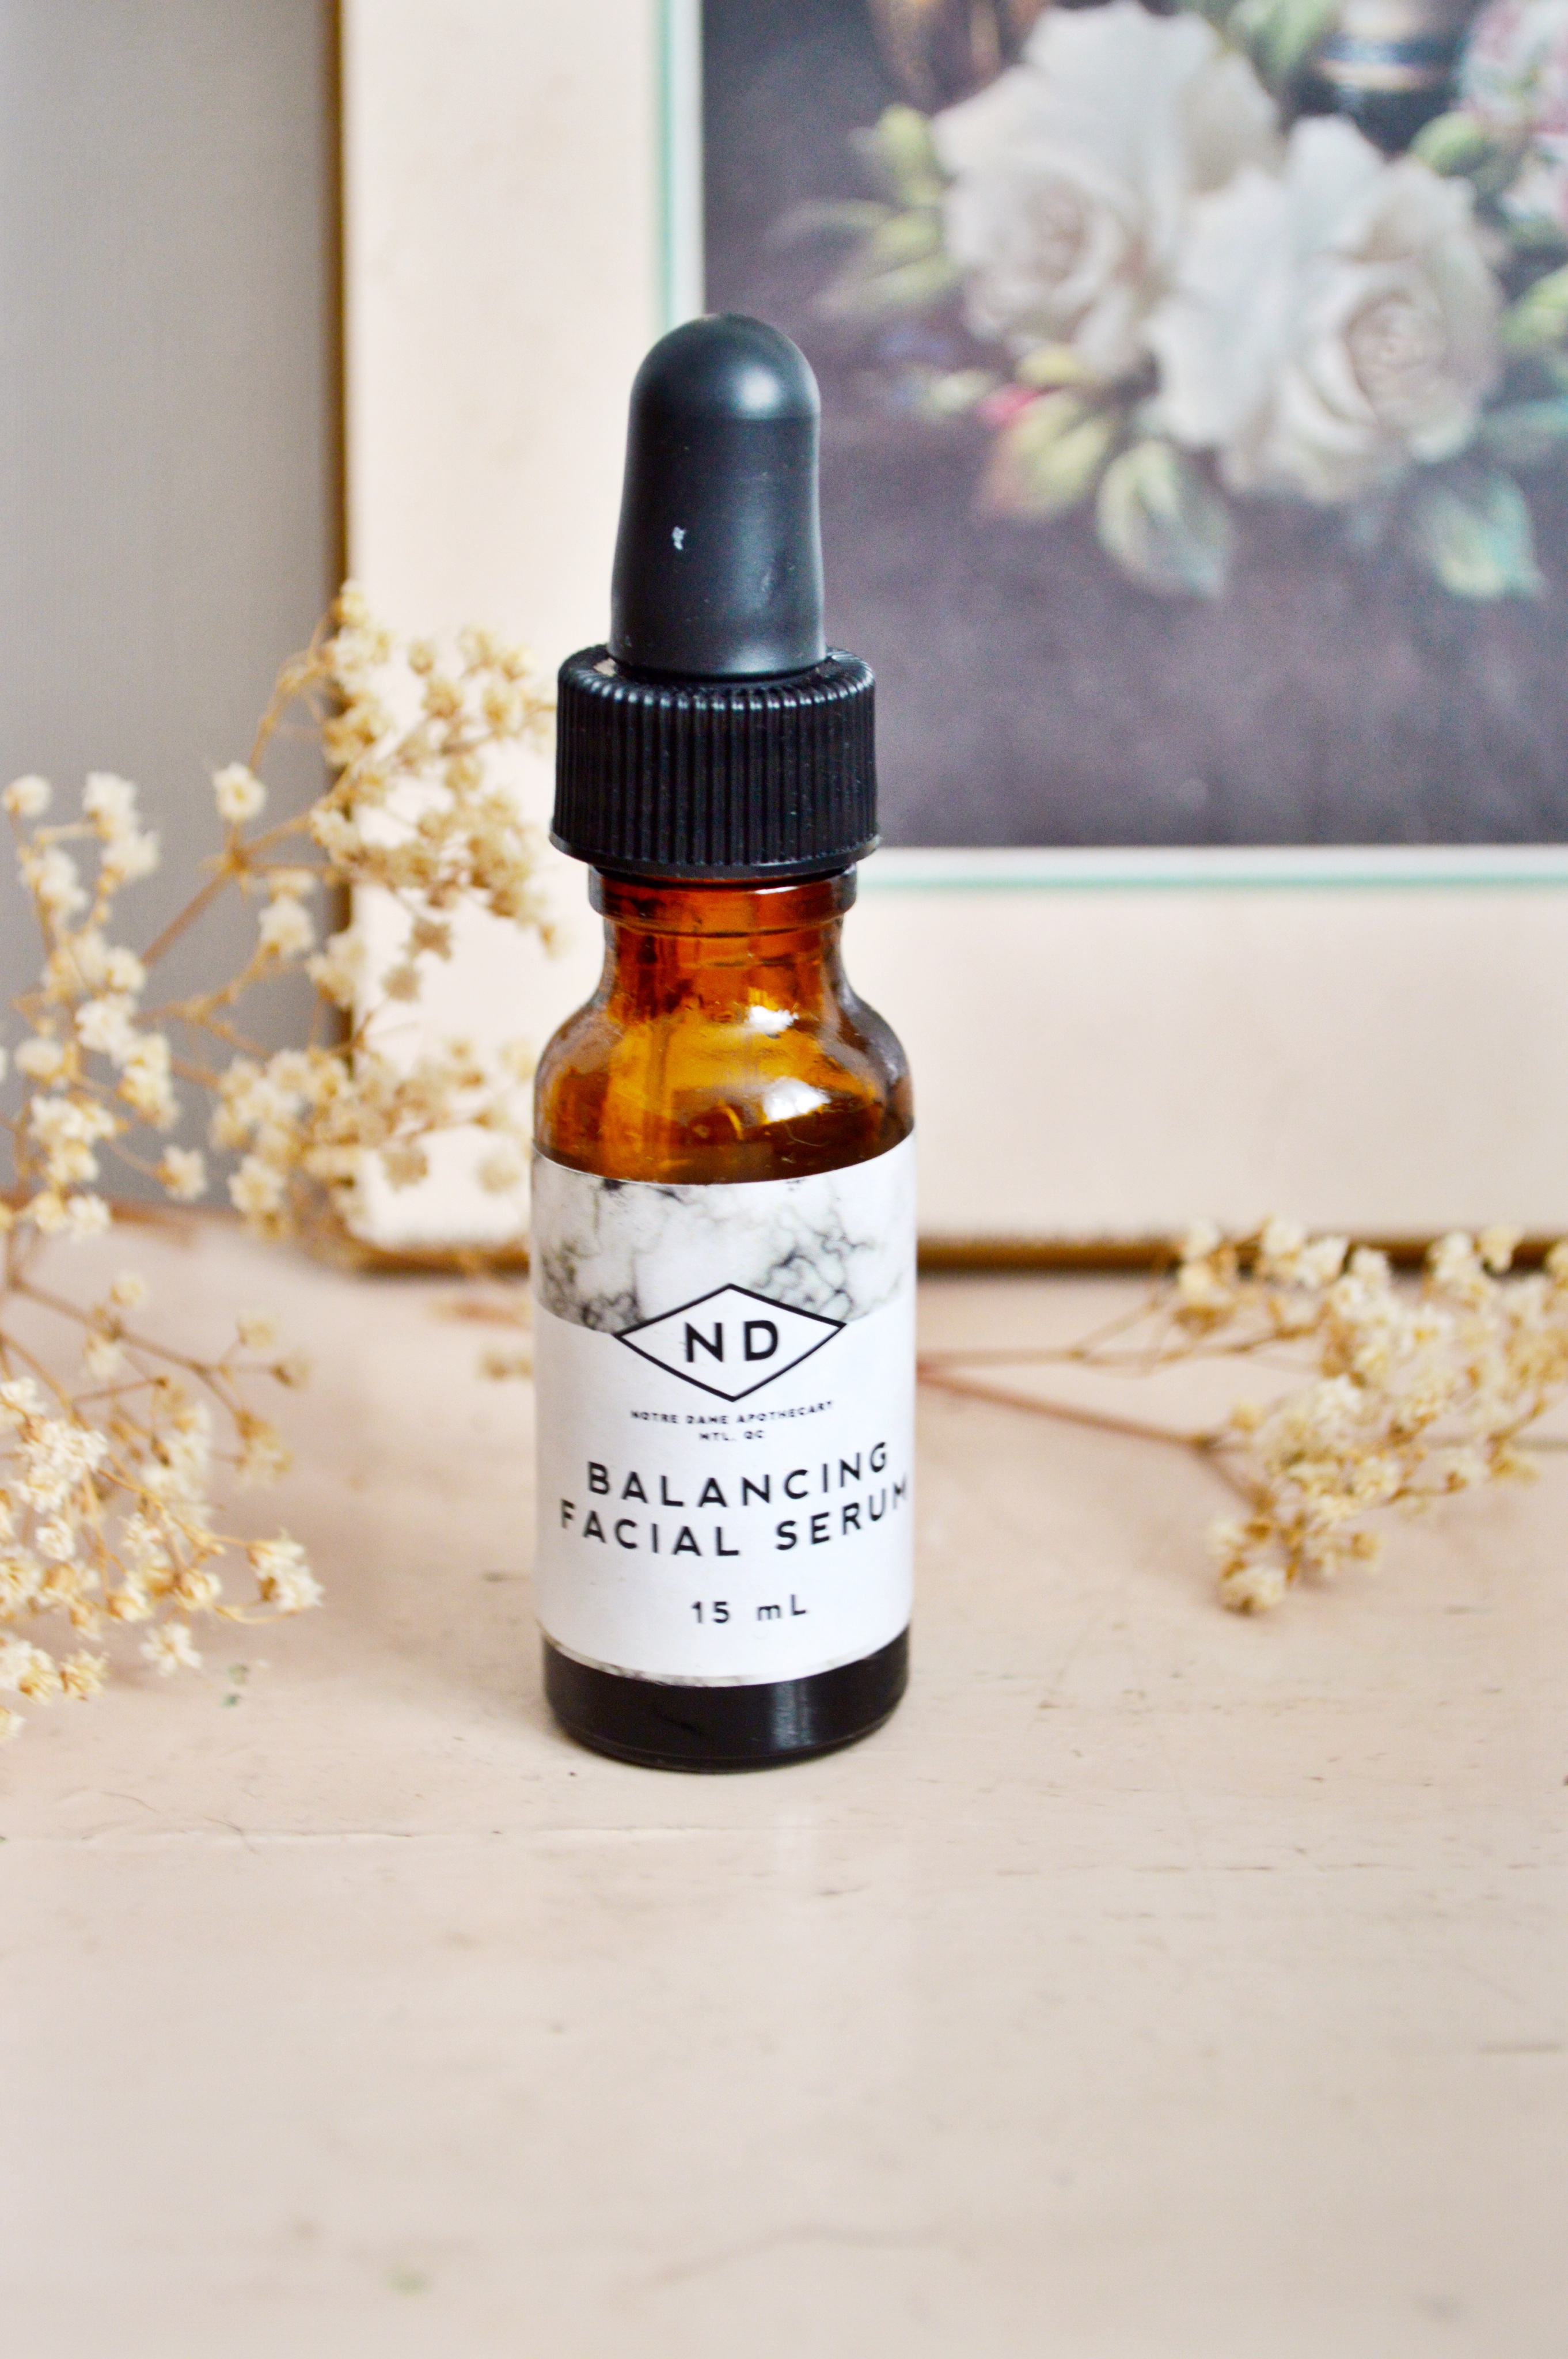
 I’m often amazed with the wonderful things my talented friends do/create, and Montreal pal Stefanie Anderson is no exception. In 2014 Stef began studying Holistic Aromatherapy and from that was born her all-natural (and cruelty-free) essential oil based product line, Notre Dame Apothecary. My interest in skincare has really increased recently, so when Stef handed me her Balancing Facial Serum to try I was like a kid in a candy shop. I genuinely love this product, and I’m not saying that because Stef is a friend. Containing selected oils such as rosehips, jojoba, neroli, frankincense, geranium and roman chamomile, this product is liquid magic (imo).
While my skin is fairly blemish free most of the time, I do get zits right before my period and they tend to linger for much longer than I’d like. I had recently bought Mario Badescu Drying Lotion to help with the break outs, but honestly, I don’t love it as much as everyone else does, it’s okay, but it’s not amazing (everyones skin is different though). Stef gave me this right during the time when I was having a breakout, so that evening I applied the oil on it’s own – no drying lotion – and went to sleep. I awoke to a face that felt smooth, the redness of the zits had gone and they amazingly seemed less inflamed (ie., not painful). I now apply morning and night in place of a moisturizer and I think it works just as well, if not better, at keeping my face hydrated throughout the day. I was always weary of facial oils – I mean, it seems weird to put oil on your face – while my face does get fairly dry, I worried that oil would make it greasy and cause insane breakouts, but that is just not the case, at least for me. When I use this product I really feel like I am caring for my skin, and that gives me a real sense of gratification. Needless to say, it will be staying in my daily skincare routine, forevermore.


Beauty / So Chaud by MAC
 The lipstick I wear most often – and probably my favourite shade of late – is So Chaud by MAC. I actually got this lipstick for free after bringing back some empties to MAC (for their recycling program) and I asked one of the gals there to suggest a colour to me (I’ve never been that great at picking lipstick shades for myself, it’s always just standard red), and she couldn’t have been more spot on in her pick. It’s a creamy matte lipstick in a red/orange shade, and while a lot of people find mattes drying, I don’t find this one to be that bad, but that’s just me. The red with orange undertones is oh so perfect for my skin tone, and I like that in low lighting it looks quite red, but in bright lighting it has a definite orange tint to it.
How I apply lipstick.
When I apply my lipstick I make sure to put some chapstick on first to help with any drying the lipstick may cause, and then I always outline with a lip liner in order to really bring out the shape of my lips and to have the most precise application. From there I just fill in my lips and then using a kleenex, I put that between my lips – giving it a little peck – to take off any excess lipstick, which I also think it helps to make it last longer. After that, I do one more application of my lipstick, and I’m done. Easy peasy.

Beauty / Brigitte Bardot Inspired Hair
 Brigitte Bardot has been a long time style and beauty icon for me, so I thought it was due time I try to emulate one of her iconic hairstyles. I actually ending up loving this look alot (you can see I sported it in my last style post), and I’ll probably end up doing it on a regular basis cause it’s so flippin’ cute and pretty easy to do in a pinch once you get the hang of it.


 GET THE LOOK
1. Loosely tie your hair into a half pony tail high on the crown of your head. Make sure it is a bit loose so we can achieve that slight beehive look in the next step.
2. Holding your ponytail, push it forward creating a messy bump (or beehive) in the hair pulled back, and then fasten some bobby pins underneath the hive to hold the look in place.
3. To achieve a more messy look that is so very Bardot, pull some of the pieces ever so slightly on top of your head to add more volume to the beehive.
4. Tie a ribbon or piece of fabric of your choice into a bow around the pony tail – mandatory step for Brigitte Bardot goodness.
5. I used a straightening iron – but I’m sure a curling iron would do as well – to add a bit of texture and curl to the hair that is down and in your ponytail. (I treated my straightener just as I would a curling iron to curl it)
6. TEASE! tease the hair in the ponytail, tease the hair that is down. Give your hair that Bardot volume by, you guessed, teasing. (teasing is backcombing, if you are confused)
7. Since I have straight across bangs (fringe) and Miss Bardot has short, center parted bangs, I made sure to do my usual fringe styling routine, only this time I use my blow dryer to guide my fringe to the each side creating a part in them.
