Beauty / Simple Low Ponytail With Some Twists

Larkspur Vintage | Beauty: Simple Low Ponytail With Some Twists
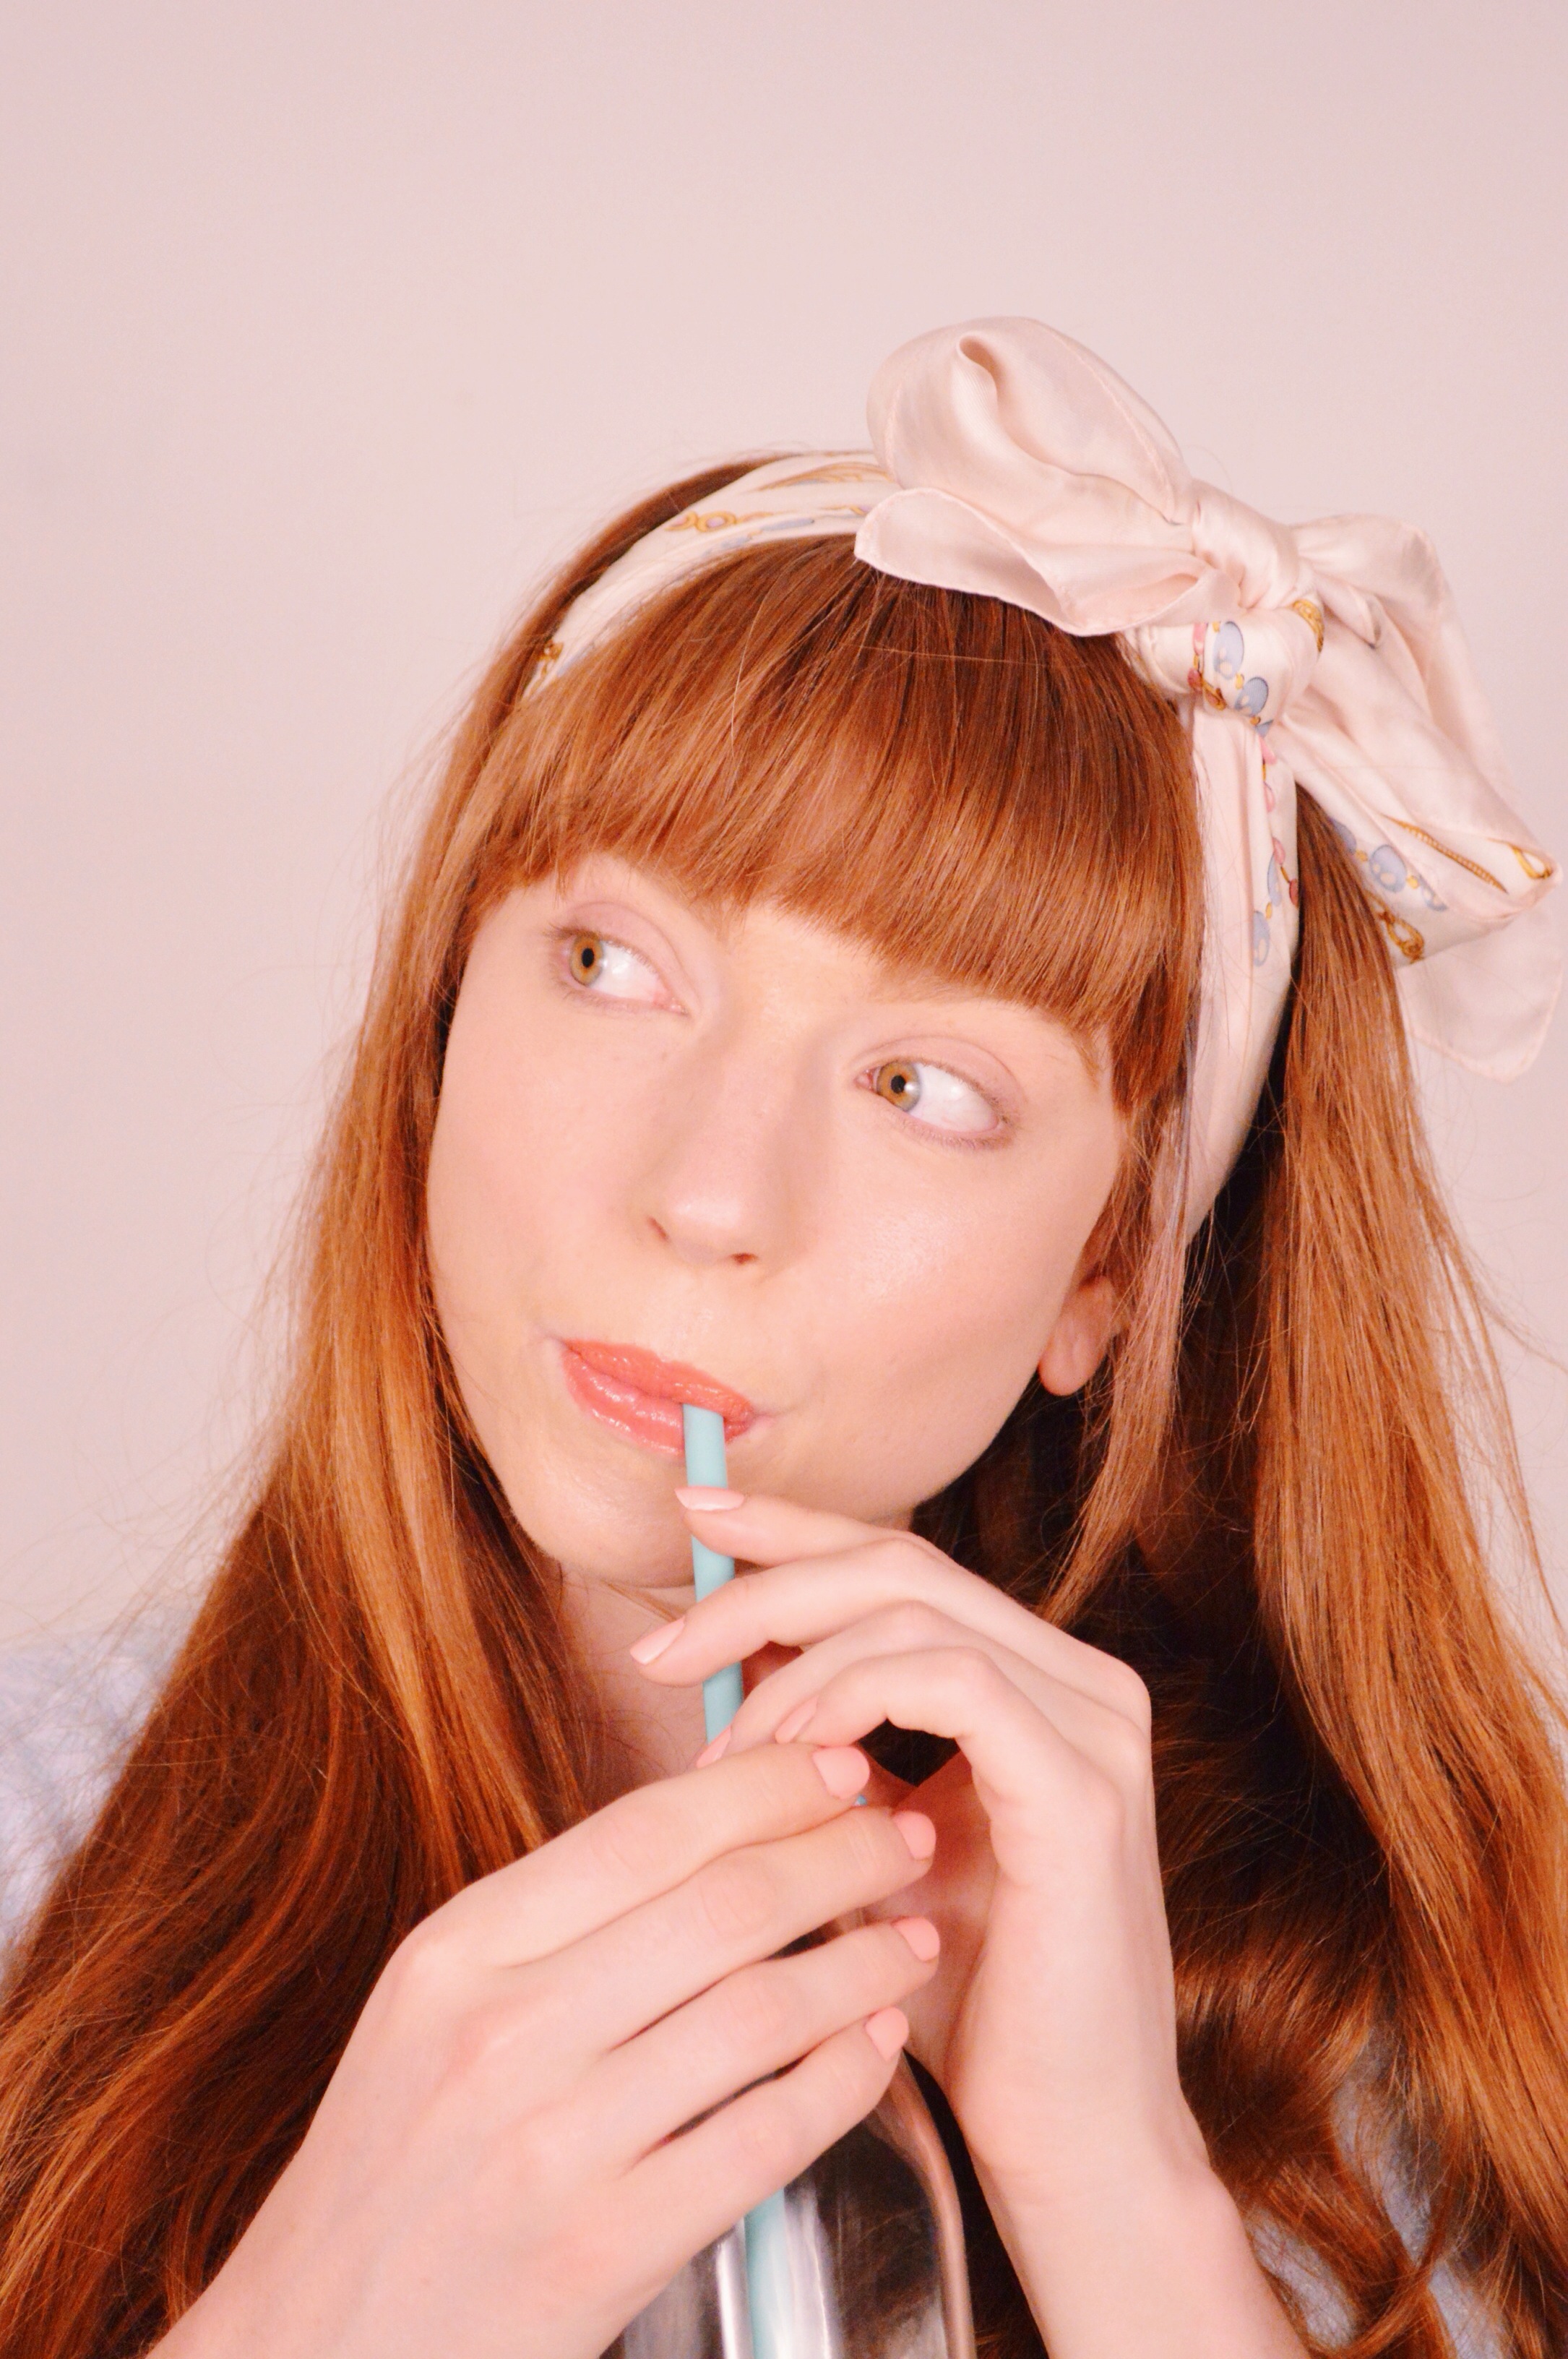
Ponytails can be rather boring, can’t they? I honestly don’t wear my hair in one very often, mostly because I have great disdain for my ears (can one even have disdain for part of their body?!). But with my new desire to step out of my comfort zone, let my ears be free (sort of) and try new hairstyles, I decided to take a simple low ponytail and make it a little more interesting with some mini ponies and a bit of twisting (sounds so professional), to create a look that appears much fancier than it actually is. So let us learn how, shall we?
Larkspur Vintage | Beauty: Simple Low Ponytail With Some Twists
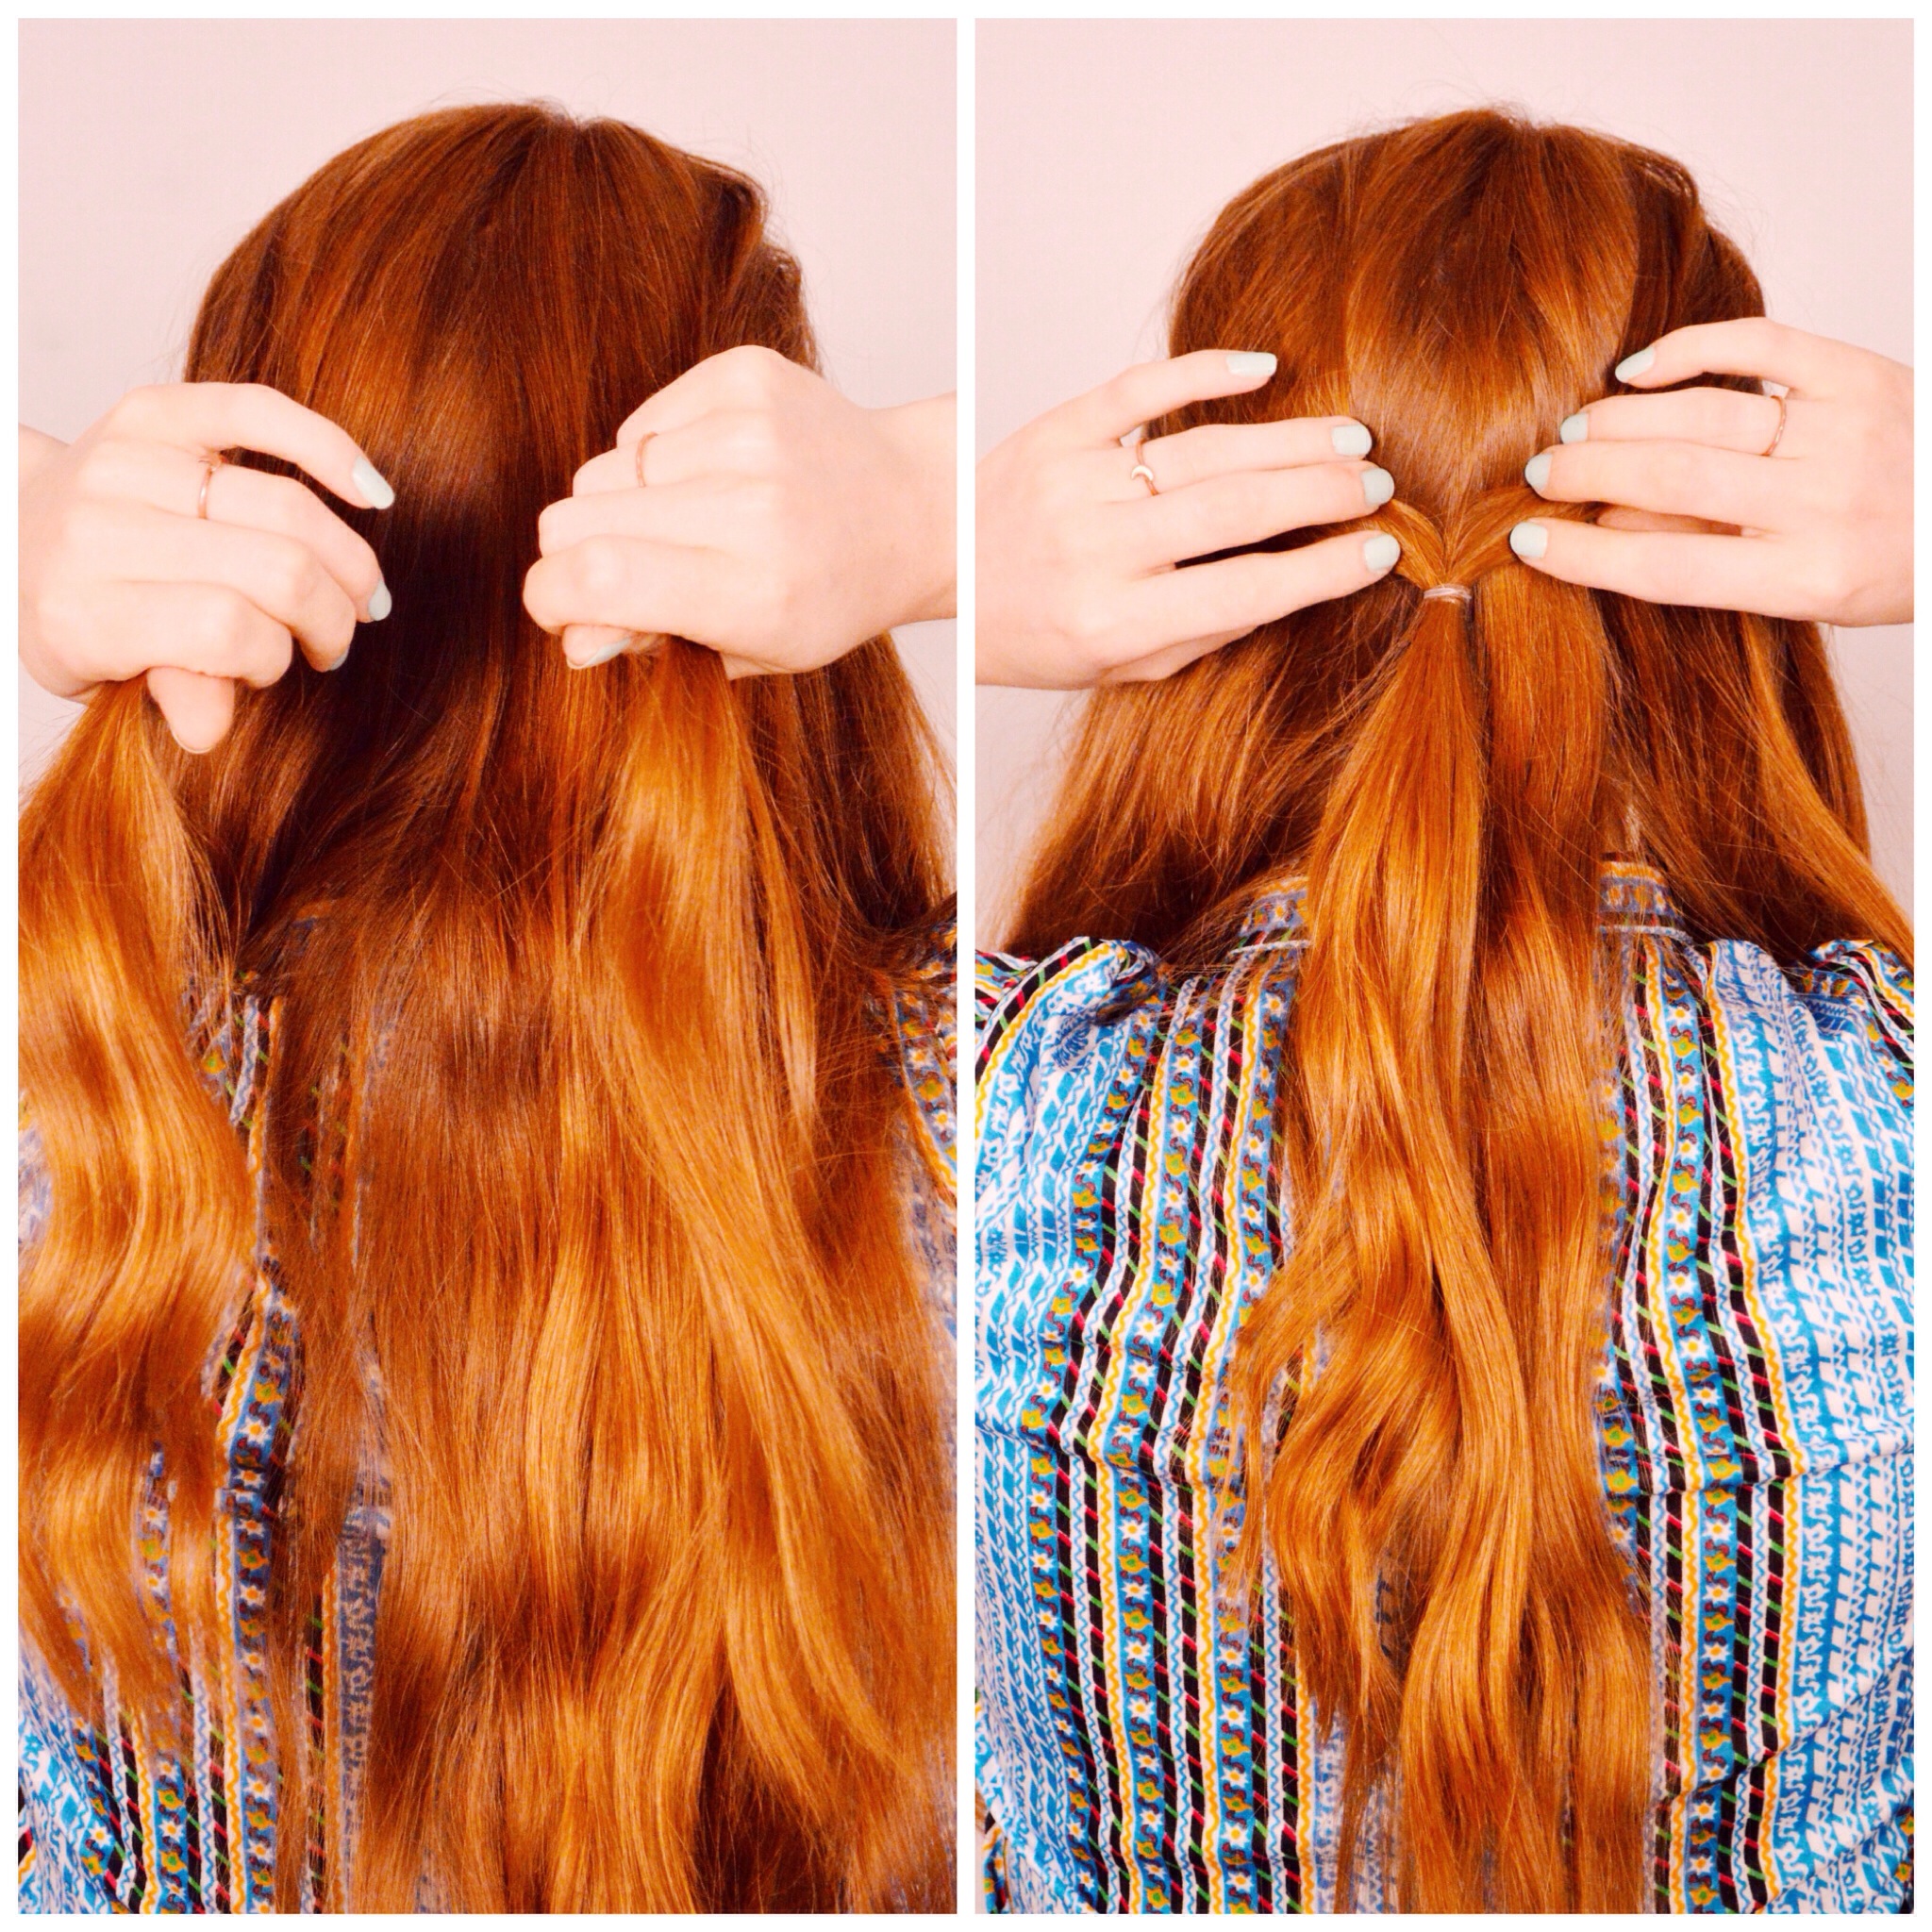
1. start by taking two sections of hair from either side of your head; much like the way you would do a half ponytail
2. tie your sections into a ponytail with a small clear elastic (or whatever you want, really)
Larkspur Vintage | Beauty: Simple Low Ponytail With Some Twists
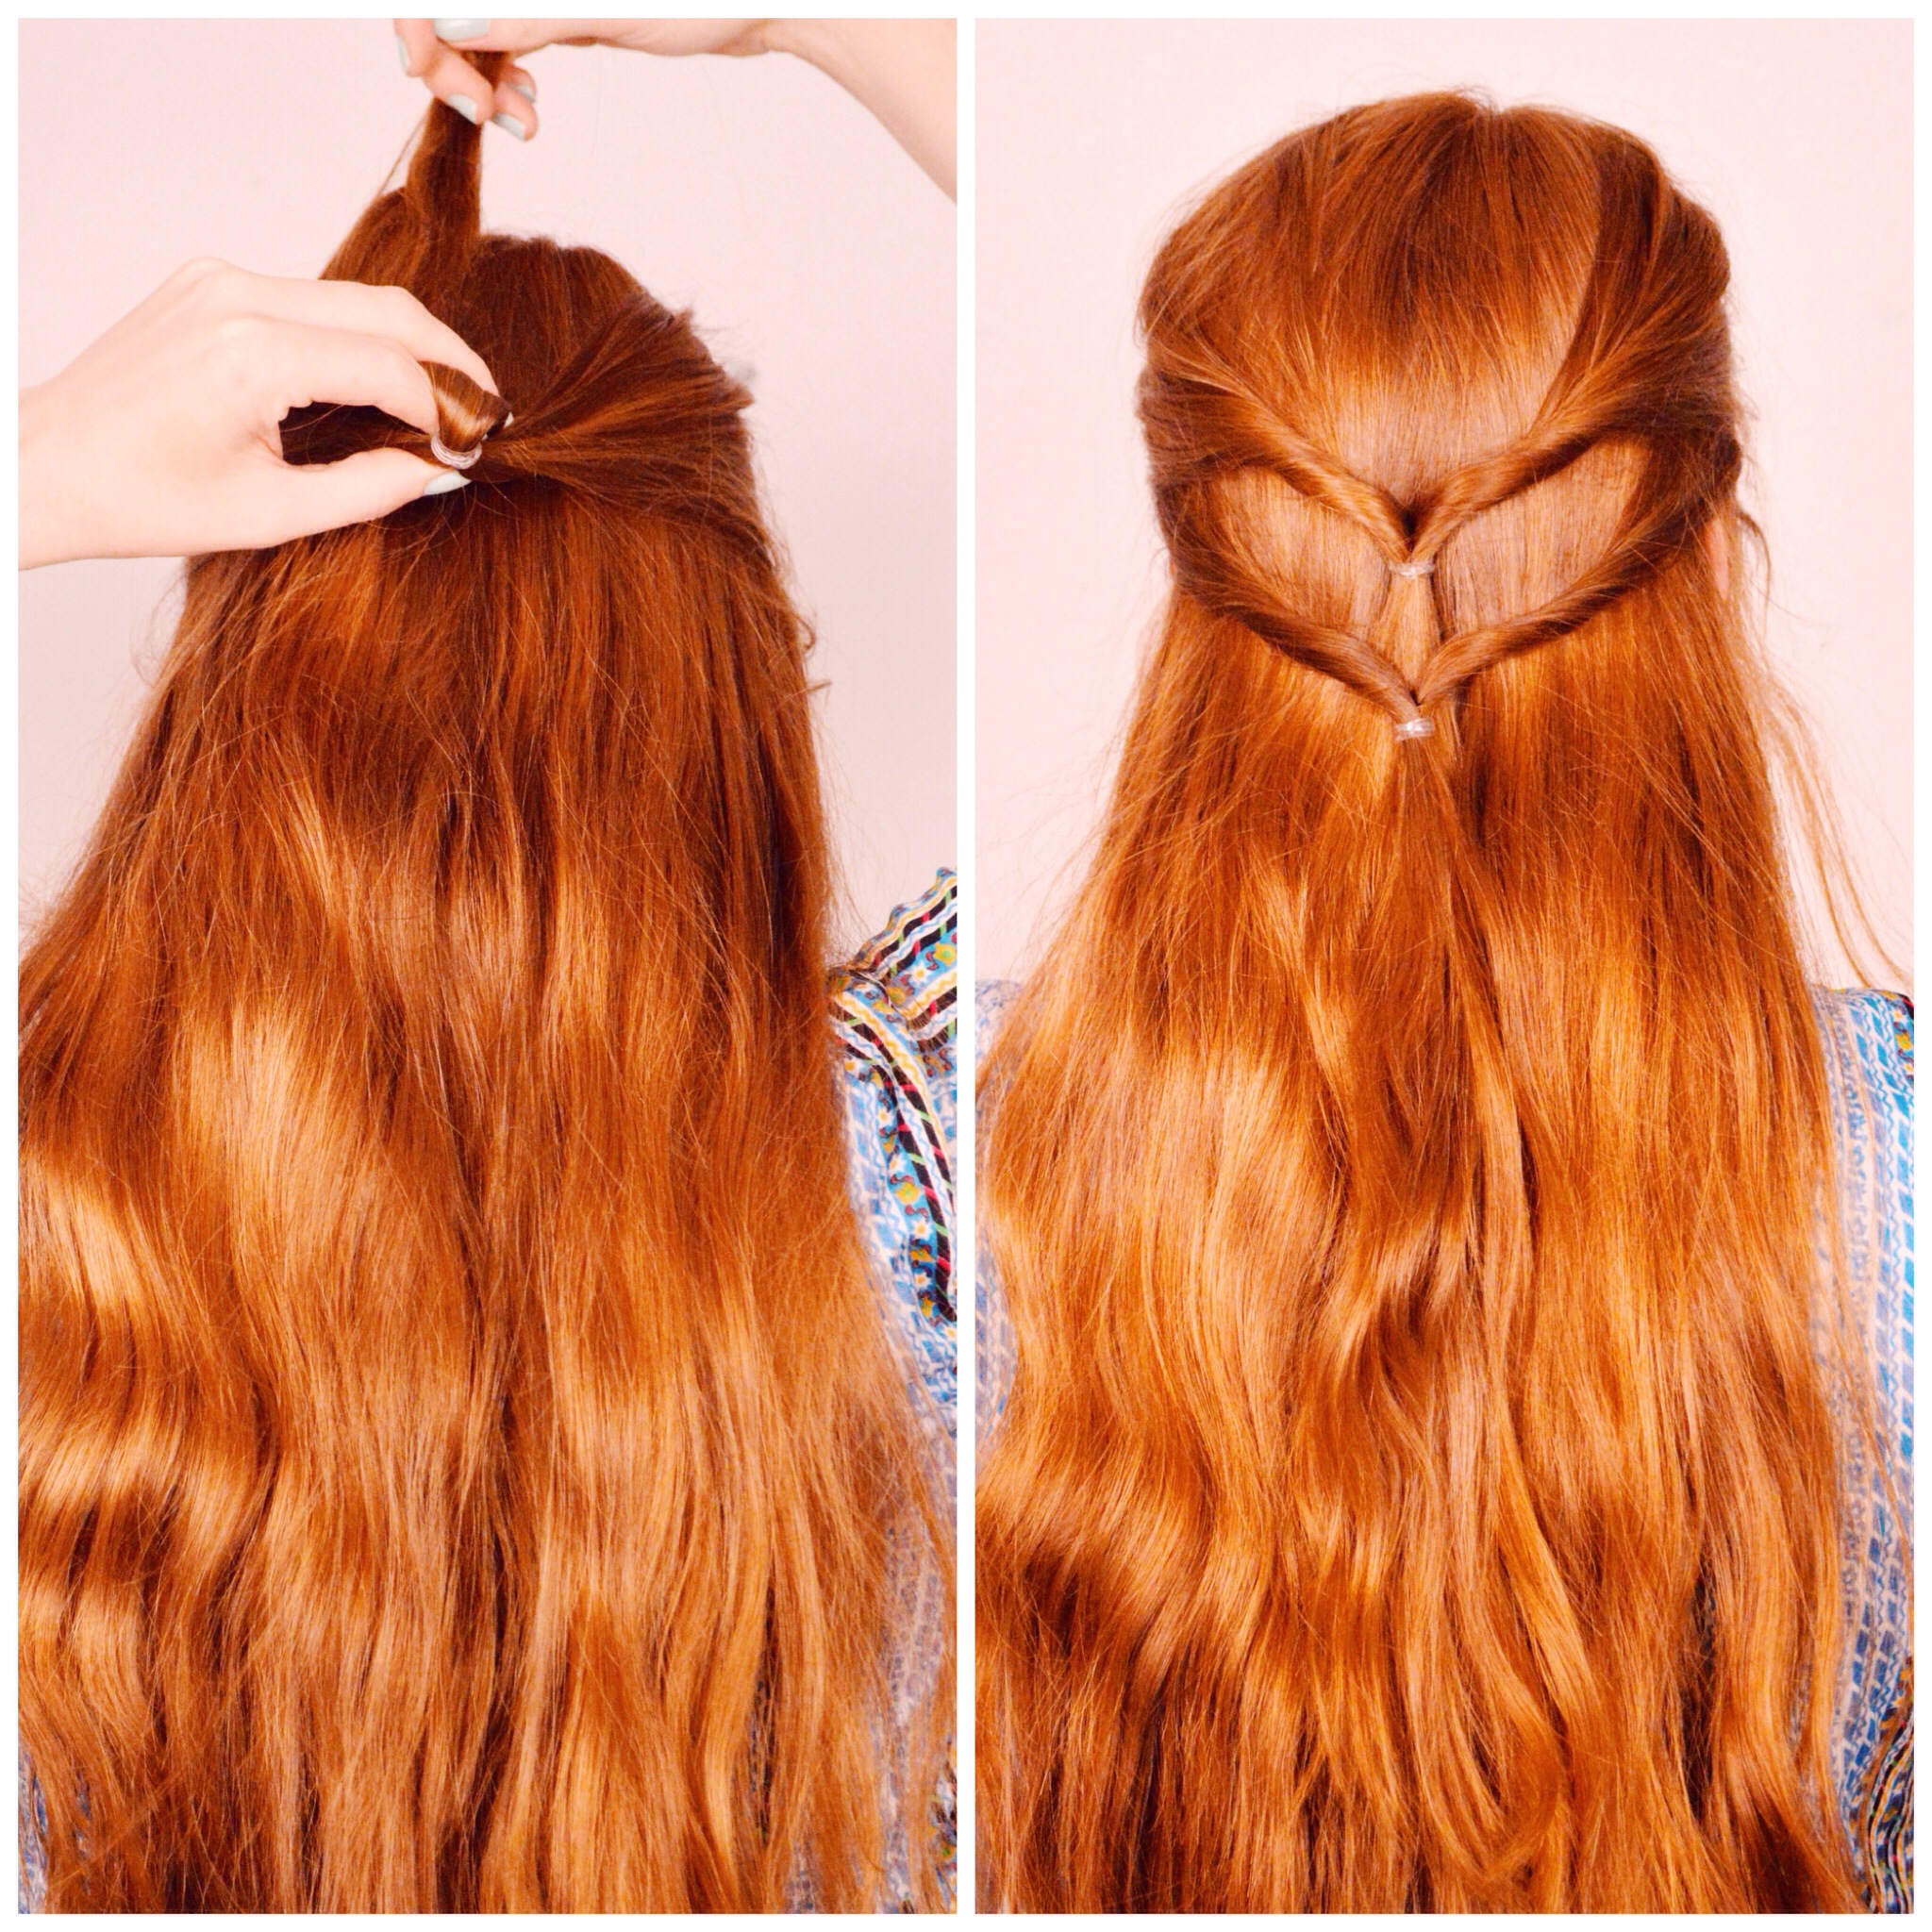
3. take the end of your ponytail and guide it over top and through where the two sections of hair meet, to create a fun lil’ twisted effect
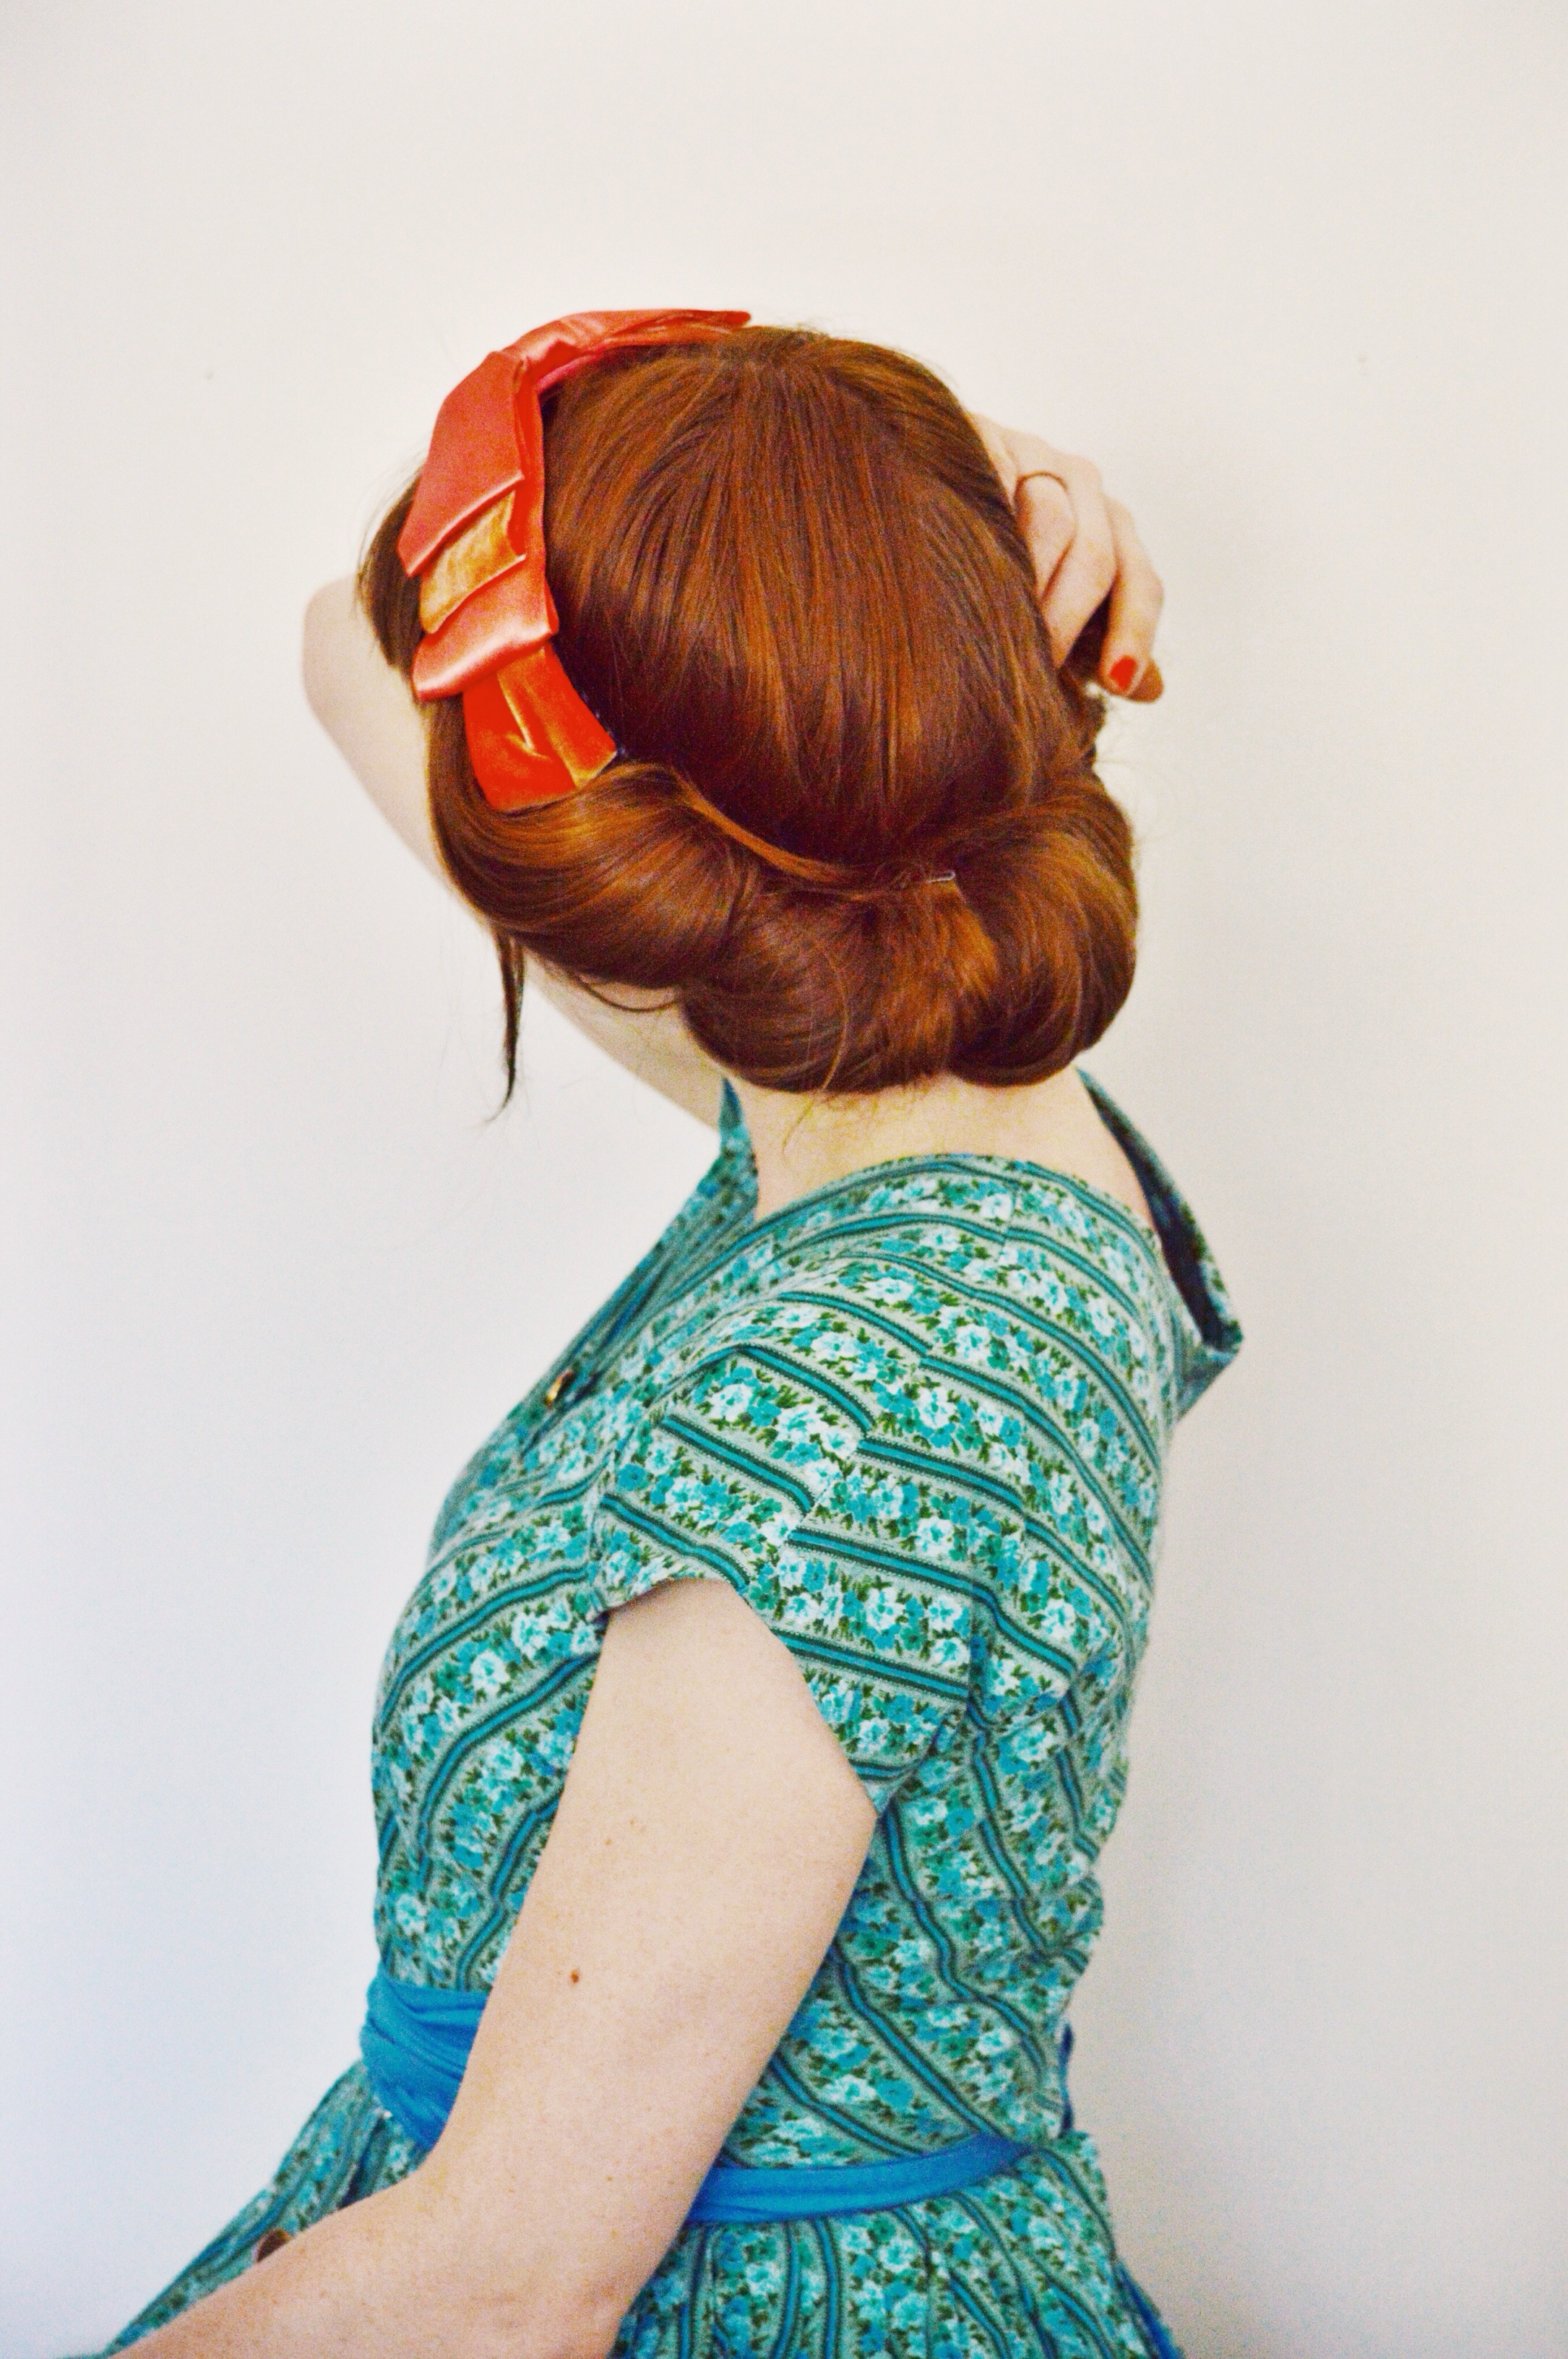
4. continue the first 3 steps as many or as little times as you like, and the same with your sections, they can be as big or as little as you like; i did 3 twisties and I took fairly small sections, but honestly, I think this look would be quite striking if you used more hair for your twists
Larkspur Vintage | Beauty: Simple Low Ponytail With Some Twists
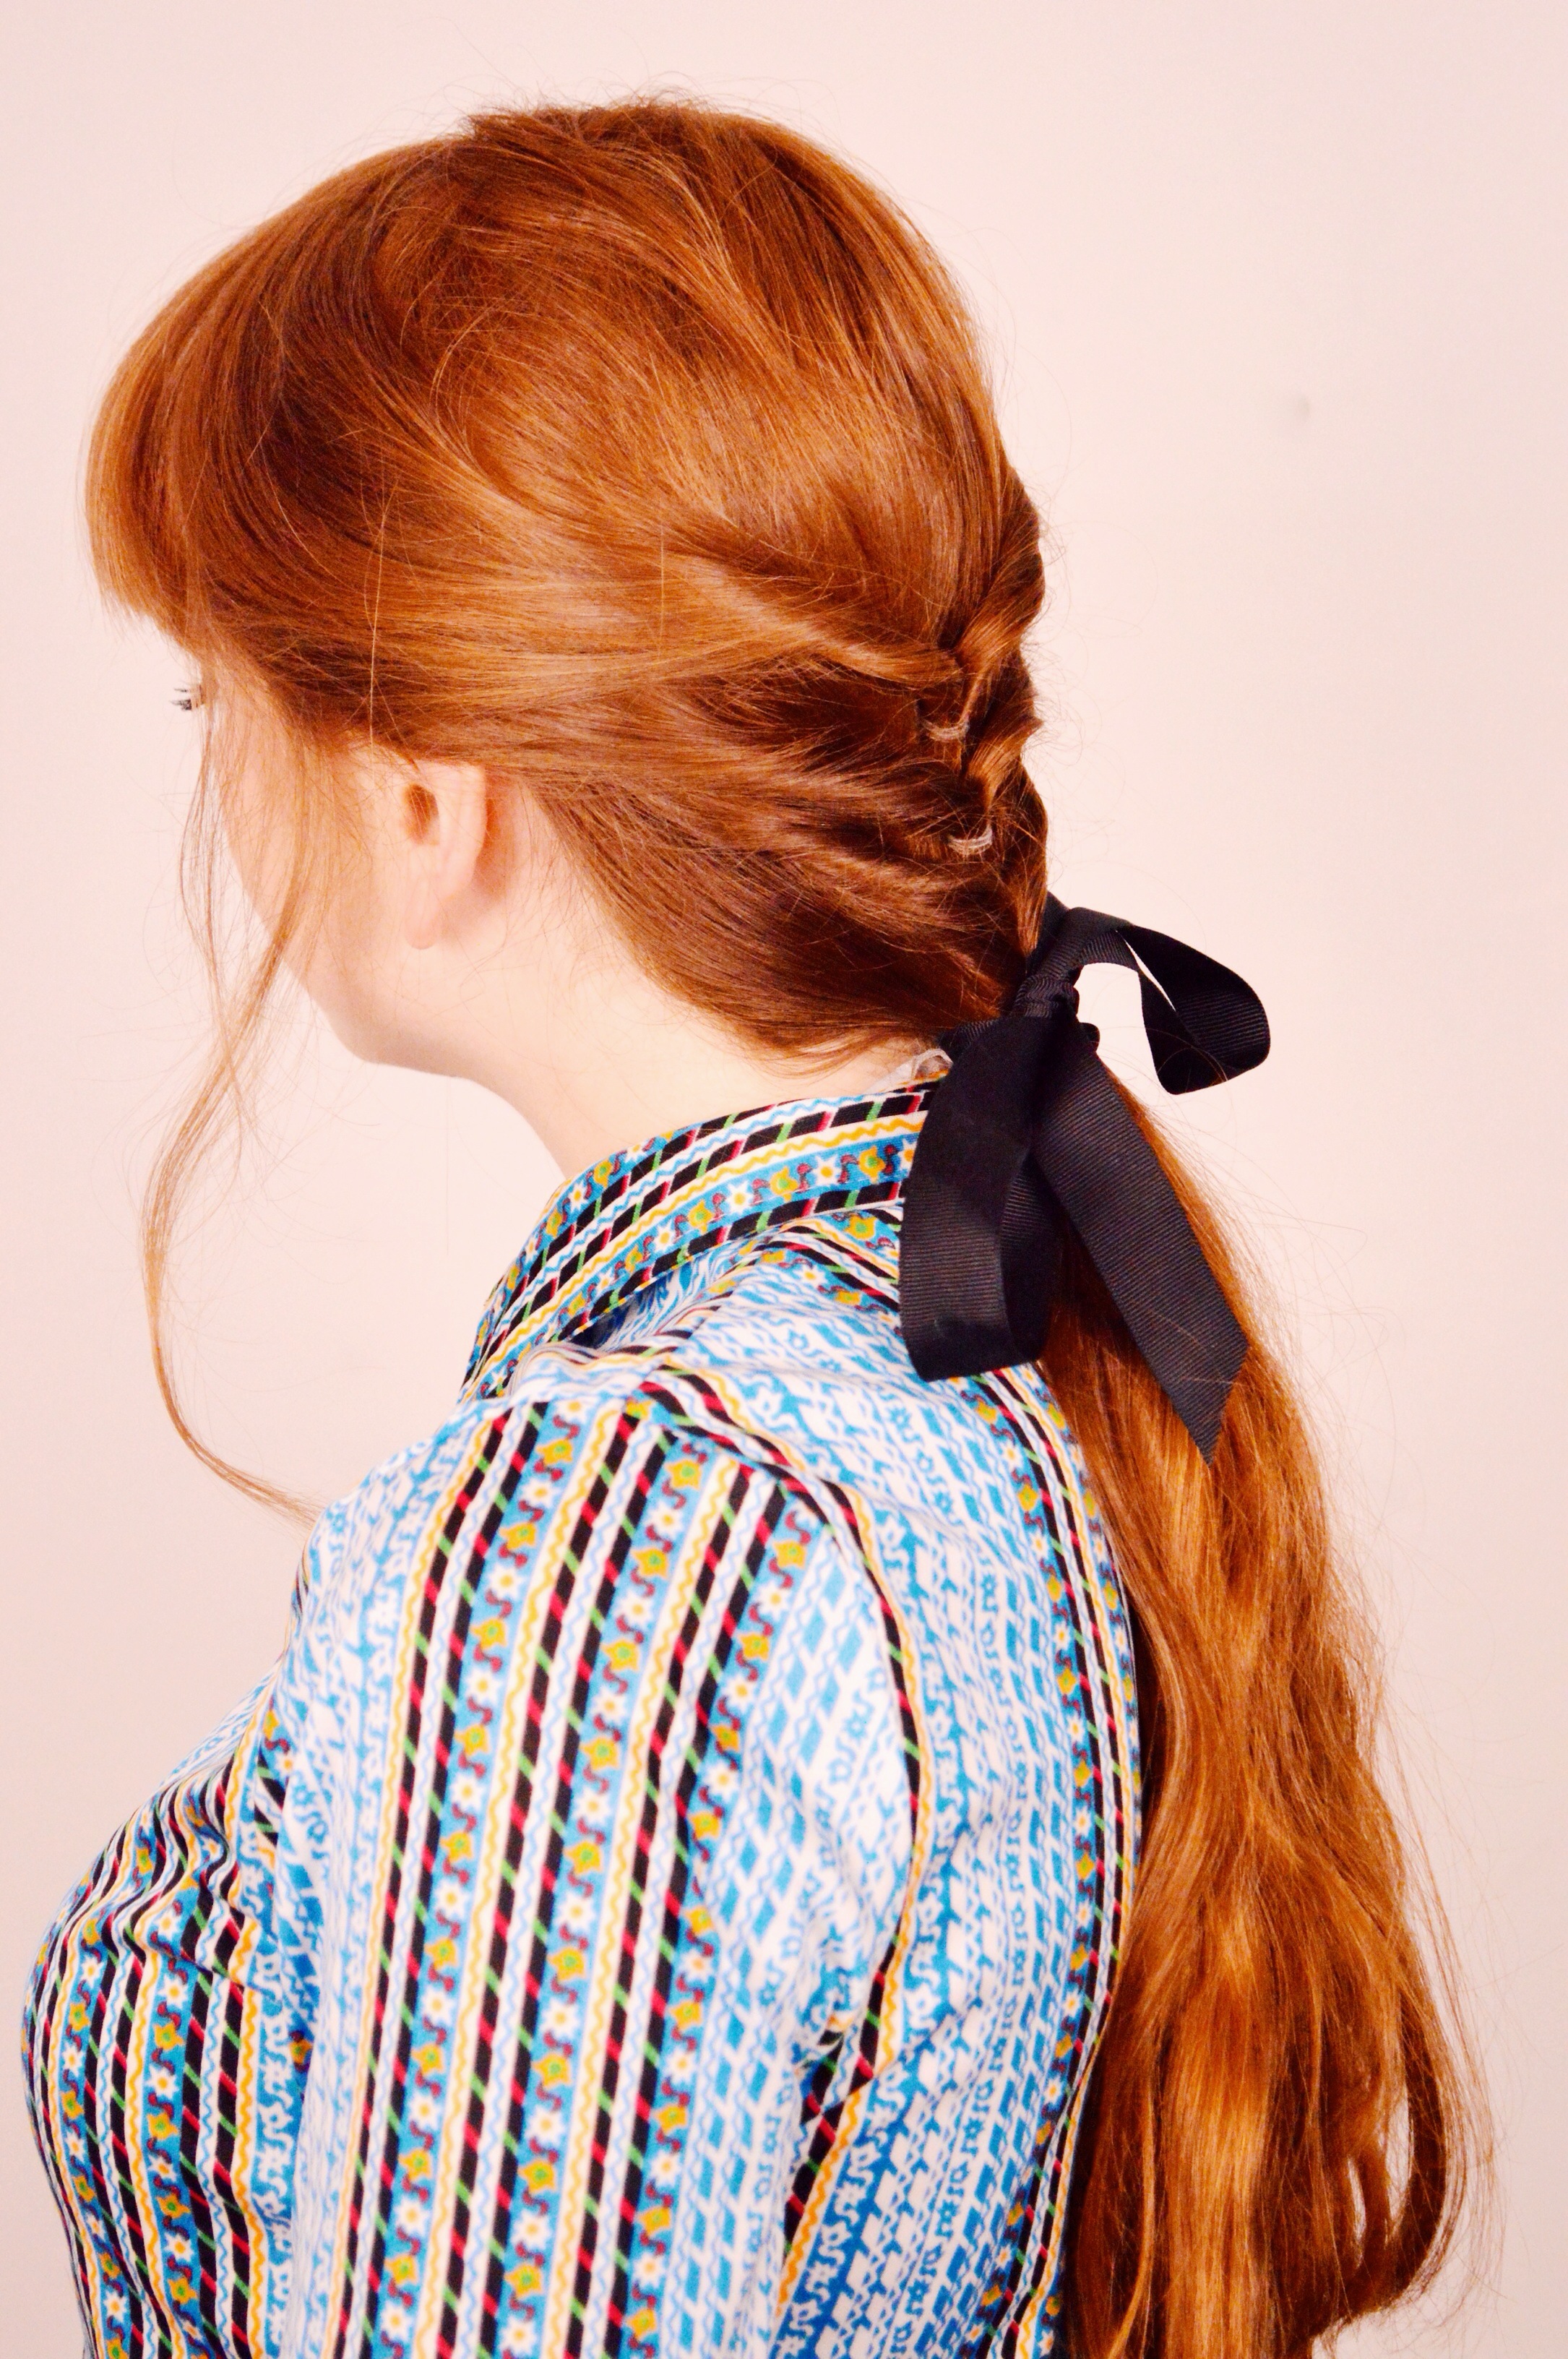
5. tie the remaining loose hair into a ponytail
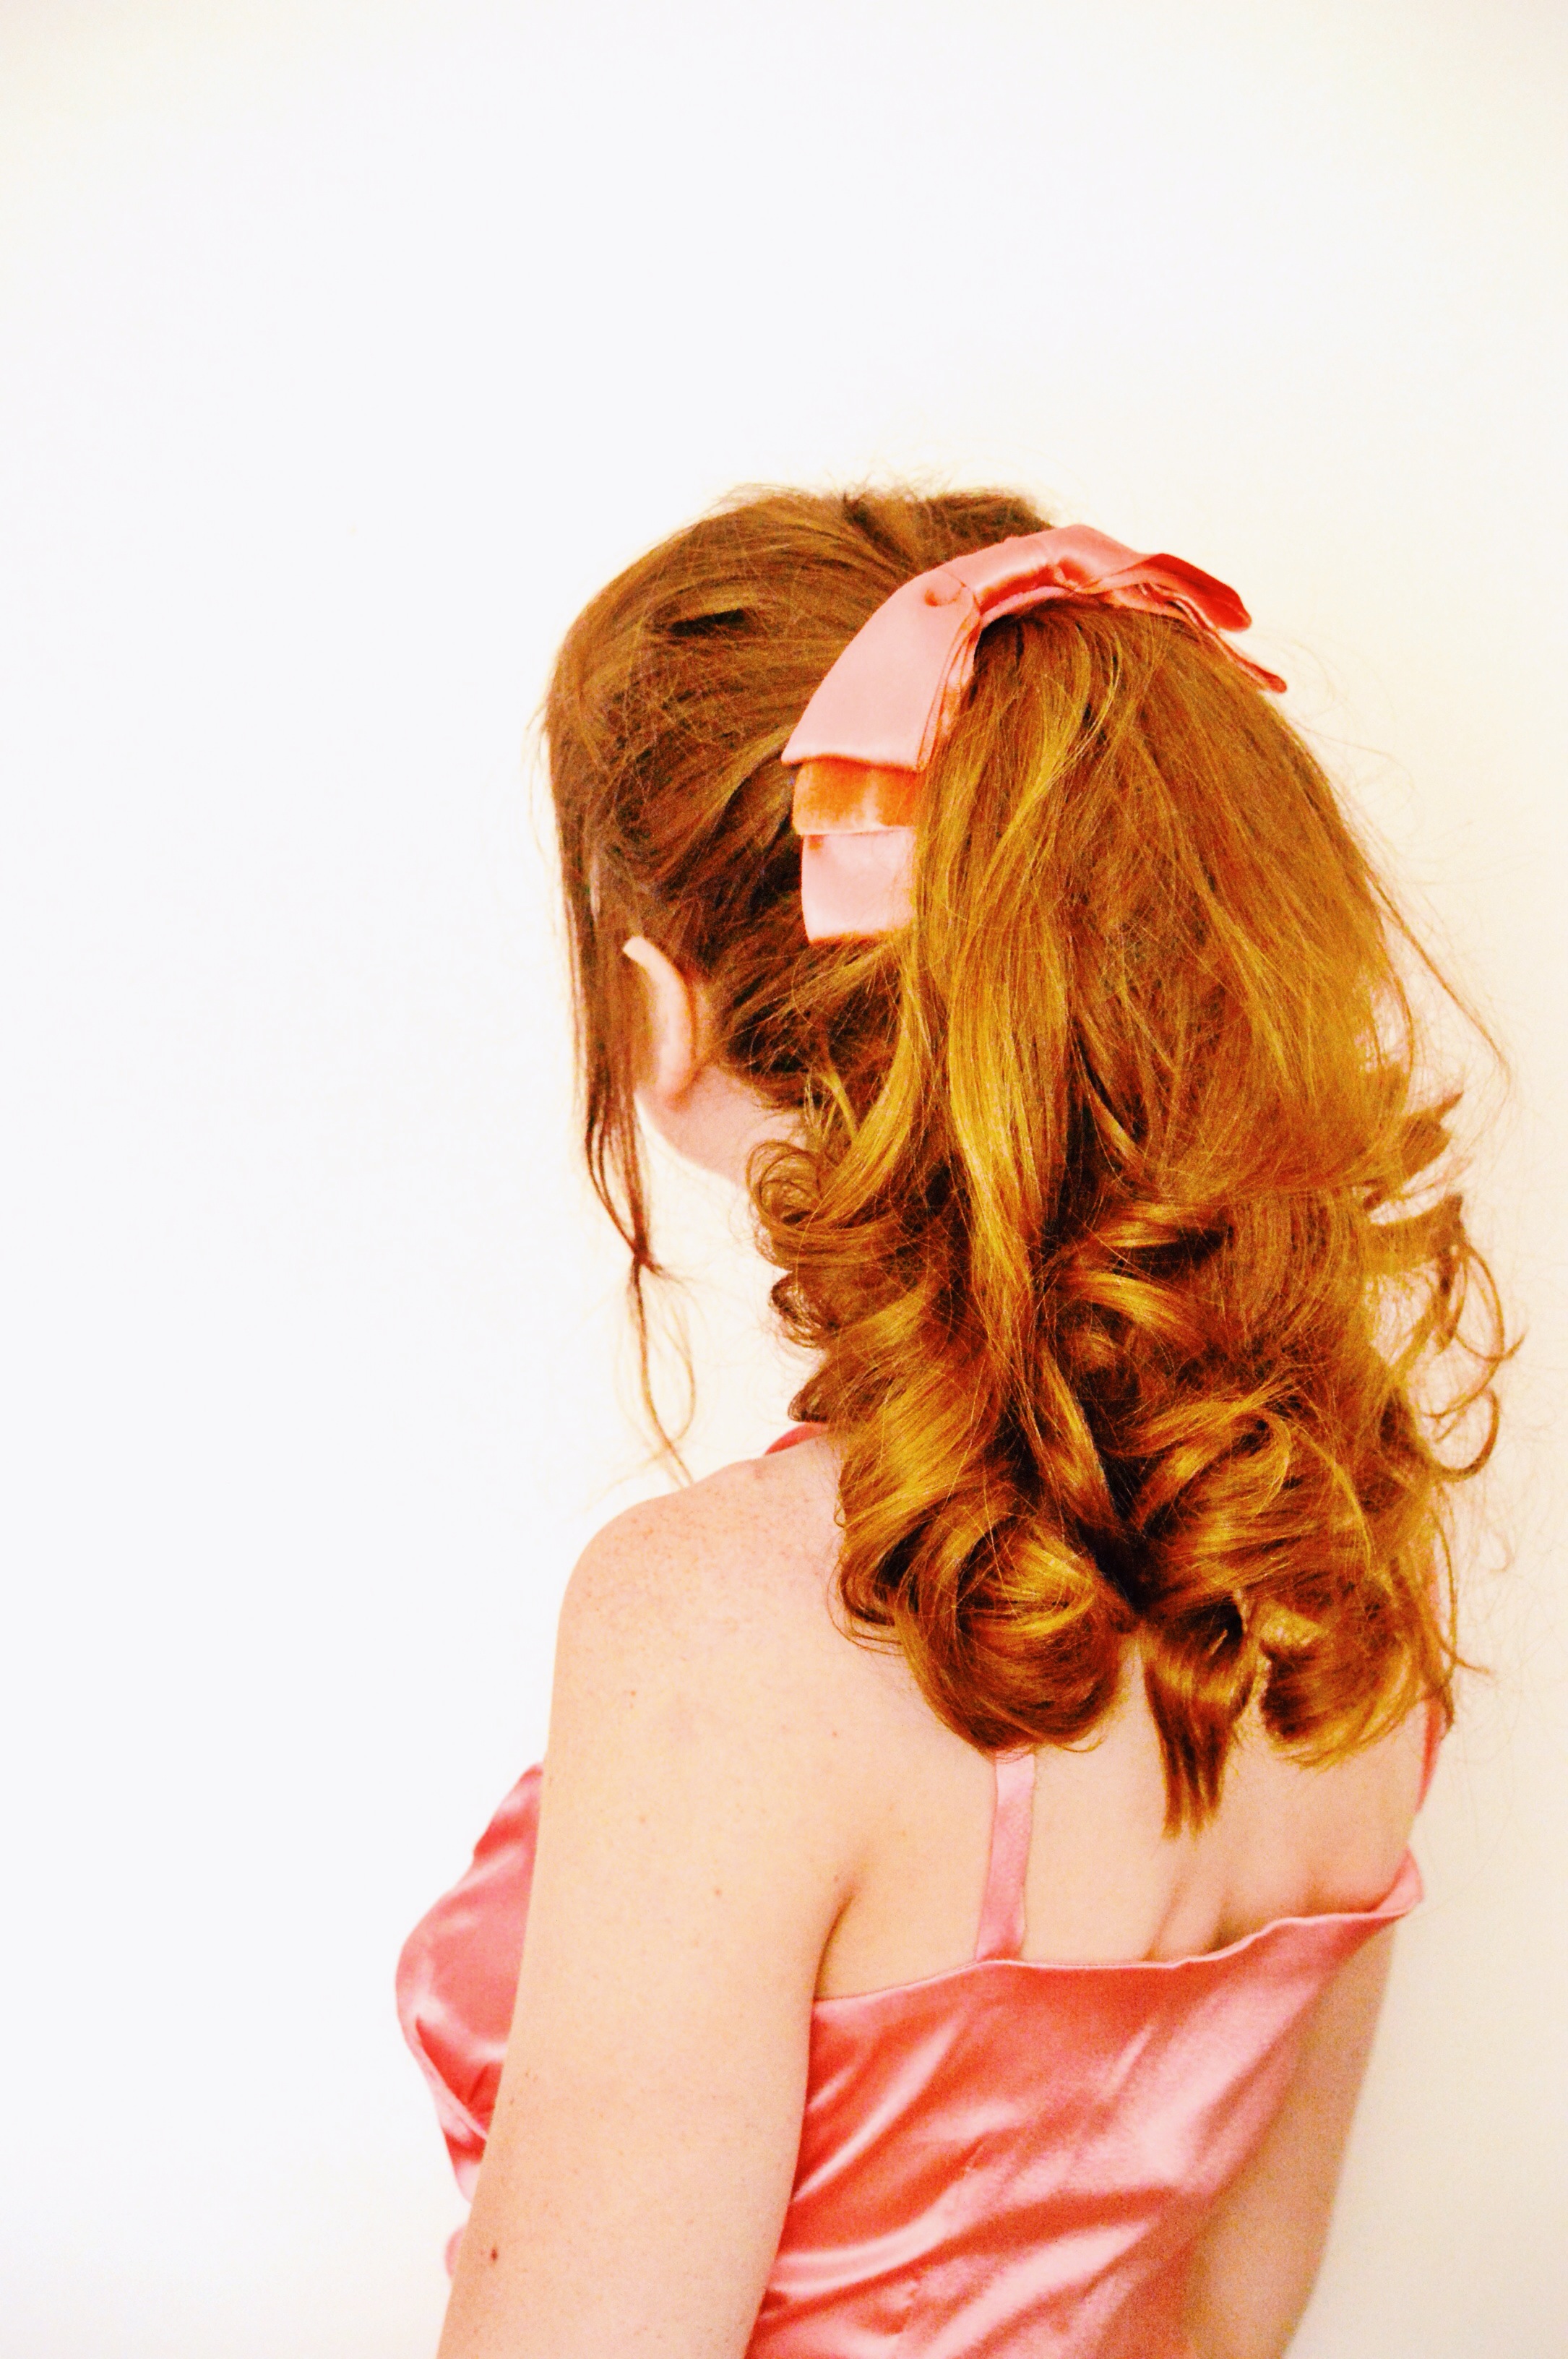
6. finish the look off with a cute bow (or whatever you have on hand)
Larkspur Vintage | Beauty: Simple Low Ponytail With Some TwistsLarkspur Vintage | Beauty: Simple Low Ponytail With Some Twists
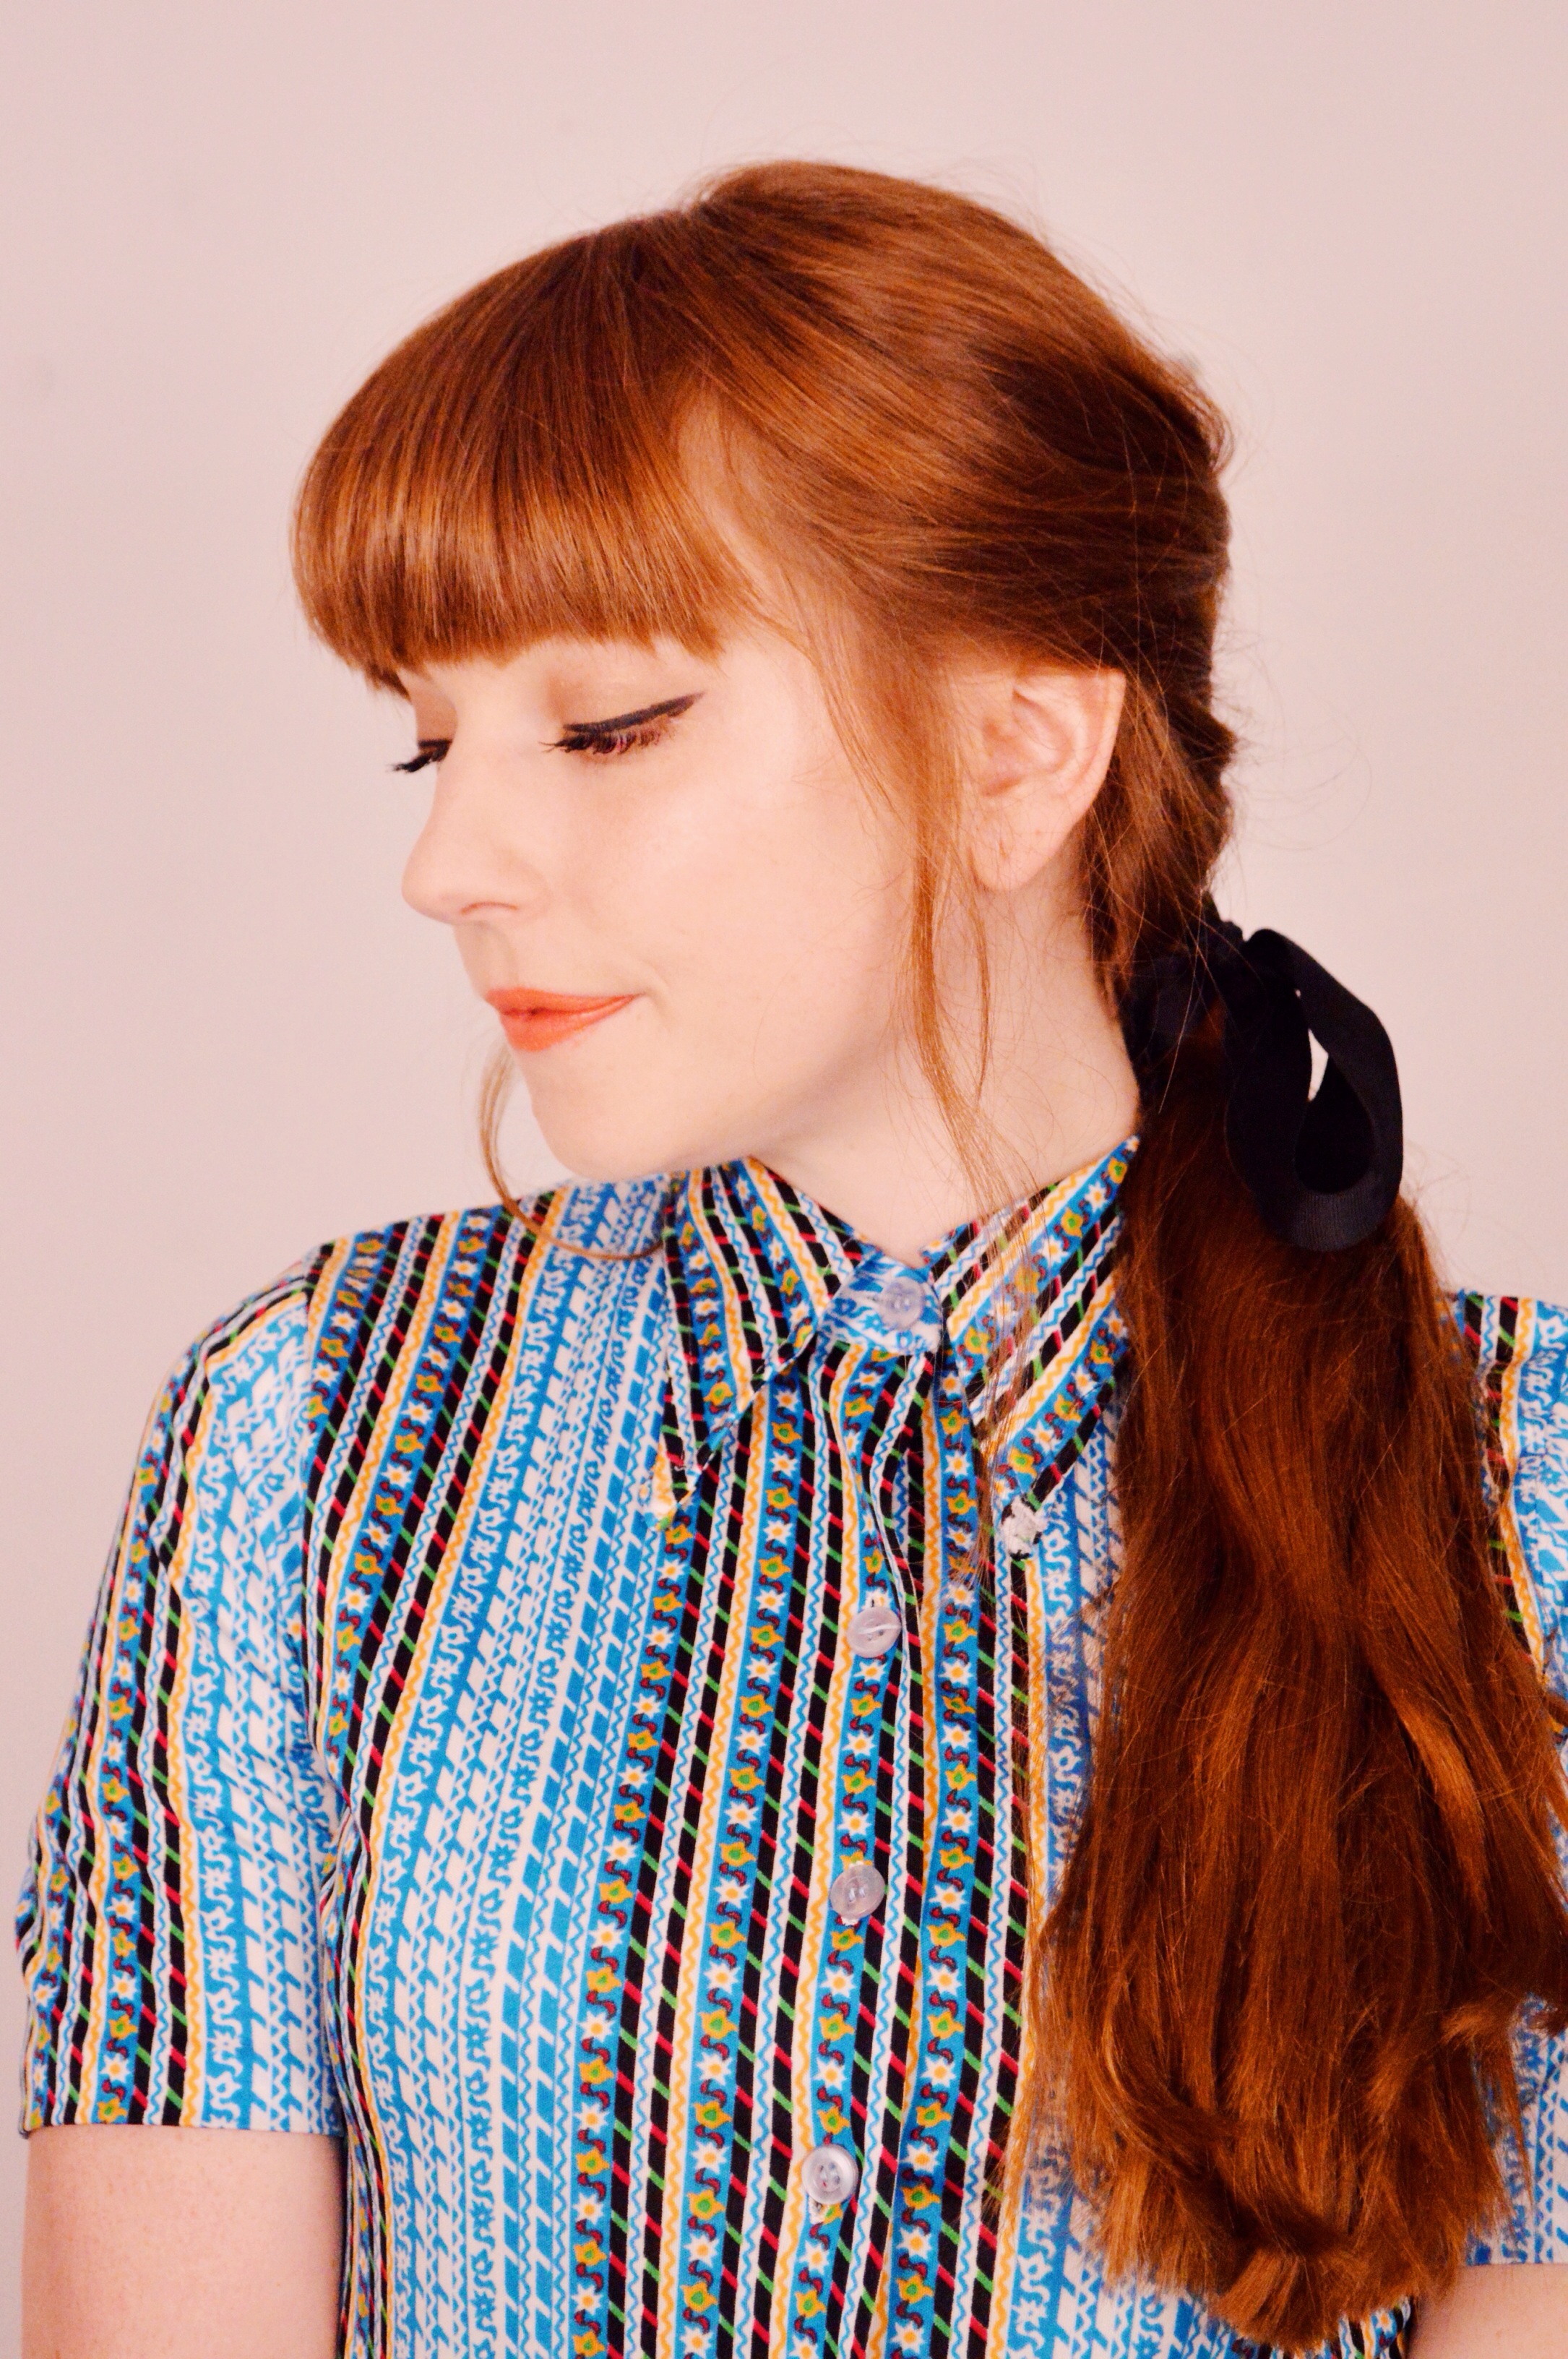
That’s it! Told you it was easy peasy! Let me know if you give this hairstyle a try.

*you can view more of my tutorials and other beauty related things here.

Beauty / Simple Summer Skin

Larkspur Vintage | Simple Summer Skin TutorialDewy summer skin seems to be all the rage lately, and with good reason; it really makes your skin look alive and well. Take for example the two images above, on the left, my bare skin looking a little dull (also kind of looks like a mugshot) and on the right, my skin with a wee boost and a lively glow. This look is super easy to achieve with only a few products and minimal steps, so I’m going to show you how I did it below. I’ll share what products I used, but honestly, you can use whatever you have on hand…this is no fascist state.

Note: my foundation does not match my skin tone quite right, which I quickly realized while editing these photos! Thought my skin was a bit darker than it is…whoops, I’m a dumbdumb.

Larkspur Vintage | Simple Summer Skin Tutorial1. Mix a small amount of your face moisturizer with Bourjois 123 Perfect Foundation and apply with your foundation brush (or fingers) in circular motions; I find circular motions help to really blend the foundation in (unless of course you’re a dodo like me and use the wrong foundation…)
2. Use Rimmel Match Perfection Concealer to highlight under the eyes and along the bridge of your nose, blending with your fingers
Larkspur Vintage | Simple Summer Skin Tutorial3. Apply a rosey blusher to the apples of your cheeks; I didn’t have a true rosey blusher on hand, so I mixed two colours (cream and pink) from this eyeshadow palette to achieve the colour I wanted
4. Blotting with your finger, use Revlon Skinlights Face Illuminator along the cheek bones, cupid’s bow, bridge of nose, chin and under the brow bone
Larkspur Vintage | Simple Summer Skin Tutorial5. Using a shimmery white shadow, highlight the cheekbones, applying with a blend-able eyeshadow brush (who said shadow had to stay on the lids…we do what we want here!); I used a shadow from the palette I linked above
6. Apply your Mega Color Stick (or any peachy lip colour) to the lips and dab a little pink lipgloss on top
Larkspur Vintage | Simple Summer Skin TutorialLarkspur Vintage | Simple Summer Skin TutorialAnd that’s it sweet ones! Fresh, dewy summer skin in a pinch ❤

*see more of my beauty posts here.

Beauty / Think Pink

Larkspur VintageThis was originally going to be a tutorial for the makeup I’m wearing, but the weather was so shit (i use natural light…another reminder that I desperately need a lighting kit), it was just not bright enough out to get clear, good quality photos. So, I just went with it, as you do when things don’t go as planned.Larkspur VintageLarkspur VintageLarkspur VintagePink is my favourite color (I’m sure you guessed that already), so it only felt natural to create a totally pink look to go with this new dress I received from Family Affairs (don’t worry, you’ll get a full outfit post of this gem soon). I covered my lids in a pretty shimmery pink and white shadow, did away with my normal cat liner for something more subtle, used a rosey blusher on my cheeks, gave my lips a nice pop of peach, and swiped some pink and mint on my nails for added cheery effect.Larkspur VintageLarkspur VintageIt only makes sense when creating a sweetly feminine (I use that term loosely, because what does feminine really look like anyway?) look, that I’d pair all pink with my rag curls (tutorial here) tied into a high ponytail and topped off with a matching hair bow. A fun look that I’m considering wearing for my birthday this weekend ❤Larkspur Vintage*Dress c/o Family Affairs; Bow vintage via Victory Mills

Beauty / 60s Makeup

Larkspur Vintage / 60s makeupIt was only a matter of time before I decided to share a 60s makeup look. It’s honestly a bit more eye makeup than what I’m used to wearing, but it really reminds me of the makeup I used to do back in my goth days. I don’t know what it is about this very Twiggy-esque look, but it makes you want to pull all kinds of silly facial expressions…mostly surprised and sad ones. Maybe it’s the drawn on lower lashes that make the eyes so expressive, which makes the rest of your face want to follow suit… anyway, I dare you to try this look and not make a silly face, it’s impossible.
Larkspur Vintage / 60s makeupShirt & hat: vintage; Shorts: F21 (similar, similar); Bow tie: handmadeLarkspur Vintage / 60s makeupLarkspur Vintage / 60s makeupGET THE LOOK
– start by priming your lids, then apply white or cream coloured shadow to your top lid; I used this primer and this shadow palette
– using a liner pencil, draw a black line all the way along your crease, from the very inner corner to the outer, making it as pronounced as you like. then with a black shadow fill out the crease and blend so you create a softer smokey eye; I used a shadow from the same palette above
– using a liquid liner make a cat-eye and join it to your crease at the end; i used this liquid liner
– with a black pencil liner draw singular lashes on your bottom lid, fanning outward, just the way your natural lashes do
-apply mascara and curl those lashes with a lash curler and then add even more mascara. if you want to get extra crazy, you could add fake eyelashes to enhance the look; I used this mascara
– apply a nude or light lip colour; I used a combination of this lipstick (in shade 14) and this gloss (in apricot pucker)

*see more of my beauty posts here.

Beauty / Two Quick Romantic Up-dos

Larkspur VintageLarkspur VintageI’ve always found up-dos to be a weird thing, mostly because they remind me of horrible 90s proms or something. But up-dos can actually be really pretty if done right, and most importantly, quick and easy. So I thought I’d share with you two styles – the first one is a nod to an Edwardian hairstyle and the second is a retro one I have seen a lot around the internet lately (Zoe, Colleen, Rebecca), so I thought I’d give it a go with my own twist.

Edwardian Inspired Up-do
Larkspur Vintage-start by putting your hair into a loose bun/top knot atop your head with an elastic.
-flatten your bun out a bit and start pinning it into place; feel free to pull out pieces in the bun to get the look you desire.
-after your bun is secured in place, start adding volume to the rest of the hair by pulling it out from the bun and pin any unruly pieces in their desired place; we want to achieve a more voluminous, messy and lifted look.
-add some flowers or cute hair accessories wherever you like to finish off the look

Retro Rolled Up-do
Larkspur Vintage-start by placing your elastic headband on top of your hair
-from there take a small section of hair close to your ear and roll it over top of the elastic
-continue this process using hair from both sides until you have covered the hairband
-if your hair is being annoying like mine was, then feel free to use bobby pins to secure any stray hairs in place
-if you have a nice headband from the get-go, then you are all done, but if you are like me and had a boring black one, feel free to add something on top to make it more exciting. I used a vintage headband to cover the one underneath

Dress: vintage
Headband: vintage via Victory Mills