The most frequent comments and questions I receive are about my hair, so I thought it was due time I teach you guys a few of my go-to hairstyles. Now, when I first started blogging I did a tutorial on rag rolls, but I thought I should probably update it since my hair is much longer and I’ve learned a few new techniques since then to ensure some pretty stellar curls.
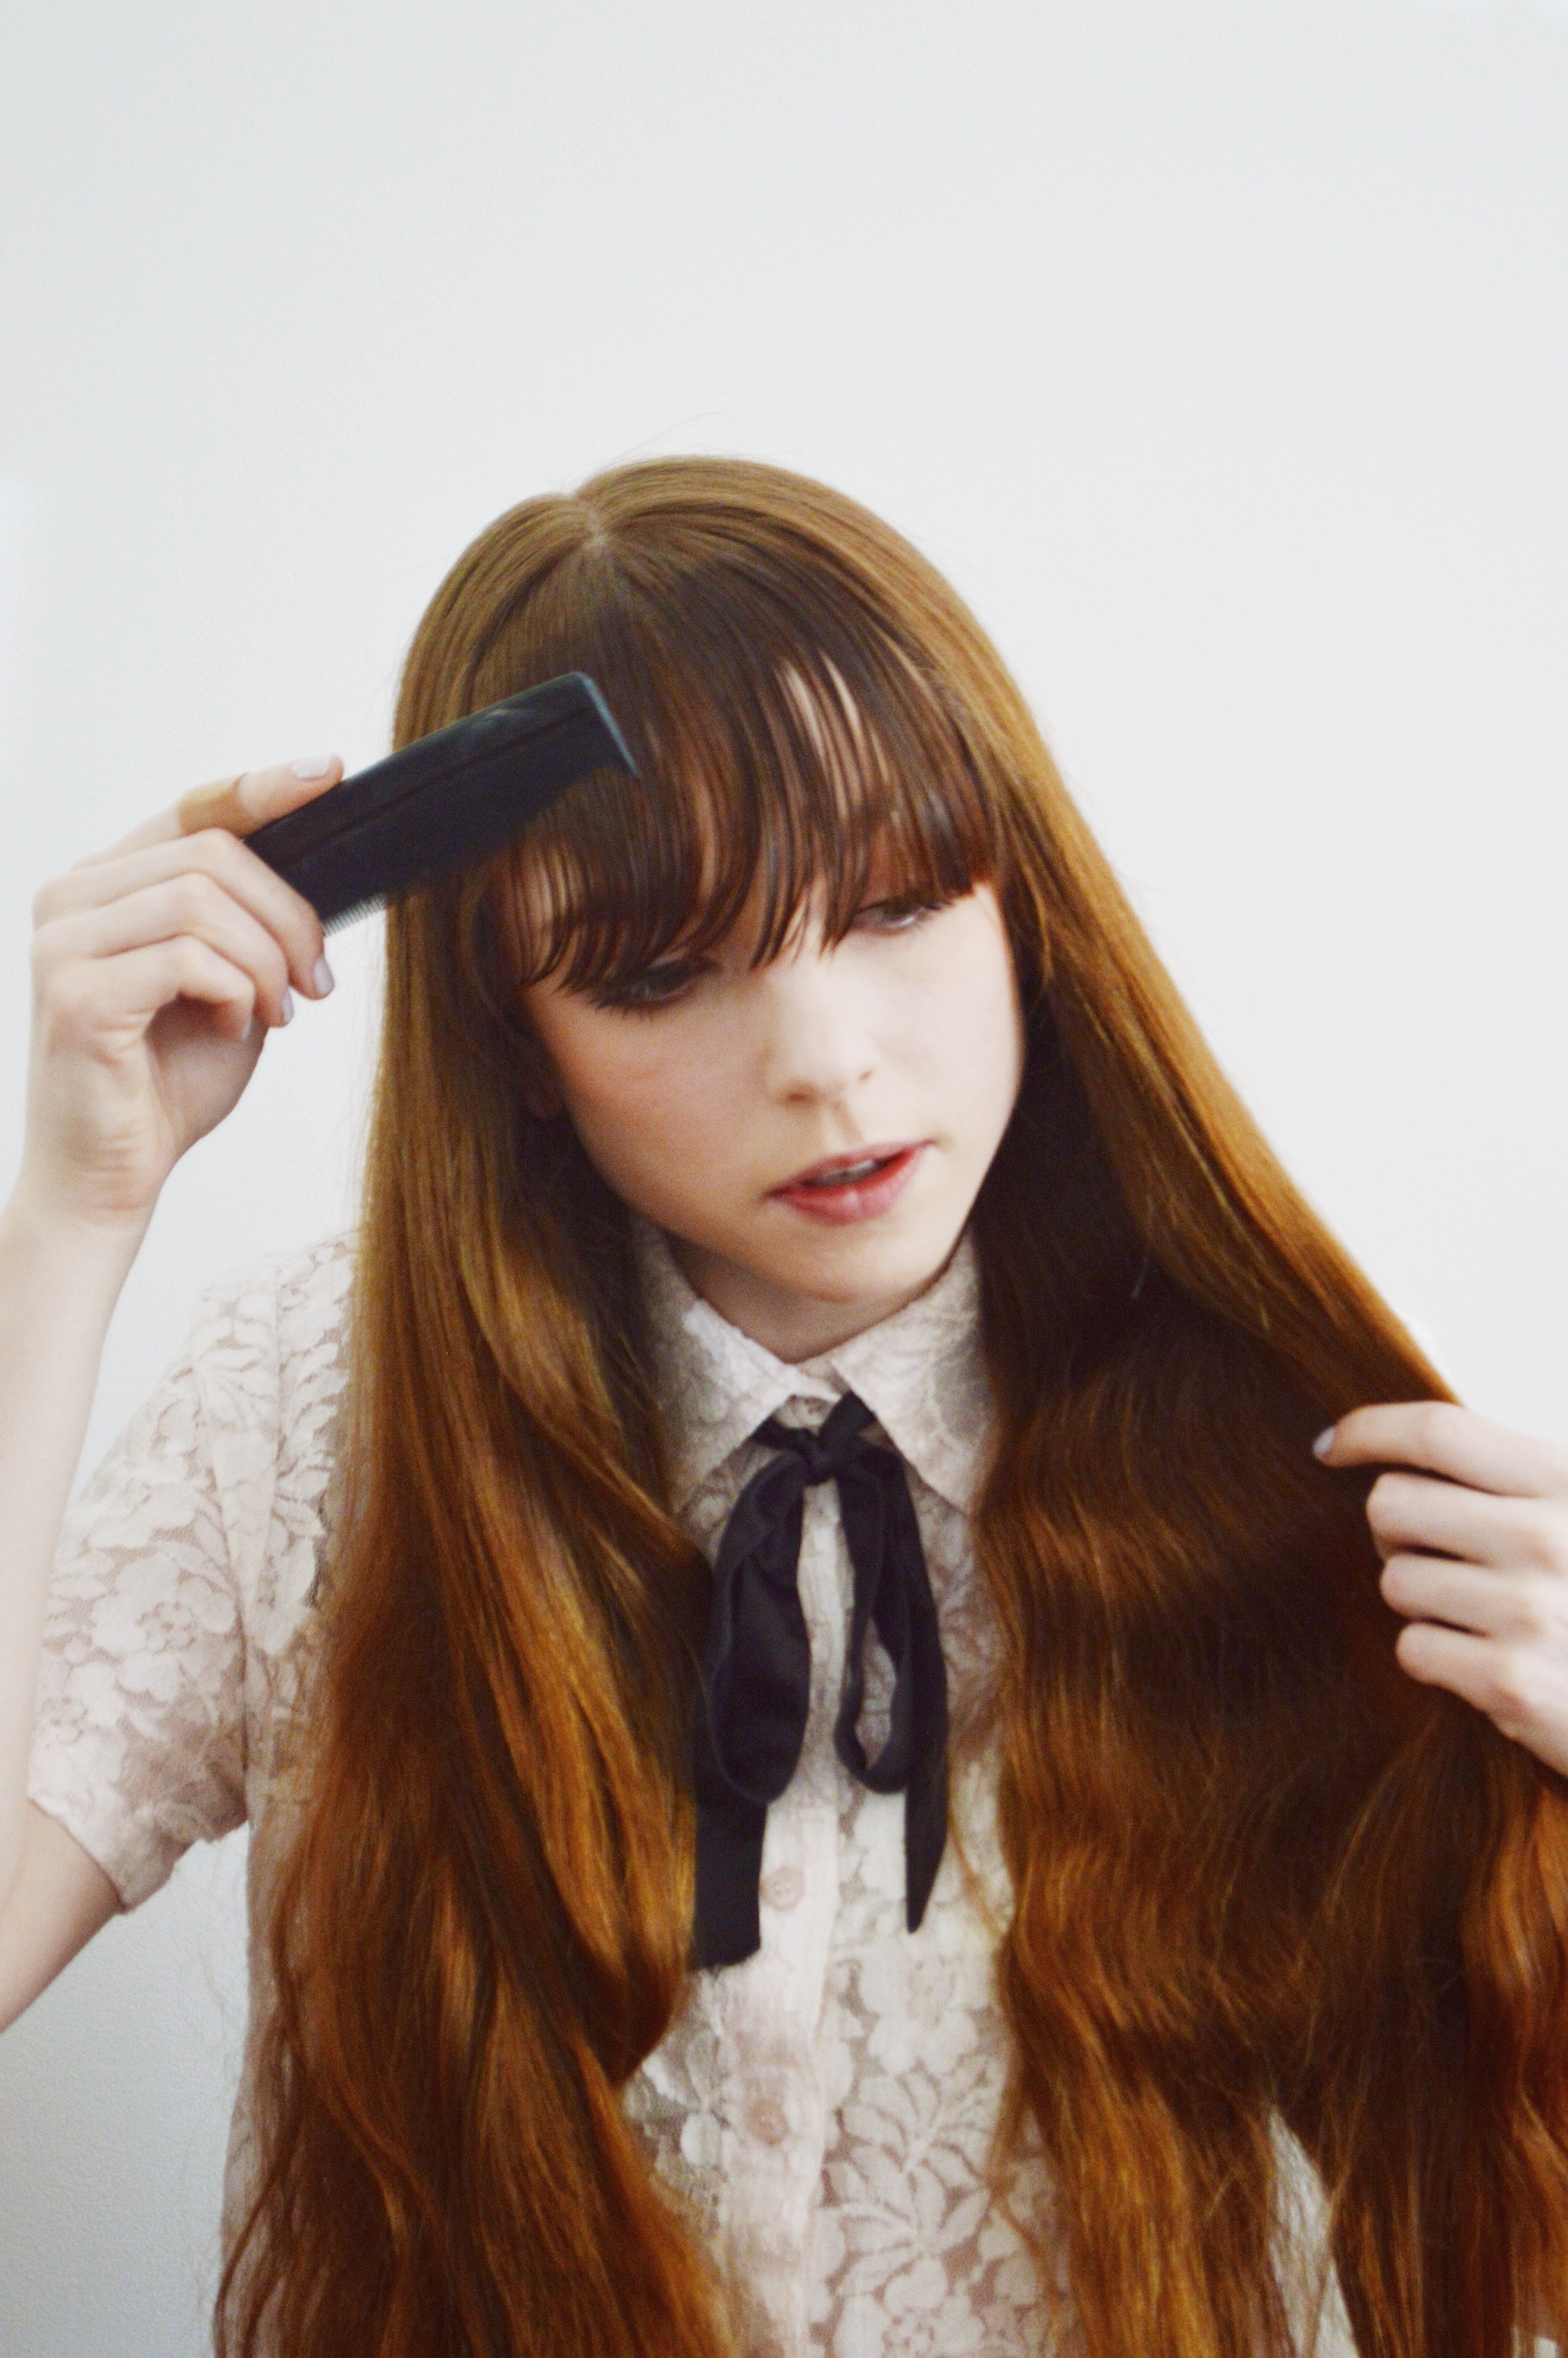
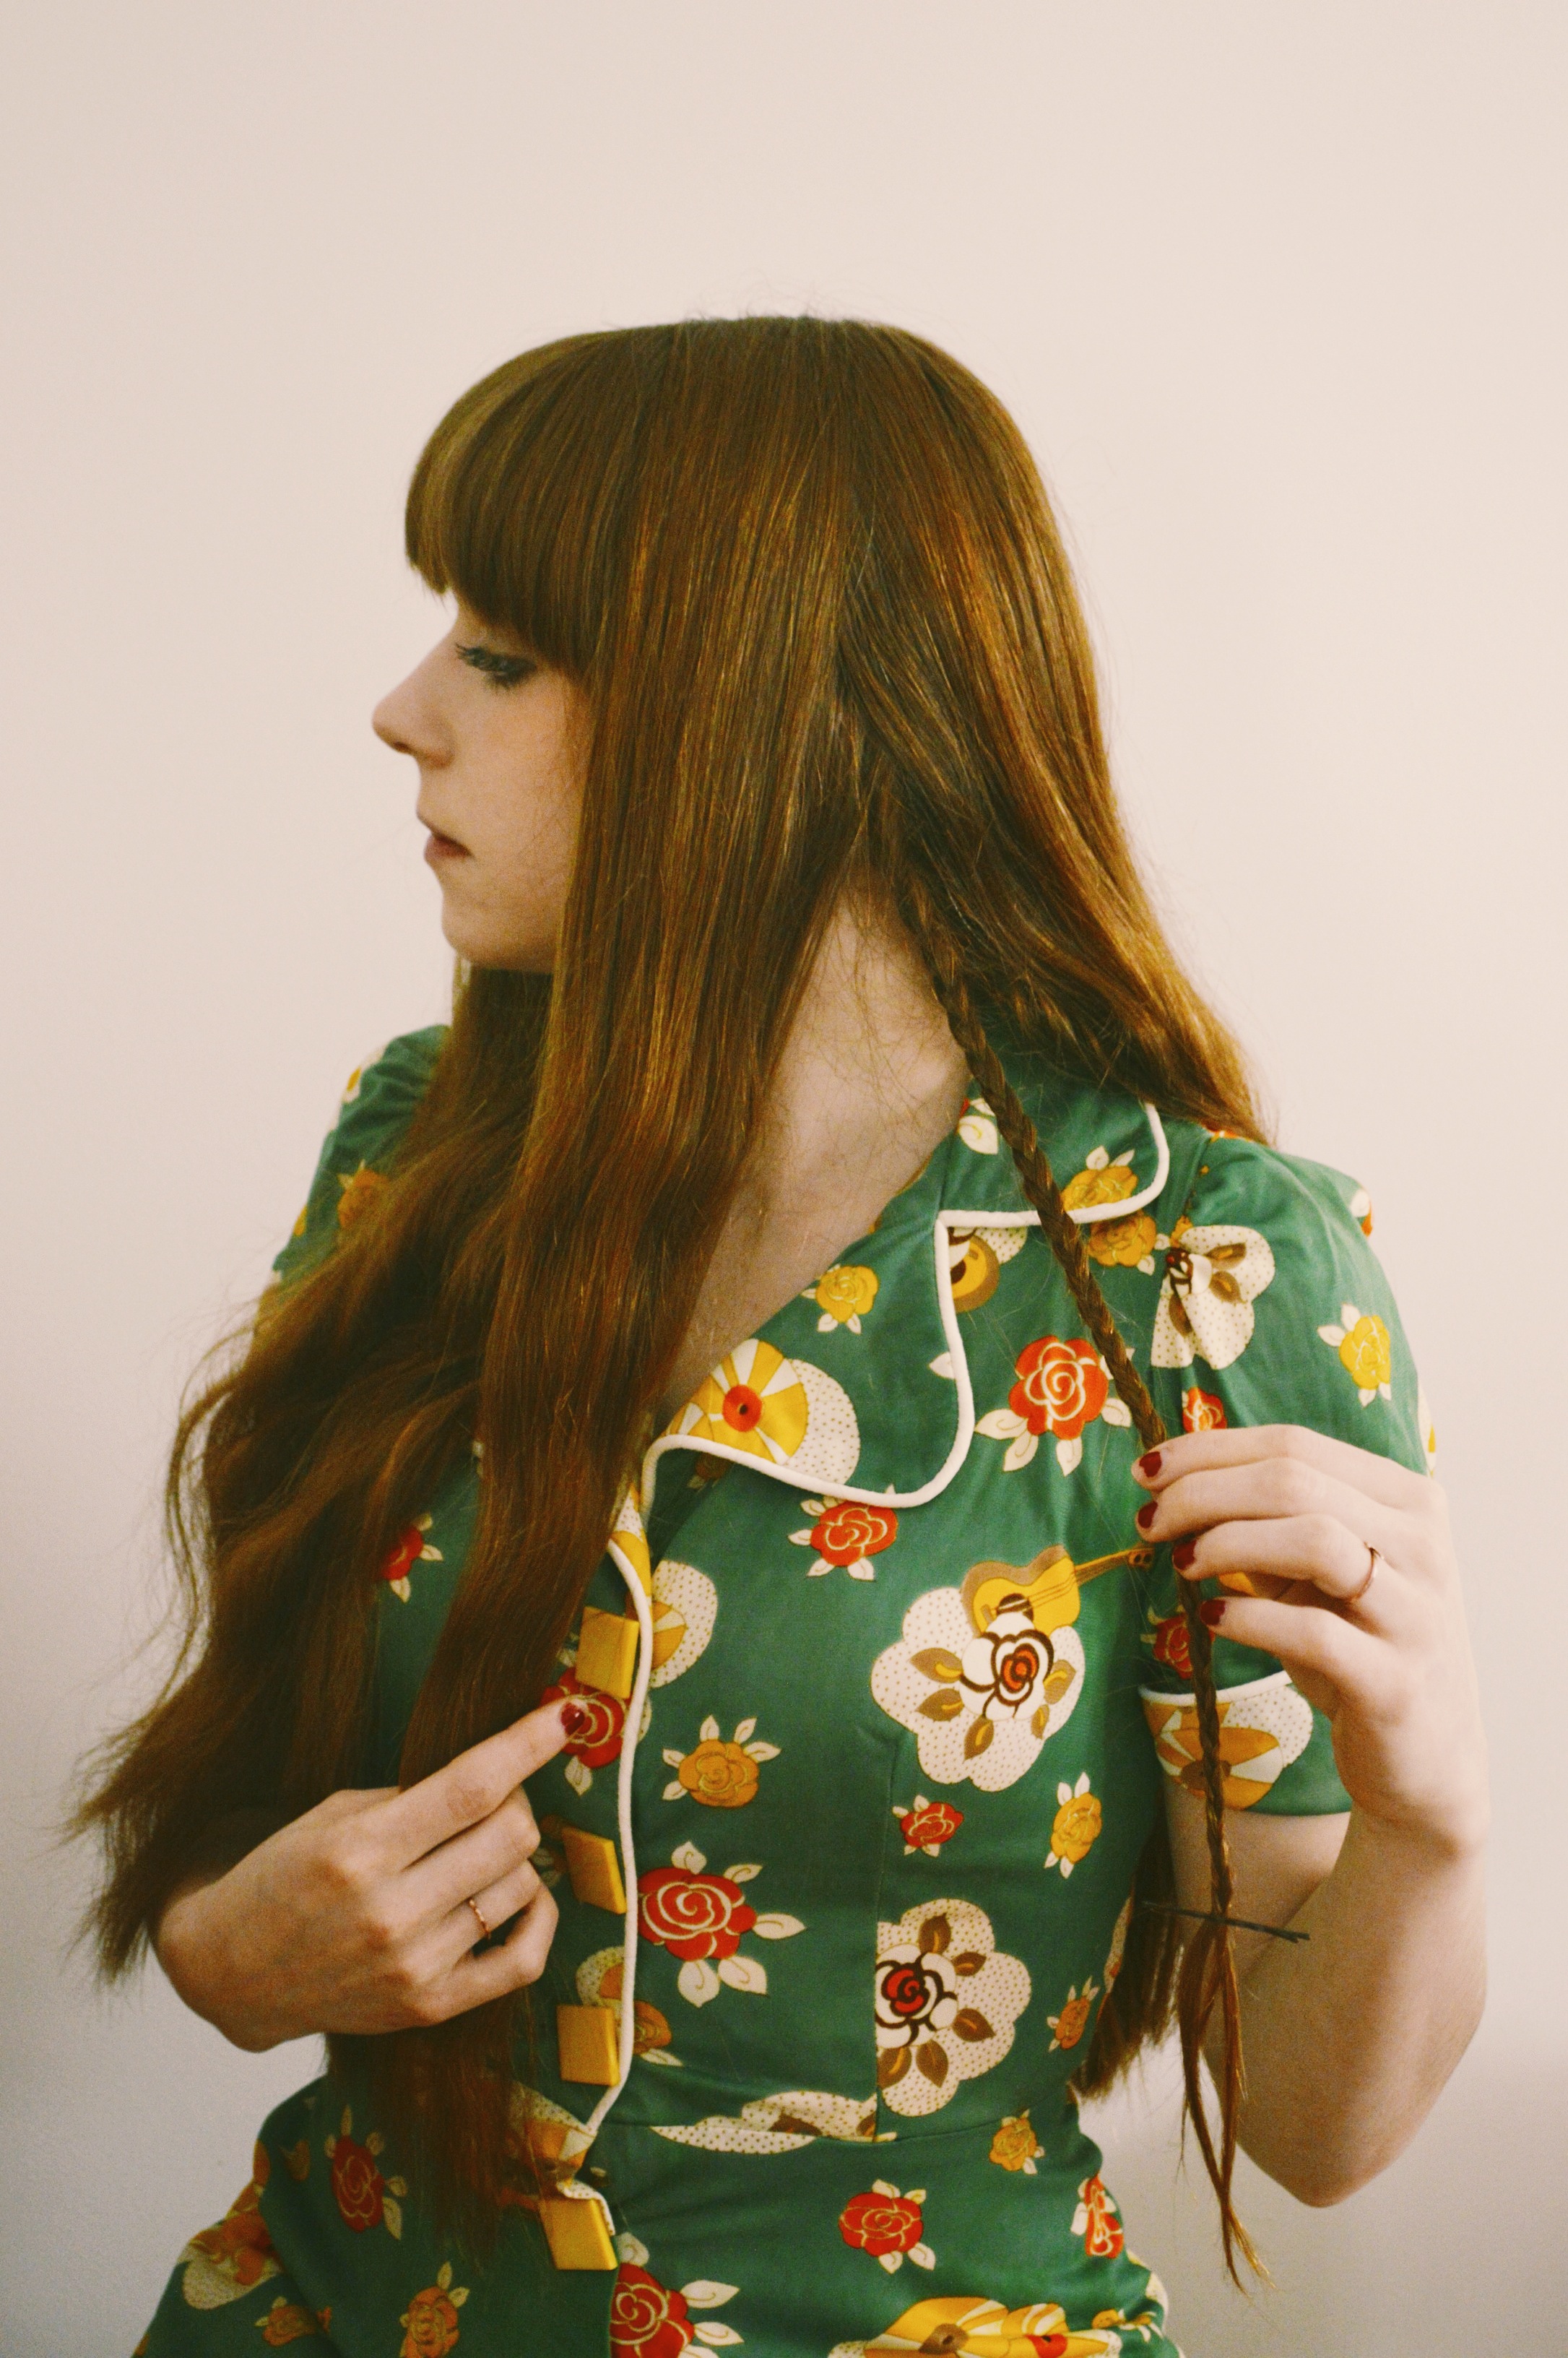
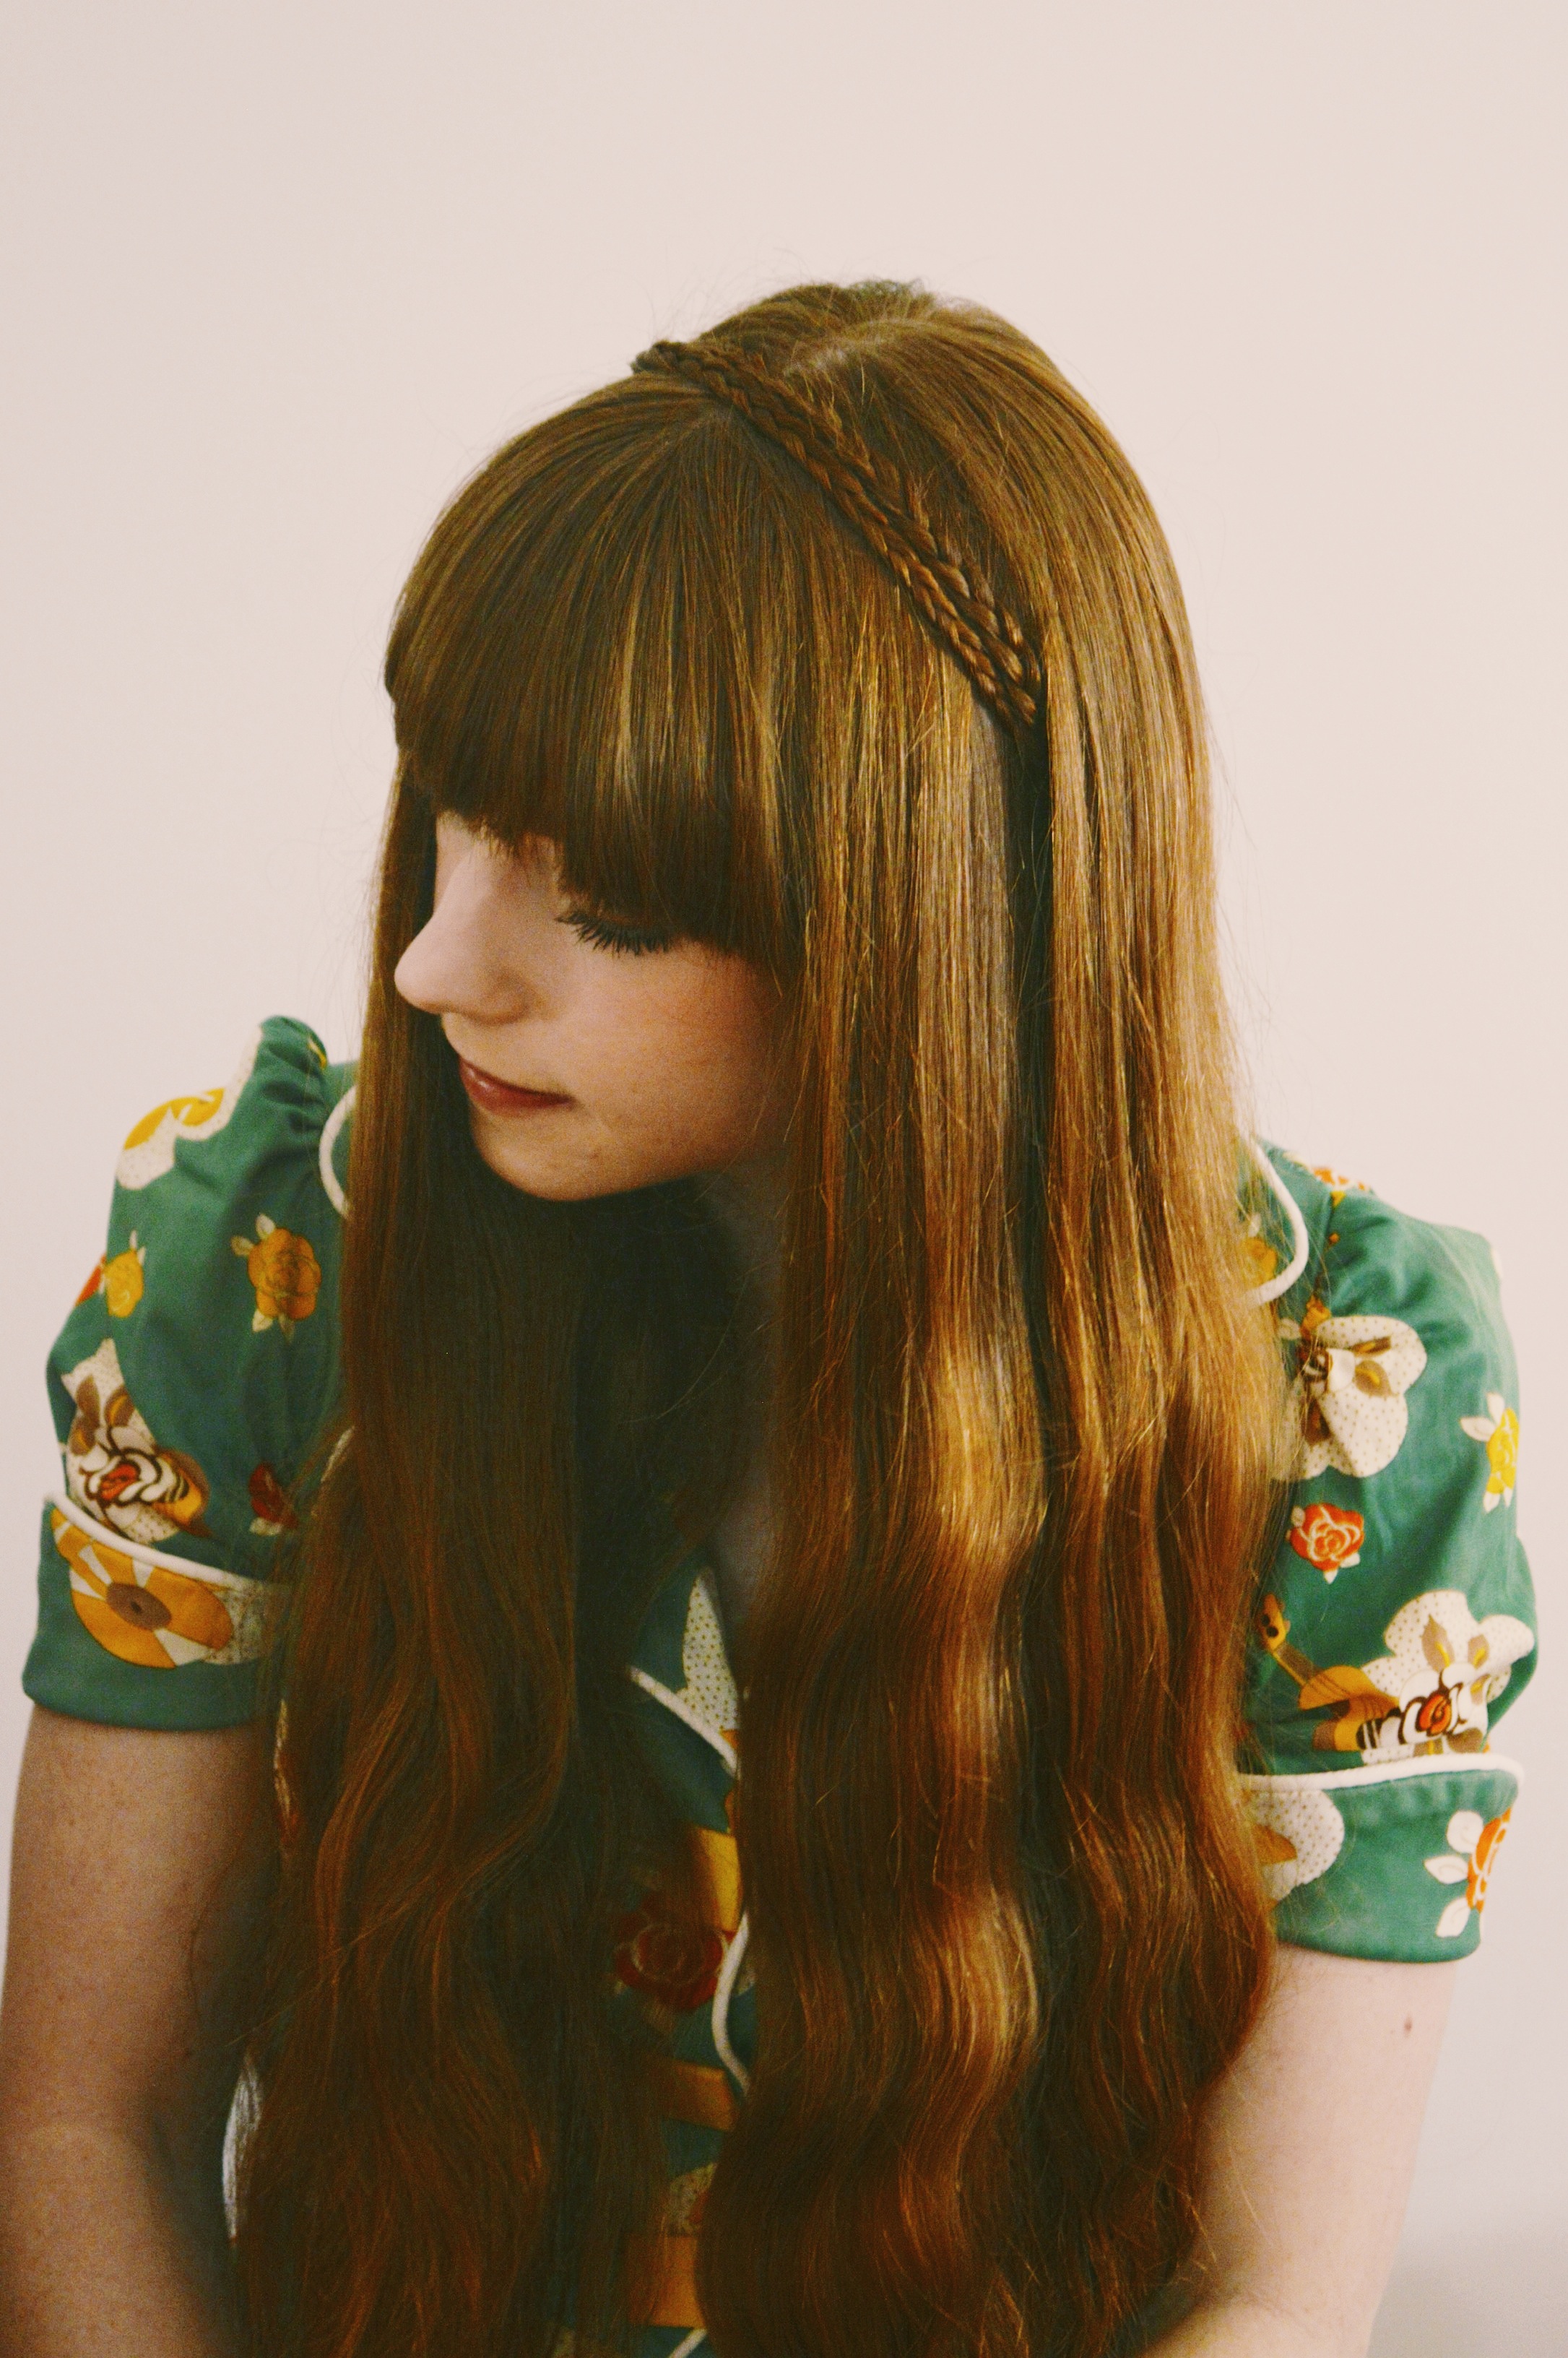
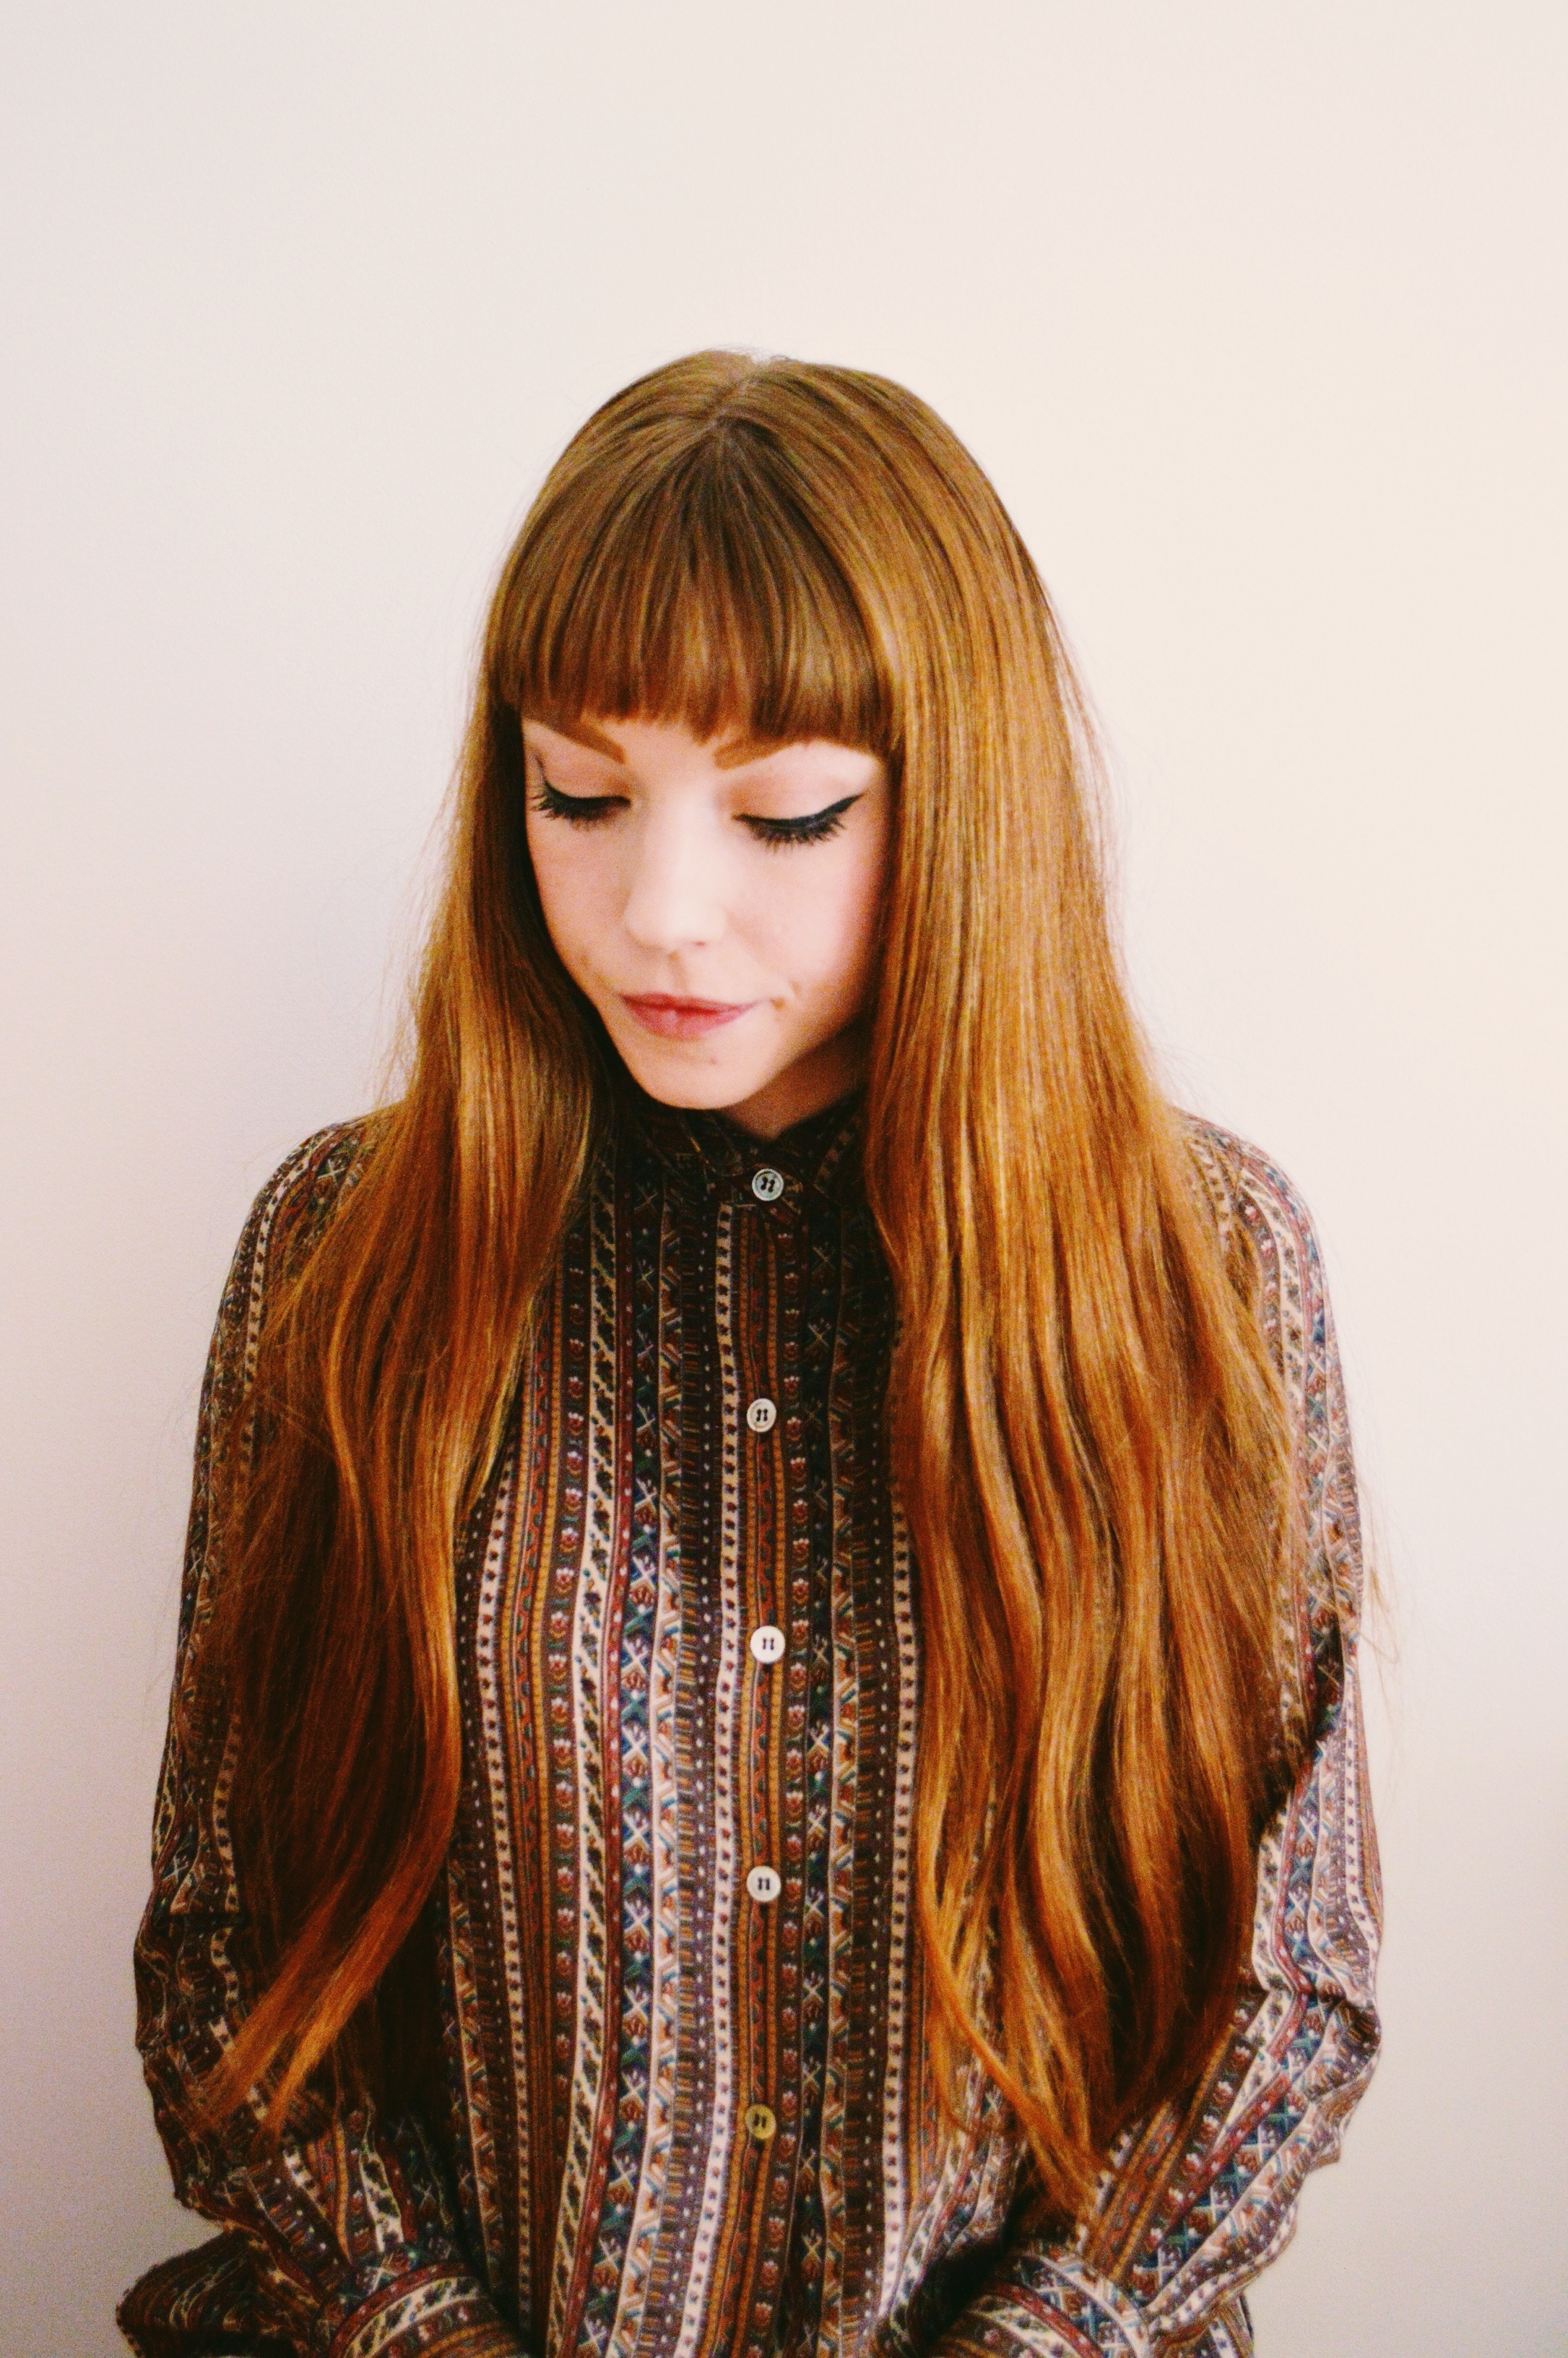
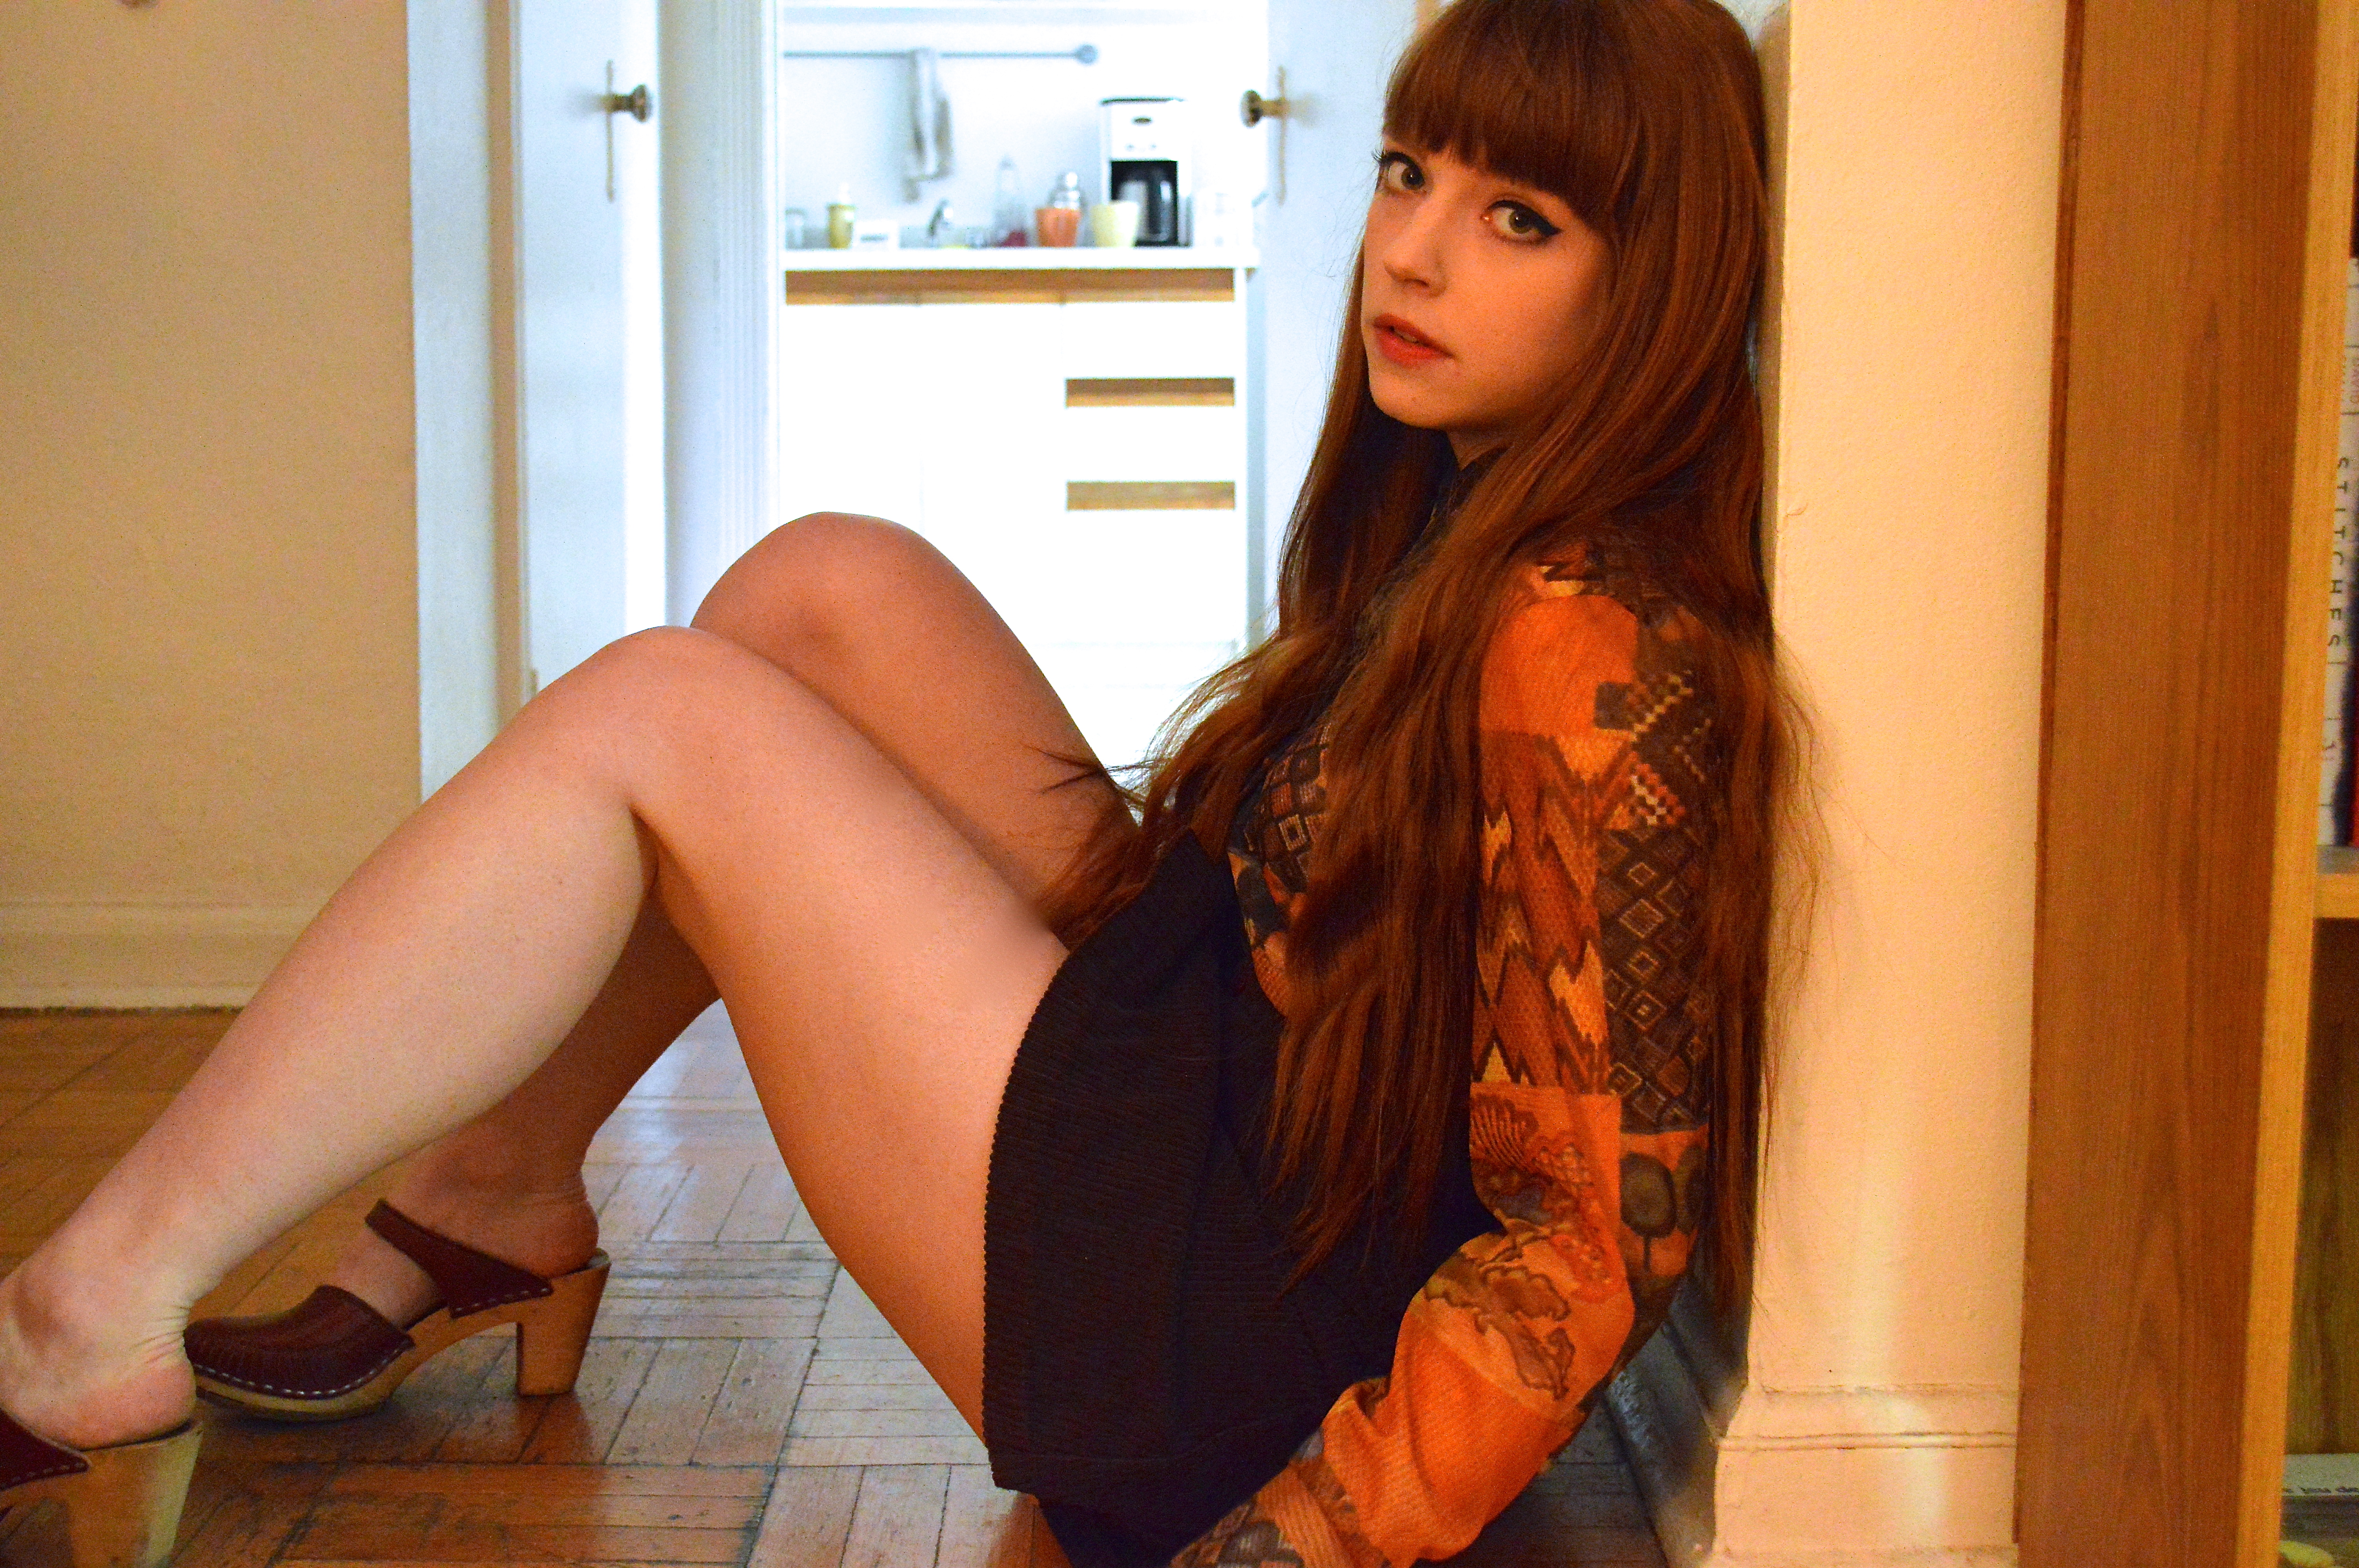
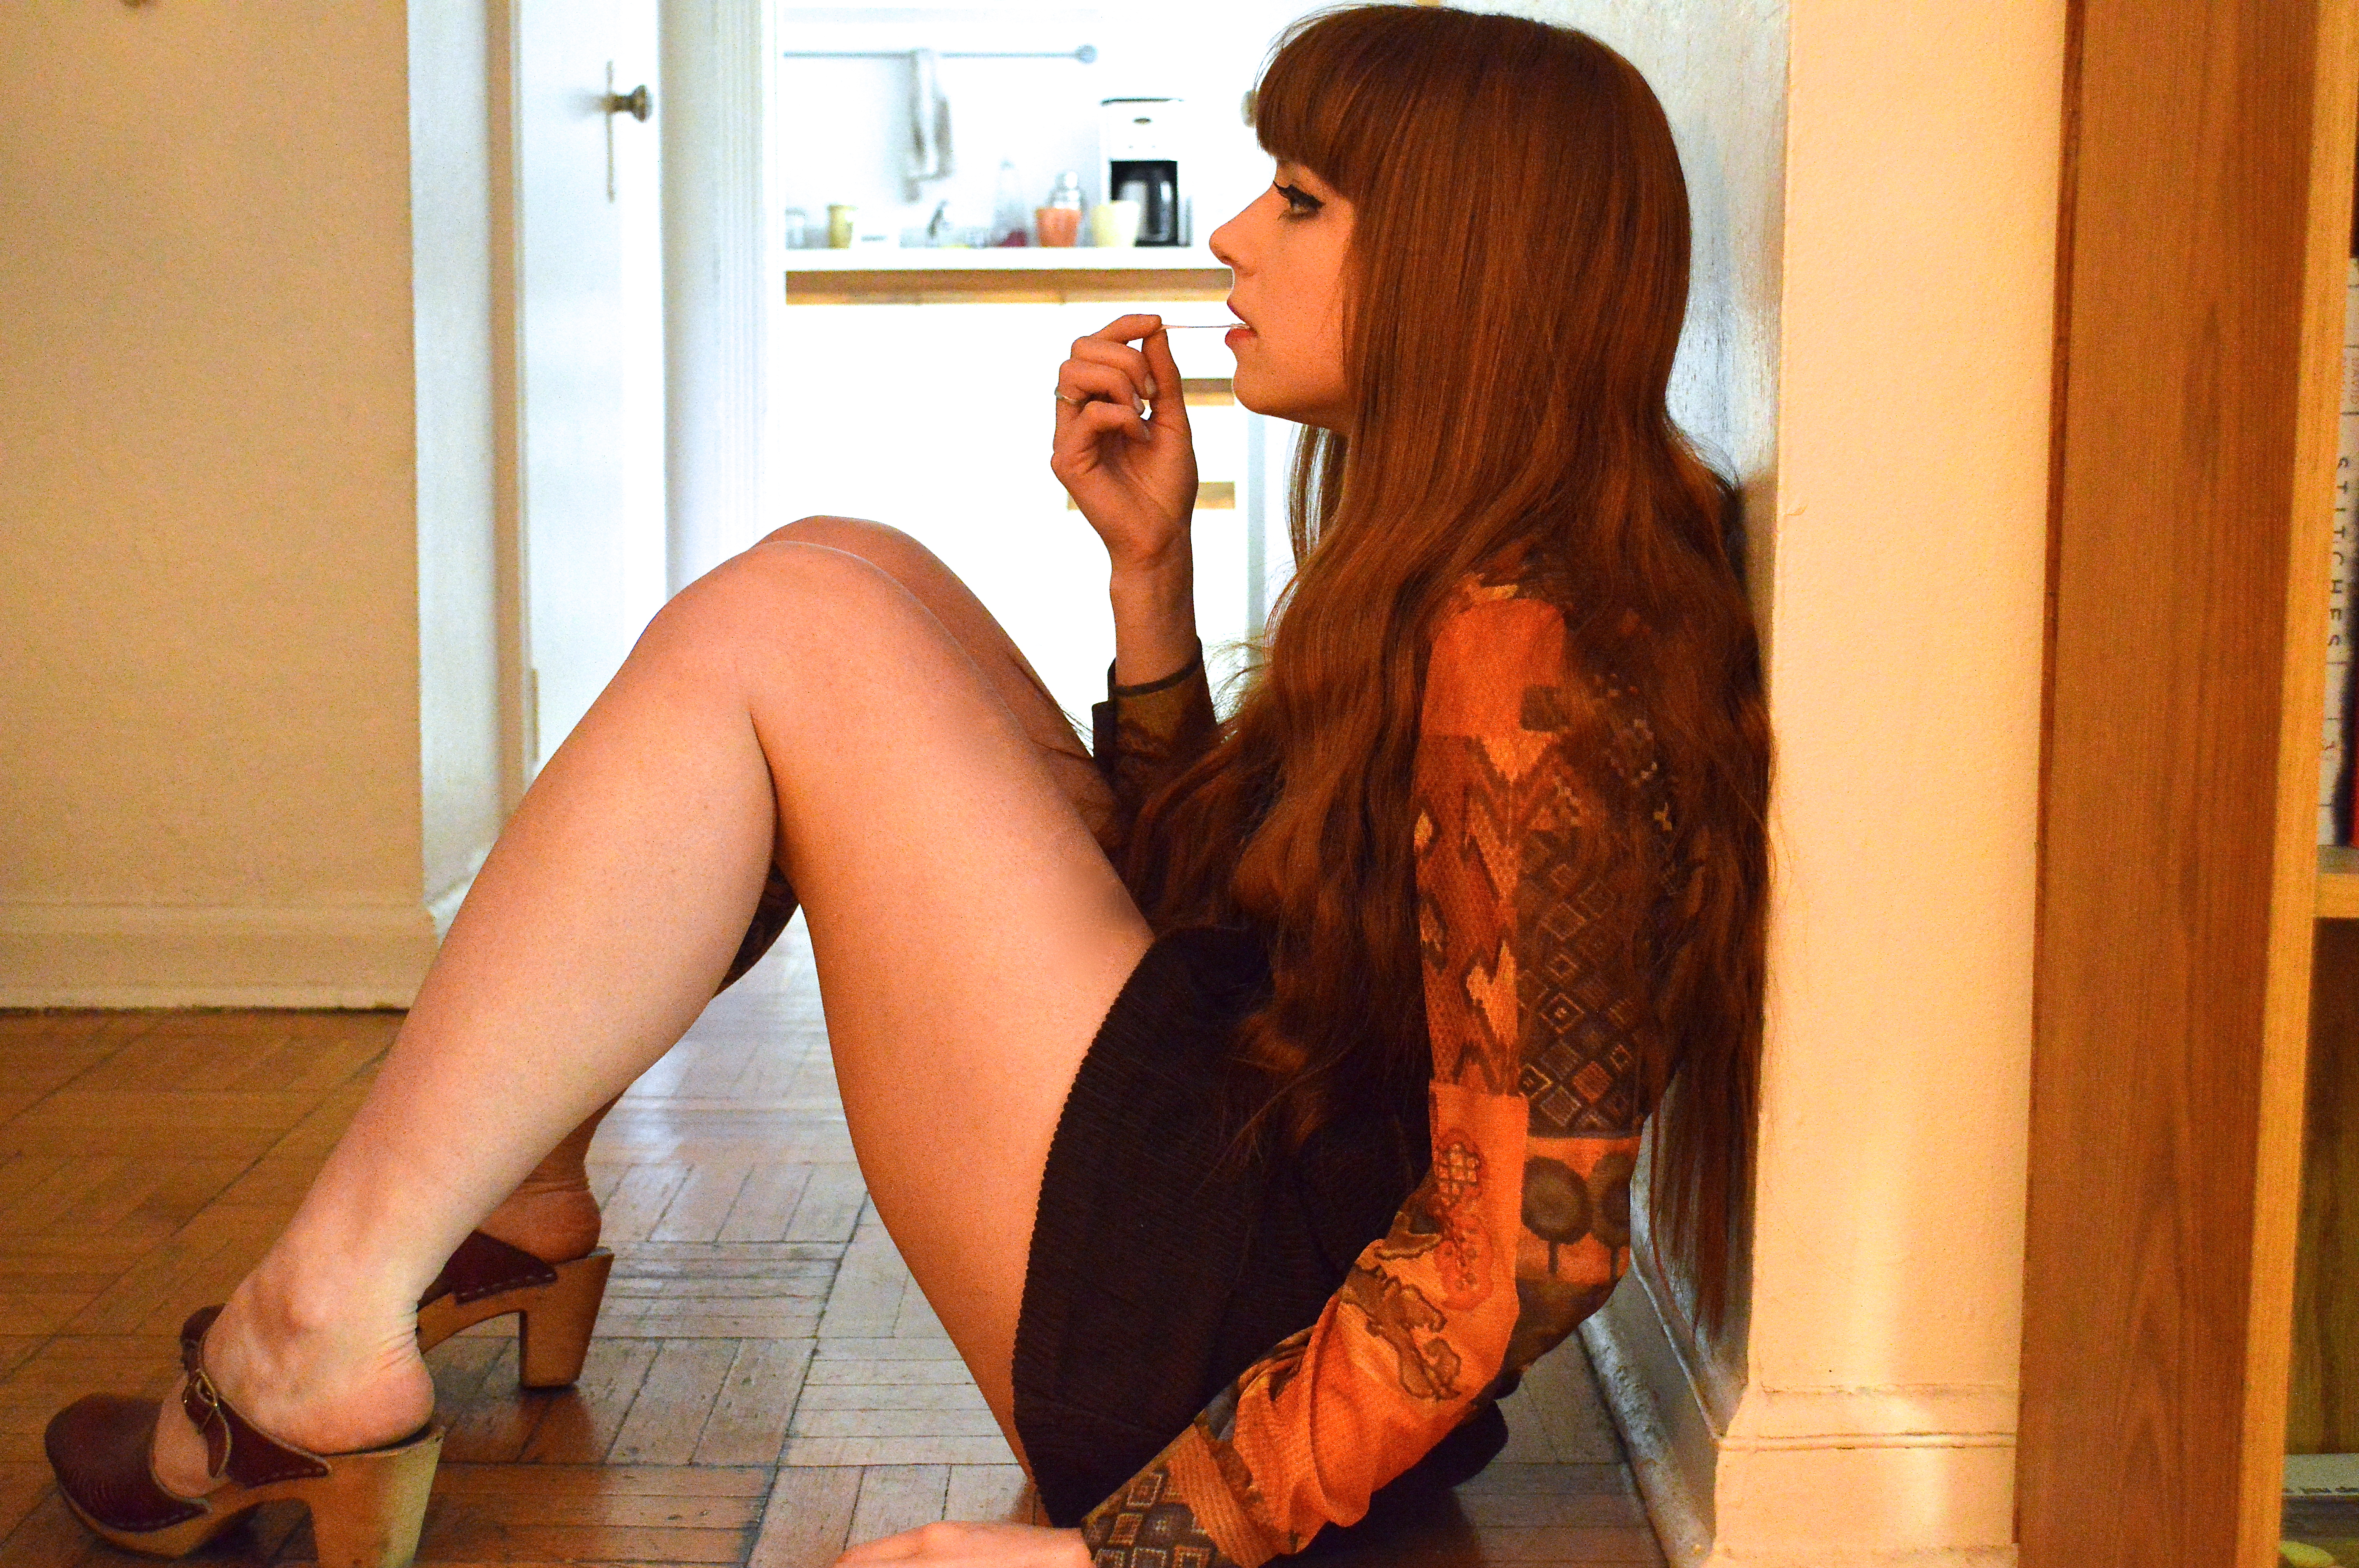
 This is my hair in it’s sort-of natural state. I’ve got really straight hair – those slight waves are likely from being in a braid – so I’m hoping I can show you that even if you have pin straight hair, you can also have voluminous curls with little effort.
WHAT YOU’LL NEED:
- your beautiful hairs
- an old t-shirt, towel, whatever.
- scissors
- tape measure, if you want to be precise
FIRST STEP: Weeee! Time to make our rags! My rags are from awhile ago (maybe gross…I don’t care), but I originally cut up an old sweater into about 20 rags, from what I can remember. I only use about 8 in my hair now, but it really depends on how you want your curls to turn out – I prefer mine a bit thicker, so I use less. I cut my rags to about 1″ in width and 7″ in length – you don’t have to use those measurements, but they have always served me well.
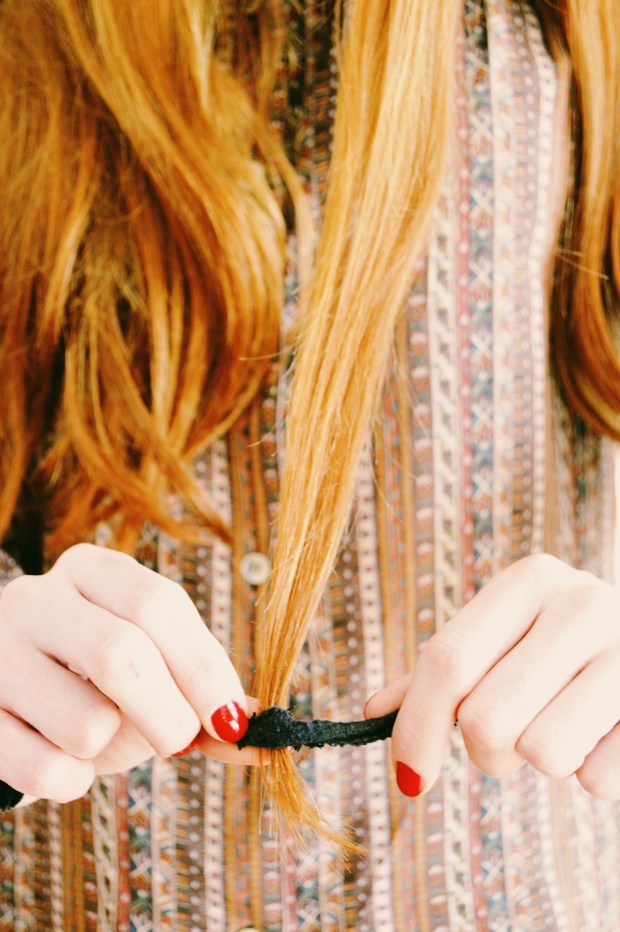

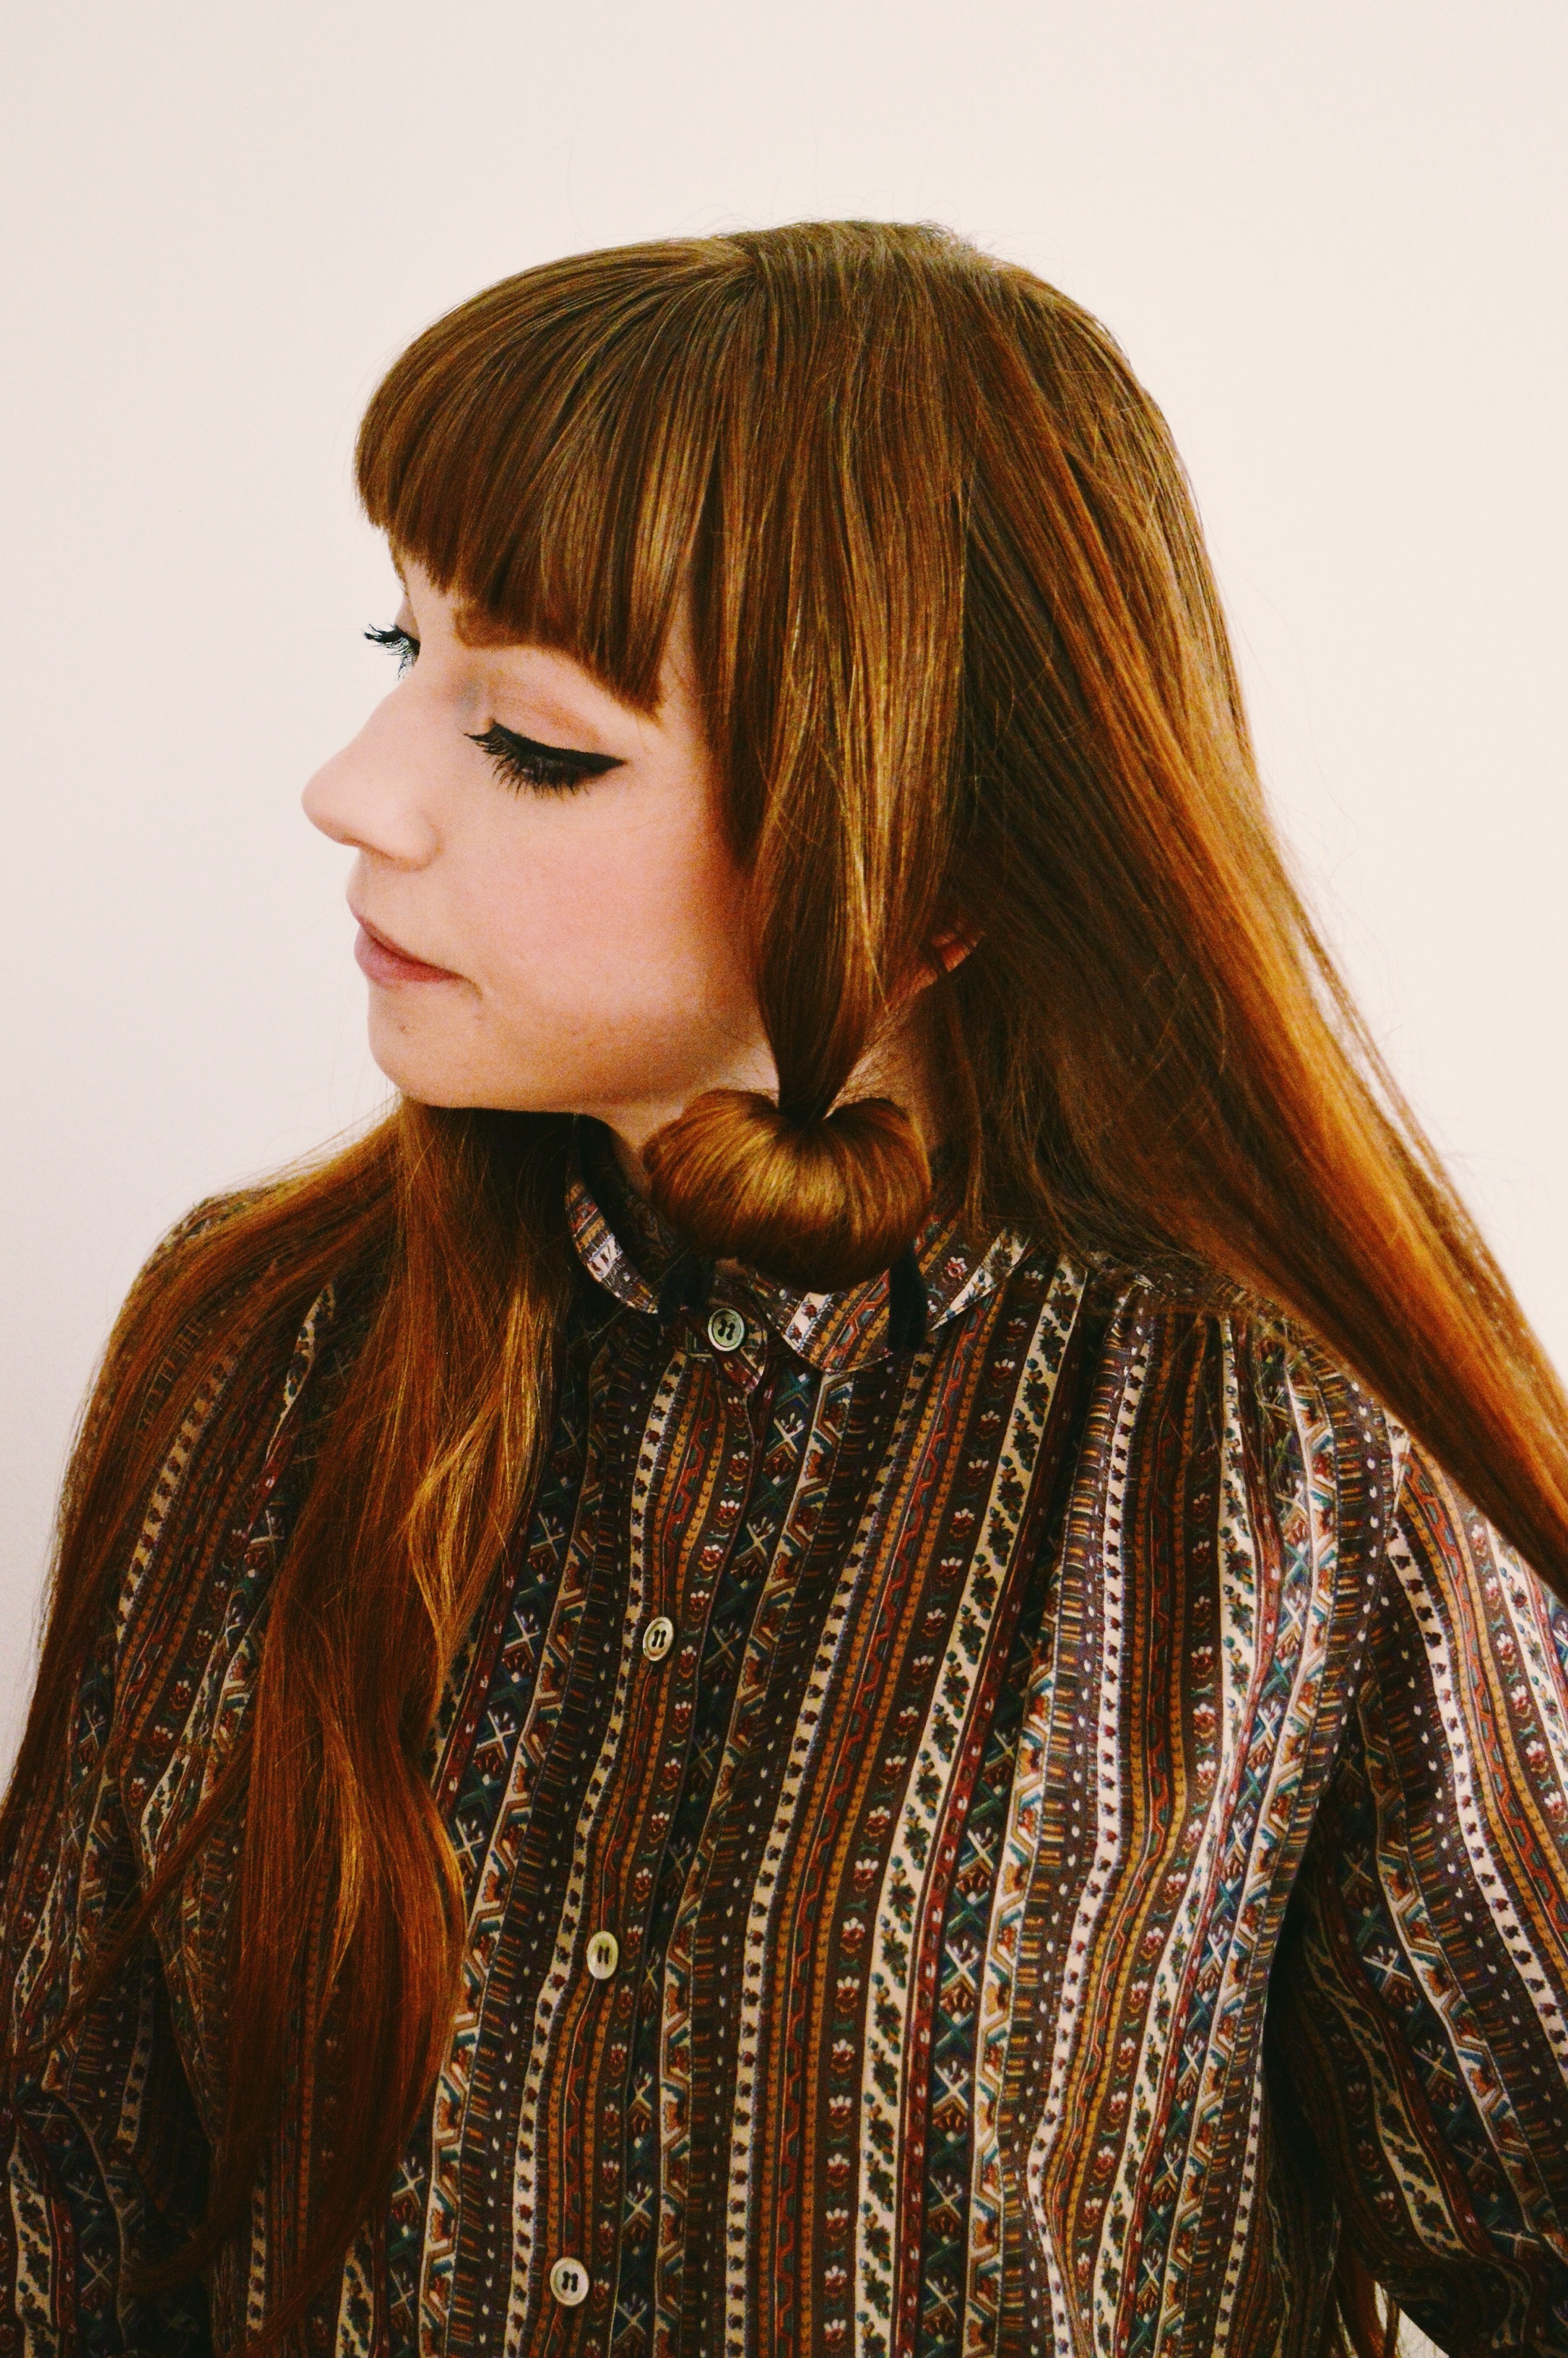
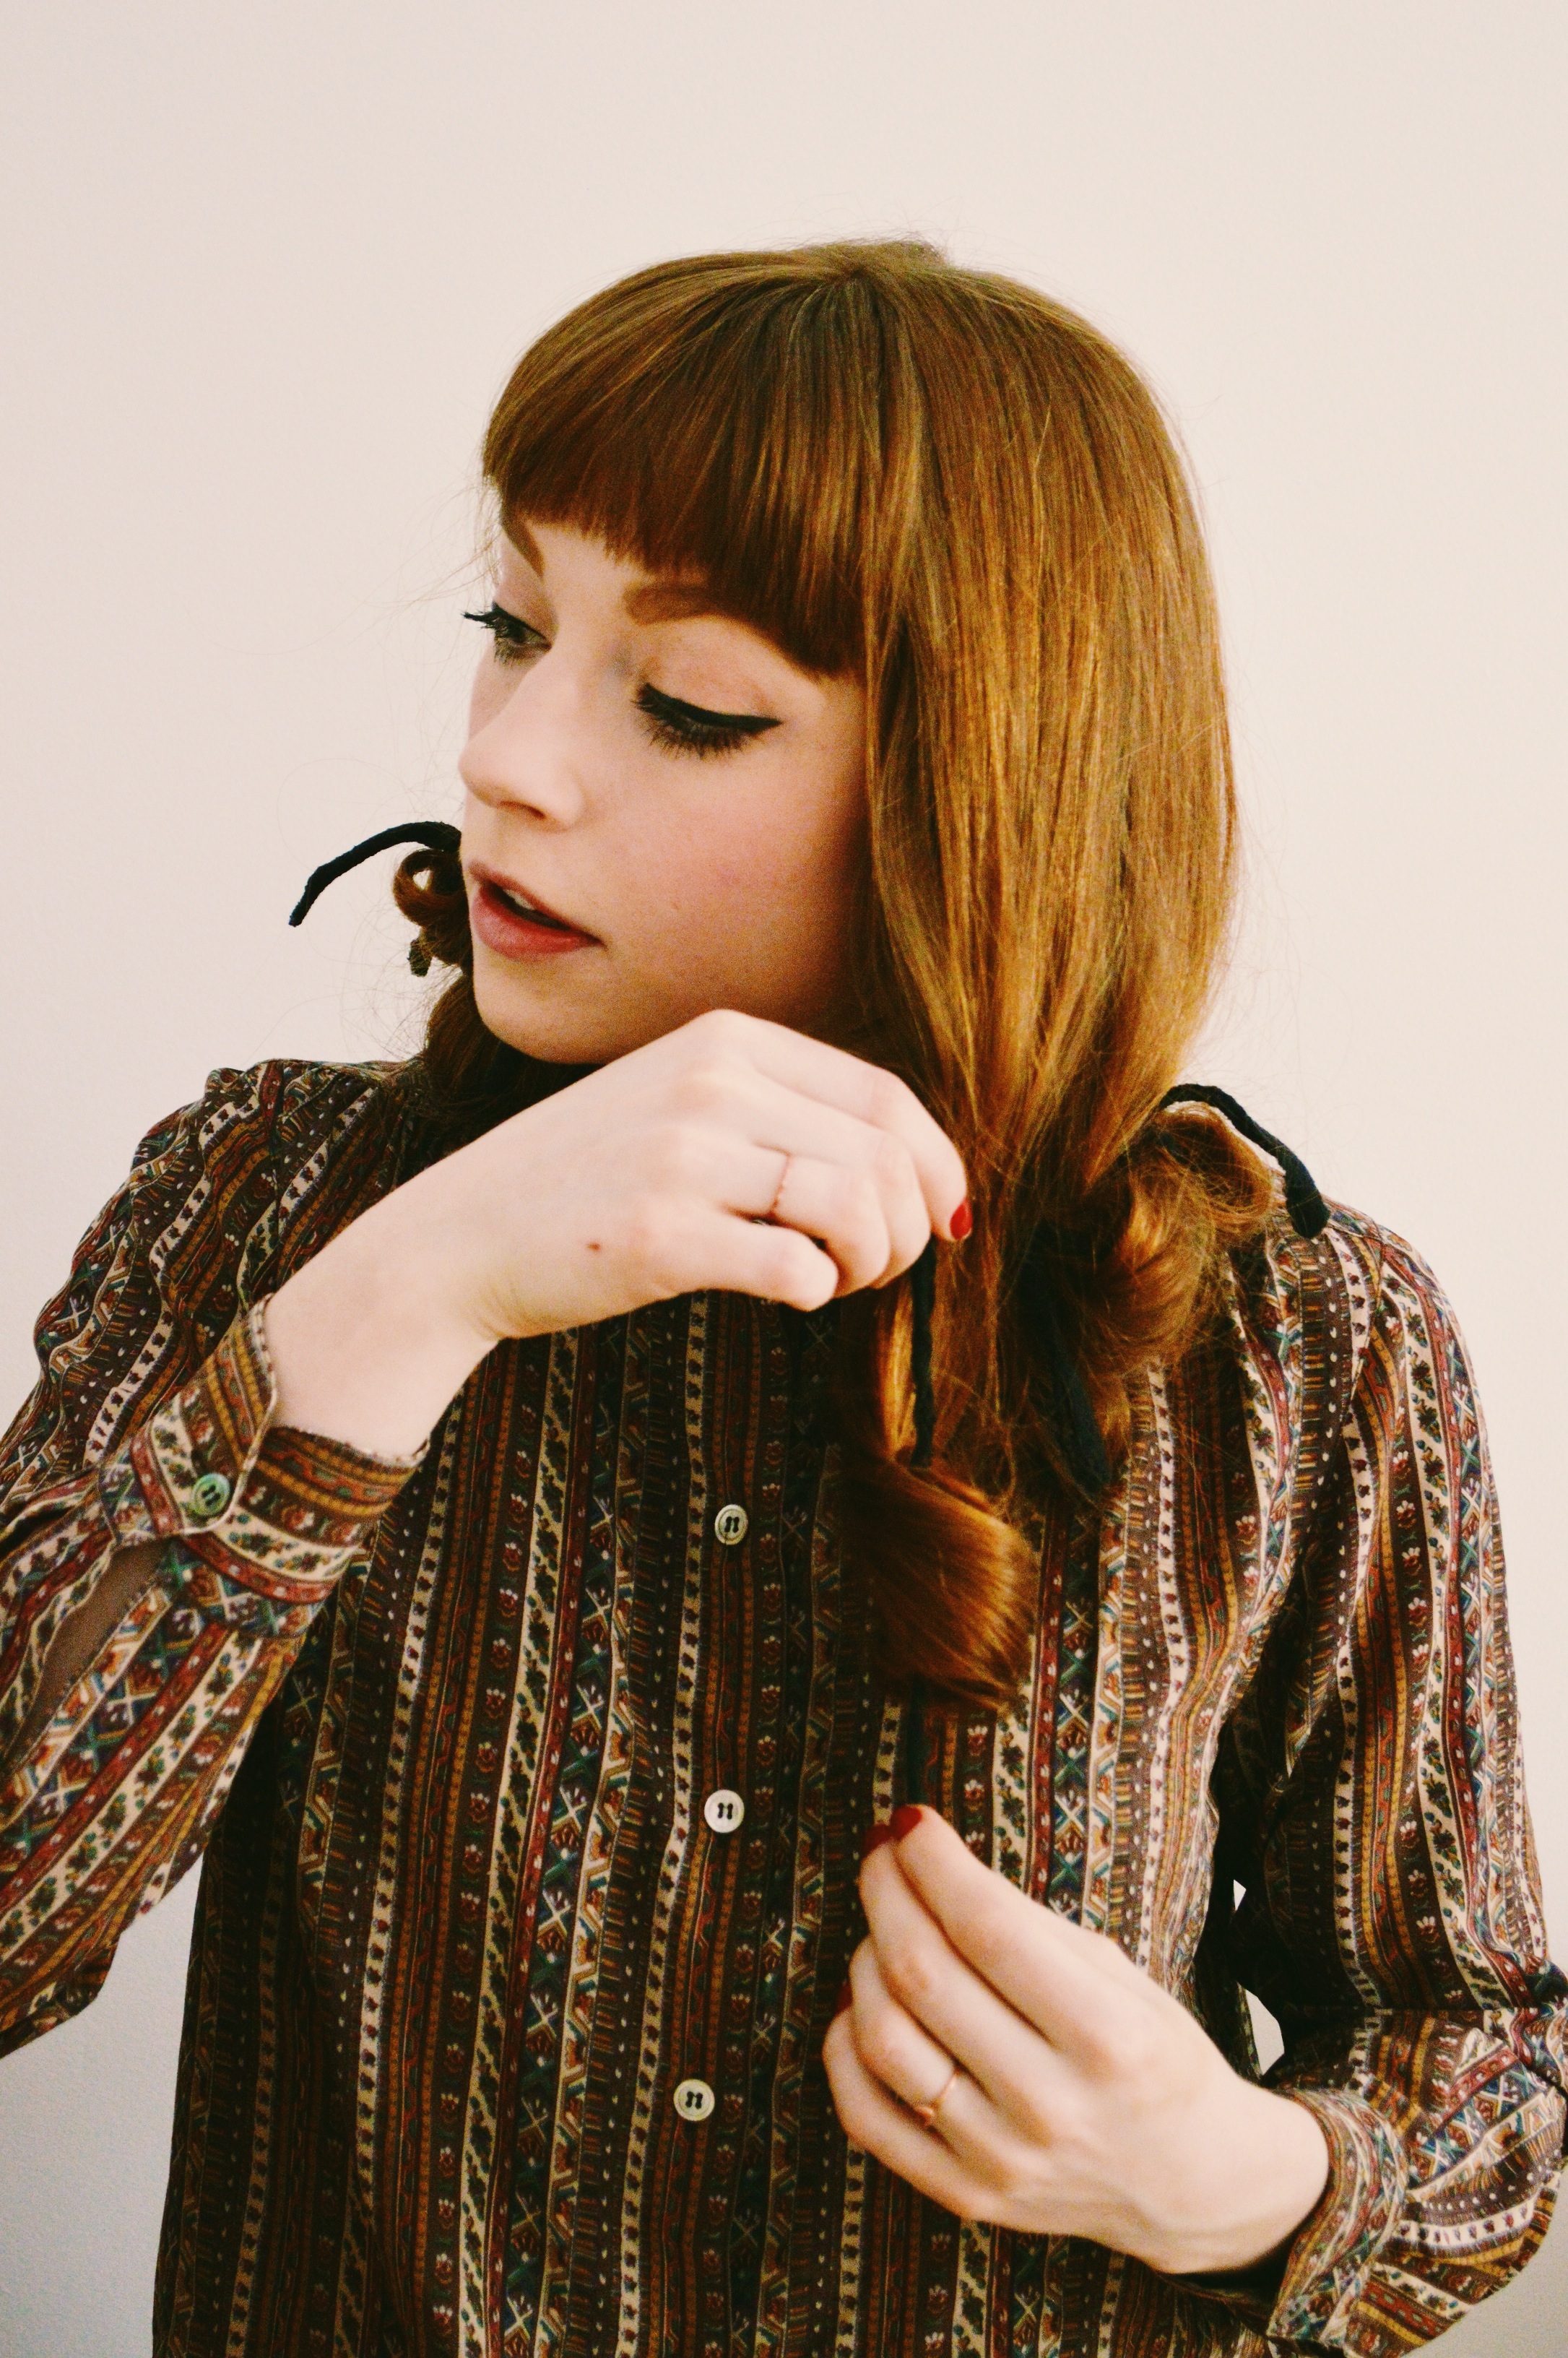
 SECOND STEP: Rollin’ rollin’ rollin’. I like to roll my hair dry, but when I first started out I liked having it a bit damp because it is a little tricky getting the hang of rolling that hair up when it’s not very malleable (hair sometimes has a mind of it’s own). Take your desired amount of hair to be rolled – whether that be a clump, chunk, bundle or strands does not matter, this is your life – and wrap the end of your bundle around the rag and start rolling upward. Once you reach the top (also subjective), tie your rag into a single knot.
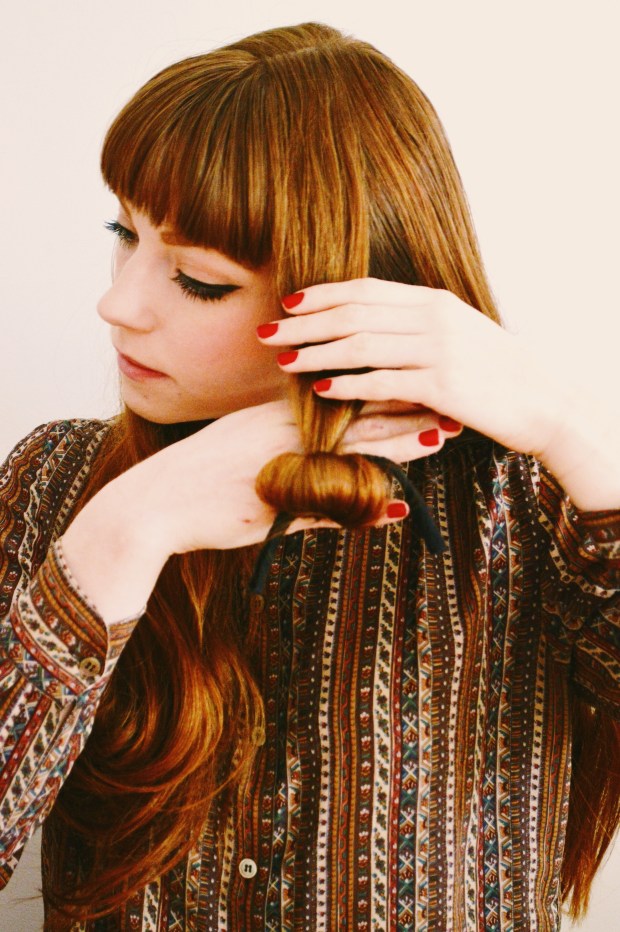
 Et voila! Your first rag was a success, now onto the rest of that head!
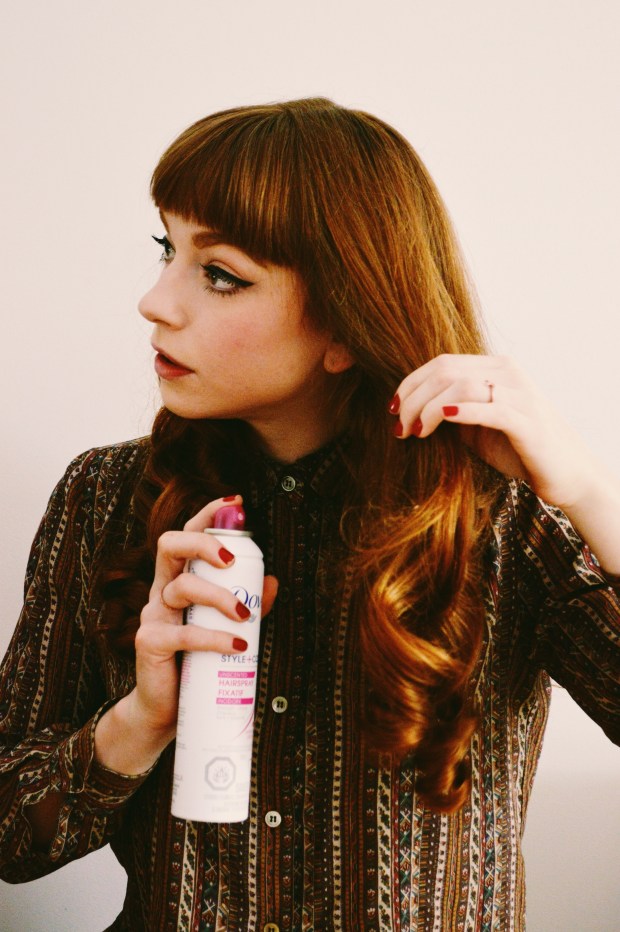
 THIRD STEP: I often like to give my rag bundles a little spritz with hairspray. I have found this helps immensely since my hair often likes to stay curly for a few hours and then slowly go back to it’s straight, boring life. Take that hair! I’m the boss!
 Eventually, you will look darling like this. I used to call her spider head because I had so many rags in that resembled a plethora of spiders, but now I call her perogie/dumpling head, for what I feel is obvious reasons, but maybe I’m insane.
 FOURTH STEP: I usually do my rags in the evening so I can sleep on them and wake up with excellent hair in no time at all. I find giving your hair many hours in the rags is important…especially if you have thick hair. You could also do your rags in the morning if you are going out at night and are planning on spending the day inside…unless you want to walk around in public with these…if so, you are brave and you are my new best friend. If you are concerned about your rolls coming loose while you sleep, you can also tie a head scarf around your head so as to not upset the rolls. I’m too lazy for that shit so I just sleep as is. Don’t worry, it’s not really uncomfortable.
 FIFTH STEP: In the morning I often use my blow dryer on the little bundles even though they are not wet because the heat will help to keep the curls intact. Make sure if you do use the blow dryer to let the curls cool down before taking them out. Now, un-tie your knots and slowly pull the bottom piece of the rag downward so you don’t upset the curls. Once I’ve taken out all the rags I give my curls another spray with my trusty hairspray just to be sure they don’t get out of line, then I just give the top, uncurled part of my hair a little brush (since I slept on it) and I’m good to go. You could also tease a bit of the hair at the top of your head to get that ultra 60s look, which sometimes I do.
 Congratulations on a job well done! Now go take on the day looking and feeling fabulous as ever.


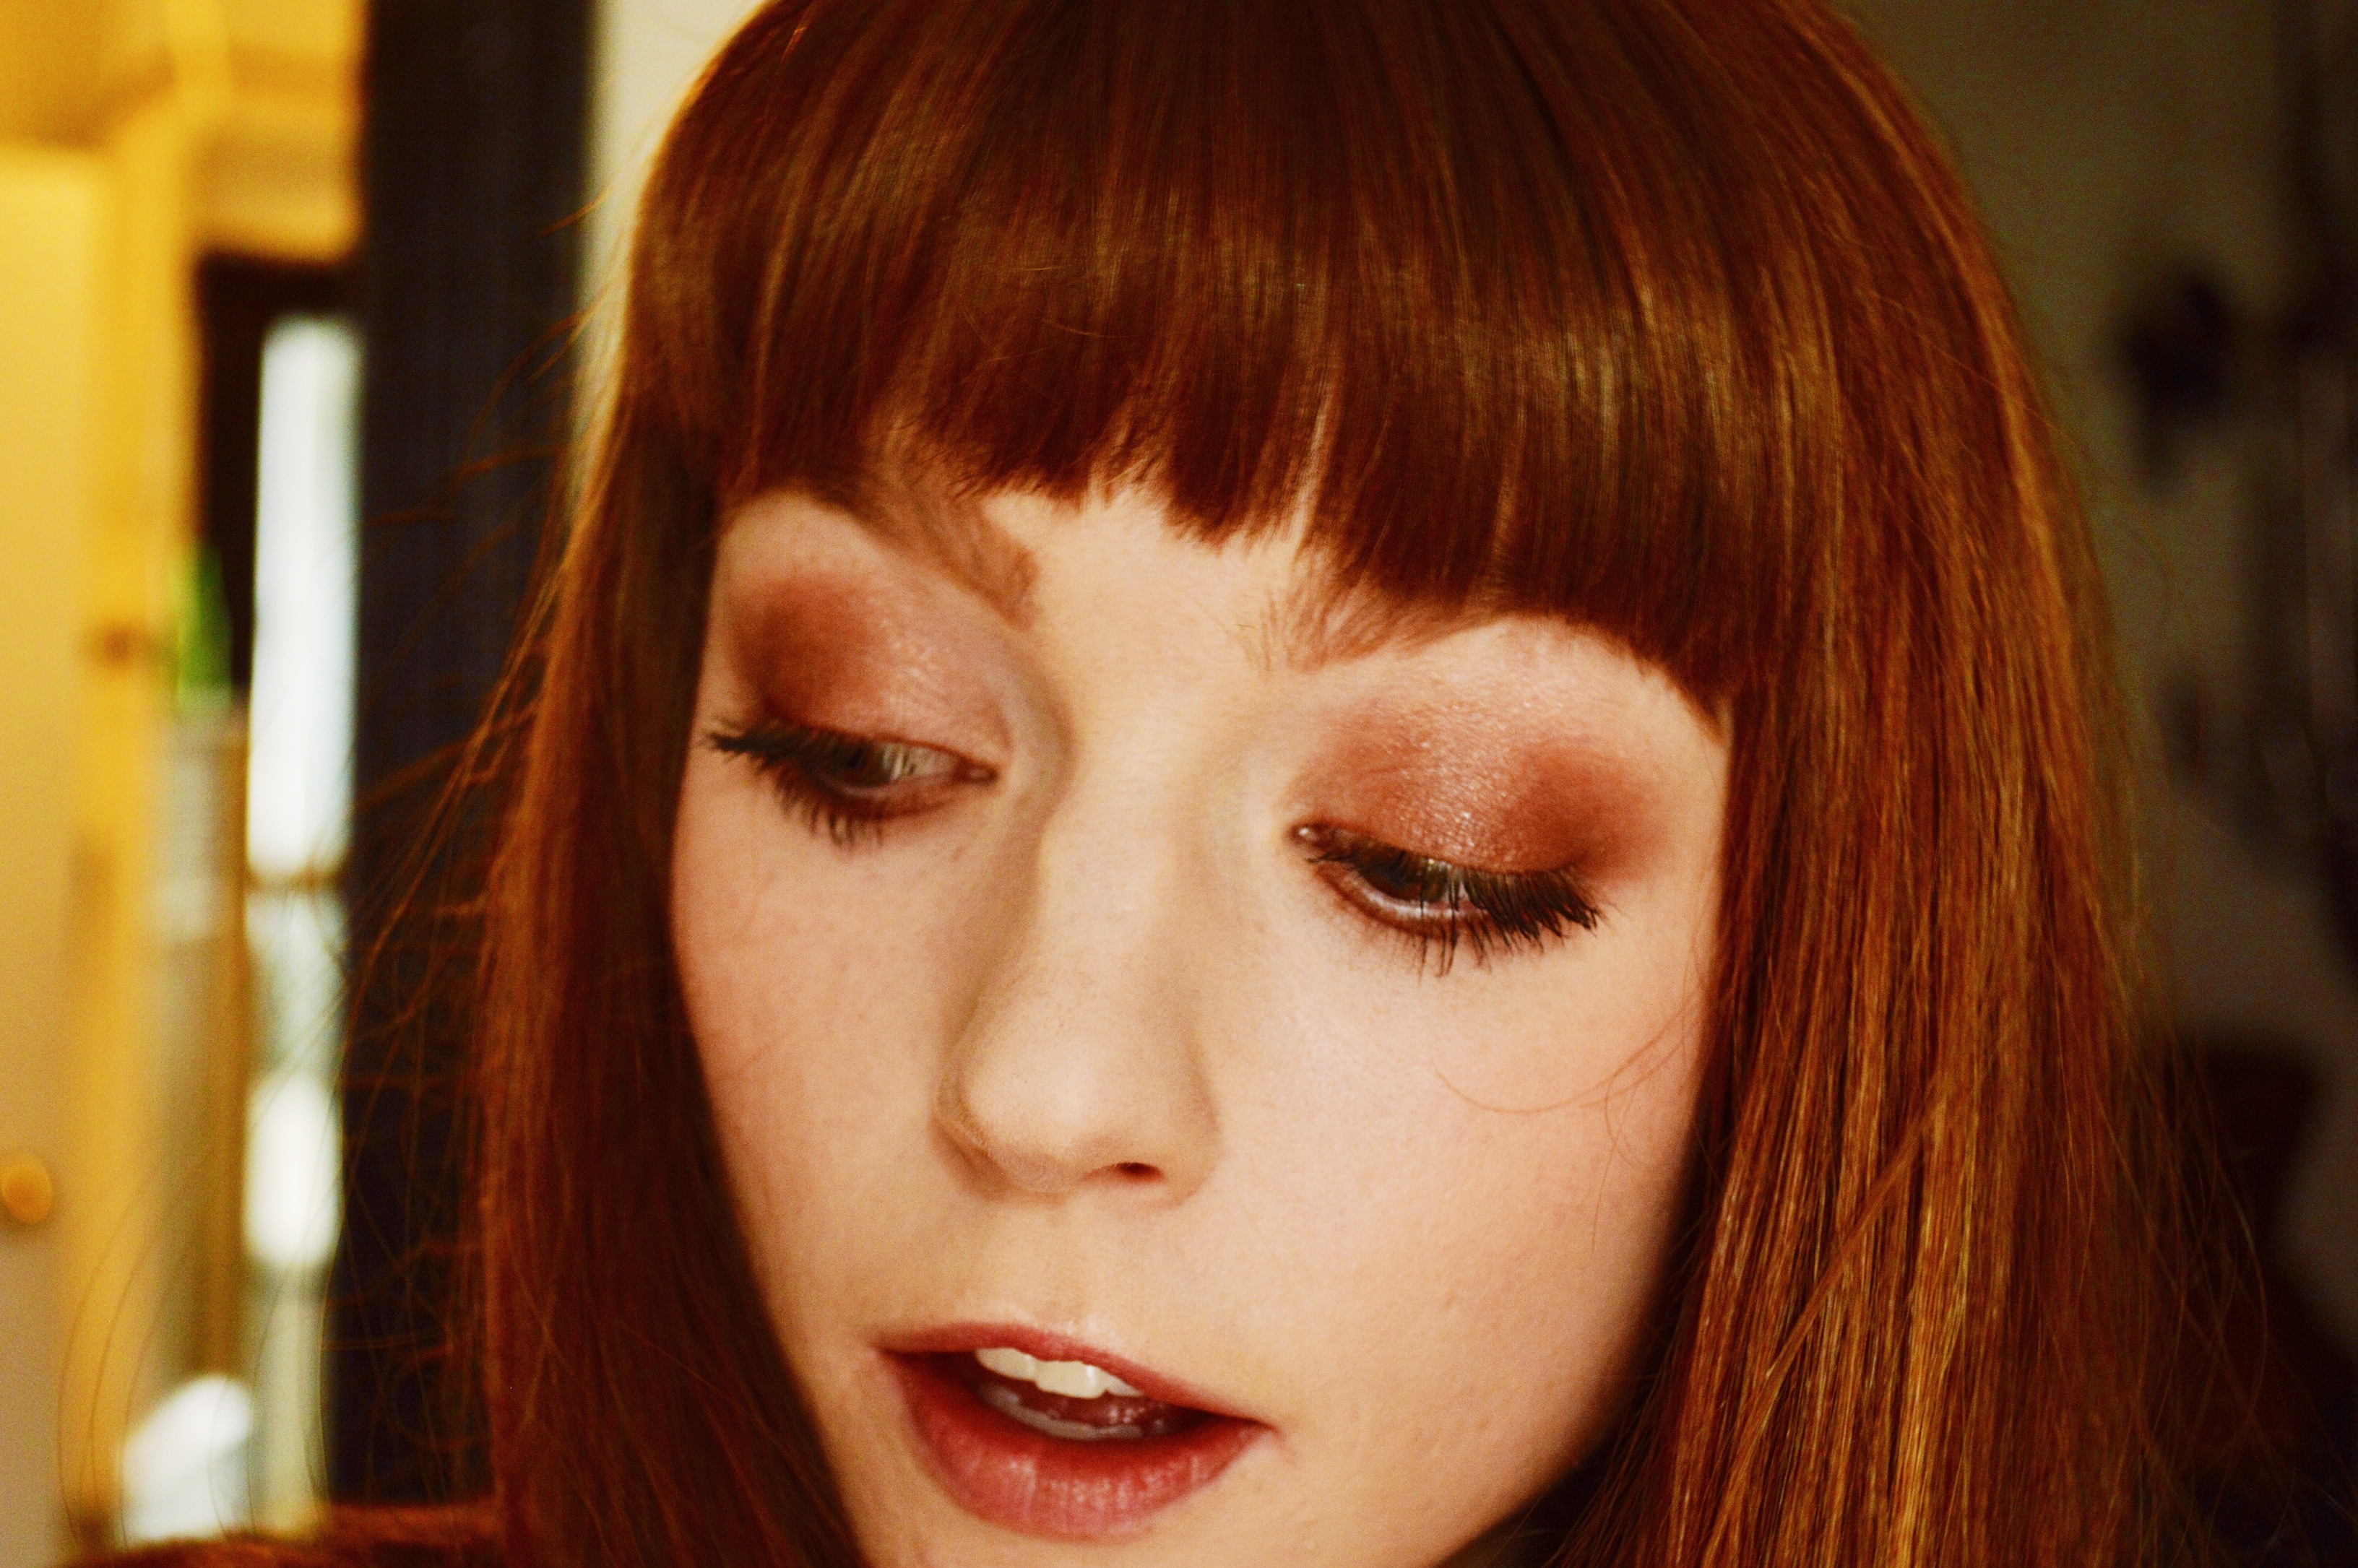
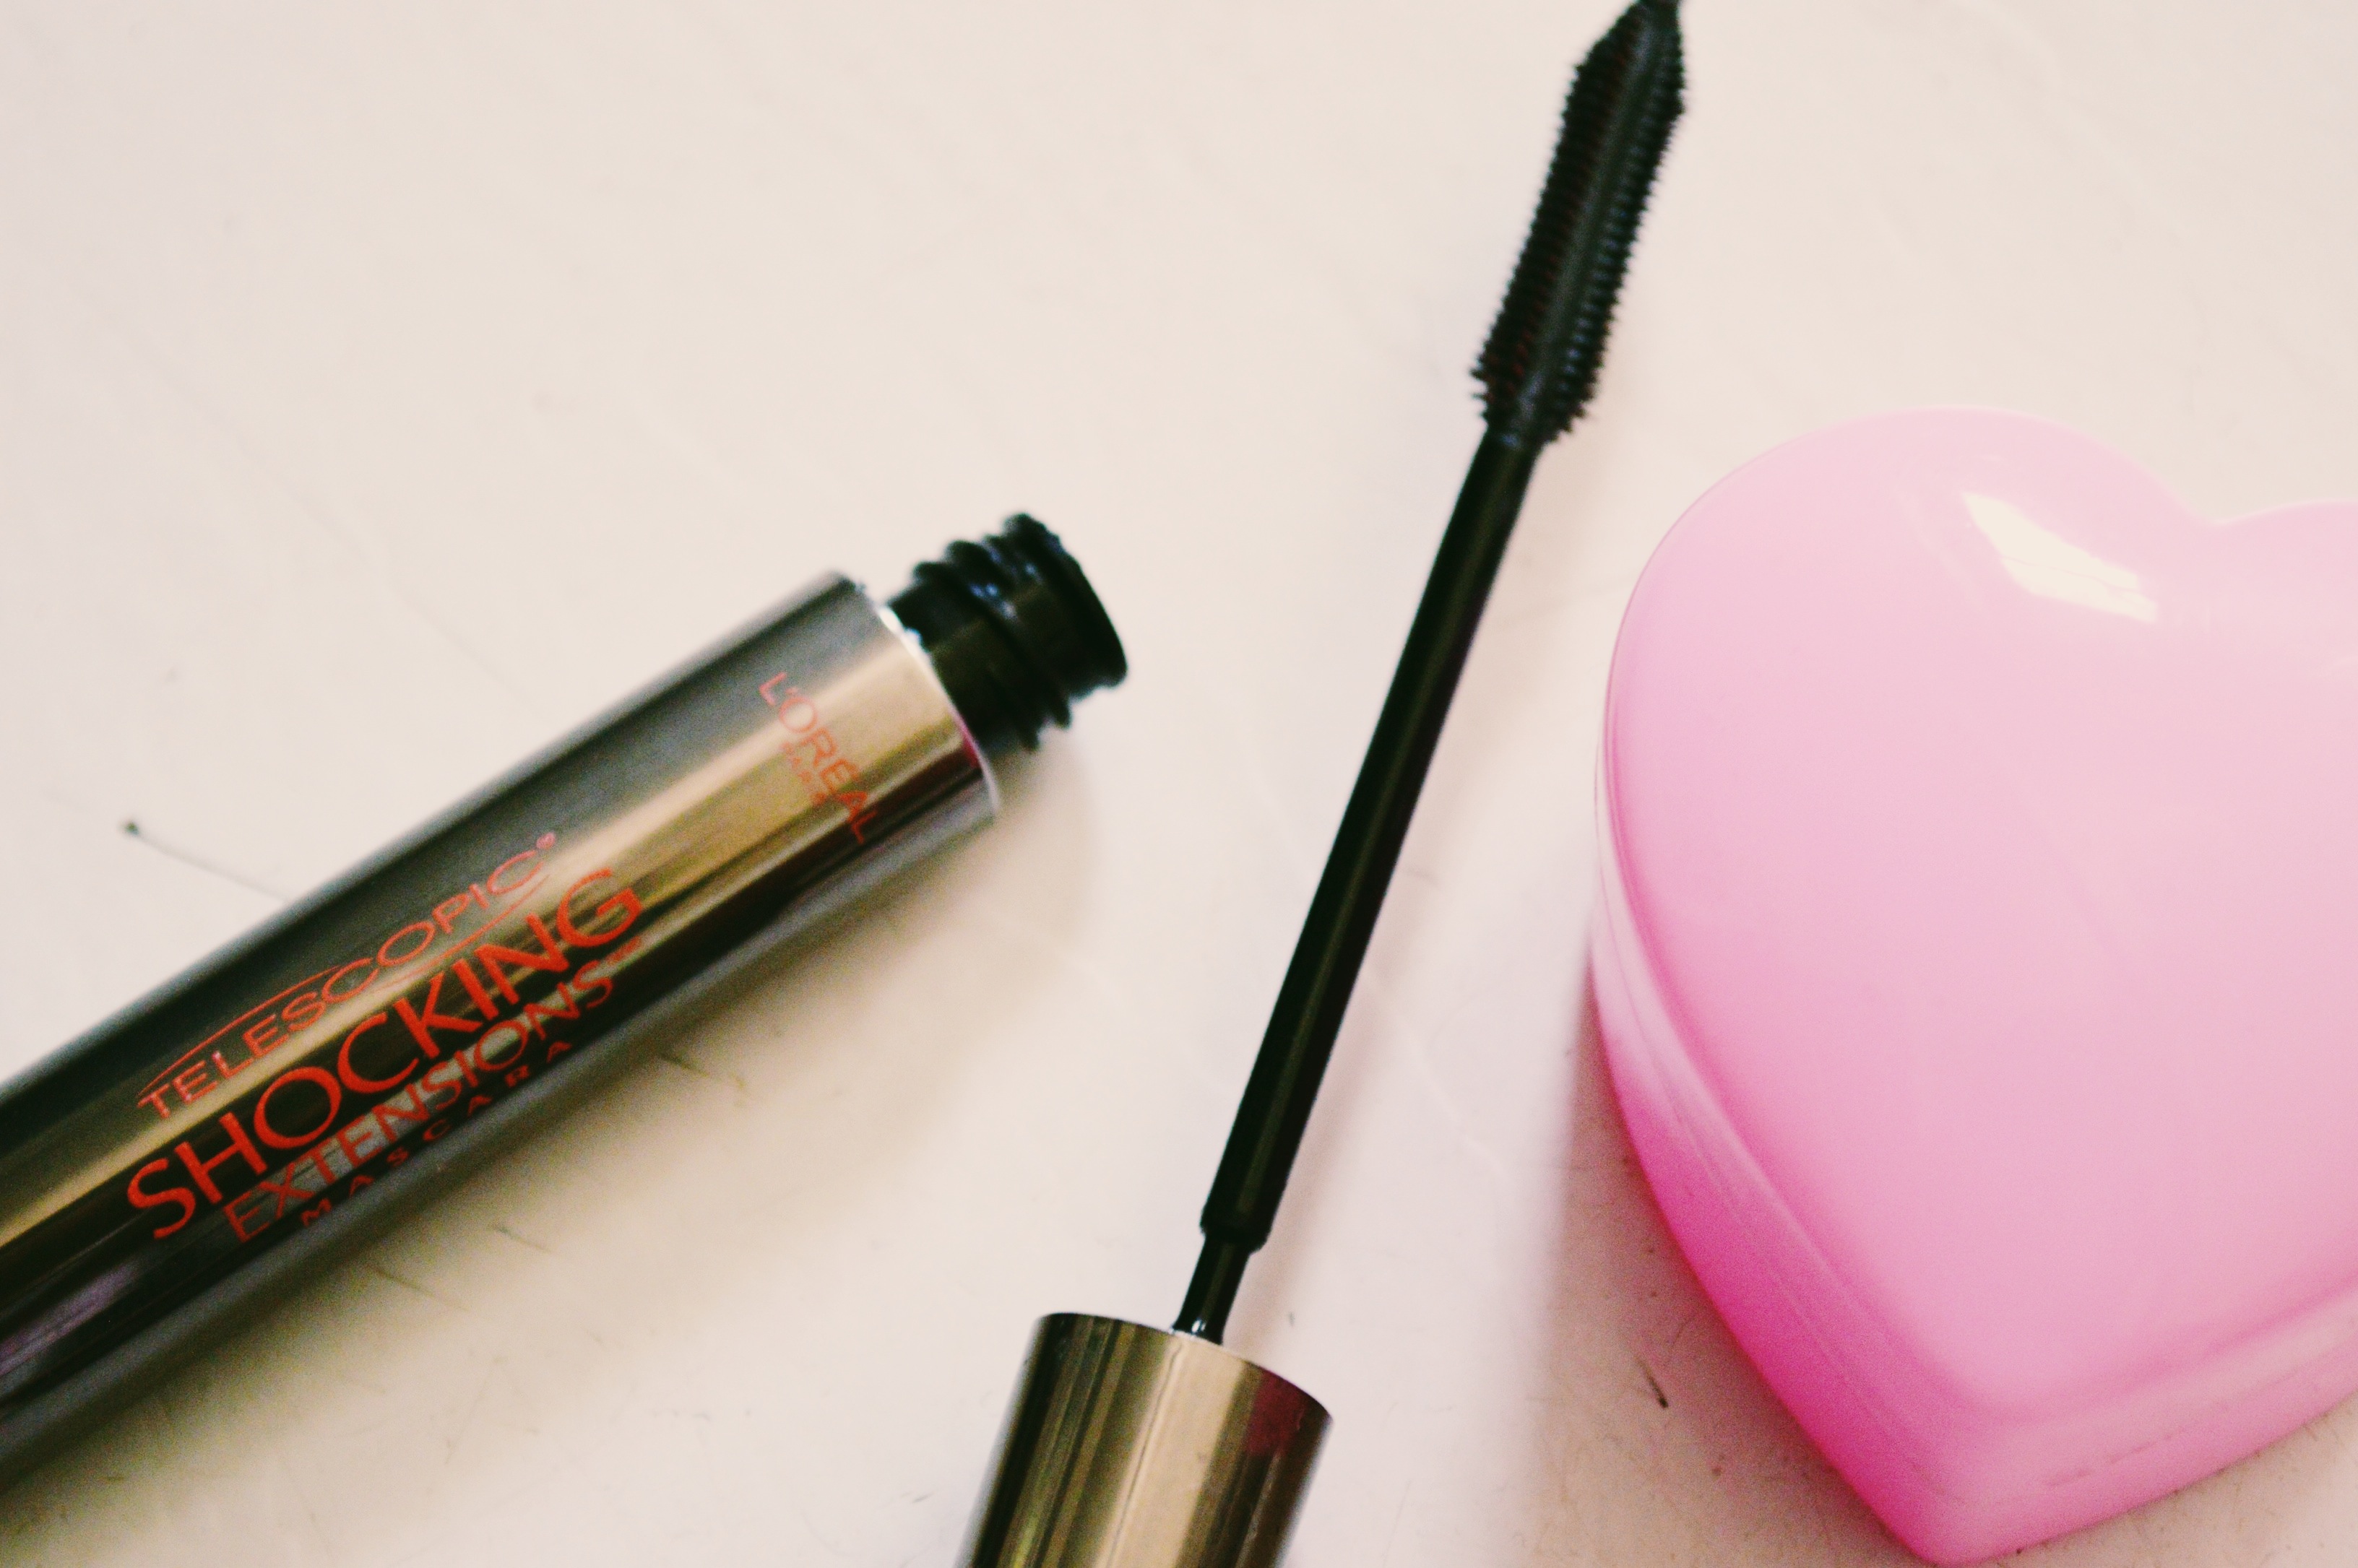
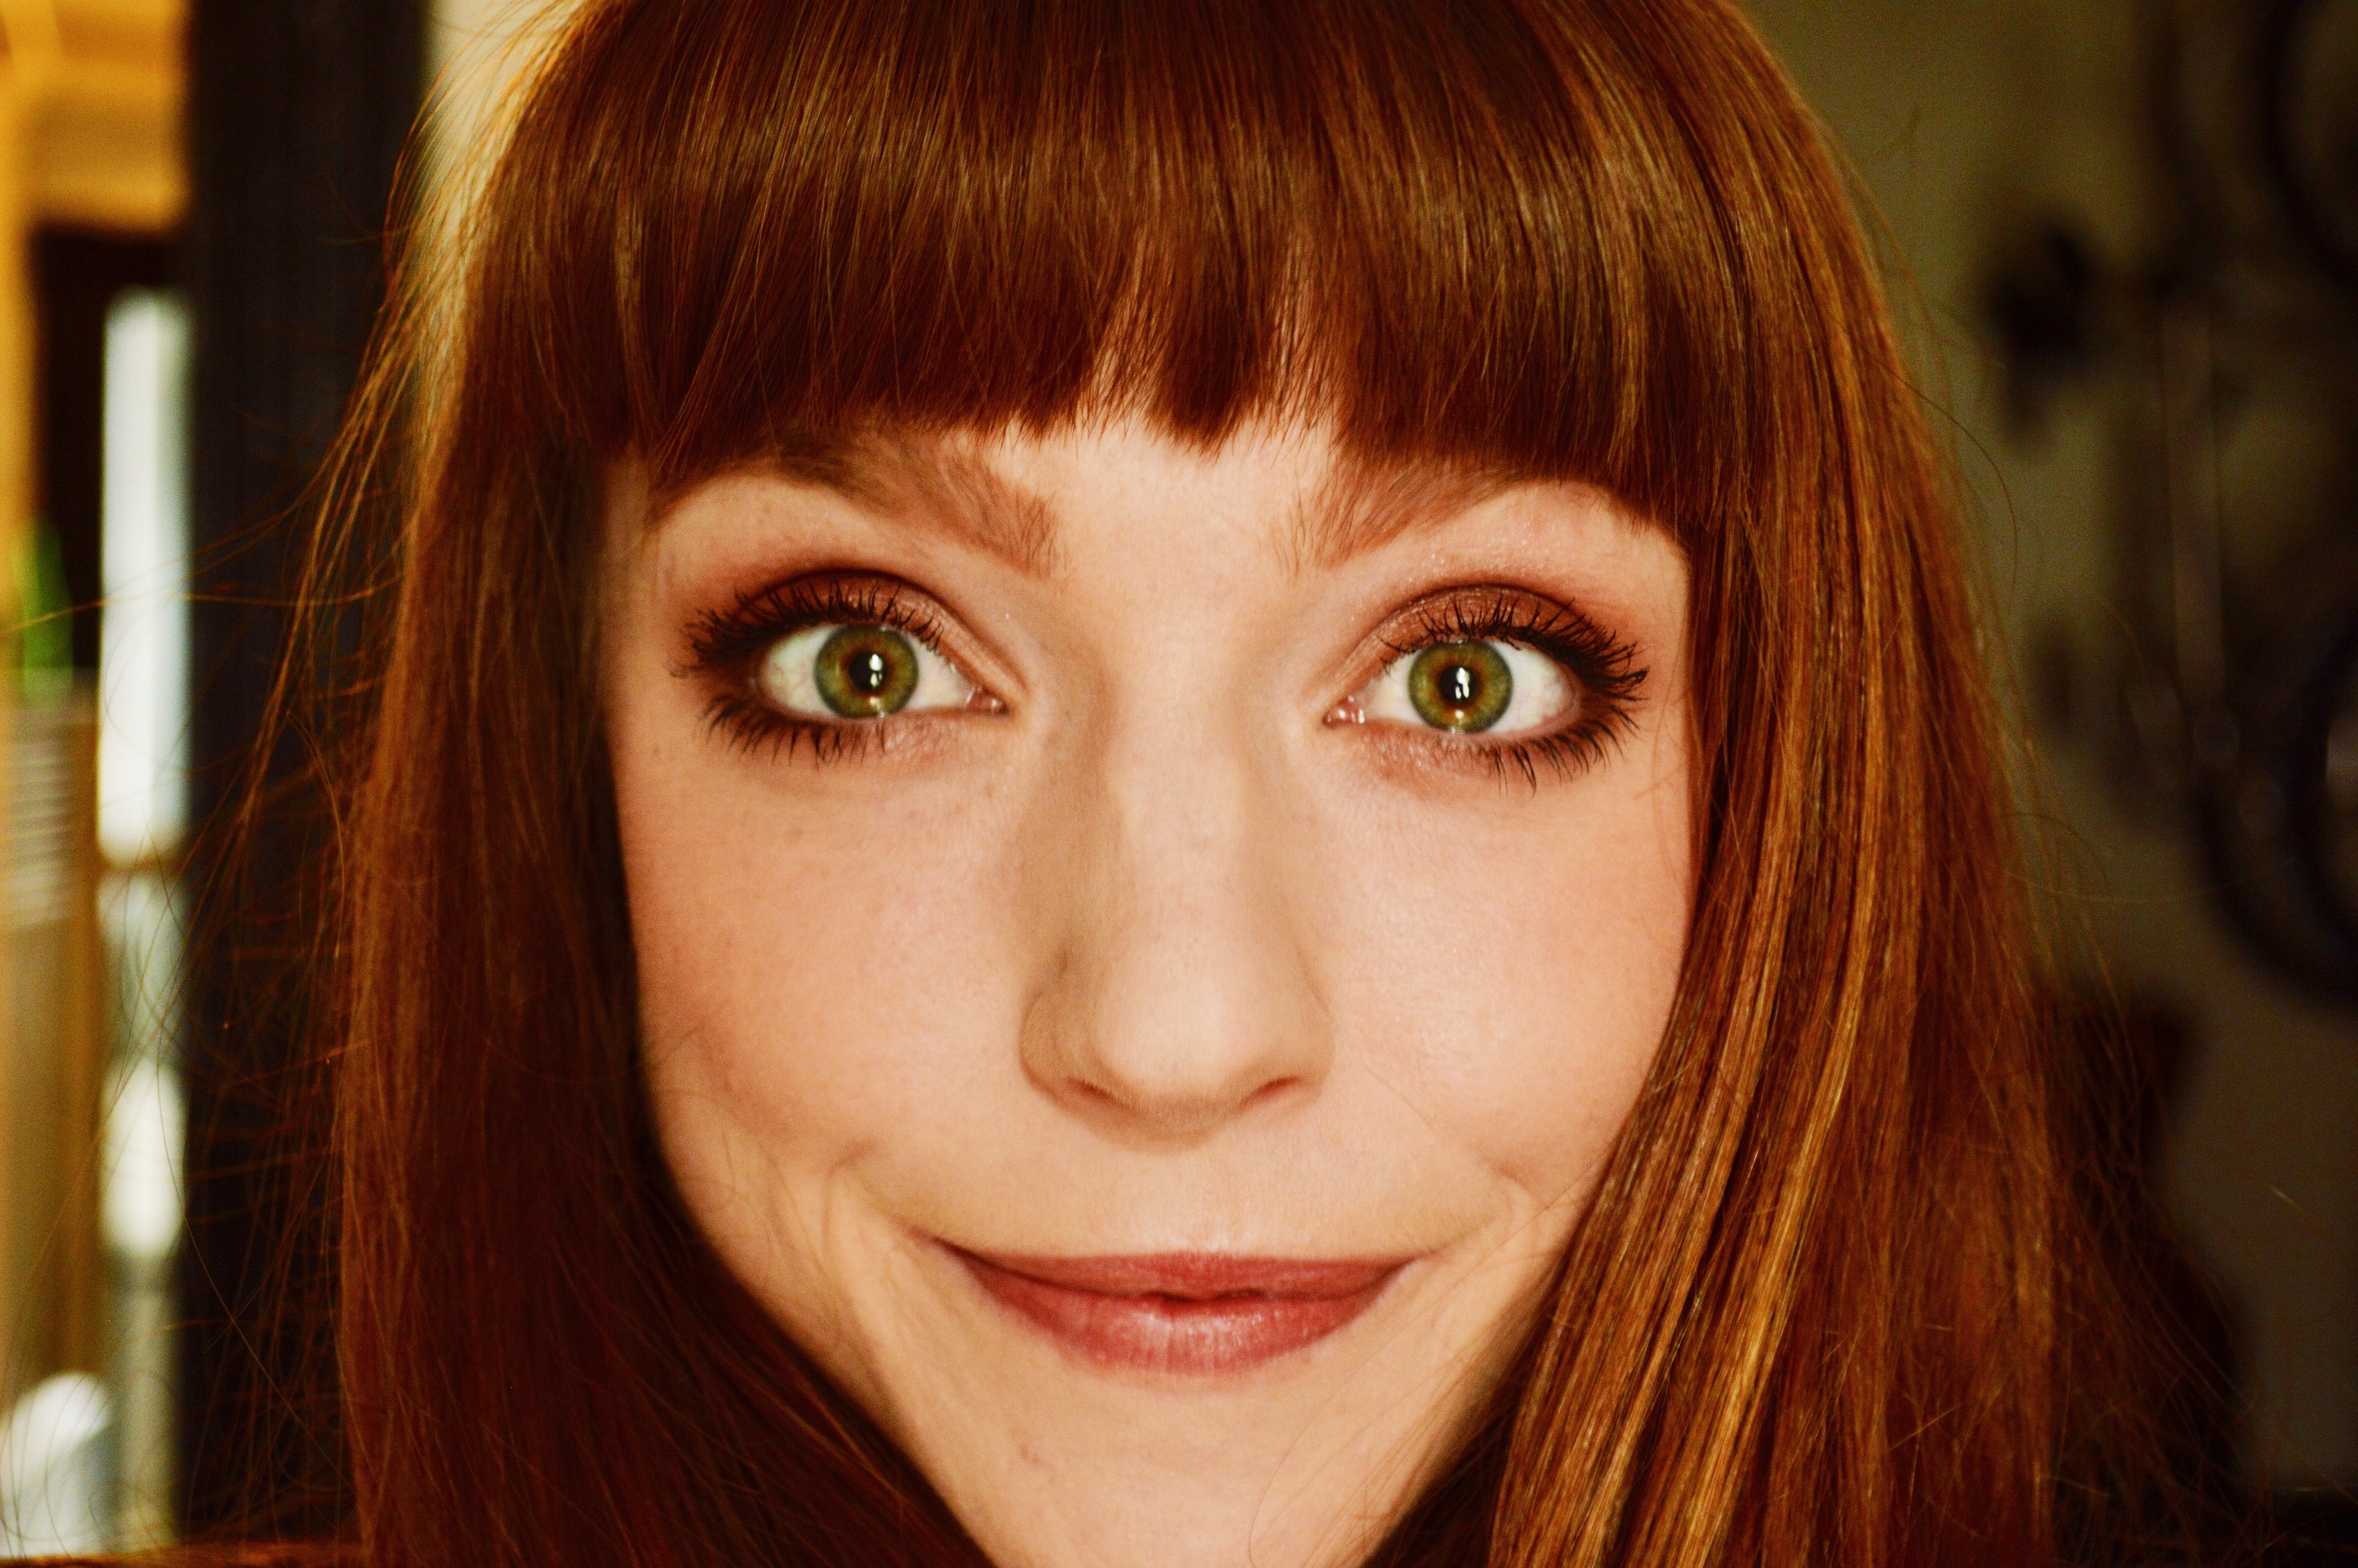 Up until very recently I had been using the same mascara for years, for no particular reason other than I’m a creature of habit and picking up that same mascara every time made my tendency to be indecisive far less debilitating. I didn’t give much thought to whether it enhanced my lashes to their full potential or not, and to be honest, I never much concerned myself with that because I have quite long, full lashes that often get mistaken for falsies. But, for one reason or another, I decided to pick up a different mascara and see how it worked for me. And oh boy, was there ever a difference! Enter, L’Oreal Telescopic Shocking Extensions Mascara, a silly name really, but to be honest, quite accurate. If I thought my lashes looked long and full before, this mascara enhanced them in such a significant way. An added bonus is that it lasts way longer than my previous mascara, so I don’t feel the need to apply more throughout the day, and it doesn’t clump! Thank god! I have a tendency to apply quite a lot of mascara because of my ginger, almost invisible lashes, so the fact that it does not clump is a life saver for those of us who need quite a bit of mascara to actually prove we have lashes.