 I will start off by saying I am by no means a skin care guru. If I am being totally honest, up until about 1-2 years ago I barely gave any thought to what products I used on my face, and it was sort of a grab whatever is on the drug store shelf and go. This usually mean’t a simple face wash and moisturizer, and often if I ran out of face wash I would just wash my face with soap, for days…not good, but you know, I didn’t care. As a teenager I didn’t have great skin, blame it on hormones and puberty, whatever it was, I had a very mild sort of acne. Back then it felt like nothing would make my complexion smooth and flawless, so I would just pile on foundation and concealer. Not the greatest way to combat zits, but my teenage self felt defeated. Luckily, as I got older, my skin improved immensely and I’m not even the slightest bit embarrassed about my makeup-less face. All the products I use now are still drug store bought, but they are products I always use and love. My interest in skin care has grown immensely quite recently, so I’m hoping that over time I’m able to learn more about some natural independent skin care brands that I can incorporate into my routine. But for the time being, these are inexpensive, drug store brands that I really love.
  Simple foaming cleanser – I usually use this product at the end of the day to wash off my makeup. It’s quite gentle on my ever so sensitive skin and it rids my face of all makeup almost instantly. I do often use it when I wake up in the morning, time willing, and it’s a great way to wakeup my sleepy, puffy face. I also like that it doesn’t dry out my skin, because as you will learn here, I have quite dry skin, especially in the colder months.
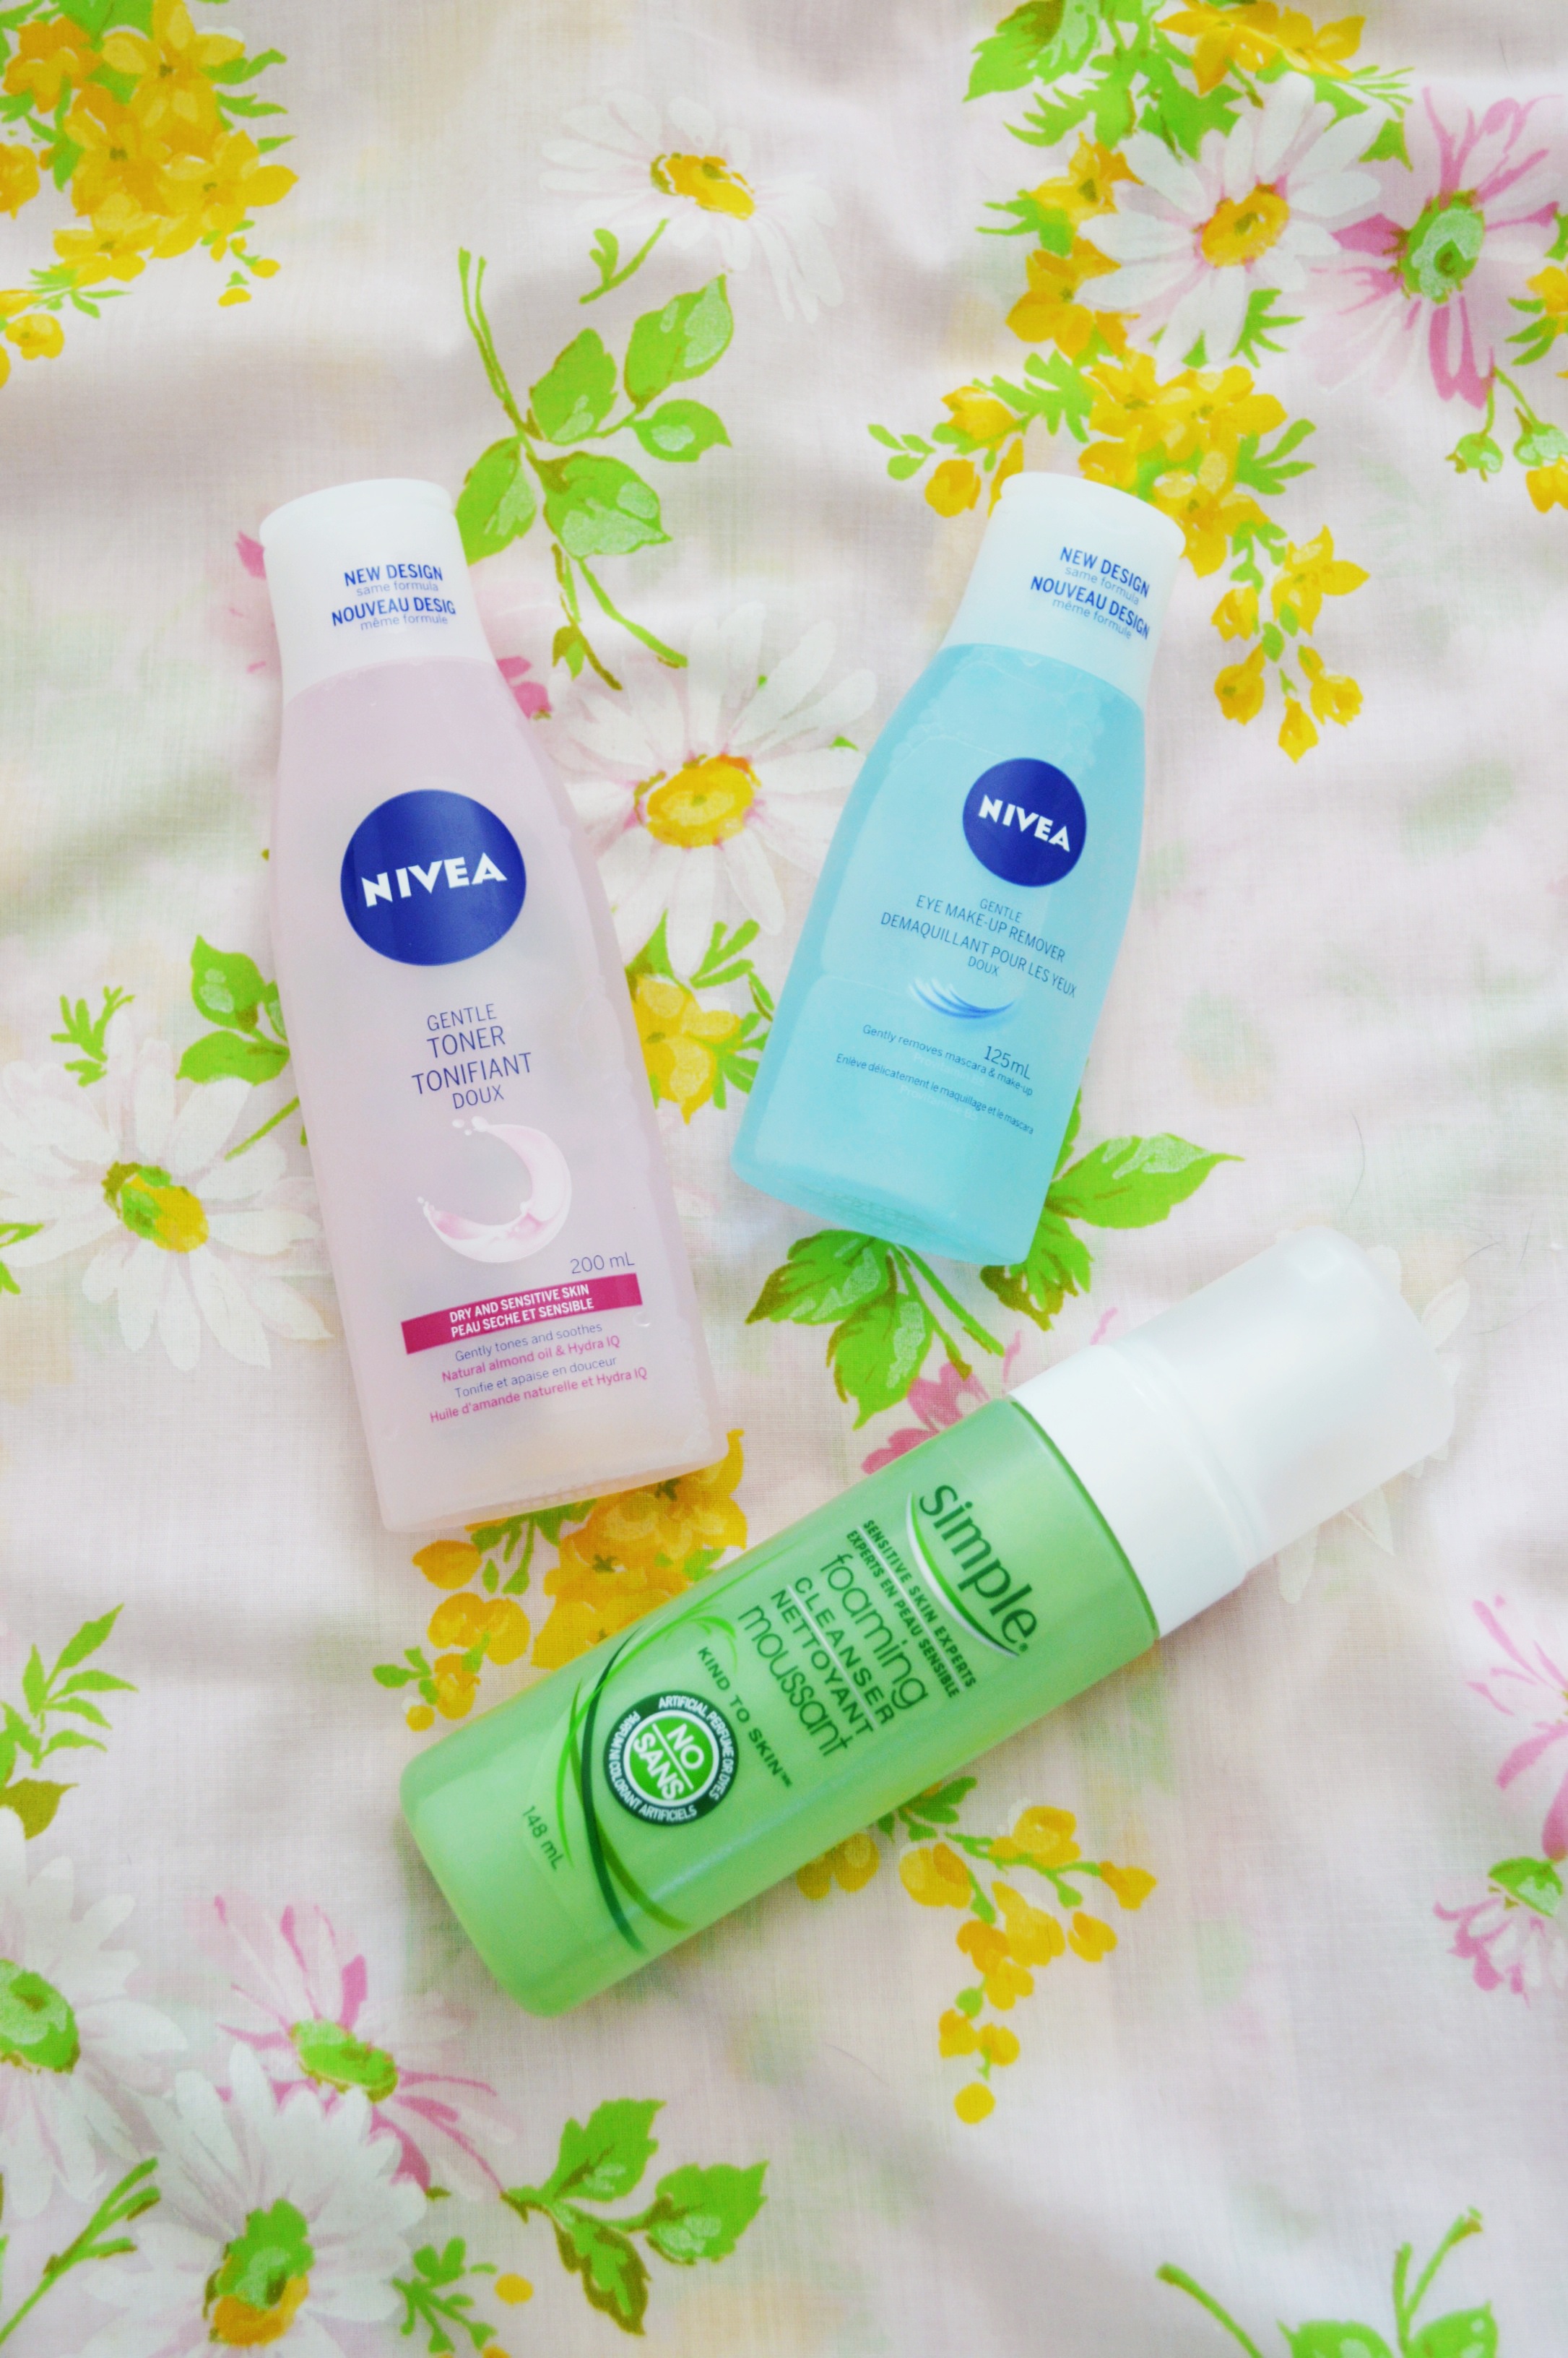
Nivea gentle toner – I use this toner morning and night, and I absolutely love it. I have quite dry skin, so I love the way it cools my face and gives a nice, firm feeling once it has soaked in, minimizing my pores and making things look real smooth, like a baby’s butt.
Nivea eye makeup remover – A lot of my eye makeup comes off after I use my foaming cleanser, but I will use this on the days where I have worn more eye makeup than usual or when I have missed getting some off (say the nights when you come home a wee bit tipsy). It’s not the best eye makeup remover I have ever used, but it works well enough.
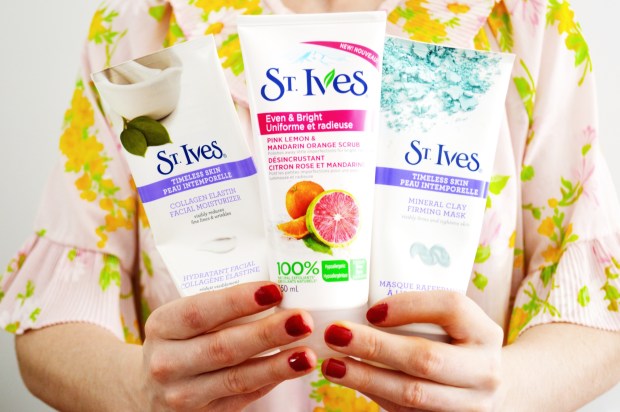 (big St. Ives fan over here! also, i apologize for my nail polish that looks like it was applied by a 6yr old boy)
St. Ives Timeless Skin collagen elastin moisturizer – big name, yes, but big results! Guys, I love this moisturizer! LOVE. This moisturizer is light enough that it doesn’t leave my face feeling greasy, but it somehow manages to really and truly hydrate my skin. Hydration is the best word to describe it. I also like that it absorbs into my skin really quickly, so that on days when I’m in a bit of a rush to get out the door, I don’t have to wait long before I apply my makeup. I use this product morning and night, and it is my dry skin saviour. Amen.
St. Ives Even & Bright pink lemon and madarin orange scrub – I use this scrub 3-4 times a week when my skin is in need of some cleansing action. I often still get blemishes (or zits, if you will) and I find this scrub helps combat those little demons before they have the chance to thrive on my poor old face. Also, it smells heavenly, so that’s an added bonus.
St. Ives Timeless Skin mineral clay – I usually only use this product a few times a month. It’s a deep cleansing face mask that gives you that wonderful awful tingling sensation once it starts doing it’s job. I find I only use it around a week or two before I start menstruating (tmi? naw, jei), right about the time when my skin decides to invite it’s little zitty friends over. I’ll also use it when I’m feeling like I want to have a nice pampered evening of face masks, painting nails and baths.

 And the best, most inexpensive way to keep your skin looking healthy and happy is drinking water. I love water, so this is an easy task for me, but if you don’t love water that much, learn to. Water is your friend.
So there you have it! My simple, inexpensive skin care routine. Like I said, I would love to incorporate some new products made by local or independent brands as I continue to learn more about my skin, so if you guys have any brands you adore, I’d love to hear about them! And if you use any of these products, let me know!


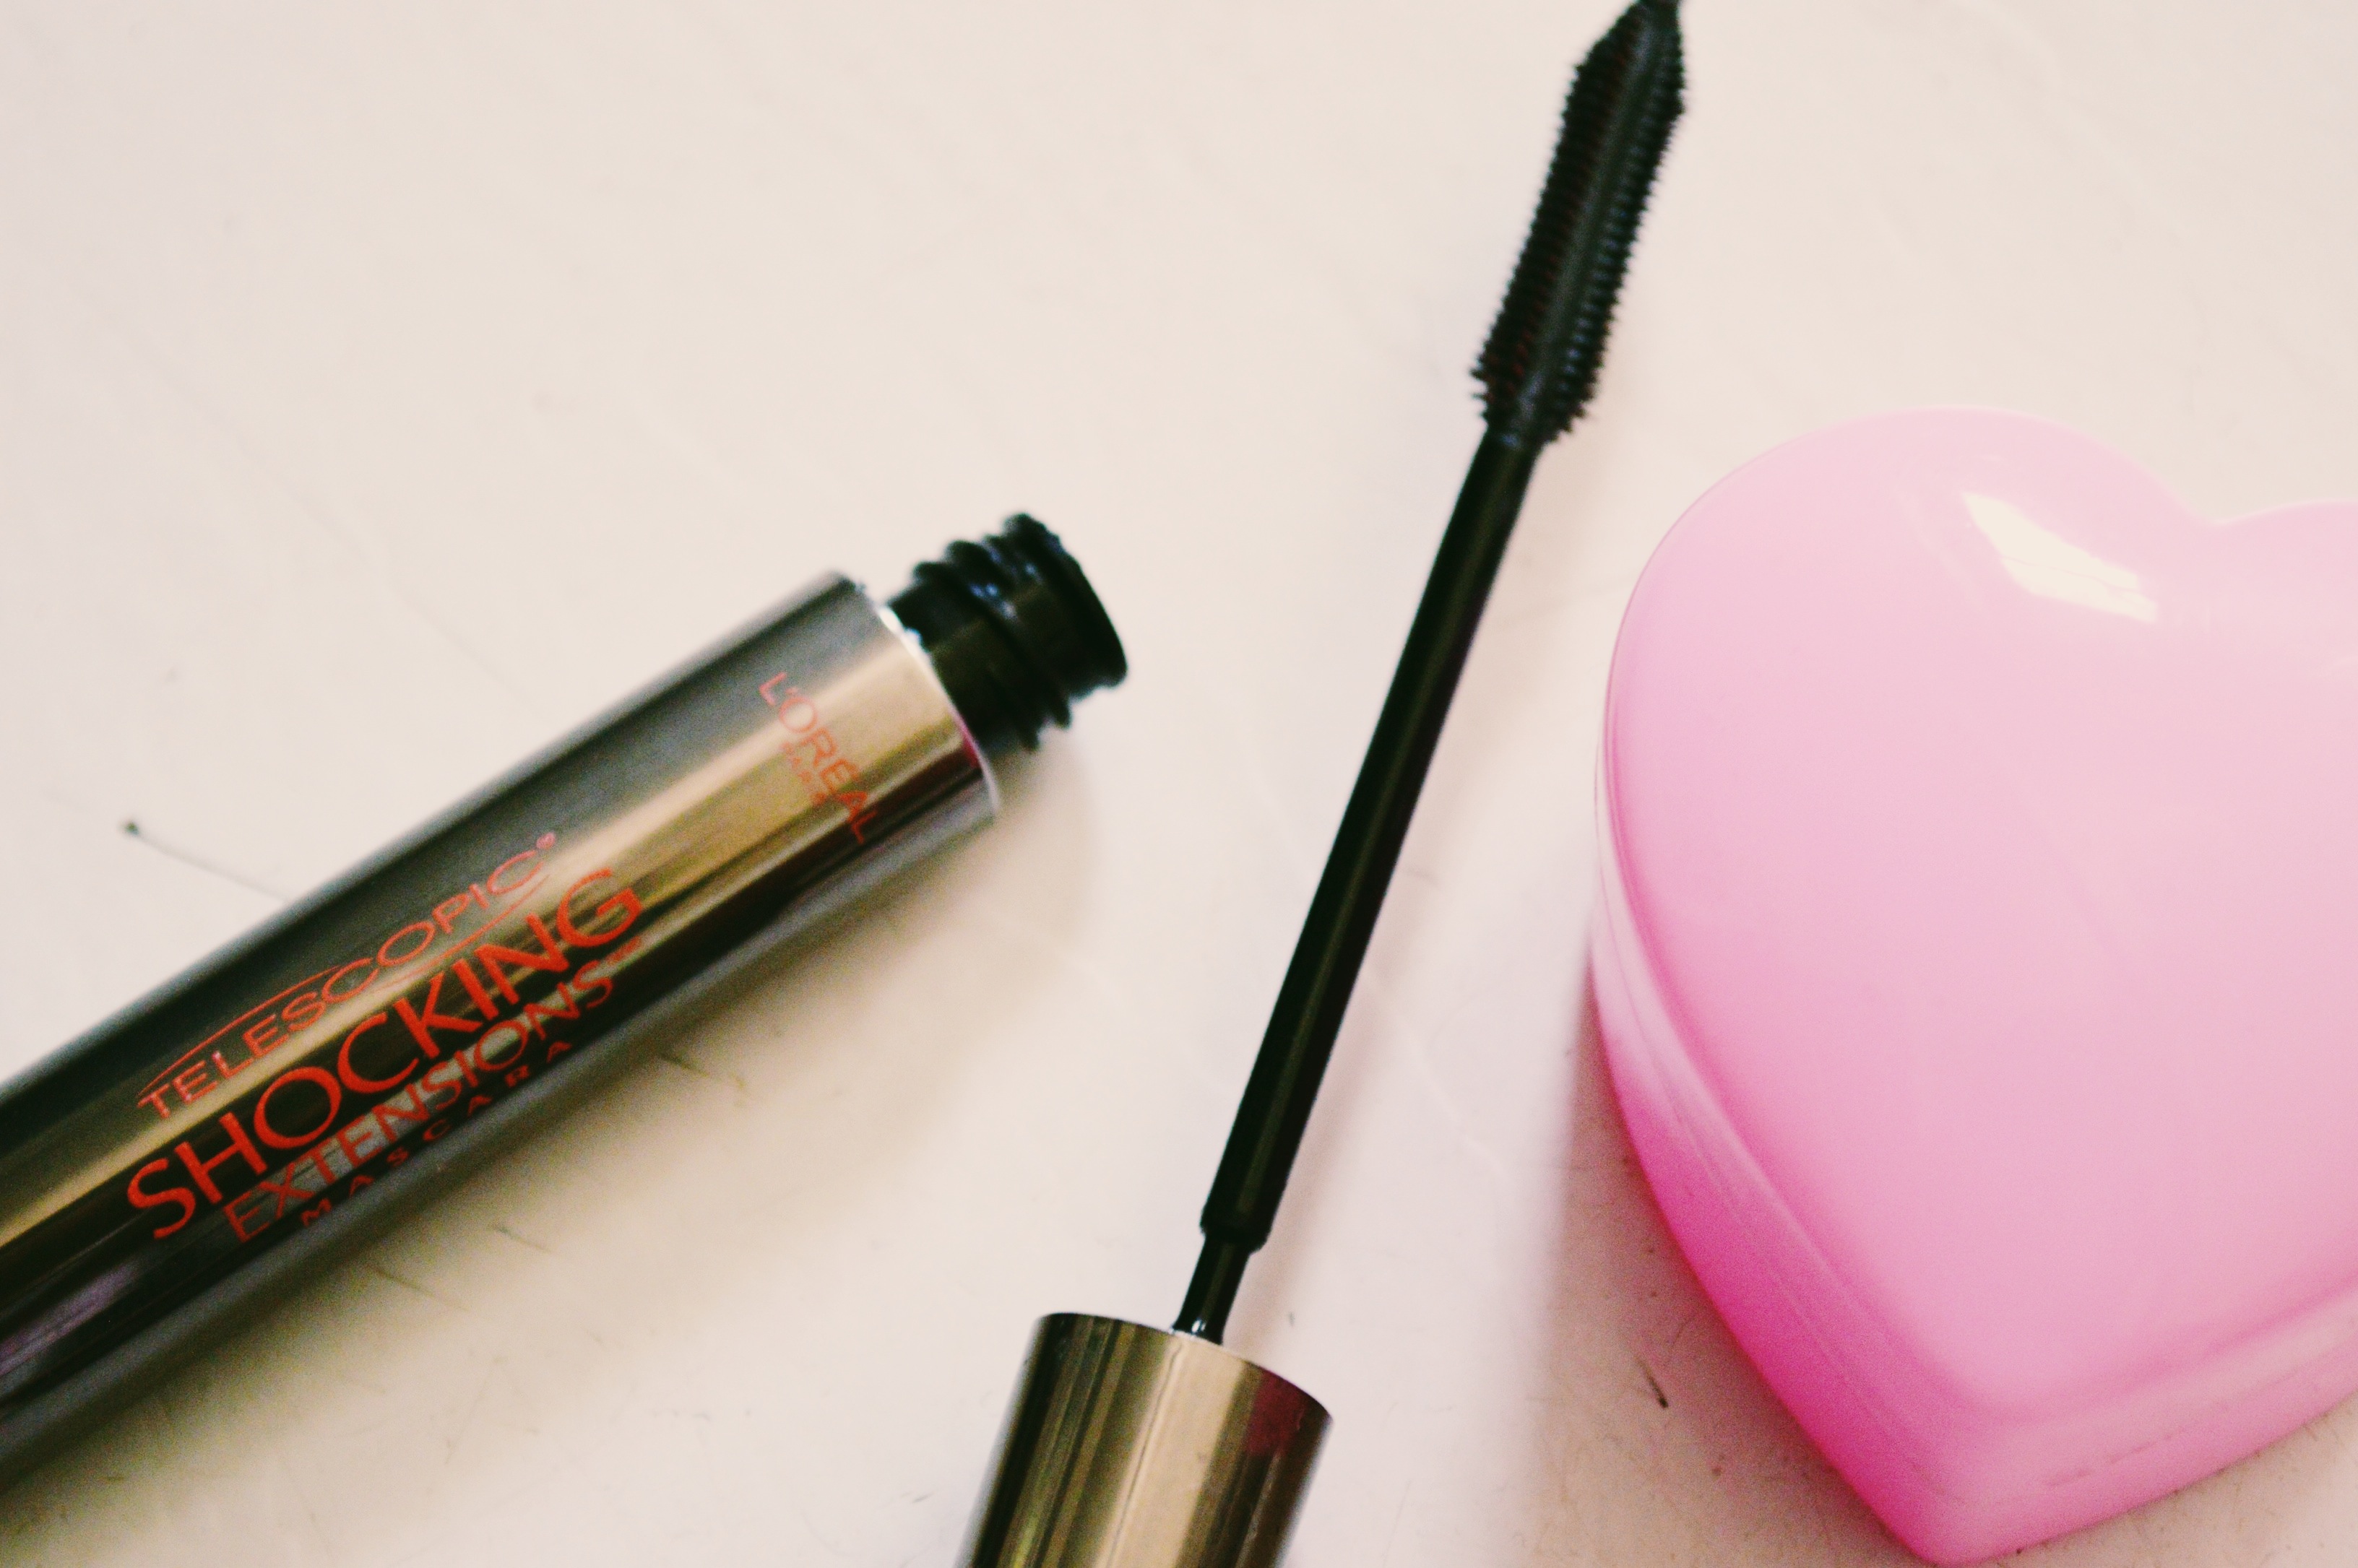
 Up until very recently I had been using the same mascara for years, for no particular reason other than I’m a creature of habit and picking up that same mascara every time made my tendency to be indecisive far less debilitating. I didn’t give much thought to whether it enhanced my lashes to their full potential or not, and to be honest, I never much concerned myself with that because I have quite long, full lashes that often get mistaken for falsies. But, for one reason or another, I decided to pick up a different mascara and see how it worked for me. And oh boy, was there ever a difference! Enter, L’Oreal Telescopic Shocking Extensions Mascara, a silly name really, but to be honest, quite accurate. If I thought my lashes looked long and full before, this mascara enhanced them in such a significant way. An added bonus is that it lasts way longer than my previous mascara, so I don’t feel the need to apply more throughout the day, and it doesn’t clump! Thank god! I have a tendency to apply quite a lot of mascara because of my ginger, almost invisible lashes, so the fact that it does not clump is a life saver for those of us who need quite a bit of mascara to actually prove we have lashes.